Preheat your oven to 375 degrees. This straightforward step is crucial as it ensures your danish bakes evenly and achieves that golden color we’re looking for.
In a small bowl, combine the cream cheese, pumpkin, granulated sugar, cinnamon, nutmeg, flour, and vanilla. Use a hand mixer or a whisk to blend these ingredients until smooth. You want a creamy, dreamy filling that’s full of flavor.
Pop open the crescent roll dough and unroll it on a clean surface. Leave the crescents arranged in rectangles, which helps create a sturdy base for your filling.
On an ungreased baking sheet or silpat, lay the rectangles of crescent roll dough together, lining them up width-wise. Make sure the dough covers almost the entire length of a half sheet pan, creating a nice canvas for your filling.
Press the edges together to even them out and seal any holes that might let the filling escape. You want everything to stay wrapped up nice and snug during baking!
Using a sharp knife, cut half-inch diagonal strips up each side of the dough. These strips will help create that beautiful braided effect when you fold the dough over the filling.
Carefully spread your cream cheese filling down the center of the dough, making sure it’s about 2 to 3 inches wide. Don’t skimp on this step; this filling is the star of the show!
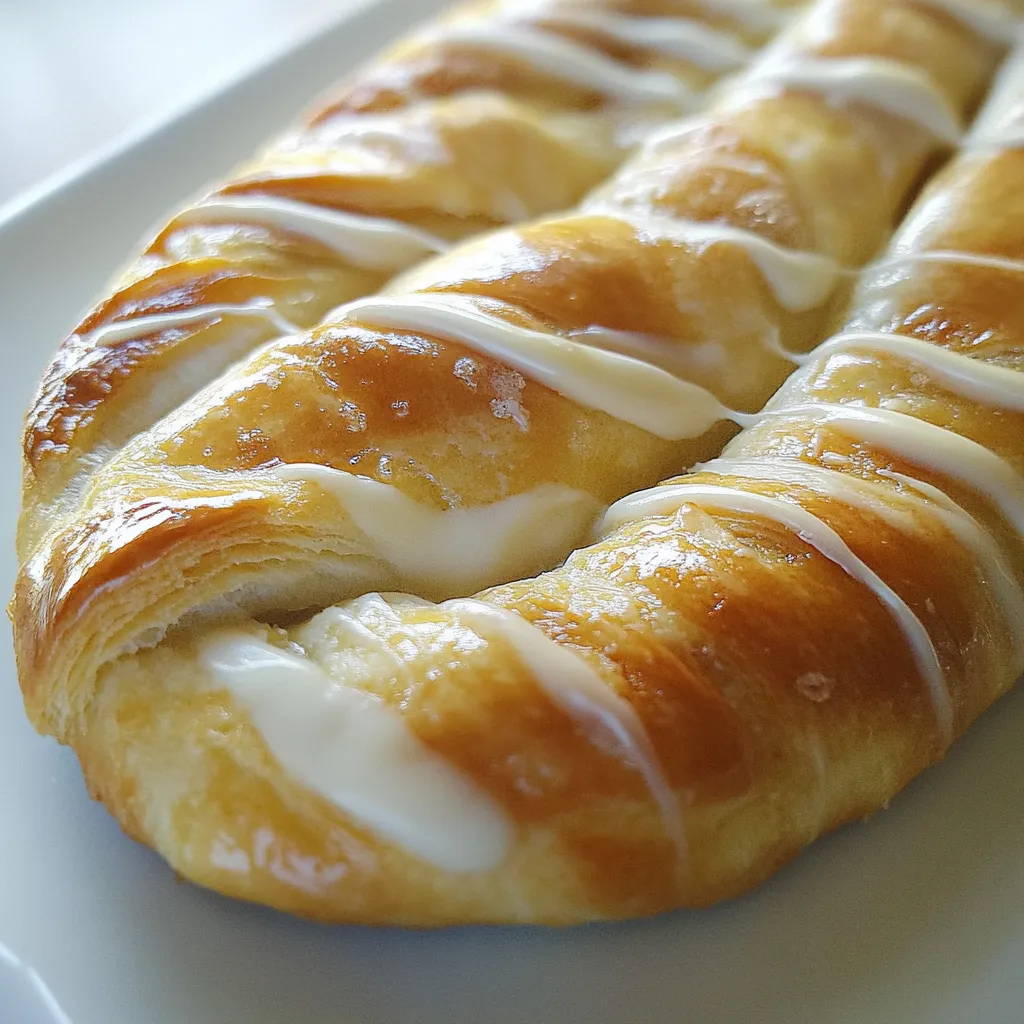
Fold the dough pieces up over the filling, alternating sides to create a lovely braided pattern. This is where your danish starts to take shape, and it’s a fun part of the process!
If you have excess dough once you reach the end of the danish, fold them in as best as you can. This helps keep all the delicious flavors inside.
Bake for 15 to 20 minutes, or until the filling is set and the crescent dough is golden in color. Keep an eye on it; you want that perfect golden brown!
Once baked, cool the danish before removing it from the baking sheet. This helps it set up and makes it easier to slice.
In a small bowl, mix together the powdered sugar, vanilla, and heavy cream to create your icing. If it’s too thick, add a bit more cream until you reach your desired consistency.
Drizzle the icing over the cooled danish. This final touch adds sweetness and makes it irresistible. Cut into pieces and serve!