Start by placing the crushed ice, cold water, and salt into the base of your Mugz Ice Cream Maker. This mixture is what will create a cold environment for freezing your ice cream.
In a separate small bowl, pour in the heavy cream, fine sugar, and orange emulsion. Whisk these ingredients together until they are thoroughly combined. You want the sugar to dissolve completely, creating a smooth mixture.
Next, take the aluminum dish and place it on top of the crushed ice mixture. Carefully pour the ice cream mix into the bowl, ensuring you fill it up to the designated fill line. This step is crucial so that your ice cream has the right texture and consistency.
Once filled, secure the plastic lid on top of the dish. If your ice cream maker has an animal head or fun feature, twist it on to hold everything in place.
Now comes the fun part! Shake the ice cream maker constantly for at least three minutes. Don’t be afraid to shake it in all directions, even upside down! This motion helps incorporate air into the mixture, creating that delightful texture.
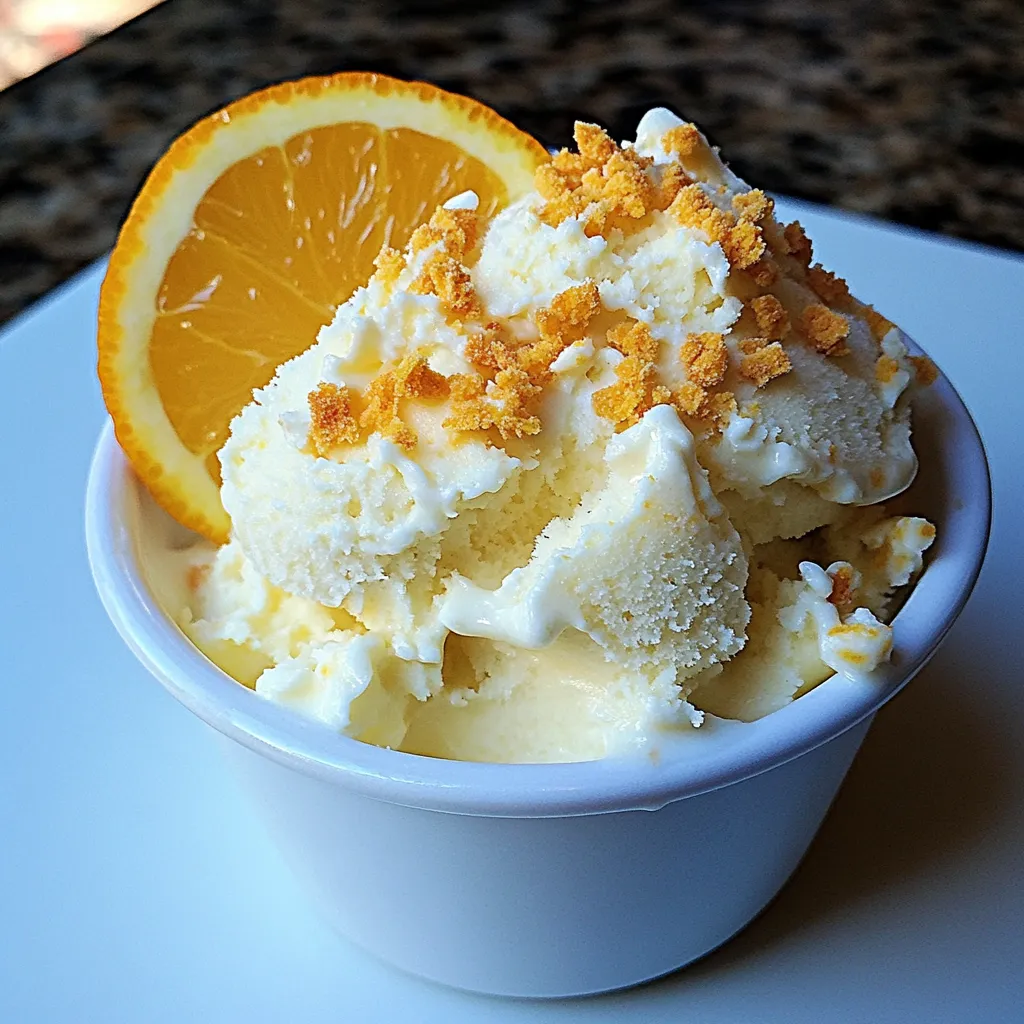
After three minutes, carefully remove the lid from your ice cream maker. You’ll be greeted with a creamy, satisfying treat. Scoop out some into a bowl or cone, and enjoy the taste of summer!