Cutting Board
Kitchen Knife
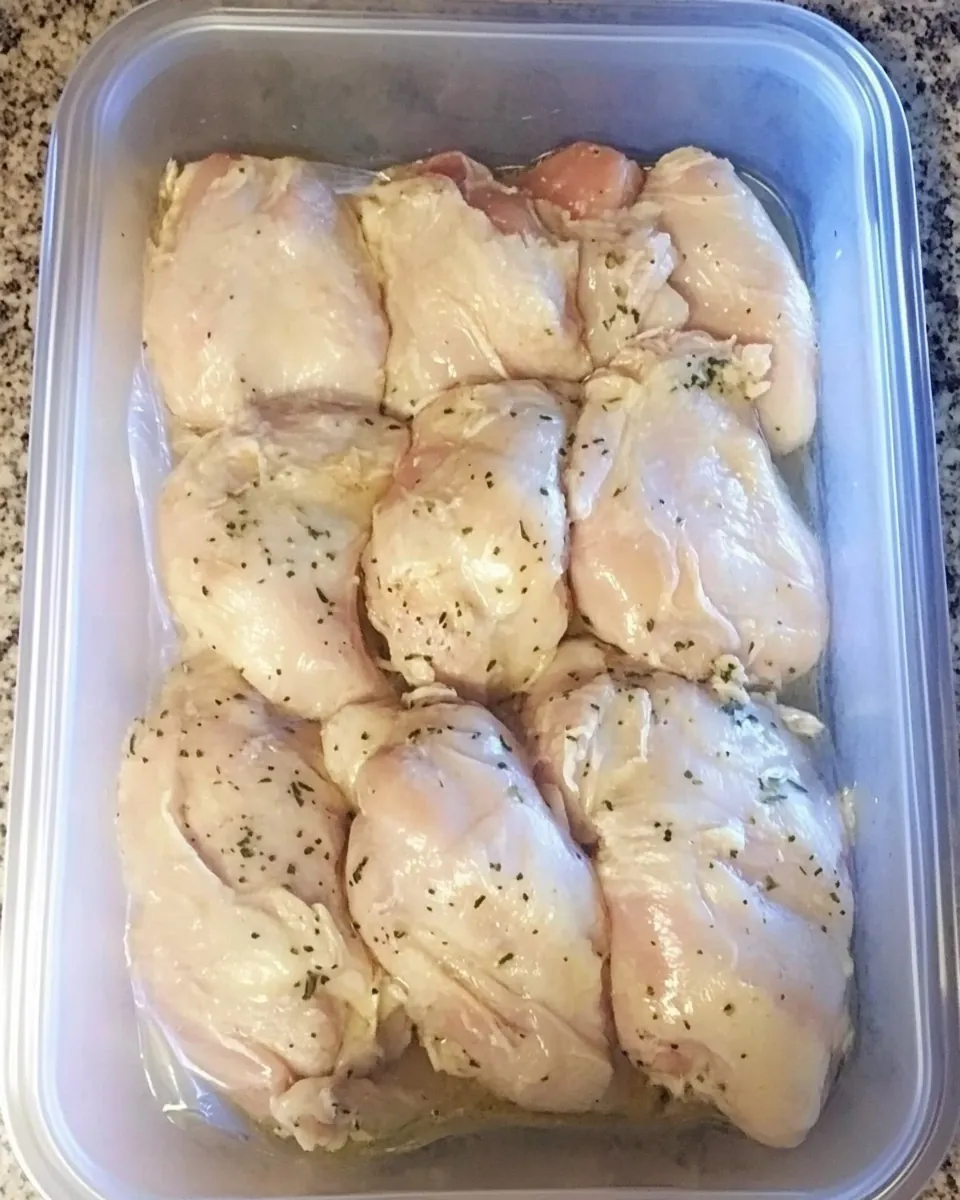
Begin by gathering your materials. You will need high-quality freezer bags and a sharpie marker. It's essential to use good quality bags to prevent freezer burn.Take the chicken thighs and ensure they are clean and dry. Pat them down with a paper towel to remove any excess moisture that may cause ice crystals inside the bag.Label your freezer bag with a sharpie marker. Write down what is in the bag and how many pieces you are storing. This helps you keep track of your inventory.Include today’s date on the bag along with a “USE BY” date. This usually falls between 6 months to 1 year from now, depending on how you plan to use the chicken.Carefully place the chicken into the freezer bag. Make sure the pieces are laid flat. This allows for even freezing and easier storage.Squeeze out as much air as possible from the bag. The less air inside, the lower the risk of freezer burn.Seal the bag tightly to ensure no air can get in. Double-check that the seal is secure and that the bag is not punctured.Finally, place the bag of chicken into the freezer. Lay it flat so that it freezes in that position. This not only saves space but also makes it easier to stack.When you're ready to use the frozen chicken, take it out of the freezer and thaw it in the refrigerator overnight for the best results.
- Tip 1: Ensure that you use high-quality freezer bags. They may cost a bit more, but they save you from freezer burn.
- Tip 2: Pre-portion your chicken before freezing. Smaller portions are easier to thaw and use without wasting any.
- Tip 3: Always label your bags clearly. You won't regret knowing exactly how long each piece has been frozen.
- Tip 4: Thaw your chicken in the fridge. It’s the safest method to avoid bacterial growth.
- Tip 5: Lay your bags flat when freezing. This not only saves space but also allows for quicker thawing later.
- Tip 6: Use the oldest chicken first. Keep your freezer organized by placing newer items at the bottom and older items on top.