Ingredients
Equipment
Method
- In a food processor or blender, add the bananas, coconut milk, vanilla, and honey. Pulse until well combined. You want a smooth and creamy mixture, with no lumps left from the bananas. This will be the base of your pops.
- Fill six popsicle molds, or eight for smaller popsicles, and insert sticks. Ensure not to overfill them, allowing a little room for expansion during freezing. You can use plastic or wooden sticks depending on your preference.
- Freeze the molds for at least three hours, or until completely frozen. The longer they freeze, the better they’ll hold together when you remove them from the molds.
- Prepare your toppings by spreading coconut on a plate and nuts on another plate. This step is crucial as it will make the coating process easier later on.
- Cover a baking sheet with parchment or wax paper. This is where you’ll place the popsicles after dipping, so it’s important for easy cleanup.
- Remove the popsicles from the freezer and allow them to thaw a bit on the countertop for about three to five minutes. This will make it easier to release them from the molds without breaking.
- If they seem stuck, run the mold under very warm water briefly. This quick bath will loosen them without melting the pops.
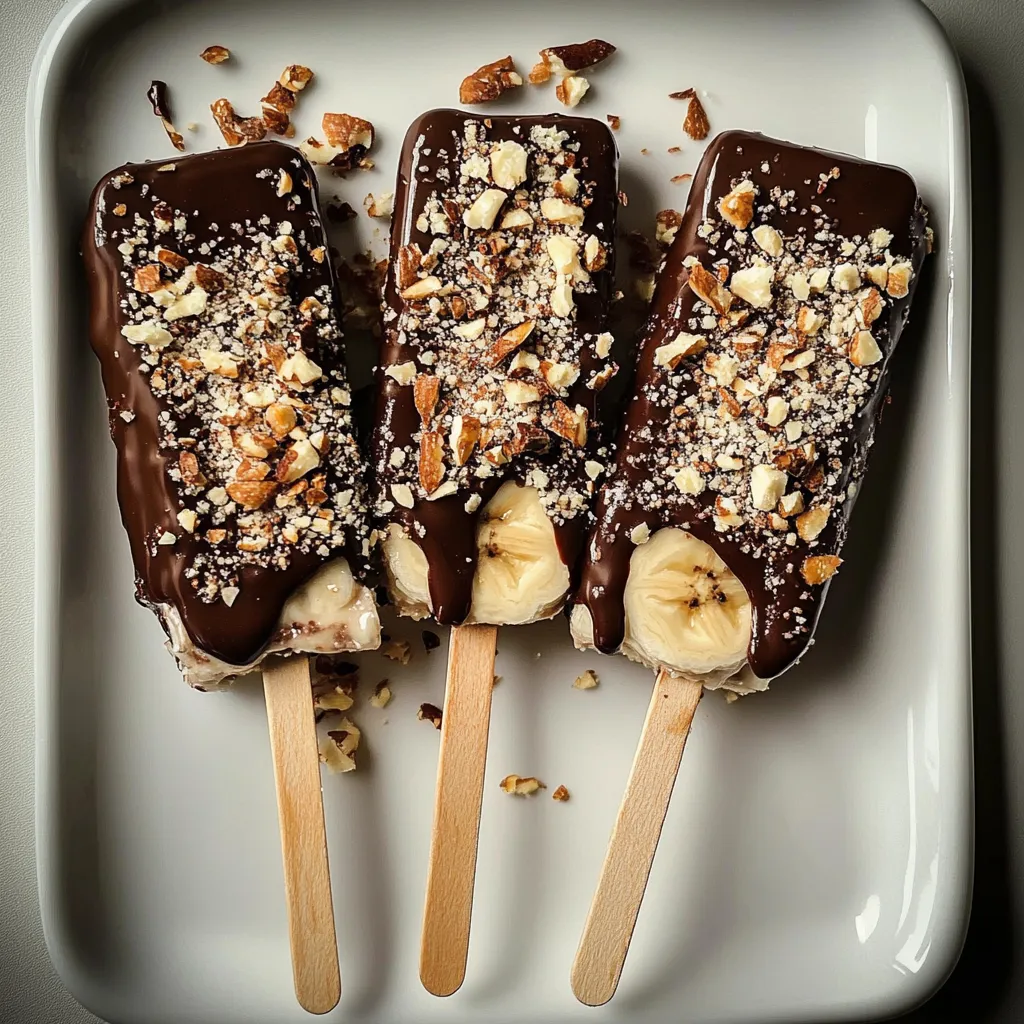
- In a heavy-bottomed pot over low heat, melt the dark chocolate and coconut oil, stirring constantly until melted, about two to three minutes. The chocolate should be smooth and glossy.
- To coat, spoon the melted chocolate over a popsicle and gently press the popsicle into the nuts and coconut to coat. Make sure to cover all sides for an even distribution of toppings.
- Continue with the other popsicles, placing them on the parchment paper-lined baking sheet. This is when you can admire your beautiful creations!
- Freeze the popsicles uncovered for at least an hour to allow the coating to solidify. Once they’ve hardened, they’re ready to enjoy!
Notes
To maintain freshness, wrap pops individually in plastic wrap before placing them in a container.