Preheat your oven to 425°F (220°C). This is an important step to ensure your pie bakes evenly and achieves a beautiful golden crust.
Roll out half of the double pie crust into a 12-inch circle. Make sure it's even in thickness, as this will contribute to the texture of your pie. Once rolled, place it in a 9-inch pie dish, gently pressing it into the corners.
Create the filling by tossing the cherries with granulated sugar, cornstarch, either vanilla extract or almond extract, and lemon juice. This mixture should be well combined to ensure every cherry is coated with the sweet goodness.
Carefully spoon the cherry filling into the prepared pie crust, using a spoon to distribute it evenly. Make sure to discard any excess juices at the bottom of the mixing bowl to prevent a soggy bottom crust.
Roll out the remaining half of the double pie crust into another 12-inch circle. Using a pastry wheel or a pizza cutter, cut the dough into long strips for the lattice top. This may sound intricate, but it’s quite simple once you get the hang of it.
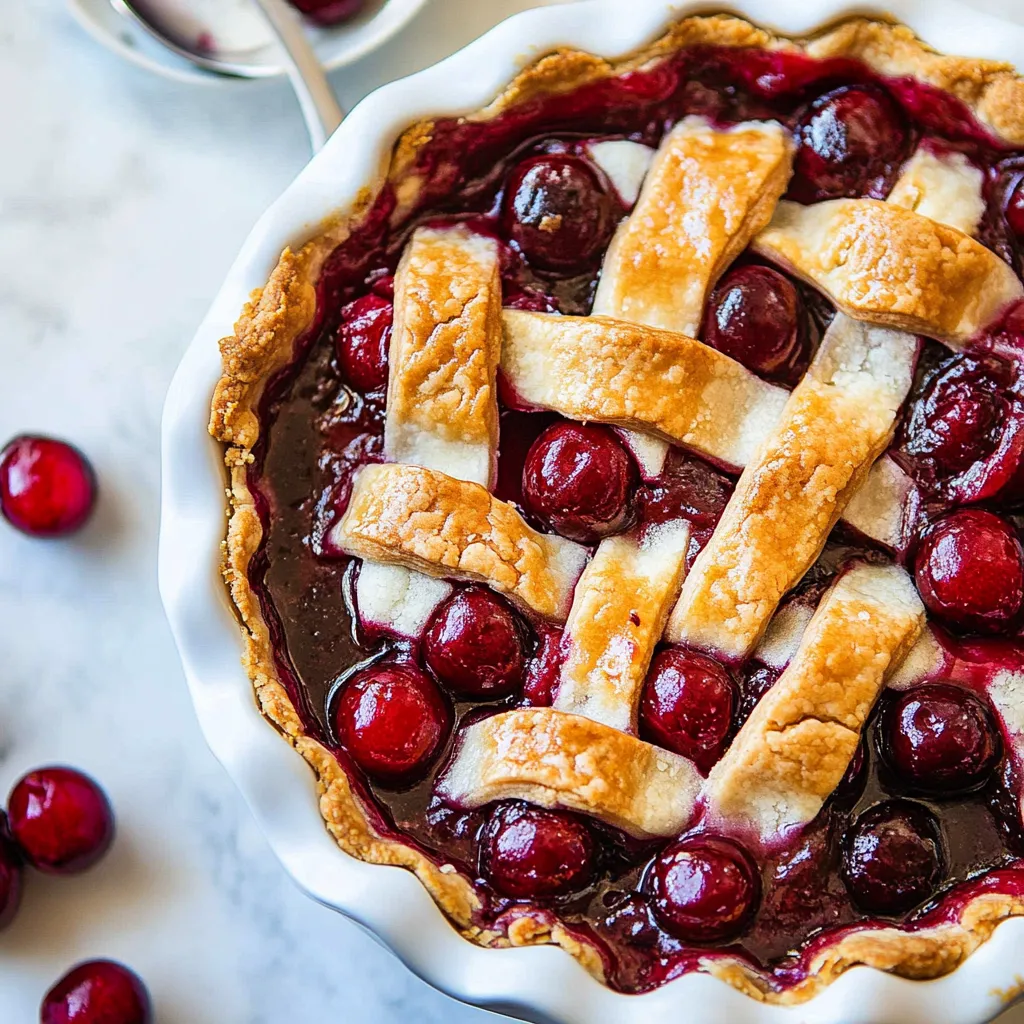
To create the lattice top, arrange the strips over the filling, weaving them over and under each other. This adds a beautiful design and allows steam to escape while the pie bakes. Don’t worry if it’s not perfect; the charm of a homemade pie lies in its imperfections.
Trim any excess dough hanging over the edges, and use your fingers to crimp the edges, sealing in the delicious filling.
Prepare an egg wash by whisking together one egg with a tablespoon of water. Brush this mixture over the lattice top to give it a stunning golden color once baked.
Bake the pie for 20 minutes in the preheated oven at 425°F (220°C). After 20 minutes, reduce the heat to 375°F (190°C) and continue baking for an additional 30 minutes. This method helps to achieve a perfectly baked crust without burning it.
Once the baking time is complete, remove the pie from the oven and allow it to cool for at least three hours before serving. This cooling period is crucial as it allows the filling to set up, making for cleaner slices.
For an extra treat, I suggest serving your Cherry Pie with a generous scoop of vanilla ice cream on top. It’s the perfect complement to the warm pie!