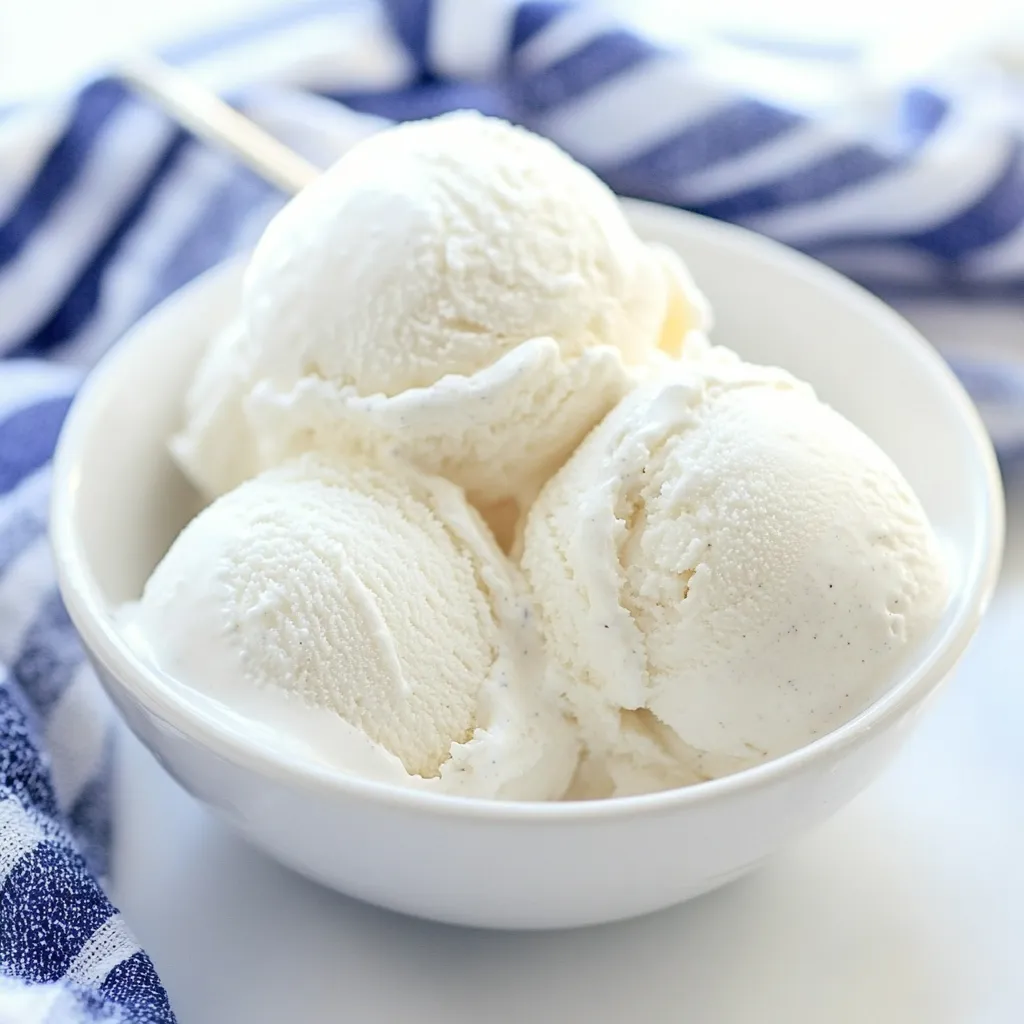
There’s something incredibly nostalgic about making Whipped Milk Ice Cream at home. It brings back memories of summer afternoons spent in the kitchen, the sun streaming through the windows as I whipped up something special. This recipe is my go-to when I crave something sweet and creamy without the fuss of a machine. The joy of creating this delightful treat is not just in the taste, but in the simplicity of its preparation. I remember the first time I made it; my friends were amazed that such a rich, creamy dessert could come together with just a few ingredients and a little patience. Each scoop is a reminder of sunny days, shared laughter, and the thrill of indulging in something homemade. Trust me, this is not just any ice cream; it’s a memory in the making.
Recipe Snapshot
60 mins
60 mins
0 mins
Medium
150 kcal
4 g
Vegan, Gluten-Free, AIP
2.5 g
Mixing Bowl
What Sets This Whipped Milk Ice Cream Apart
The Joy of No-Machine Ice Cream
One of the things I love about making Whipped Milk Ice Cream is that it requires no special equipment. You don’t need an ice cream maker to whip up this delightful dessert. Just a mixing bowl and a whisk will do! This means that anyone can make it, regardless of their kitchen setup. It’s perfect for spontaneous sweet cravings.
Perfect for Summer Days
When the sun shines brightly and the heat is on, nothing beats the refreshing taste of homemade ice cream. This Whipped Milk Ice Cream is light and airy, making it the perfect treat to cool down on a hot summer day. You can enjoy it by itself or serve it with your favorite fruits for a delicious twist.
Customizable Flavors
The beauty of this recipe lies in its versatility. While I love the classic flavor, you can easily customize it. You can add cocoa powder for a chocolatey version, or mix in crushed fruits for a fruity delight. It’s a blank canvas that allows your creativity to shine!
Family Fun Activity
Making this ice cream can easily become a fun family activity. Kids can help with the whipping, and it’s a great way to teach them about cooking and the science behind it. Watching the mixture transform into fluffy ice cream is magical, and sharing the final product brings everyone together.
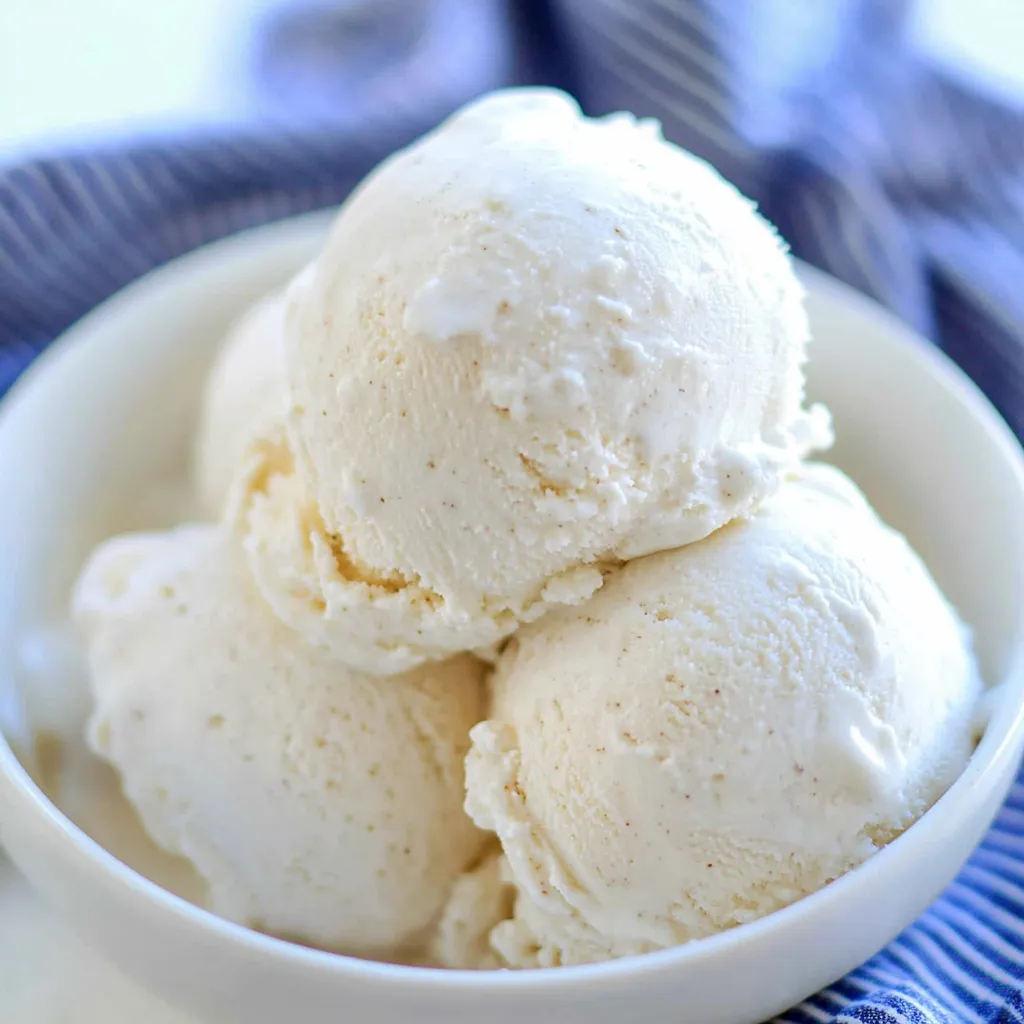
Simple Ingredients, Amazing Results
With just a few ingredients, you’re on your way to dessert bliss. The combination of evaporated milk and powdered sugar creates a rich, creamy texture that’s irresistible. You’ll be surprised at how these simple ingredients can lead to something so delightful!
Main Ingredients for Whipped Milk Ice Cream
When it comes to making Whipped Milk Ice Cream, the ingredients are simple yet effective. The key players here are evaporated milk and powdered sugar. These two work together to create a creamy texture that is essential for ice cream. The evaporated milk adds richness, while the powdered sugar sweetens the mix perfectly. Together, they create a delightful base that can be customized to your taste.
- 12 oz can evaporated milk: This ingredient adds creaminess and a rich flavor to your ice cream. It’s essential for achieving that perfect scoopable texture.
- 1 ¼ cup powdered sugar: This sugar dissolves easily and sweetens your ice cream. It helps to create a smooth, fluffy consistency that makes each bite heavenly.
Cooking Instructions for Whipped Milk Ice Cream
Making Whipped Milk Ice Cream is a fun and rewarding process. Follow these simple steps, and you’ll have a delicious dessert ready in no time!
- Begin by chilling the evaporated milk in the fridge overnight. This step is crucial because the colder the milk, the fluffier the ice cream will turn out. You’ll want it to be thoroughly chilled before you start whipping.
- Once chilled, pour the milk into a large mixing bowl. The size of the bowl is important—make sure it’s big enough to allow for whipping without spilling over.
- Using a whisk or an electric mixer, whip the milk until it becomes fluffy, which should take about 40 seconds. You’ll notice it starting to thicken and increase in volume.
- Gradually add the powdered sugar while continuing to whip. This process not only sweetens the mixture but also helps to stabilize it, ensuring a smooth texture.
- If you’d like to add flavor, now’s the perfect time! You can include a splash of vanilla or any other flavoring. Whip until everything is well combined, achieving a nice, airy consistency.
- Next, transfer the bowl to the freezer. Let it sit for an hour to firm up. This initial freezing is vital for setting the base.
- After an hour, take the bowl out and give it a good whip for about 1 minute. This reintroduces air and keeps the texture light.
- Return the bowl to the freezer, repeating this whipping process about four times, with an hour in between each session. The more you whip, the fluffier your ice cream will be!
- Once you’ve completed the whipping process, transfer the ice cream to a container with a lid. Make sure it’s airtight to prevent freezer burn.
- Store in the freezer until you’re ready to enjoy. When you’re ready to indulge, simply scoop out your homemade Whipped Milk Ice Cream and savor the delight!
Things Worth Knowing
- Whipping Technique: Ensure your mixing bowl and whisk are very clean and dry. Any fat or residue can prevent the milk from whipping properly.
- Chilling Time: The longer you chill the milk, the fluffier the ice cream will be. Overnight is best!
- Mixing Speed: If using an electric mixer, start on low speed to avoid splattering, then increase as it thickens.
- Freezing Tips: Avoid keeping the ice cream in the freezer for too long without whipping, as it can become too hard. Regular whipping helps maintain a scoopable texture.
Recipe Tips about Whipped Milk Ice Cream
Making Whipped Milk Ice Cream is simple, but here are some tips to enhance your experience.
- Storage: Store leftovers in an airtight container to prevent freezer burn. It’s best consumed within a couple of weeks for the best texture.
- Freezing: You can freeze this ice cream, but remember to whip it regularly for the best results. This keeps it from becoming rock-hard.
- Pairing: This ice cream pairs beautifully with fresh fruits like strawberries or a drizzle of chocolate sauce for added flavor.
- Flavor Variations: Don’t hesitate to experiment! You can add ingredients like crushed cookies or fruit purees to create your unique flavor.
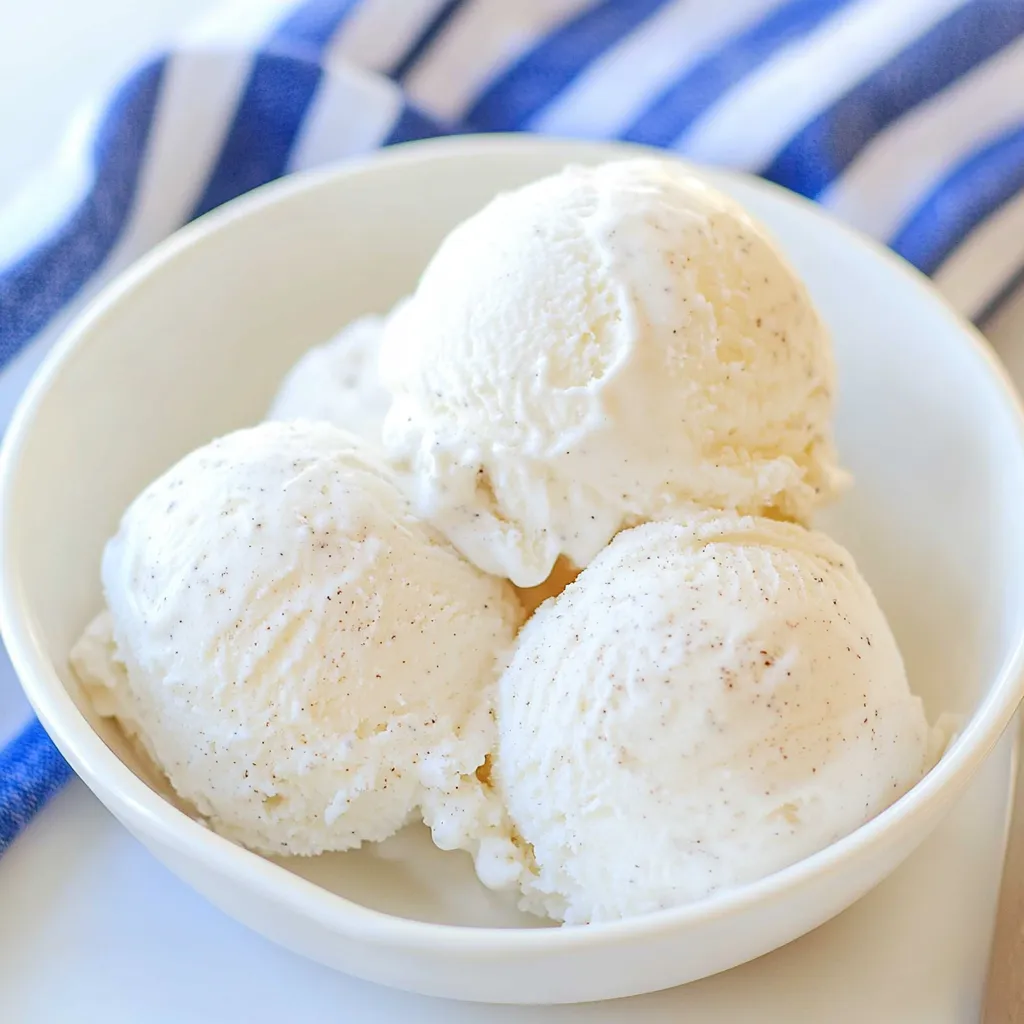
- Serving Idea: Serve it in bowls or waffle cones for a fun treat. Garnish with sprinkles or chocolate chips for a festive touch.
Pairing Suggestions for Whipped Milk Ice Cream
Enjoying Whipped Milk Ice Cream can be a delightful experience, and there are numerous ways to serve it. Here are some ideas:
- Fresh Fruit: Pair the ice cream with seasonal fruits like berries or peaches for a refreshing contrast.
- Chocolate Sauce: Drizzle warm chocolate sauce over the ice cream for a rich, indulgent dessert.
- Waffle Cones: Serve the ice cream in waffle cones for a classic treat that’s fun to eat.
- Picnic Treat: This ice cream is perfect for picnics. Pack it in a cooler and enjoy it outdoors on a sunny day.
- Summer Parties: Make it a staple at summer gatherings. It’s a crowd-pleaser for birthday parties or barbecues.
- Garnish: Top with whipped cream or sprinkles before serving for a little extra flair.
FAQ
Conclusion
The joy of making Whipped Milk Ice Cream lies in its simplicity and the chance to create something homemade that everyone loves. I encourage you to give it a try! You’ll find that it’s not just about the delicious ice cream, but the memories you create along the way.
Whipped Milk Ice Cream
Ingredients
Equipment
Method
- Chill the milk in the fridge overnight. It is crucial for the milk to be thoroughly chilled.
- Pour into a large mixing bowl.
- Whip until fluffy, about 40 seconds.
- Add the powdered sugar, slowly pouring into the bowl and whip until combined.
- Place the bowl in the freezer for an hour.
- Pull out from the freezer, whip for 1 minute and back to the freezer.
- Repeat about 4 times.
- Place in a container with a lid. Store in the freezer.
Notes
- Tip 1: The nutritional value is an estimate. It depends on the ingredients you use.