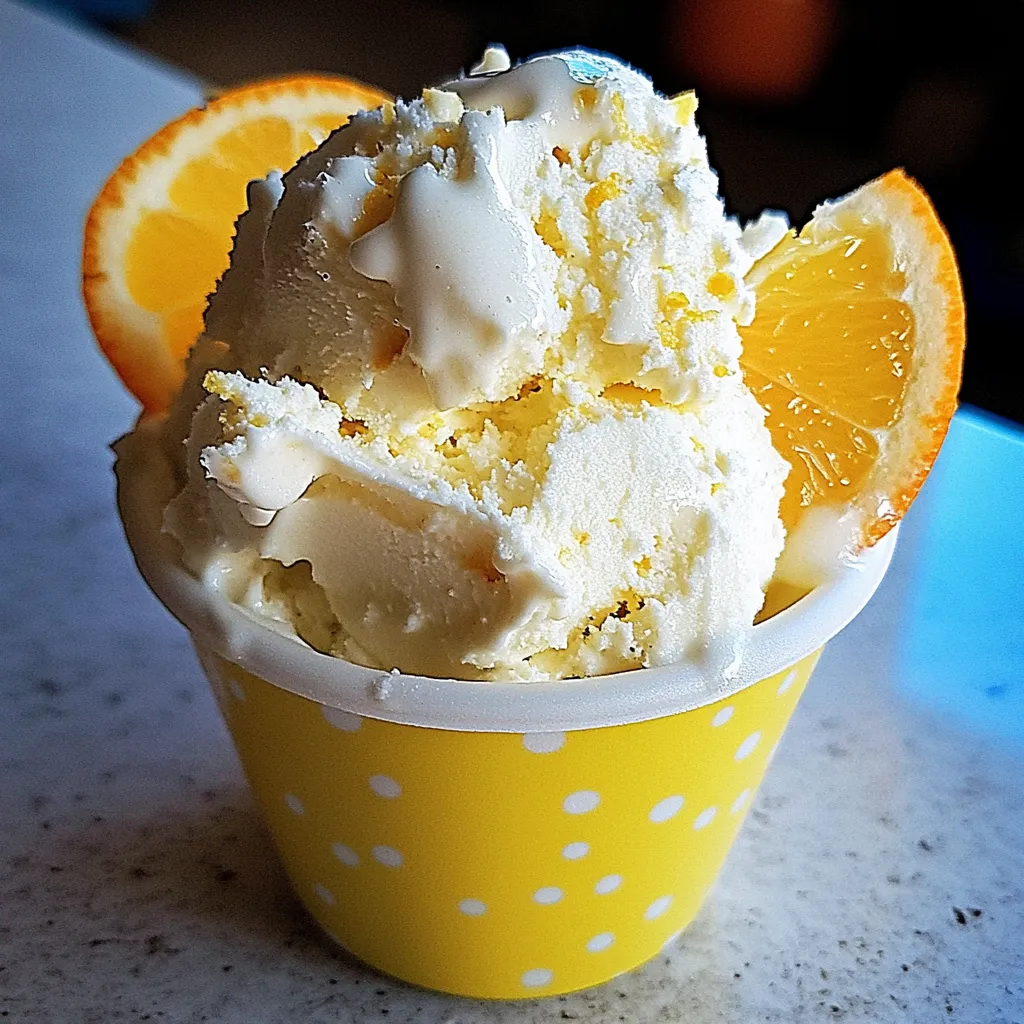
There’s something incredibly nostalgic about the Orange Creamsicle Ice Cream. Growing up, I remember hot summer days spent outside, the air thick with the scent of blooming flowers and the sound of laughter. We’d rush to the ice cream truck, our little hearts racing with excitement as we picked out our favorite frozen treats. One of those iconic flavors was the creamsicle—sweet, creamy, and bursting with citrusy goodness. Now, I can recreate those childhood memories in just three minutes! Imagine the joy of whipping up this delightful dessert with minimal effort. It’s perfect for when unexpected guests arrive, or when you simply want to indulge in a creamy, fruity treat. This recipe brings together the best of both worlds: the rich creaminess of heavy cream and the refreshing zing of orange. Trust me, once you try this, it’ll quickly become your go-to summer dessert!
Recipe Snapshot
5 mins
5 mins
0 mins
Easy
250 kcal
2 g
Gluten-Free, Low FODMAP
18 g
Whisk, Mixing Bowl
Why You’ll Love This Orange Creamsicle Ice Cream
Quick and Easy to Make
The beauty of the Orange Creamsicle Ice Cream lies in its simplicity. With just a handful of ingredients and a few minutes to spare, you can whip up a dessert that tastes like it took hours to prepare. This is perfect for those busy days when you want to treat yourself without spending too much time in the kitchen.
Perfect for Hot Days
On a sweltering summer afternoon, there’s nothing quite like enjoying a cold dessert. The sweet, citrus flavor of the Orange Creamsicle Ice Cream is incredibly refreshing and will instantly cool you down. Whether you’re lounging by the pool or gathering with friends for a BBQ, this ice cream will be the star of the show.
Nostalgic Flavor Combination
For many, the combination of orange and cream is reminiscent of childhood memories. This Orange Creamsicle Ice Cream captures that classic flavor perfectly, making it a delightful slice of nostalgia. Each scoop takes you back to simpler times, evoking feelings of joy and carefree summer fun.
Customizable Ingredients
One of the fantastic aspects of this recipe is its versatility. While the classic orange flavor is delightful, you can easily experiment with different citrus fruits or even mix in chunks of fruit for added texture. This flexibility means you can personalize the ice cream to suit your taste preferences or the ingredients you have on hand.
A Fun Activity for Kids
This recipe is not just delicious; it’s also a fantastic activity to enjoy with kids. Watching them shake the ice cream maker while they wait for their treat to form is priceless. It’s a great way to spend quality time together while creating something delicious. Plus, it’s a fun science experiment in freezing and texture!
Perfect for Any Occasion
Whether it’s a weekend gathering, a birthday party, or a simple family dinner, the Orange Creamsicle Ice Cream fits in perfectly. It’s a crowd-pleaser and appeals to both kids and adults alike. Trust me, it will not last long!
Ingredients Overview for Orange Creamsicle Ice Cream
When it comes to making the Orange Creamsicle Ice Cream, the ingredient choices are simple but impactful. Each component plays a vital role in creating that creamy texture and vibrant flavor that we all love. The key players here are heavy cream, which provides the rich base, orange emulsion for that zesty kick, and a few other essentials to bring it all together.
- 1/2 cup crushed ice – This is crucial for the ice cream’s texture. It helps to keep the mix cold while blending everything together, ensuring a smooth and creamy result.
- 1/4 cup ice cold water – Adding cold water helps to create the right consistency in the ice cream mix, making it easier to whip up.
- 4 tbs rock salt or sea salt – Don’t underestimate the power of salt! It helps to lower the freezing point, which is essential for achieving the right ice cream texture.
- 1/2 cup heavy cream – The star of the show, heavy cream is what gives your ice cream that rich and luscious mouthfeel that we all crave.
- 1 tbsp fine sugar – A touch of sweetness elevates the flavors and balances the tartness of the orange.
- 1 tsp orange emulsion or extract – This is what infuses the ice cream with that iconic orange flavor. It’s what makes this dessert a creamsicle!
Recipe Directions for Orange Creamsicle Ice Cream
Making the Orange Creamsicle Ice Cream is a straightforward process, and the best part is you won’t be tied to the kitchen for long! Follow these simple steps for a delightful treat.
- Start by placing the crushed ice, cold water, and salt into the base of your Mugz Ice Cream Maker. This mixture is what will create a cold environment for freezing your ice cream.
- In a separate small bowl, pour in the heavy cream, fine sugar, and orange emulsion. Whisk these ingredients together until they are thoroughly combined. You want the sugar to dissolve completely, creating a smooth mixture.
- Next, take the aluminum dish and place it on top of the crushed ice mixture. Carefully pour the ice cream mix into the bowl, ensuring you fill it up to the designated fill line. This step is crucial so that your ice cream has the right texture and consistency.
- Once filled, secure the plastic lid on top of the dish. If your ice cream maker has an animal head or fun feature, twist it on to hold everything in place.
- Now comes the fun part! Shake the ice cream maker constantly for at least three minutes. Don’t be afraid to shake it in all directions, even upside down! This motion helps incorporate air into the mixture, creating that delightful texture.
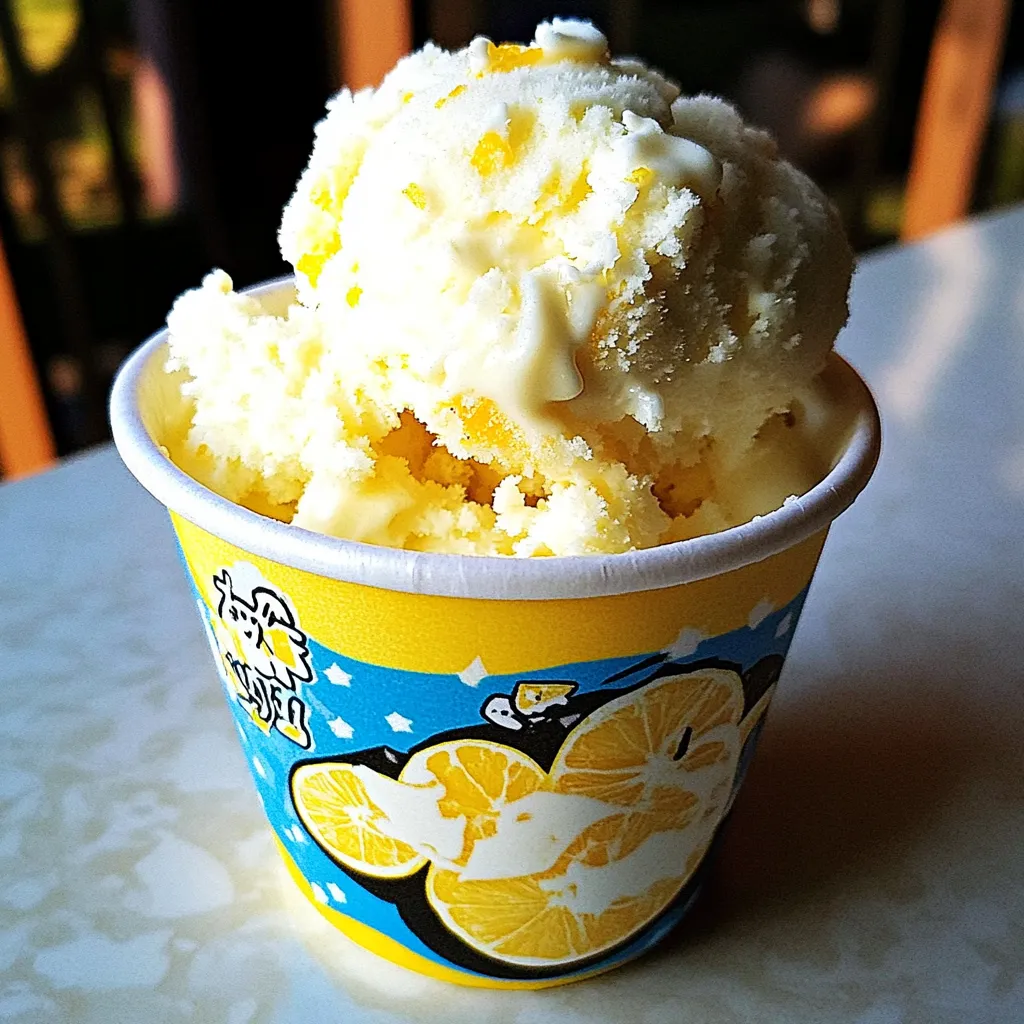
- After three minutes, carefully remove the lid from your ice cream maker. You’ll be greeted with a creamy, satisfying treat. Scoop out some into a bowl or cone, and enjoy the taste of summer!
Things Worth Knowing
- Ice Quality Matters: Using crushed ice helps in maintaining an even texture. If the ice is too large, it won’t mix well with the cream.
- Whisking Technique: Ensure that the sugar is fully dissolved in the cream before pouring it over the ice; this creates a smoother consistency.
- Shake with Enthusiasm: The more vigorous you shake the ice cream maker, the fluffier your ice cream will be. Don’t be shy!
- Chill Your Equipment: For even better results, chill your bowl and tools before starting. This helps to keep everything cold and assists in the freezing process.
Recipe Variations about Orange Creamsicle Ice Cream
While the classic Orange Creamsicle Ice Cream is a treat on its own, here are some variations and tips to elevate your dessert experience.
- Change the Flavor: Feel free to substitute the orange emulsion with other citrus flavors like lemon or lime for a refreshing twist.
- Add Mix-Ins: Incorporate chocolate chips or crushed fruit into the mix for added texture and flavor.
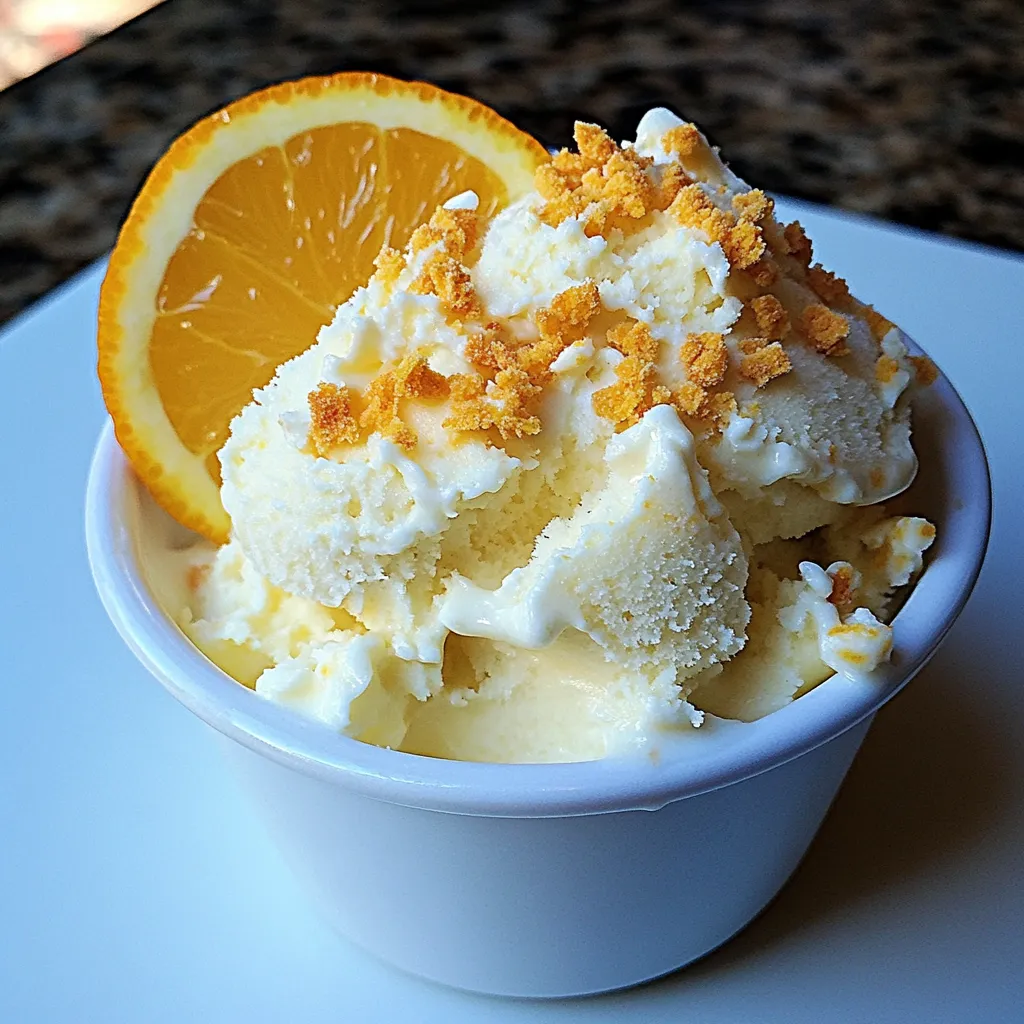
- Serve with Toppings: Consider serving your ice cream with whipped cream, fresh fruit, or a drizzle of honey for an extra special touch.
- Storage: If you have leftovers, store them in an airtight container in the freezer. This will help maintain the creamy texture.
- Freezing: You can freeze the mixture for a more traditional ice cream experience. Just pour it into a container and freeze for a few hours.
- Pairing: The Orange Creamsicle Ice Cream pairs wonderfully with a slice of cake or pie for those special occasions.
How to Serve Orange Creamsicle Ice Cream
Serving the Orange Creamsicle Ice Cream can be as delightful as making it! Here are some fantastic ideas for how to present this treat:
- Scoop into Bowls: The simplest way is to scoop the ice cream into colorful bowls. It makes for an inviting presentation.
- Waffle Cones: Serve the ice cream in waffle cones for a fun and classic touch. Perfect for parties or picnics!
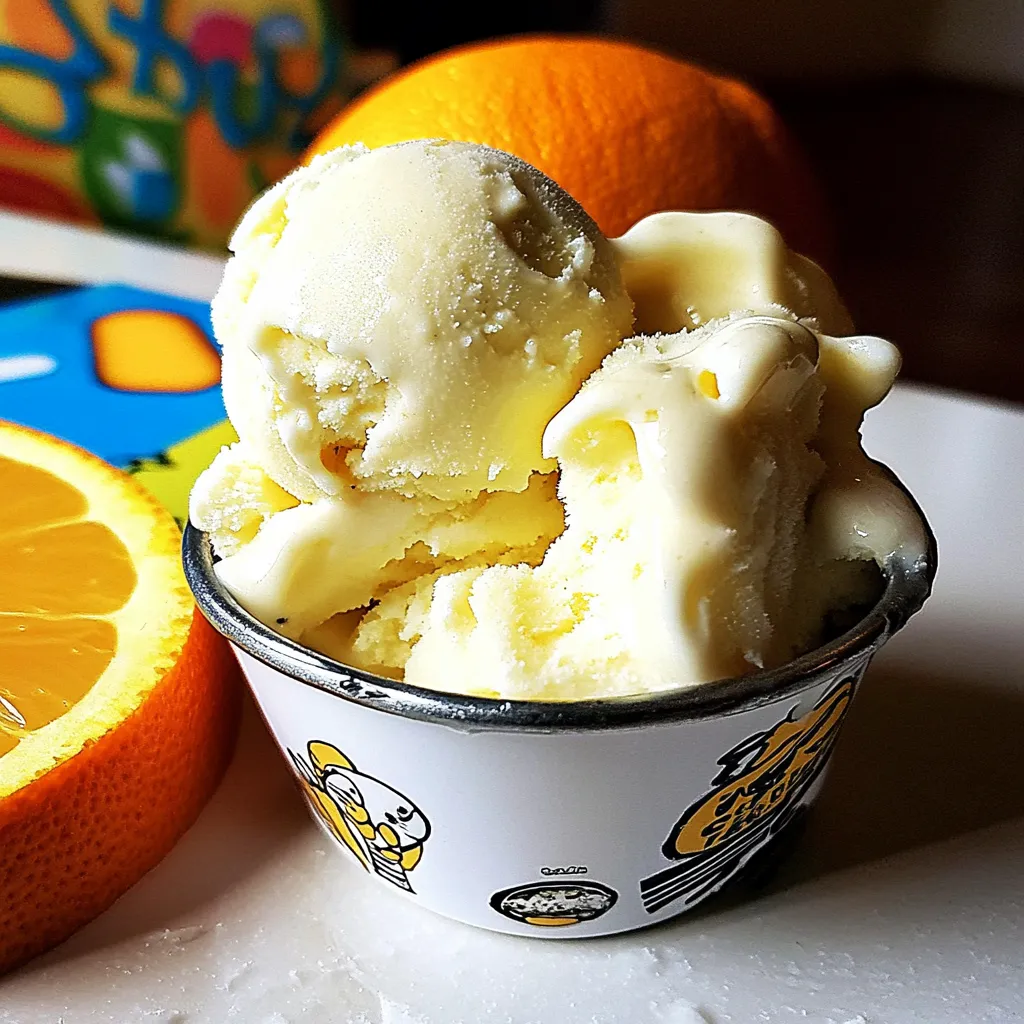
- With Fruit: Pair your ice cream with slices of fresh orange or mixed berries for an appealing and refreshing contrast.
- As a Dessert Bar: Set up a DIY dessert bar with toppings like sprinkles, nuts, and sauces, allowing guests to customize their ice cream.
- Perfect for Summer Gatherings: This ice cream is a great addition to any summer gathering, BBQ, or picnic. It’s sure to be a hit!
- Storage Tips: If not all the ice cream is consumed immediately, ensure to cover it well in the freezer to preserve its creamy texture.
FAQ
Conclusion
The Orange Creamsicle Ice Cream is a delightful and quick dessert that captures the essence of summer. With just a few simple ingredients, you can recreate those nostalgic flavors and enjoy a creamy treat in no time. I encourage you to try this recipe for your next gathering or just for a cozy night at home. It’s sure to bring smiles and sweetness to your day!
Orange Creamsicle Ice Cream
Ingredients
Equipment
Method
- Start by placing the crushed ice, cold water, and salt into the base of your Mugz Ice Cream Maker. This mixture is what will create a cold environment for freezing your ice cream.
- In a separate small bowl, pour in the heavy cream, fine sugar, and orange emulsion. Whisk these ingredients together until they are thoroughly combined. You want the sugar to dissolve completely, creating a smooth mixture.
- Next, take the aluminum dish and place it on top of the crushed ice mixture. Carefully pour the ice cream mix into the bowl, ensuring you fill it up to the designated fill line. This step is crucial so that your ice cream has the right texture and consistency.
- Once filled, secure the plastic lid on top of the dish. If your ice cream maker has an animal head or fun feature, twist it on to hold everything in place.
- Now comes the fun part! Shake the ice cream maker constantly for at least three minutes. Don’t be afraid to shake it in all directions, even upside down! This motion helps incorporate air into the mixture, creating that delightful texture.
- After three minutes, carefully remove the lid from your ice cream maker. You’ll be greeted with a creamy, satisfying treat. Scoop out some into a bowl or cone, and enjoy the taste of summer!
Notes
- Tip 1: Use crushed ice for better texture.
- Tip 2: Ensure sugar is dissolved for smoothness.
- Tip 3: Shake vigorously for fluffiness.
- Tip 4: Chill tools before use for optimal results.