There’s something magical about a warm cup of Hot Cocoa that transports me back to my childhood. I remember snowy afternoons spent by the fireplace, clutching a steaming mug, as the rich aroma enveloped the room. This comforting drink is not just a treat; it’s a tradition. Whether it’s a holiday gathering or a simple family night, Hot Cocoa has been a staple that brings everyone together. With every sip, I can feel the warmth spreading through me, making me smile even on the coldest days. It’s a cozy hug in a cup, rich and creamy, topped with fluffy whipped cream, and perhaps a sprinkle of cinnamon. Oh, the memories it conjures! Let me share with you how to recreate this delightful drink that warms both body and soul.
Recipe Snapshot
10 mins
5 mins
5 mins
Medium
305 kcal
8 g
Gluten-Free, Low FODMAP
13 g
Large Pot, Wooden Spoon, Mixing Bowl, Food Processor
What Sets This Hot Cocoa Apart
Rich and Creamy Flavor
The first reason I absolutely adore this Hot Cocoa is its rich and creamy flavor. Using a blend of non-fat dry milk and chocolate chips, every sip is packed with cocoa goodness. The combination of milk chocolate and white chocolate creates a luxurious texture that feels indulgent yet comforting.
Easy to Make
This recipe is incredibly simple to whip up. With just a few ingredients, you can have a delightful drink ready in no time. It’s perfect for unexpected guests or a cozy night in. Just imagine gathering the family for a movie night, and surprising them with homemade Hot Cocoa!
Customizable Toppings
One of the best parts of this drink is how you can customize it. Whether you prefer it with whipped cream, a sprinkle of cocoa powder, or even some crushed peppermint, the choices are endless. You can easily personalize each cup to suit individual tastes, making it fun for everyone.
Perfect for Any Occasion
This Hot Cocoa isn’t just for winter. Yes, it’s especially comforting during the chilly months, but it can be enjoyed year-round. Imagine sipping a cold version in summer, or inviting friends over for a cozy gathering in the fall. It fits any occasion!
Sharing and Creating Memories
The final reason I love this Hot Cocoa is that it’s a drink meant to be shared. Whether I’m pouring cups for my kids, hosting a holiday party, or warming up after a ski trip, it creates moments and memories. It’s about the laughter, the stories shared, and the warmth it brings.
Ingredients for Hot Cocoa
When it comes to making a delicious Hot Cocoa, the ingredients are essential. Each component plays a vital role in creating that rich, velvety texture and deep chocolate flavor. The star players here are the milk and the chocolate chips, which combine to form the base of this tasty treat. Let’s dive into the key ingredients that make this recipe shine.
- 3 cups non-fat dry milk – This provides the creaminess without adding too much fat.
- 3/4 cups powdered sugar – Adds sweetness without the granulated crunch.
- 1/4 cup white sugar – A touch of extra sweetness to balance the cocoa flavor.
- 1 2/3 cups milk chocolate chips – The main source of chocolate flavor, melting beautifully into the mix.
- 1/2 cup white chocolate chips – Provides a creamy sweetness that complements the milk chocolate.
- 1/4 teaspoon salt – Enhances the flavor of the chocolates.
- 1 tablespoon instant coffee – A secret ingredient that intensifies the chocolate flavor.
- 1 cup heavy cream – For making the whipped cream topping.
- 1 teaspoon vanilla extract – Adds a lovely aroma and depth of flavor to the whipped cream.
- 1 tablespoon powdered sugar – Sweetens the whipped cream.
- 4 cups milk – The liquid base that brings everything together for a delicious cocoa.
Directions for Hot Cocoa

Making Hot Cocoa is a breeze, and I can’t wait to guide you through the steps. This is where the magic happens as you combine all the ingredients to create a drink that’s sure to warm your heart. Let’s get started!
To prepare your Hot Cocoa mix, start by combining all the dry ingredients. In a large bowl, add the non-fat dry milk, powdered sugar, white sugar, milk chocolate chips, white chocolate chips, salt, and instant coffee. Gently stir with a whisk until everything is evenly mixed.
Next, you’ll want to pulse this mixture in a food processor. Working in two batches, place half of the mix into the processor. Pulse until the ingredients are finely ground. This step ensures that the hot chocolate mix is smooth and blends perfectly into the milk.
Now, let’s make our whipped cream. First, place your mixing bowl and the whip attachment into the freezer for about 15 to 20 minutes. Chilling these tools will help the cream whip better.
Once chilled, pour heavy cream into the cold bowl. Start whipping on medium speed. Keep an eye on it; as the cream thickens, you’ll want to switch to high speed. Whip until soft peaks start to form. Don’t forget to add vanilla extract and powdered sugar when the cream is nearly done. This will give your whipped cream a delightful flavor.
For the Hot Cocoa, heat four cups of milk in a saucepan over medium-low heat. Stir occasionally to ensure the milk doesn’t burn. You want it to be warm but not boiling.
Once the milk is heated, gradually stir in 1 and 1/3 cups of your cocoa mix. Keep stirring until everything is well combined and smooth. The mixture should be creamy and aromatic.
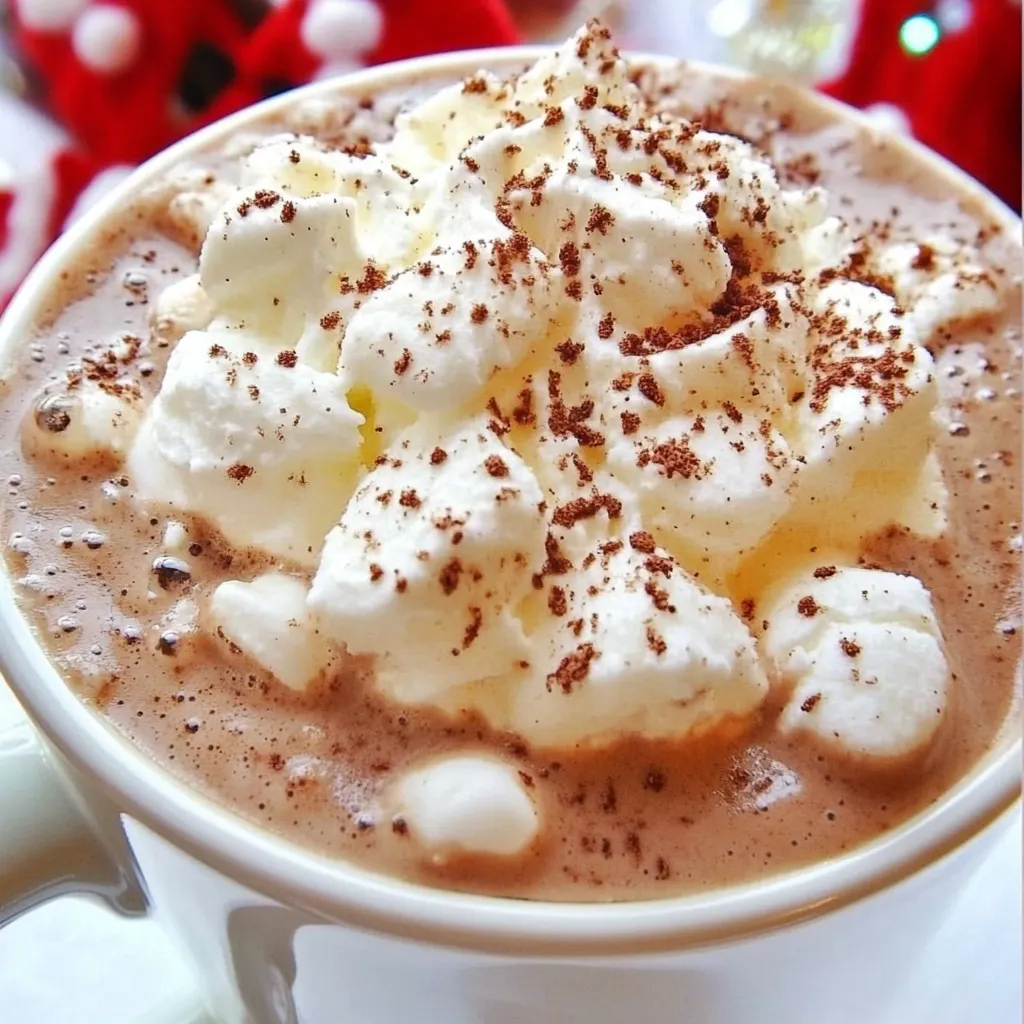
Now it’s time to serve! Pour the Hot Cocoa into mugs. Top each serving generously with your freshly made whipped cream. Feel free to add a sprinkle of cocoa powder or chocolate shavings on top for an extra special touch.
For an added treat, serve with some homemade cookies or a slice of cake alongside your Hot Cocoa. It creates a perfect moment to enjoy together.
Finally, sit back, relax, and savor your Hot Cocoa. Enjoy the warmth and joy it brings, whether you’re cozying up alone or sharing with loved ones!
Things Worth Knowing
- Storage: Store any leftover dry cocoa mix in an airtight container in a cool, dry place. It will keep well for months, so you can enjoy Hot Cocoa at any time.
- Whipped Cream Tips: If you have leftover whipped cream, store it in the refrigerator. It’s perfect for topping desserts or enjoying with fruit.
- Consistency Adjustment: Feel free to adjust the thickness of your Hot Cocoa by adding more or less milk according to your preference.
- Flavor Variations: Experiment with flavors like peppermint, cinnamon, or even a dash of chili powder for a unique twist on classic Hot Cocoa.
Ways to Adapt This Recipe
Adapting your Hot Cocoa recipe is easy and fun! Here are some ideas to make this delicious drink even better.
- Storage: Store any leftover dry cocoa mix in an airtight container in a cool, dry place. It will keep well for months.
- Freezing: You can freeze your cocoa mix for longer storage. Just ensure it’s in an airtight container to prevent moisture.
- Pairing: Try pairing your Hot Cocoa with cookies, brownies, or a slice of cake for a delicious dessert experience.
- Flavor Additions: Mix in different flavors, like peppermint extract or caramel sauce, to create your own version of Hot Cocoa.
- Experiment with Milk: While whole milk is the creamiest option, feel free to try almond milk or oat milk for a lighter version.
How to Serve Hot Cocoa
Serving Hot Cocoa is just as enjoyable as making it, and there are several ways to elevate the experience. Here are some fun ideas:
- Garnish: Top each cup of Hot Cocoa with a generous dollop of whipped cream, and add a sprinkle of cocoa powder for a professional touch.
- Sweet Treats: Serve with cookies or brownies on the side for a delightful pairing that everyone will love.
- Occasions: Hot Cocoa is perfect for cozy winter nights, holiday parties, or a simple family gathering. It brings people together.
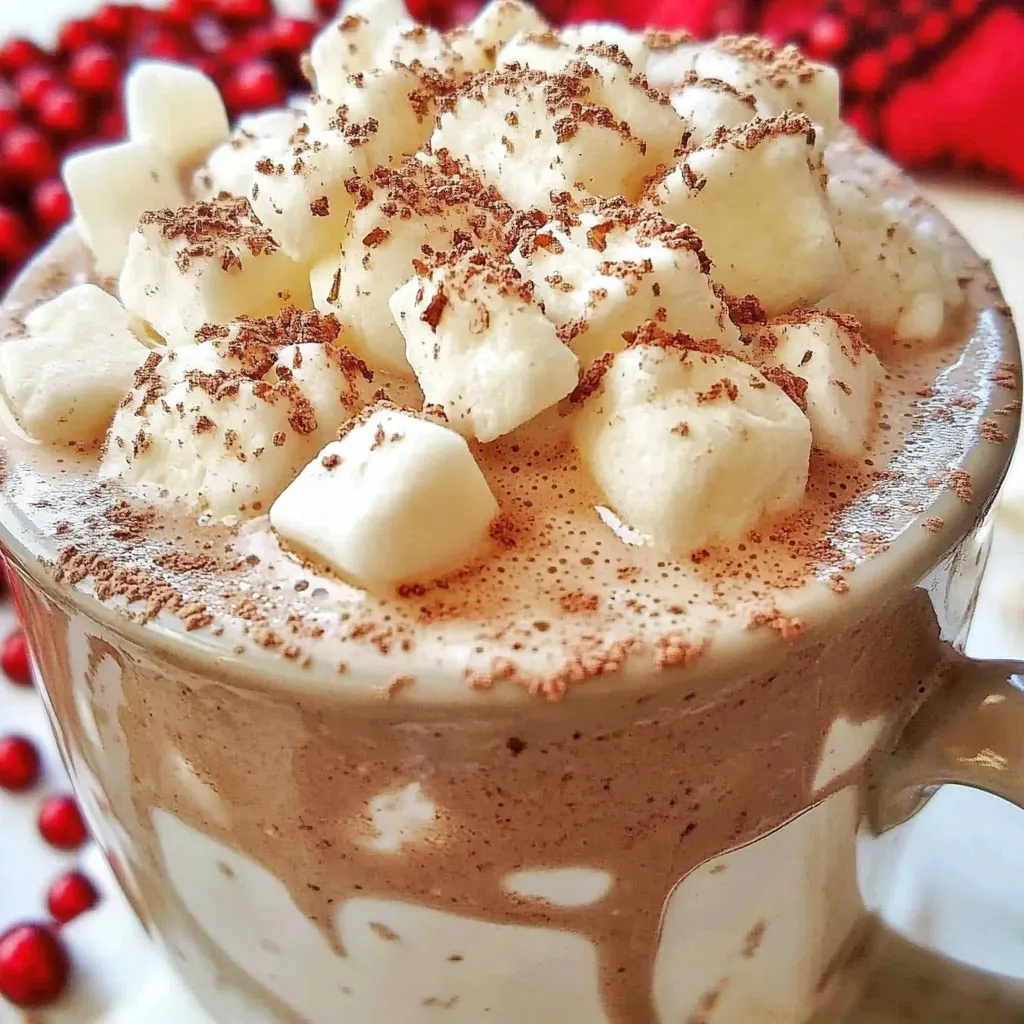
- Presentation: Use clear glass mugs to show off the beautiful layers of your Hot Cocoa and whipped cream. It looks enticing!
- Chilled Version: Try serving a chilled version of Hot Cocoa during warmer months. Blend the mix with ice for a refreshing treat.
- Seasonal Toppings: Change up your toppings according to the season. Add crushed peppermint for winter or fresh berries in the summer.
FAQ
Conclusion
This Hot Cocoa recipe encapsulates the essence of comfort and warmth, turning a simple drink into a cherished experience. It’s perfect for both special occasions and cozy nights at home. I encourage you to try it and explore the endless ways to customize it!
So, gather your loved ones and enjoy this delightful treat together.

Hot Cocoa
Ingredients
Equipment
Method
- To prepare your Hot Cocoa mix, start by combining all the dry ingredients. In a large bowl, add the non-fat dry milk, powdered sugar, white sugar, milk chocolate chips, white chocolate chips, salt, and instant coffee. Gently stir with a whisk until everything is evenly mixed.
- Next, you’ll want to pulse this mixture in a food processor. Working in two batches, place half of the mix into the processor. Pulse until the ingredients are finely ground. This step ensures that the hot chocolate mix is smooth and blends perfectly into the milk.
- Now, let’s make our whipped cream. First, place your mixing bowl and the whip attachment into the freezer for about 15 to 20 minutes. Chilling these tools will help the cream whip better.
- Once chilled, pour heavy cream into the cold bowl. Start whipping on medium speed. Keep an eye on it; as the cream thickens, you’ll want to switch to high speed. Whip until soft peaks start to form. Don’t forget to add vanilla extract and powdered sugar when the cream is nearly done. This will give your whipped cream a delightful flavor.
- For the Hot Cocoa, heat four cups of milk in a saucepan over medium-low heat. Stir occasionally to ensure the milk doesn’t burn. You want it to be warm but not boiling.
- Once the milk is heated, gradually stir in 1 and 1/3 cups of your cocoa mix. Keep stirring until everything is well combined and smooth. The mixture should be creamy and aromatic.
- Now it’s time to serve! Pour the Hot Cocoa into mugs. Top each serving generously with your freshly made whipped cream. Feel free to add a sprinkle of cocoa powder or chocolate shavings on top for an extra special touch.
- For an added treat, serve with some homemade cookies or a slice of cake alongside your Hot Cocoa. It creates a perfect moment to enjoy together.
- Finally, sit back, relax, and savor your Hot Cocoa. Enjoy the warmth and joy it brings, whether you’re cozying up alone or sharing with loved ones!
Notes
- Storage: Store any leftover dry cocoa mix in an airtight container in a cool, dry place. It will keep well for months, so you can enjoy Hot Cocoa at any time.
- Whipped Cream Tips: If you have leftover whipped cream, store it in the refrigerator. It’s perfect for topping desserts or enjoying with fruit.
- Consistency Adjustment: Feel free to adjust the thickness of your Hot Cocoa by adding more or less milk according to your preference.
- Flavor Variations: Mix in different flavors, like peppermint, cinnamon, or even a dash of chili powder for a unique twist on classic Hot Cocoa.