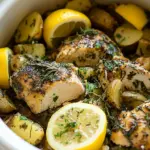
The first time I made Hasselback Fajita Chicken, I was blown away by how simple yet impressive it looked on the dinner table. The idea of creating slits in juicy chicken breasts, then stuffing them with vibrant bell peppers and onion, transformed an ordinary weeknight meal into something truly special. I remember serving it to friends on a cozy evening, and their delighted reactions made me realize how much a well-prepared dish can elevate any gathering. This recipe not only brings flavor but also bursts of color, making it an irresistible centerpiece. It’s the kind of dish that invites conversation and laughter around the table, reminding us of the joys of sharing a home-cooked meal.
Recipe Snapshot
1 hr 25 mins
30 mins
55 mins
Medium
420 kcal
30 g
Gluten-Free
20 g
Baking Sheet, Whisk, Oven, Mixing Bowl, Chef’s Knife, Wooden Spoon
What Makes This Hasselback Fajita Chicken Special
What’s not to love about Hasselback Fajita Chicken? Here are a few reasons why this dish stands out:
Visually Stunning Presentation
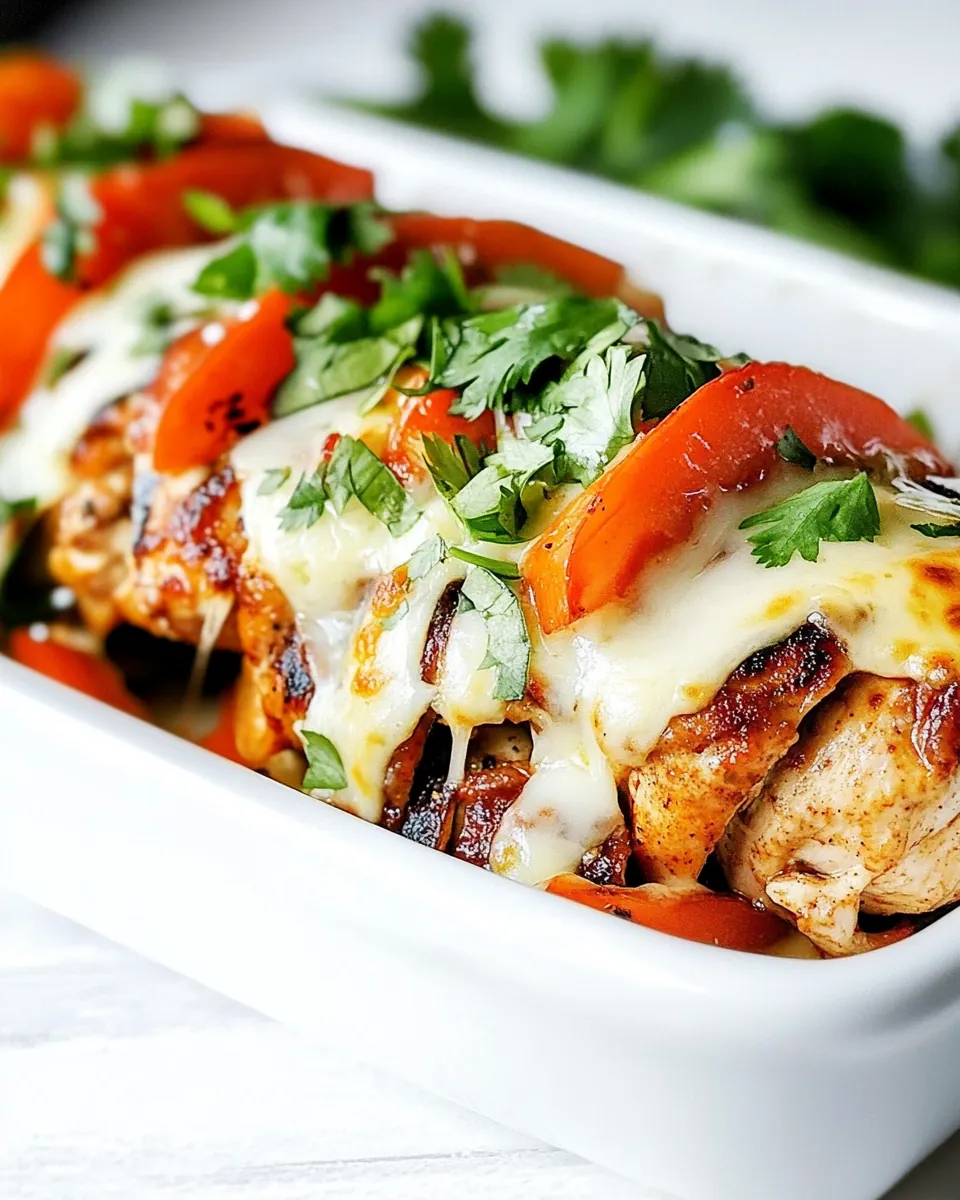
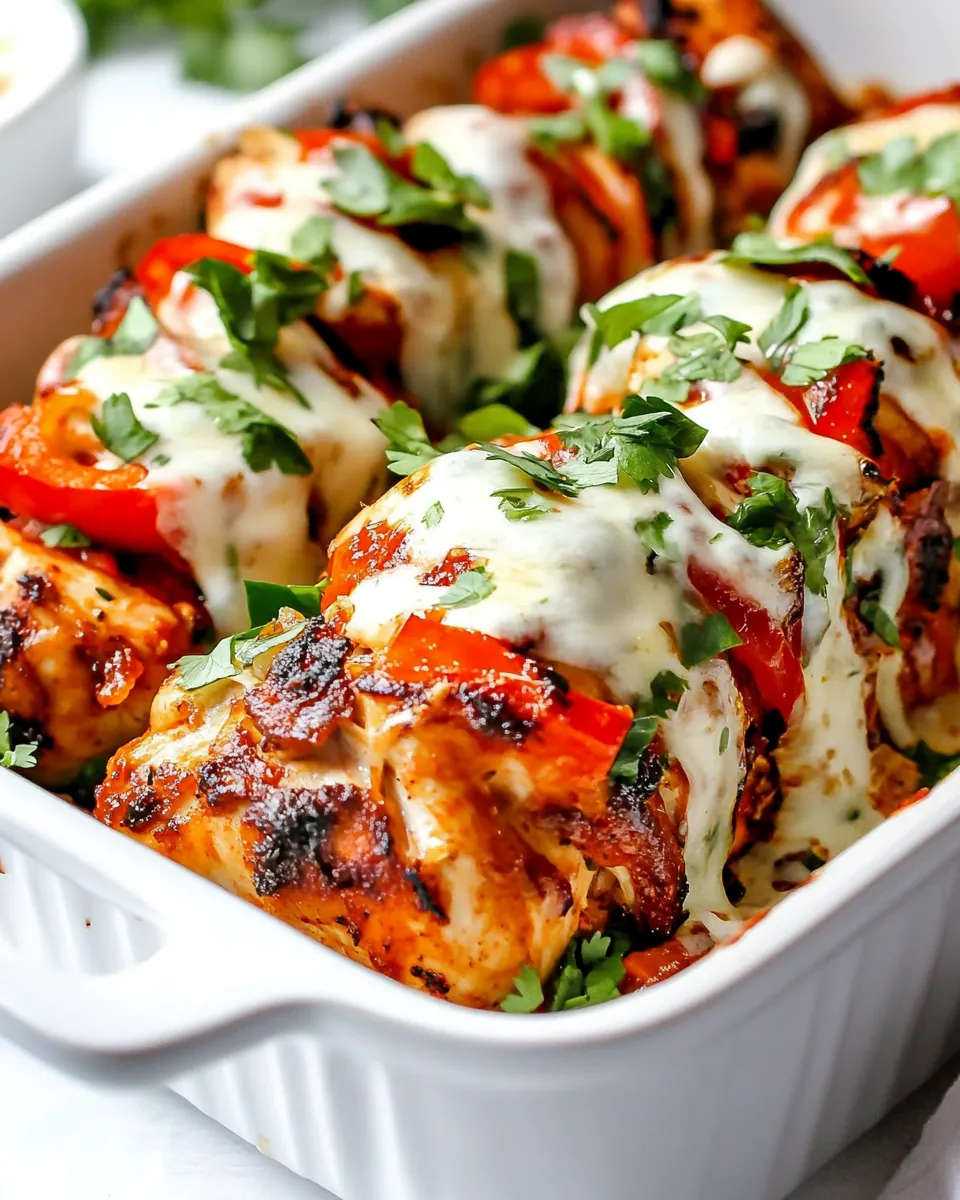
Every time I serve Hasselback Fajita Chicken, the vibrant colors of the bell peppers and the golden crust of the chicken always steal the show. Those slits filled with colorful vegetables make it look gourmet, even though it’s quite easy to prepare. It’s a feast for the eyes as much as the palate.
Packed with Flavor
Each bite of Hasselback Fajita Chicken is bursting with flavor. The combination of spices, the freshness from the lime juice, and the richness of the Monterey Jack cheese create a mouthwatering experience. You really can taste the effort that goes into the marinade, and it makes every bite satisfying.
Easy to Make
Despite its stunning appearance, this recipe is surprisingly easy to make. With just a few steps, you can create a dish that looks like it took hours to prepare. The trick is in the slits and the stuffing; once you master that, it’s smooth sailing.
Customizable
One of my favorite things about Hasselback Fajita Chicken is its versatility. You can easily swap out the vegetables or adjust the spice levels to your taste. Whether you like it mild or spicy, you can personalize this dish to fit any preference.
Perfect for Meal Prep
This dish is great for meal prep! I love making a larger batch and storing leftovers in the fridge. It reheats beautifully and remains juicy and flavorful, making it perfect for lunch the next day.
Ingredients Required for Hasselback Fajita Chicken
When you gather the ingredients for Hasselback Fajita Chicken, you’ll find a delightful mix of fresh produce and bold flavors. The main players are the chicken, which becomes tender and juicy, and a vibrant assortment of bell peppers and onion that add color and crunch. Combine that with spices like cumin and chili powder, and you have a recipe that’s bursting with flavor. Here’s what you’ll need:
- 8 oz. chicken breasts – The star of the dish, provides the juicy base for all those delicious fillings.
- 1/2 each red, yellow, and green bell pepper – These colorful peppers add sweetness and a delightful crunch.
- 1/2 small red onion – Adds a mild sharpness and depth of flavor.
- 1 cup freshly shredded Monterey Jack cheese – Melts beautifully, adding creaminess and richness.
- Cilantro (optional for serving) – Freshness that brightens up the dish.
- Sour Cream (optional for serving) – A cool contrast to the warmed flavors.
- Guacamole (optional for serving) – Creamy and spicy, a perfect accompaniment.
- 1/4 cup olive oil – For marinating and adding healthy fats.
- 3 tablespoons lime juice – Adds acidity and brightness.
- Lime zest from 1 lime – Enhances the lime flavor with aromatic oils.
- 2 teaspoons EACH honey and chili powder – Sweetness and warmth to balance the spices.
- 1 1/2 teaspoons salt – Essential for seasoning.
- 1 teaspoon EACH ground cumin, smoked paprika, onion powder, garlic powder – Provides depth and complex flavors.
- 1/4-1/2 teaspoon chipotle chili powder (optional for more heat) – For those who like an extra kick.
- 1/2 teaspoon pepper – A general seasoning staple.
- 2 cups cooked rice (any kind, including cauliflower) – A hearty base for the dish.
- 1 cup salsa – Adds a zesty flavor and moisture.
- 15 oz. can black beans, drained and rinsed – A great source of protein and texture.
- 15 oz. can corn, drained and rinsed – Sweet and crunchy for added depth.
- 15 oz. can fire-roasted tomatoes, drained (optional) – Adds a smoky flavor if using chunky salsa.
- 14 oz. can mild chopped green chiles – Provides a subtle heat.
- 1/4 teaspoon EACH salt and pepper – For final seasoning adjustments.
The Process for Making Hasselback Fajita Chicken
The process of making Hasselback Fajita Chicken is straightforward, and it’s a wonderful way to get the family involved. With just a few steps, you’ll have a delicious dish that looks as good as it tastes. Let’s dive into the details:
- Start by preparing the chicken. Make 5 to 6 slits in each breast, about ¾ of the way through and spaced about 1 inch apart. Ensure you don’t cut all the way through; you want to keep the base intact. This creates little pockets for the fillings.
- In a small bowl, whisk together the ingredients for the Chicken Lime Rub. This usually includes the lime juice, honey, and your spices like chili powder and cumin. Pour this mixture over the chicken in a dish, ensuring it gets into the slits. Let it marinate for at least 30 minutes at room temperature or refrigerate for up to 8 hours.
- While the chicken is marinating, prepare the veggies. Slice your bell peppers and red onion into thin strips. The thinner they are, the easier they are to stuff into the slits and the quicker they will cook.
- Optional step: If you’re using rice and beans, combine all the ingredients for this in a greased 9×13 baking dish. Stir it all together and spread it into an even layer. This will serve as a delicious base for your chicken.
- Preheat your oven to 400 degrees F (200 degrees C). Once heated, it’s time to stuff the chicken. Take your marinated chicken breasts and stuff each slit with a slice of red onion and one slice of each bell pepper, alternating for color and flavor.
- If you prepared a rice mixture, place the chicken over the top of it in the baking dish. If not, you can simply place the chicken in a greased 9×13 dish.
- Cover the dish with foil and bake for 30 to 35 minutes, until the chicken is mostly cooked through. You can check doneness with a meat thermometer; it should read about 160 degrees F (70 degrees C).
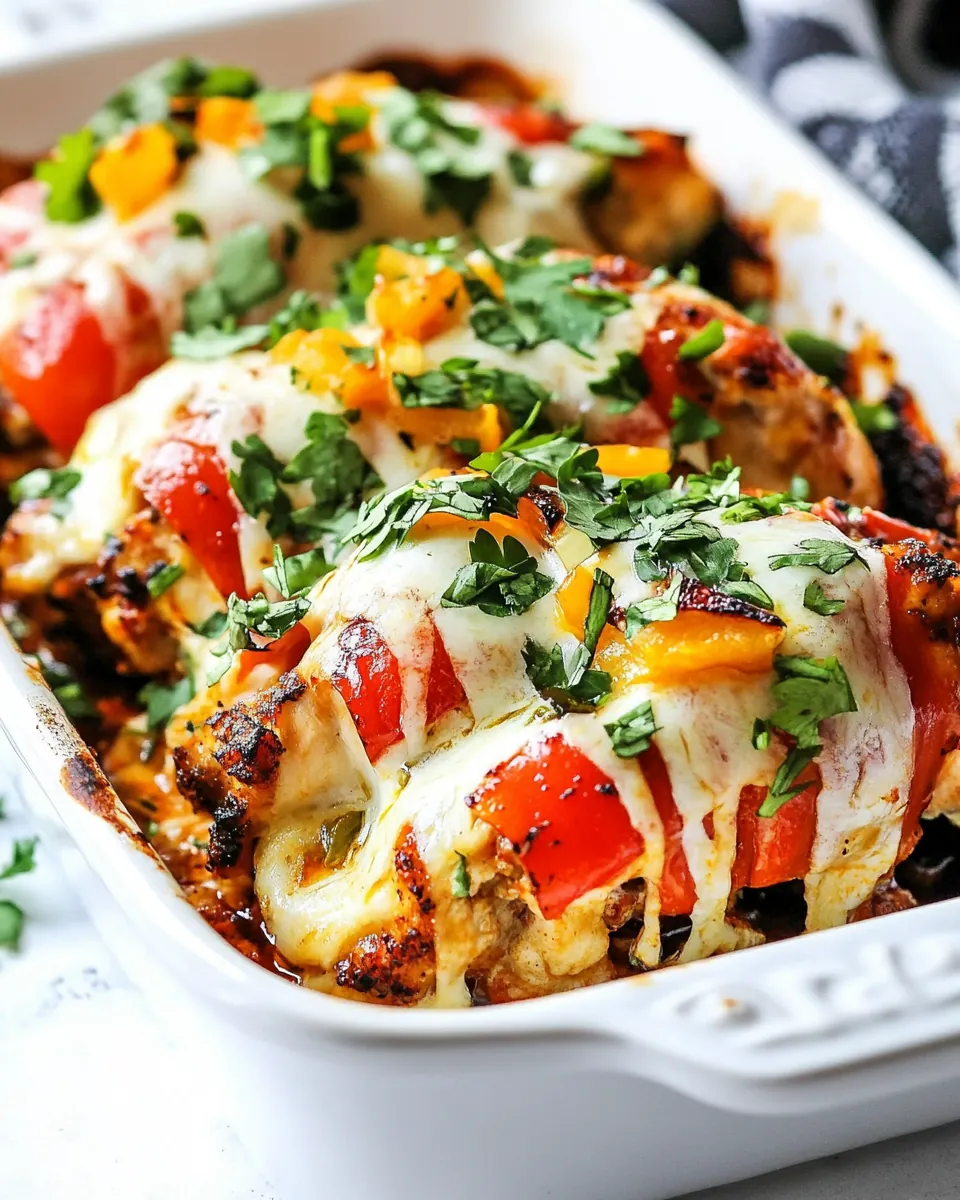
- After 30 minutes, remove the foil and sprinkle the Monterey Jack cheese over the top of the chicken. Return to the oven and bake for an additional 5 to 10 minutes, until the cheese is melted and bubbly.
- Once done, take the dish out of the oven and let it rest for a few minutes. This helps the chicken retain its juices when you cut into it.
- Serve your Hasselback Fajita Chicken with optional garnishes like guacamole, sour cream, and fresh cilantro. A squeeze of lime juice on top is always a great addition!
Things Worth Knowing
- Don’t overstuff: Be careful not to overfill the slits in the chicken. They should hold enough for flavor without spilling out during cooking.
- Use fresh ingredients: Fresh bell peppers and onions make a huge difference in flavor. Don’t hesitate to pick the freshest you can find!
- Cooking time varies: Depending on the thickness of your chicken breasts, adjust the cooking time accordingly. Always use a meat thermometer to ensure proper doneness.
- Rest the chicken: Allow the chicken to rest for a few minutes after baking to keep it juicy.
Recipe Notes about Hasselback Fajita Chicken
Every dish is a learning experience, and Hasselback Fajita Chicken is no exception. Here are some tips to keep in mind for the best results:
- Storage: Store any leftovers in an airtight container in the fridge for up to 5 days. Make sure to let them cool before sealing.
- Freezing: I do not recommend freezing this dish as the bell peppers may become soggy when thawed.
- Reheating: Reheat leftovers in the microwave for 90 seconds, then in 20-second intervals until warmed through, or bake at 325 degrees F (163 degrees C) for about 10 minutes.
- Meal prep: Assemble the dish ahead of time without cooking it. Just add the cheese before baking.
- Variations: Feel free to mix up the spices in the marinade and experiment with different cheeses!
Great Combinations for Hasselback Fajita Chicken
Serving Hasselback Fajita Chicken can be just as fun as making it! Here are some great ideas to elevate your meal:
- Pair with rice: Serve it over a bed of fluffy white or brown rice for a fulfilling meal.
- Fresh salads: A crisp side salad with a tangy vinaigrette can balance the dish wonderfully.
- Tacos: Chop up the chicken for delicious tacos! Just add some fresh toppings.
- Tortillas: Warm tortillas on the side make a great addition for scooping up chicken and sides.
- Seasonal veggies: Consider adding seasonal roasted vegetables as a side for extra nutrition and color.
- Occasions: This dish is perfect for family dinners, casual get-togethers, or even as a main attraction during festive gatherings.
FAQ
Conclusion
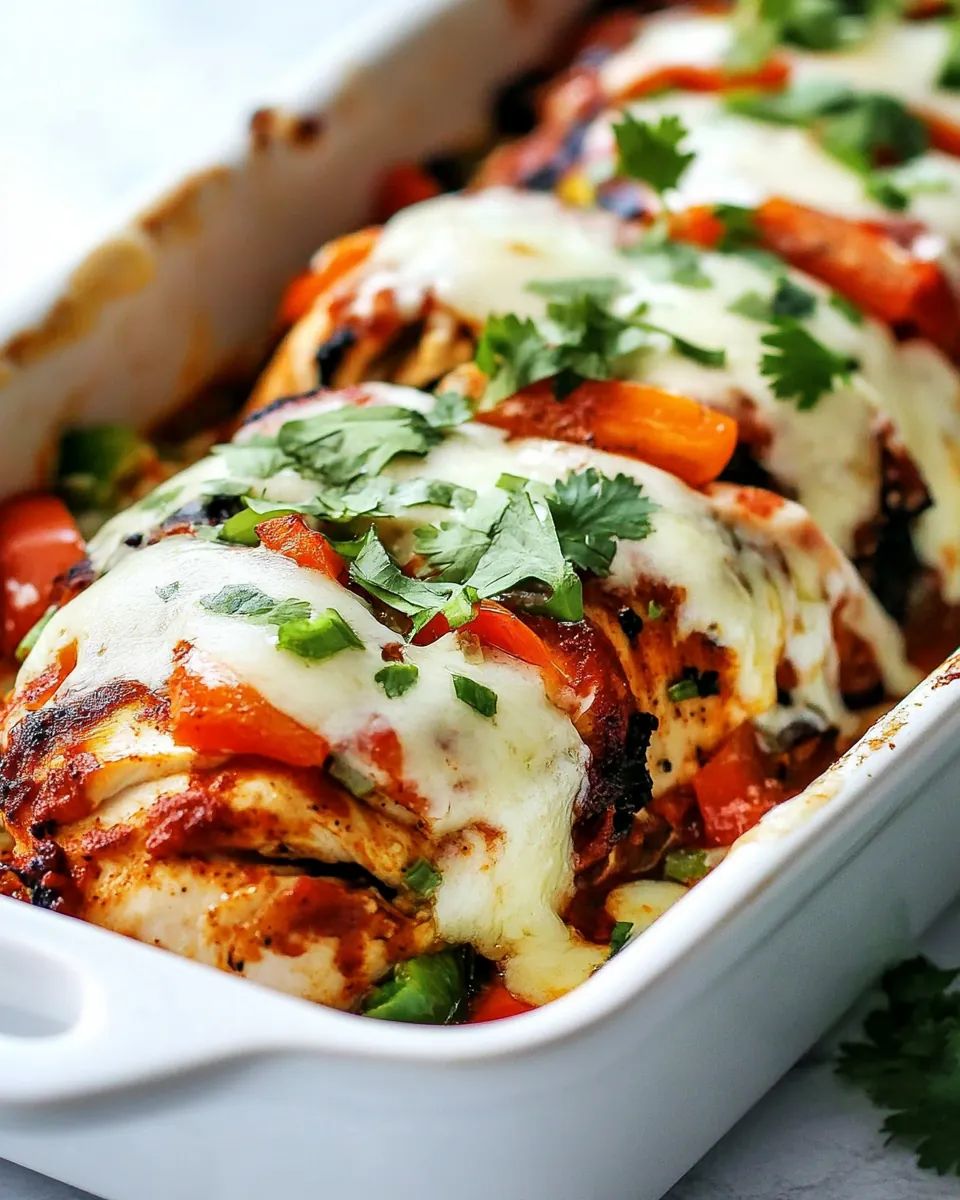
In summary, Hasselback Fajita Chicken is a stunning and flavorful dish that is perfect for impressing guests or enjoying as a family meal. The combination of juicy chicken, vibrant vegetables, and melted cheese creates a satisfying experience for the taste buds. I encourage you to give this recipe a try; it’s sure to become a favorite in your home!
Hasselback Fajita Chicken
Ingredients
Equipment
Method
- Make 5-6 slits/pockets in each chicken breast ¾ of the way through, about 1 inch apart; set aside. DO NOT cut through – keep the base of the chicken breasts intact.
- In a small bowl, whisk the Chicken Lime Rub ingredients together. Pour the rub over the chicken in a small dish (I use an 8×8 baking dish). Turn the chicken a few times so it’s evenly coated. Let the chicken rest while you prep the veggies and rice (preferable 30-60 minutes at room temperature) or refrigerate up to 8 hours then bring to room temperature before cooking.
- Meanwhile: Optional: Add all of the Rice and Beans ingredients to a lightly greased 9×13 baking dish. Stir to combine then spread into an even layer.
- Preheat oven to 400 degrees F. Slice bell peppers and red onion into very thin strips, about 1/8-inch thick. Stuff each slit with one slice of red onion and one red, green and yellow bell pepper. Line chicken overtop the rice mixture or in a lightly greased 9×13 baking dish if not using rice.
- Bake (uncovered) at 400 degrees F for 30-35 minutes, until chicken is mostly cooked through. Add the cheese on top of the chicken and continue to bake for an additional 5-10 minutes OR until the cheese is melted and the chicken is cooked through (reaches 160 degrees F on an instant read thermometer). Cooking time will vary depending on the thickness of the chicken breasts, you may even need to cook an additional 15-20 minutes. I recommend using a digital instant read thermometer to know exactly when the chicken is done.
- Serve chicken with optional garnishes such as guacamole, sour cream, cilantro and an extra squeeze of lime juice if desired.