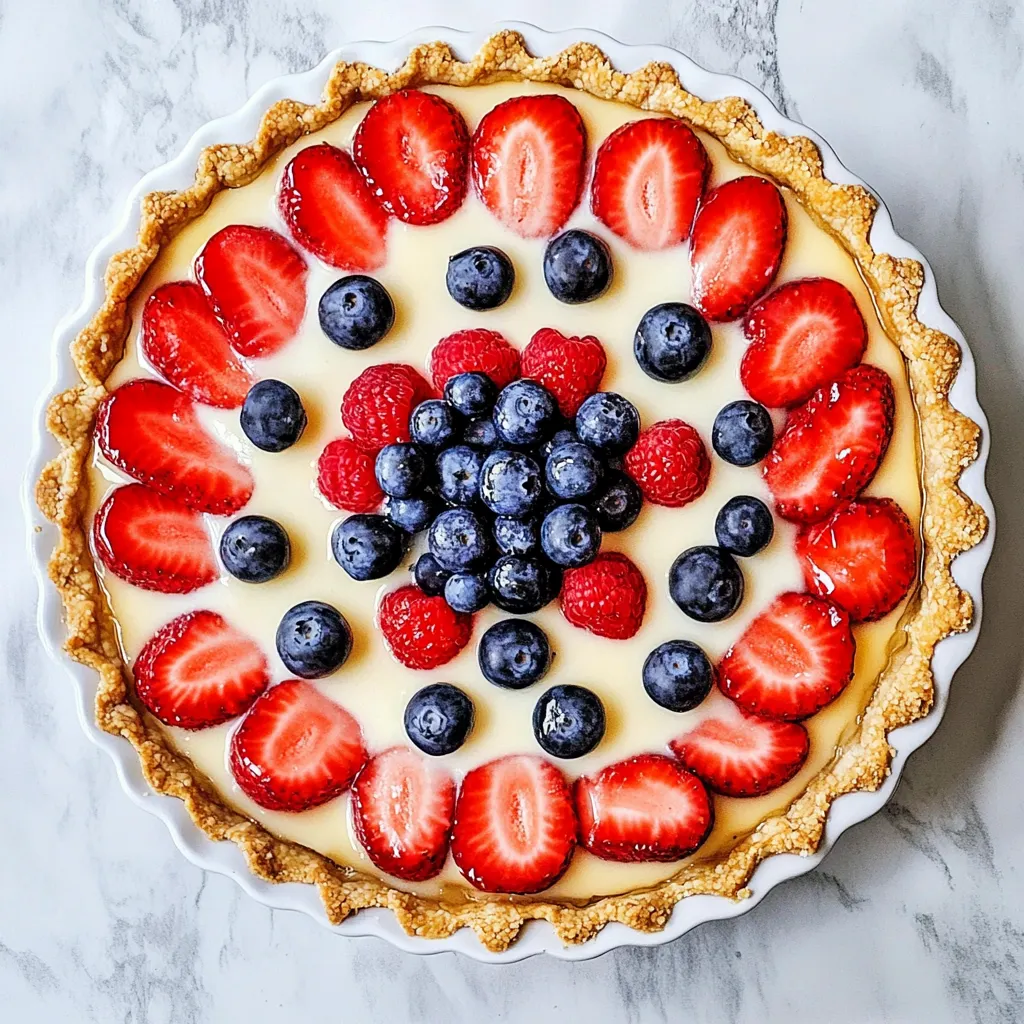
There’s something magical about a Fruit Tart that brings back the sweetest of summer memories. I remember the first time I tasted it at my grandmother’s garden party, where laughter mingled with the scent of blooming flowers. Each slice was a burst of sunshine, bright with fresh berries and creamy filling, creating a delightful harmony of flavors. The joy of making a Fruit Tart is not just about baking; it’s about sharing love and creating memories with family and friends. Whether it’s a summer picnic or a cozy indoor gathering, this recipe is a celebration of nature’s bounty and the simple pleasures in life.
Recipe Snapshot
50 mins
30 mins
20 mins
Medium
230 kcal
3 g
Gluten-Free, Low FODMAP
11 g
Food Processor, Saucepan, Frying Pan, Wooden Spoon, Oven, Mixing Bowl, Baking Sheet
The Beauty of This Fruit Tart
Fresh Ingredients Make All the Difference
One of the reasons I adore making a Fruit Tart is the freshness of the ingredients. Using seasonal fruits elevates the tart to a whole new level. Fresh berries, peaches, or even citrus slices can be used to top your tart, providing not just vibrant colors but also a variety of flavors that dance on your palate.
Versatile and Customizable
This recipe is incredibly versatile. You can swap in your favorite fruits or even change the filling based on what you have on hand. It can easily become your go-to dessert to impress guests or simply to treat yourself after a long week.
Perfect for Any Occasion
What I love about the Fruit Tart is its adaptability. It fits right in at casual brunches, summer barbecues, or elegant dinner parties. Its beautiful presentation makes it a centerpiece that can spark conversations and smiles alike.
Easy to Prepare
Don’t let the stunning appearance fool you; making a Fruit Tart is simpler than it looks. With just a few basic steps, you’ll have a showstopper ready to go. The crust comes together quickly, and the filling is just a matter of mixing ingredients until perfectly smooth.
Visual Appeal
There’s something undeniably appealing about a Fruit Tart. It’s a feast for the eyes! The bright colors of the fruits, combined with the creamy filling and flaky crust, make it an Instagram-worthy dessert that everyone will want to try.
Recipe Ingredients for Fruit Tart
Creating a delicious Fruit Tart starts with the right ingredients. Each one plays a vital role in achieving the perfect balance of flavors and textures. The buttery crust provides a firm base, while the filling adds creaminess, and the fruits introduce refreshing sweetness. Together, they create a harmonious dessert that’s hard to resist.
- Powdered Sugar: ½ cup of this fine sugar adds sweetness and helps create a smooth tart crust.
- All-Purpose Flour: 1 ½ cups provide the structure for the crust, giving it a delightful flaky texture.
- Butter: 12 tablespoons of softened butter make the crust rich and flavorful, ensuring that it melts in your mouth.
- Cream Cheese: An 8-ounce package of softened cream cheese adds a rich and creamy layer in the tart.
- Sugar: ½ cup of sugar enhances the sweetness of the filling, balancing out the tartness of the fruits.
- Vanilla Extract: 1 teaspoon of vanilla adds depth to the filling with its warm, fragrant notes.
- Fresh Berries: Use a mix of your favorite fruits, like kiwis and mandarin oranges, for vibrant colors and flavors.
- Limeade Concentrate: A 6-ounce can brings a zesty kick to the glaze, enhancing the overall tartness.
- Cornstarch: 1 tablespoon helps thicken the glaze, giving it the perfect consistency.
- Fresh Lime Juice: 1 tablespoon brightens the glaze and adds a refreshing note.
- Sugar: An additional ¼ cup of sugar sweetens the glaze, making it irresistible.
The Method for Fruit Tart

Making a Fruit Tart is a rewarding process, and I can assure you that the result is a dessert everyone will rave about. Follow these steps carefully, and you’ll be creating a masterpiece in no time!
- Preheat your oven to 350°F. This is crucial for achieving that perfectly baked crust.
- In a food processor, combine ½ cup of powdered sugar, 1 ½ cups of all-purpose flour, and 12 tablespoons of butter. Pulse until the dough begins to come together. It should look like coarse crumbs but will soon become a smooth dough.
- Transfer the dough to a 12-inch tart pan. Press it evenly into the fluted edges, ensuring you cover the bottom fully. This helps to create a beautiful crust.
- Bake in the preheated oven for 12 to 15 minutes until the edges are lightly browned. Keep an eye on it, as you want a golden hue without burning.
- Once baked, remove the crust from the oven and allow it to cool completely on a wire rack. This cooling step is essential for maintaining the integrity of the tart.
- Meanwhile, prepare the filling by beating together the softened cream cheese, ½ cup of sugar, and 1 teaspoon of vanilla extract until smooth and creamy. The mixture should be free of lumps, creating a deliciously velvety texture.
- Spread the cream cheese filling evenly over the cooled crust, making sure to reach the edges for a neat finish.
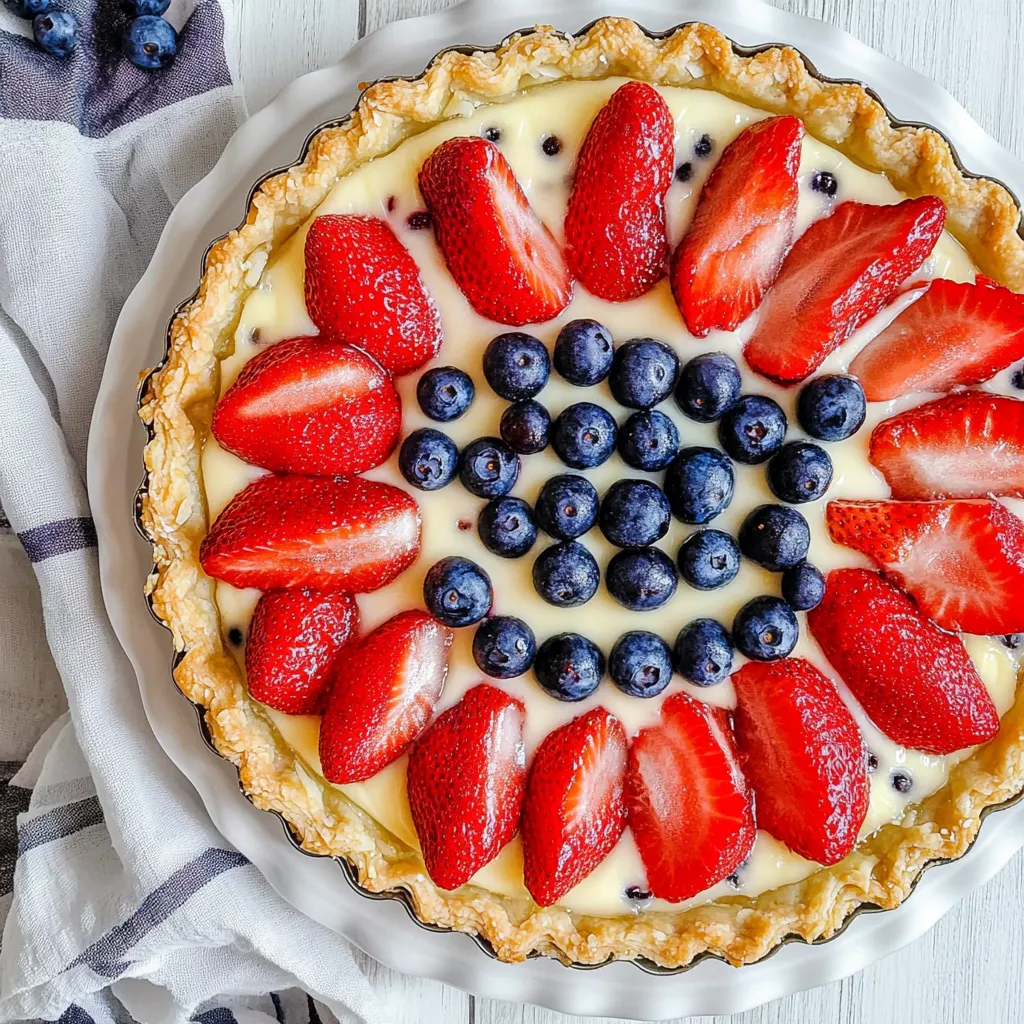
- Now it’s time to arrange your fresh berries and any other fruits of your choice on top of the filling. Be creative; this is where the beauty of the tart shines through. Cover the surface entirely for an eye-catching display.
- To make the glaze, combine 1 can of limeade concentrate, 1 tablespoon of cornstarch, 1 tablespoon of fresh lime juice, and ¼ cup of sugar in a small saucepan. Stir and bring to a simmer over medium heat.
- As the mixture simmers, keep stirring frequently until it becomes clear and thick, usually about 2 to 3 minutes. Let it cool to room temperature before proceeding.
- Using a pastry brush, gently brush the glaze over the top of the tart. Be careful not to squish the fruits; you want them to stay beautiful and intact.
- Finally, refrigerate the tart until you’re ready to serve it. This helps the filling set and makes for easier slicing.
Things Worth Knowing
- Use Fresh Ingredients: Fresh fruits not only taste better but also look stunning on your tart. Choose seasonal fruits for the best flavor.
- Make Ahead: The tart crust and filling can be prepared a day in advance, allowing the flavors to meld beautifully.
- Presentation Matters: Arrange your fruits in a visually appealing way. A little creativity in presentation goes a long way!
- Tart Pan Tips: If you don’t have a tart pan, a pie dish can work as a substitute, but the presentation may differ.
Change It Up

If you’re looking to experiment or add your personal touch to the Fruit Tart, here are some great ideas to consider.
- Storage: Store any leftovers in the refrigerator for up to three days. Cover the tart loosely with plastic wrap to prevent it from drying out.
- Freezing: You can freeze the tart unfilled for up to two months. Thaw it in the fridge before adding the filling and fruits.
- Pairing: This tart pairs wonderfully with a dollop of whipped cream or a scoop of vanilla ice cream for extra indulgence.
- Fruit Variations: Try using other fruits like mango, strawberries, or blueberries for a different flavor profile.
- Gluten-Free Options: Substitute the all-purpose flour with a gluten-free blend if you need a gluten-free version.
What to Pair With Fruit Tart
When it comes to serving your Fruit Tart, there are numerous delightful options to complement this vibrant dessert.
- Tea or Coffee: A slice of Fruit Tart pairs beautifully with a warm cup of tea or coffee, making it perfect for brunch.
- Picnic Treat: Bring it along for a picnic in the park; it’s an easy dessert to transport and share.
- Celebratory Events: Serve at birthdays, anniversaries, or any celebration where a sweet, refreshing dessert is a must.
- Seasonal Pairings: In the summer, pair it with light salads or grilled vegetables for a balanced meal.
- Cheese Board: For a more sophisticated touch, serve alongside a cheese board featuring creamy cheeses that contrast with the tartness of the dessert.
FAQ
Conclusion
The Fruit Tart is a delightful dessert that perfectly captures the essence of summer with its fresh flavors and beautiful presentation. I encourage you to give it a try and create your own sweet memories with family and friends. With its easy preparation and stunning results, this tart is sure to be a favorite at your next gathering.
Fruit Tart
Ingredients
Equipment
Method
- Preheat your oven to 350°F. This is crucial for achieving that perfectly baked crust.
- In a food processor, combine ½ cup of powdered sugar, 1 ½ cups of all-purpose flour, and 12 tablespoons of butter. Pulse until the dough begins to come together. It should look like coarse crumbs but will soon become a smooth dough.
- Transfer the dough to a 12-inch tart pan. Press it evenly into the fluted edges, ensuring you cover the bottom fully. This helps to create a beautiful crust.
- Bake in the preheated oven for 12 to 15 minutes until the edges are lightly browned. Keep an eye on it, as you want a golden hue without burning.
- Once baked, remove the crust from the oven and allow it to cool completely on a wire rack. This cooling step is essential for maintaining the integrity of the tart.
- Meanwhile, prepare the filling by beating together the softened cream cheese, ½ cup of sugar, and 1 teaspoon of vanilla extract until smooth and creamy. The mixture should be free of lumps, creating a deliciously velvety texture.
- Spread the cream cheese filling evenly over the cooled crust, making sure to reach the edges for a neat finish.
- Now it’s time to arrange your fresh berries and any other fruits of your choice on top of the filling. Be creative; this is where the beauty of the tart shines through. Cover the surface entirely for an eye-catching display.
- To make the glaze, combine 1 can of limeade concentrate, 1 tablespoon of cornstarch, 1 tablespoon of fresh lime juice, and ¼ cup of sugar in a small saucepan. Stir and bring to a simmer over medium heat.
- As the mixture simmers, keep stirring frequently until it becomes clear and thick, usually about 2 to 3 minutes. Let it cool to room temperature before proceeding.
- Using a pastry brush, gently brush the glaze over the top of the tart. Be careful not to squish the fruits; you want them to stay beautiful and intact.
- Finally, refrigerate the tart until you’re ready to serve it. This helps the filling set and makes for easier slicing.
Notes
- Tip 1: Store any leftovers in the refrigerator for up to three days. Cover the tart loosely with plastic wrap to prevent it from drying out.
- Tip 2: You can freeze the tart unfilled for up to two months. Thaw it in the fridge before adding the filling and fruits.
- Tip 3: This tart pairs wonderfully with a dollop of whipped cream or a scoop of vanilla ice cream for extra indulgence.
- Tip 4: Try using other fruits like mango, strawberries, or blueberries for a different flavor profile.
- Tip 5: Substitute the all-purpose flour with a gluten-free blend if you need a gluten-free version.