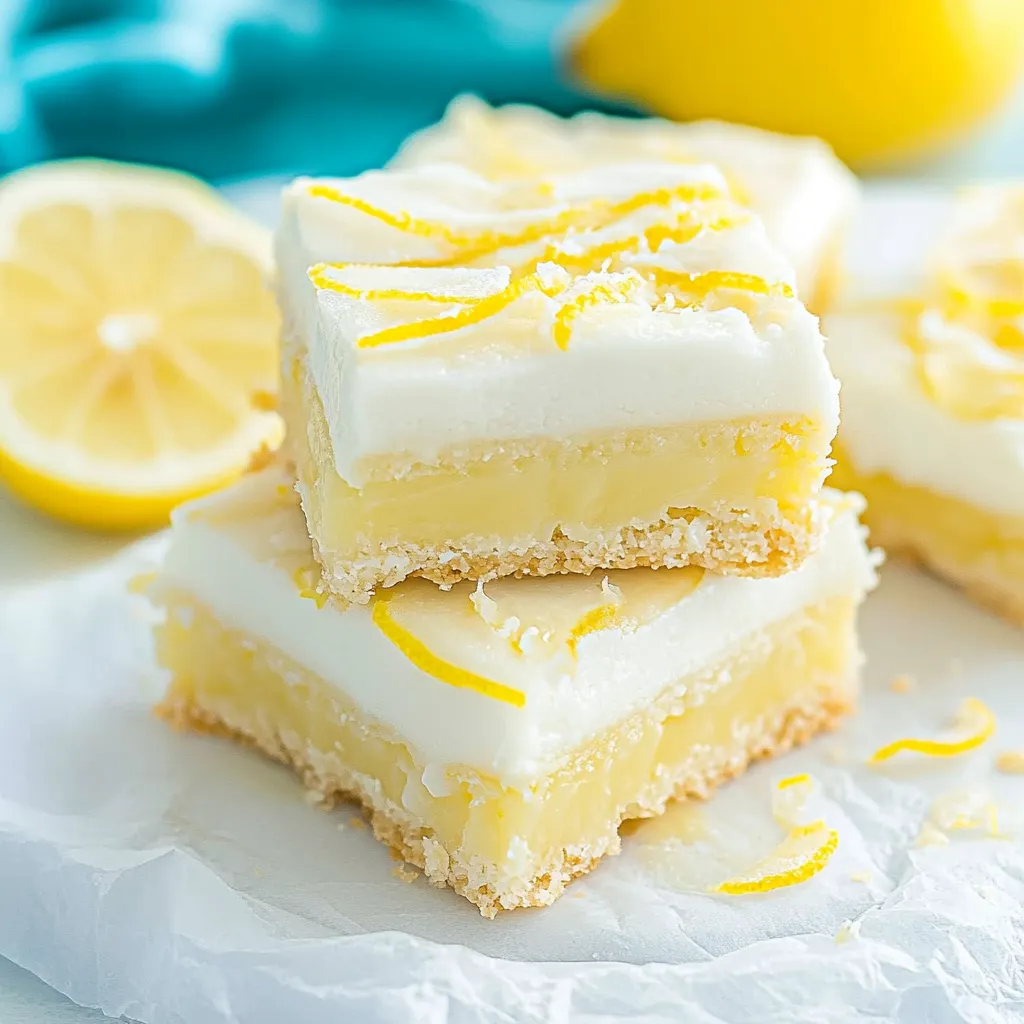
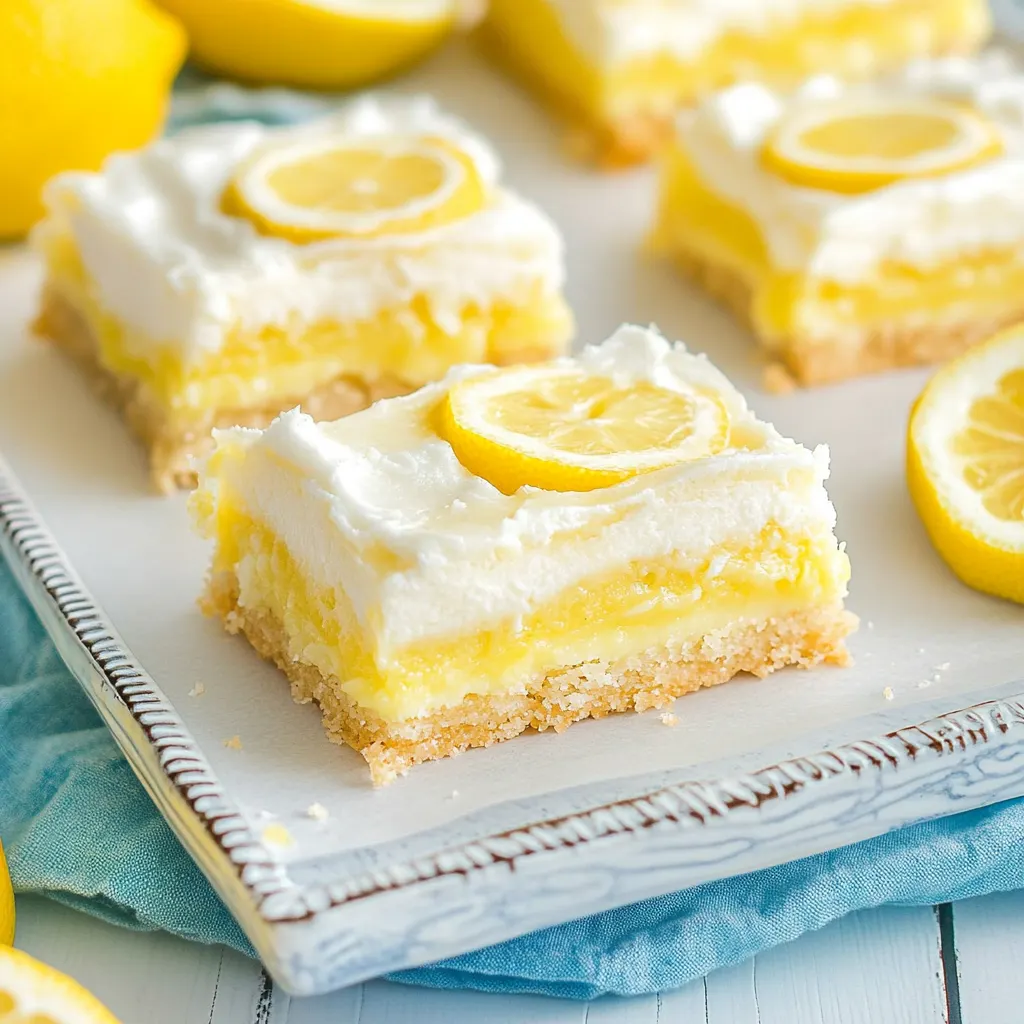
When I think of sunshine on a plate, Frosted Lemon Bars immediately comes to mind. These little squares of zesty goodness remind me of lazy summer afternoons spent with family and friends, enjoying laughter and sweet treats. The buttery crust, perfectly complemented by a tart lemon filling, creates a symphony of flavors that can brighten even the dullest of days. Whenever I whip up a batch of these bars, it feels like I’m sharing a piece of my heart, and the joy they bring is simply contagious. Whether it’s a picnic, a potluck, or just a treat for yourself, Frosted Lemon Bars are always a hit!
Recipe Snapshot
1 hr 10 mins
25 mins
45 mins
Medium
220 kcal
2 g
Gluten-Free, Low FODMAP
10 g
Frying Pan, Oven, Chef’s Knife, Whisk, Mixing Bowl, Baking Sheet
Why We Love This Frosted Lemon Bars
Bright and Zesty Flavors
One of the things I absolutely love about Frosted Lemon Bars is their vibrant flavor profile. The fresh lemon juice and zest work harmoniously to create that perfect balance between tartness and sweetness. It’s a refreshing treat that satisfies both the sweet tooth and the desire for something a little tangy. You can’t help but smile with each bite!
Perfect for Any Occasion
These lemon bars are incredibly versatile. Whether you’re hosting a summer barbecue, celebrating a birthday, or just craving something sweet, they fit in seamlessly. They’re easy to transport, making them a wonderful choice for gatherings. Trust me, they will disappear fast, so you might want to make a double batch!
Simple Ingredients
The beauty of Frosted Lemon Bars lies in their simplicity. You don’t need fancy ingredients to create something extraordinary. Just regular pantry staples like flour, butter, sugar, eggs, and of course, lemons! It’s amazing how such basic items can come together to create a delightful treat that feels gourmet.
Ideal for Sharing
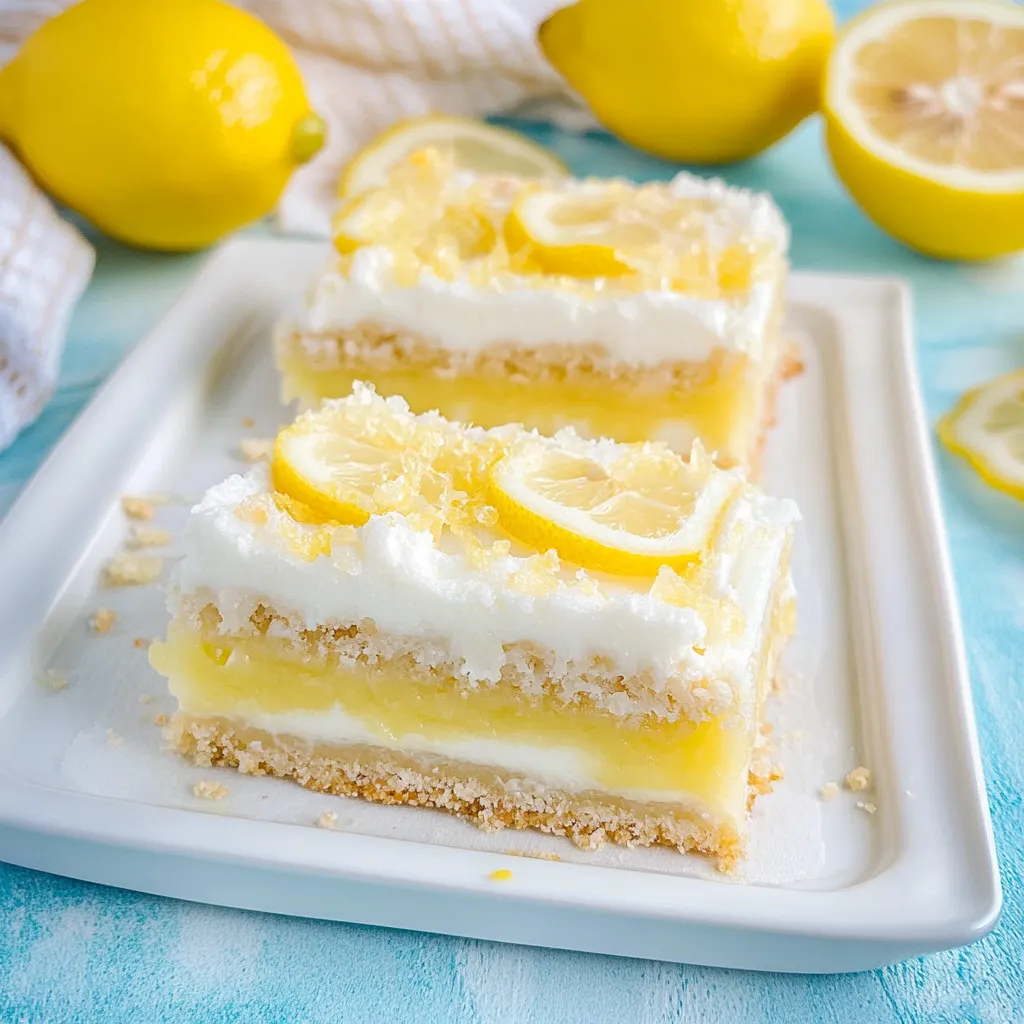
There’s something special about sharing food. It brings people together. These bars are cut into perfect little squares, making them easy to share with friends and family. With Frosted Lemon Bars, you can create special moments and memories around the table, all while enjoying a delicious dessert.
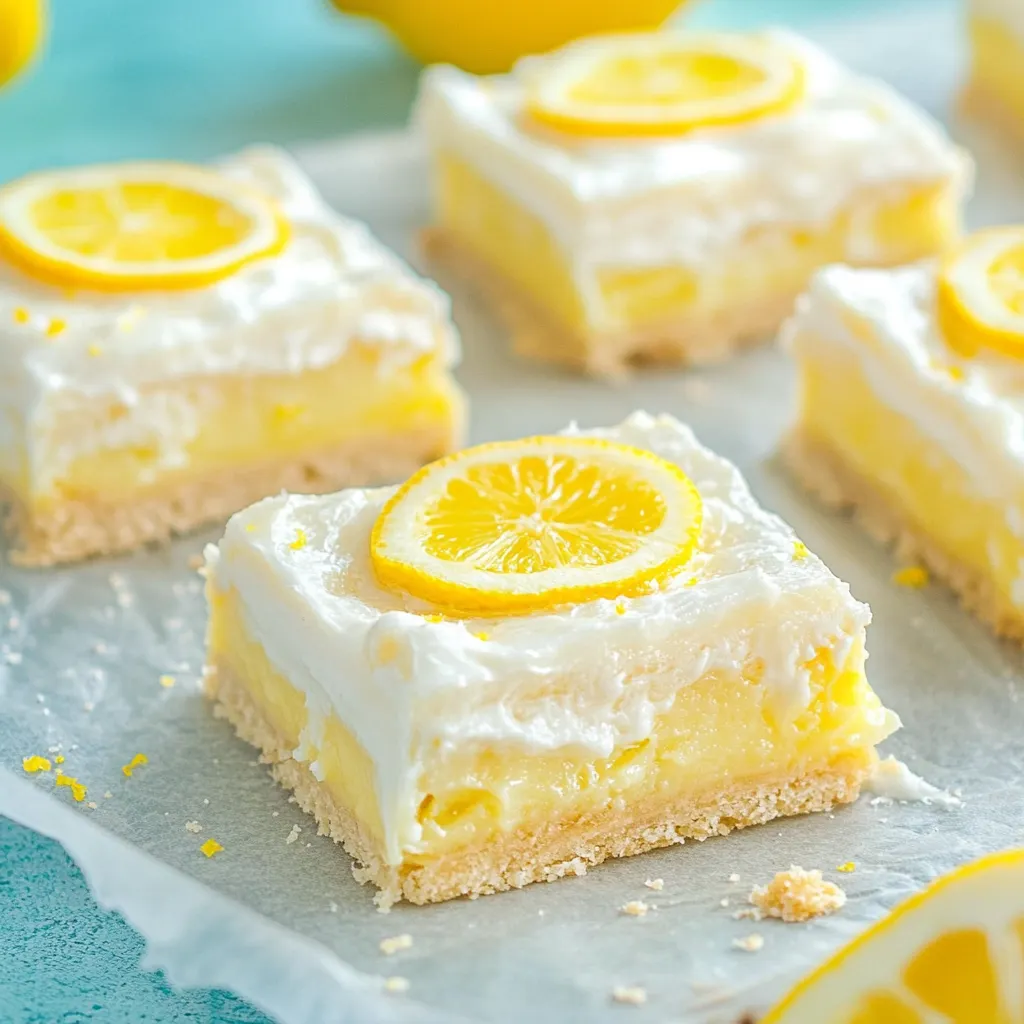
Frosting That Takes It Over the Top
The final touch is the creamy frosting that crowns these bars. It adds a richness that complements the tart lemon filling beautifully. The frosting is easy to make and transforms the bars from good to irresistible. Once you try it, you’ll be adding frosting to all your lemon treats!
Ingredients Required for Frosted Lemon Bars
Gathering the ingredients for Frosted Lemon Bars is like assembling a treasure chest of flavors. Each ingredient plays a crucial role in achieving that sought-after balance between crumbly texture and tart sweetness. The harmony of these ingredients is what makes this dessert a must-try!
- All Purpose Flour: The foundation for the crust and filling, providing structure and tenderness.
- Salted Butter: Adds richness and flavor, ensuring the crust is buttery and delicious.
- Powdered Sugar: Used in the crust for sweetness and in the frosting for a smooth finish.
- Granulated White Sugar: Sweetens the filling and balances the tartness of the lemons.
- Large Eggs: Acts as a binding agent, giving the filling a creamy texture.
- Freshly Squeezed Lemon Juice: The star of the show, providing the necessary tartness and zing.
- Salt: Enhances the flavors of all the ingredients.
- Sifted Powdered Sugar: For a light and fluffy frosting that beautifully complements the bars.
- Cream Cheese: Adds a creamy richness to the frosting that balances the tartness of the lemon.
- Heavy Whipping Cream: Creates a smooth, rich frosting that spreads easily over the bars.
- Vanilla Extract: Adds a subtle sweetness and depth of flavor.
- Lemon Zest: For garnish, it adds an extra pop of freshness.
Frosted Lemon Bars Instructions
Making Frosted Lemon Bars is a delightful experience that brings your kitchen to life with the scent of lemons. I always find joy in every step, from mixing the crust to pouring the creamy filling. Here’s how to create your own batch of sunshine:
Preheat your oven to 350℉. This is a crucial step as it ensures the crust will bake evenly and become perfectly golden.
In a large bowl, use an electric mixer to combine 2 cups of all purpose flour, 1 cup of salted butter (softened), and ½ cup of powdered sugar. Mix until well combined, forming a crumbly dough. The consistency should be similar to wet sand.
Press the crust mixture into a 9×13-inch baking pan evenly. Take your time to ensure it’s packed tightly, which will create a sturdy base for the filling.
Bake the crust for 20 minutes or until it’s light golden brown. You’ll know it’s ready when you see a slight color change and can smell the buttery aroma filling your kitchen.
While the crust is baking, prepare the filling. In another large bowl, whisk together 2 cups of granulated white sugar, 4 large eggs, 4 tablespoons of all purpose flour, 2 tablespoons of freshly squeezed lemon juice, and ¼ teaspoon of salt until smooth. The mixture should be light and frothy.
Once the crust has baked, pour the lemon filling over it evenly. Make sure to spread it out so that it covers the entire surface.
Bake for an additional 25 minutes. You want the filling to set, and the edges should start to slightly brown.
Remove from the oven and let the filled lemon bars cool completely. I usually set them on a wire rack to speed up the cooling process.
In a large bowl, combine 3 cups of sifted powdered sugar, ½ cup of salted butter (at room temperature), 4 ounces of cream cheese, and 3 tablespoons of heavy whipping cream. Use an electric mixer to combine until smooth and creamy.
Once the lemon bars are completely cool, carefully spread the frosting over the top. Take your time to create an even layer.
Finally, sprinkle lemon zest on top for garnish, if desired. Refrigerate until firm, then slice into squares and serve. Enjoy the bliss of Frosted Lemon Bars!
Things Worth Knowing
- Cooling Time Matters: Allow your bars to cool completely before frosting to prevent the frosting from melting into the filling.
- Use Fresh Lemons: Freshly squeezed lemon juice makes a noticeable difference in flavor compared to bottled lemon juice.
- Crust Consistency: Ensure the crust is firm before pouring in the filling; this helps in holding the bars together.
- Chill Before Serving: Letting the bars chill in the fridge enhances the flavors and helps set the filling.
Ways to Customize
Customizing Frosted Lemon Bars can lead to a lot of fun variations. Here are some great ways to add your own twist!
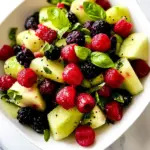
- Add Berries: Toss in some fresh blueberries or raspberries into the lemon filling for an added burst of flavor.
- Graham Cracker Crust: Substitute the all-purpose flour crust with a graham cracker crust for a different texture and flavor.
- Different Citrus: Experiment with lime or orange juice instead of lemon for a unique taste.
- Herbs: Infuse the filling with a hint of fresh basil or mint for a surprising and refreshing twist.
- Extra Frosting: Don’t hold back on the frosting—feel free to double the frosting ingredients for those who love it extra creamy!
- Gluten-Free Option: Use a gluten-free flour blend to make these bars suitable for those with gluten sensitivities.
- Spiced Flavor: Add a pinch of cinnamon or nutmeg to the frosting for a warm, spiced flavor that complements the lemon.
Great Combinations for Frosted Lemon Bars
Pairing Frosted Lemon Bars with the right accompaniments can elevate your dessert experience. Consider these combinations:
- Fresh Berries: Serve with a side of fresh strawberries or blueberries to enhance the refreshing flavor of the lemon.
- Iced Tea: A glass of sweetened iced tea complements the tartness of the lemon, making it a perfect summer pairing.
- Picnic Treat: Pack these bars for outdoor gatherings—they hold up well and are easy to transport.
- Birthday Celebrations: These bars make a delightful addition to any birthday cake table, providing a refreshing alternative to traditional sweets.
- Seasonal Events: Perfect for spring and summer events, they add a zesty touch that guests will love.
- Simple Storage: Store any leftovers in the fridge to maintain freshness. They can last for up to a week!
FAQ
Conclusion
Frosted Lemon Bars are truly a delightful treat that encapsulates the bright essence of lemon with every bite. Their balance of tartness and sweetness, combined with a creamy frosting, makes them unforgettable. I encourage you to try making them for your next gathering or as a sweet indulgence for yourself. Trust me, these bars will bring sunshine to your day!
Frosted Lemon Bars
Ingredients
Equipment
Method
- Preheat your oven to 350℉. This is a crucial step as it ensures the crust will bake evenly and become perfectly golden.
- In a large bowl, use an electric mixer to combine 2 cups of all purpose flour, 1 cup of salted butter (softened), and ½ cup of powdered sugar. Mix until well combined, forming a crumbly dough. The consistency should be similar to wet sand.
- Press the crust mixture into a 9x13-inch baking pan evenly. Take your time to ensure it’s packed tightly, which will create a sturdy base for the filling.
- Bake the crust for 20 minutes or until it’s light golden brown. You’ll know it’s ready when you see a slight color change and can smell the buttery aroma filling your kitchen.
- While the crust is baking, prepare the filling. In another large bowl, whisk together 2 cups of granulated white sugar, 4 large eggs, 4 tablespoons of all purpose flour, 2 tablespoons of freshly squeezed lemon juice, and ¼ teaspoon of salt until smooth. The mixture should be light and frothy.
- Once the crust has baked, pour the lemon filling over it evenly. Make sure to spread it out so that it covers the entire surface.
- Bake for an additional 25 minutes. You want the filling to set, and the edges should start to slightly brown.
- Remove from the oven and let the filled lemon bars cool completely. I usually set them on a wire rack to speed up the cooling process.
- In a large bowl, combine 3 cups of sifted powdered sugar, ½ cup of salted butter (at room temperature), 4 ounces of cream cheese, and 3 tablespoons of heavy whipping cream. Use an electric mixer to combine until smooth and creamy.
- Once the lemon bars are completely cool, carefully spread the frosting over the top. Take your time to create an even layer.
- Finally, sprinkle lemon zest on top for garnish, if desired. Refrigerate until firm, then slice into squares and serve. Enjoy the bliss of Frosted Lemon Bars!