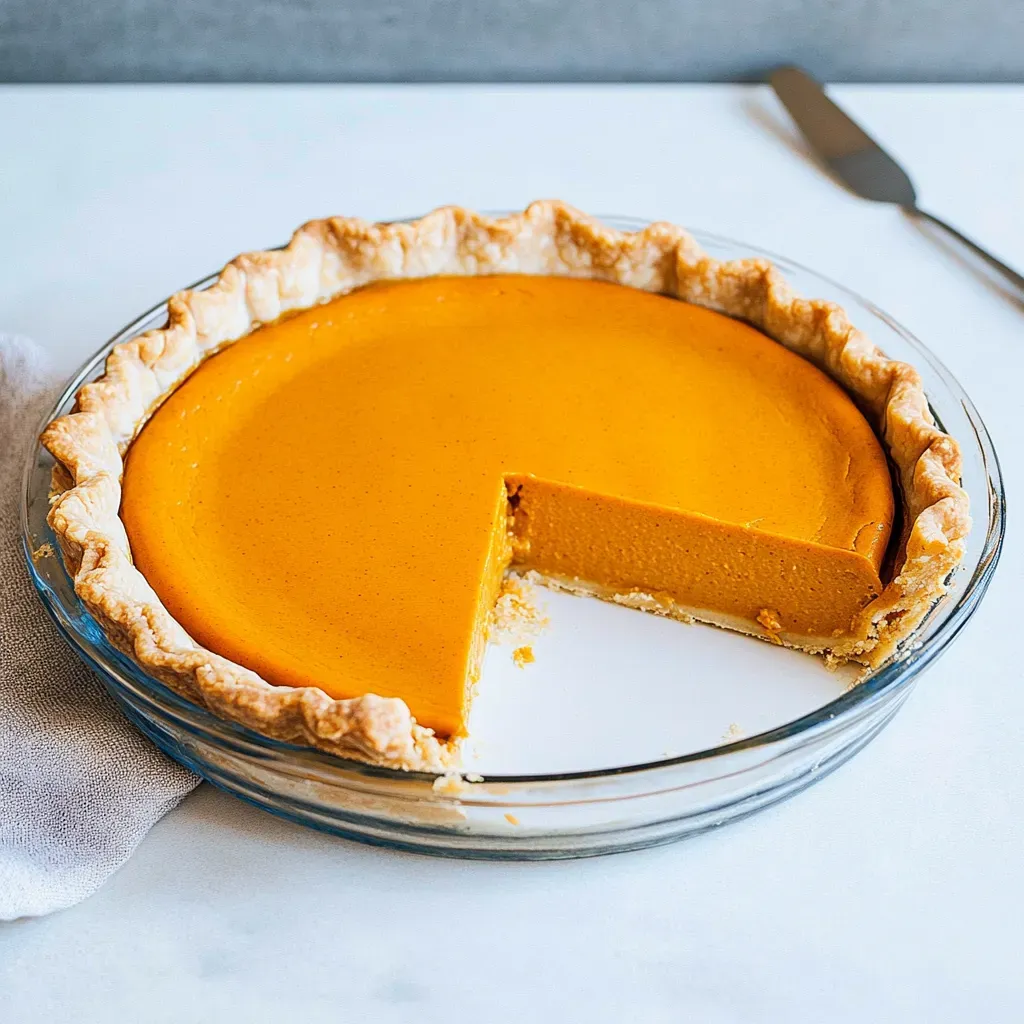
Every fall, I find myself craving the rich and comforting flavors of autumn, and there’s nothing that embodies that spirit quite like Dairy Free Pumpkin Pie. Growing up, my family had a tradition of gathering around the table to enjoy this classic dessert, and I wanted to create a version that everyone could enjoy, regardless of dietary preferences. This pie brings together the warmth of spices, the sweetness of pumpkin, and the creaminess of coconut milk, making it a delightful treat for any occasion.
Recipe Snapshot
1 hr 5 mins
5 mins
60 mins
Medium
210 kcal
3 g
Gluten-Free, Low FODMAP
9 g
Oven, Baking Sheet, Mixing Bowl, Wooden Spoon
What’s Great About This Dairy Free Pumpkin Pie
It’s Dairy-Free Delight
One of the best things about this recipe is that it’s completely dairy-free, making it perfect for those with lactose intolerance or anyone looking to cut dairy from their diet. The rich and creamy texture comes from the coconut milk, which not only adds flavor but ensures that you won’t miss the dairy at all!
Fall Flavors at Their Best
The combination of warm spices like cinnamon, nutmeg, and ginger really brings out the essence of fall. Every bite of Dairy Free Pumpkin Pie transports you to crisp autumn days, making it the ideal dessert for family gatherings or cozy nights in.
Simple to Make
You don’t need to be a master baker to whip this up! The process is straightforward, which means you can spend less time in the kitchen and more time enjoying the company of your loved ones. It’s an easy recipe to follow, making it accessible for bakers of all levels.
Versatile and Adaptable
What I love about this pie is its versatility. You can easily adjust the sweetness or spice levels to suit your taste. Perhaps you want it a little sweeter or with a touch more cinnamon? Go for it! This recipe is your canvas.
Perfect for Any Occasion
While Dairy Free Pumpkin Pie is a staple for Thanksgiving, it’s delightful any time of the year! Whether it’s a holiday feast, a weekend gathering, or just a treat for yourself, this pie is sure to impress.
What You’ll Need for Dairy Free Pumpkin Pie
Creating a delicious Dairy Free Pumpkin Pie starts with the right ingredients. Each component plays a vital role in the overall flavor and texture, and together they create a harmonious blend of autumnal goodness. Here’s what you’ll need:
- 19-inch pie crust (gluten-free, if desired): A flaky crust is essential for holding the delicious filling and adds a satisfying crunch.
- 2 large eggs: These help bind the filling and give it a lovely texture.
- 15 ounces pumpkin puree (canned or 2 cups of pureed cooked pumpkin): The star ingredient that provides the classic pumpkin flavor.
- 1 teaspoon vanilla extract: Adds a subtle depth of flavor.
- 3/4 cup brown sugar: This brings sweetness and enhances the molasses notes in the pumpkin.
- 1/2 teaspoon kosher salt: Balances the sweetness and enhances the flavors.
- 1-1/2 teaspoons pumpkin pie spice: A blend of spices that warms the palate.
- 1 cup coconut milk: This replaces traditional dairy, providing creaminess and a subtle coconut flavor.
Step by Step Instructions for Dairy Free Pumpkin Pie

Creating your own Dairy Free Pumpkin Pie is an enjoyable experience, especially when you savor the aromas filling your kitchen. Follow these simple steps to make a pie that will surely become a family favorite.
- Preheat your oven to 425 degrees Fahrenheit. This high temperature is crucial for the initial baking, allowing the crust to set.
- In a large bowl, beat together the eggs, pumpkin puree, vanilla extract, brown sugar, salt, and pumpkin pie spice until they’re smooth and well combined. You want a uniform mixture that’s rich in color and aromas.
- While gently stirring, add the coconut milk into the mixture. This adds creaminess and helps bind everything together. Ensure everything is combined, creating a smooth filling.
- Pour the prepared filling into your pre-baked pie crust, smoothing the top with a spatula. The filling should be slightly thick but pourable, ready for the oven.
- Place the pie in the oven and bake for 15 minutes. This helps to set the crust and gives it a golden color.
- After 15 minutes, reduce the oven temperature to 350 degrees Fahrenheit. This adjustment allows the pie to bake evenly without burning the crust.
- Continue baking for an additional 35 to 50 minutes. The pie is done when it’s set in the middle. You can check this by inserting an instant-read thermometer; it should read 175 degrees Fahrenheit.
- Once baked, transfer the pie to a cooling rack. Let it cool completely before moving it to the refrigerator. This cooling process usually takes at least two hours.
- If you’re not serving immediately, store the pie in the refrigerator to keep it fresh and delicious. This pie can be enjoyed cold or at room temperature.
Things Worth Knowing
- Test for Doneness: Keep an eye on the pie while baking; it should be firm but jiggle slightly in the center when done.
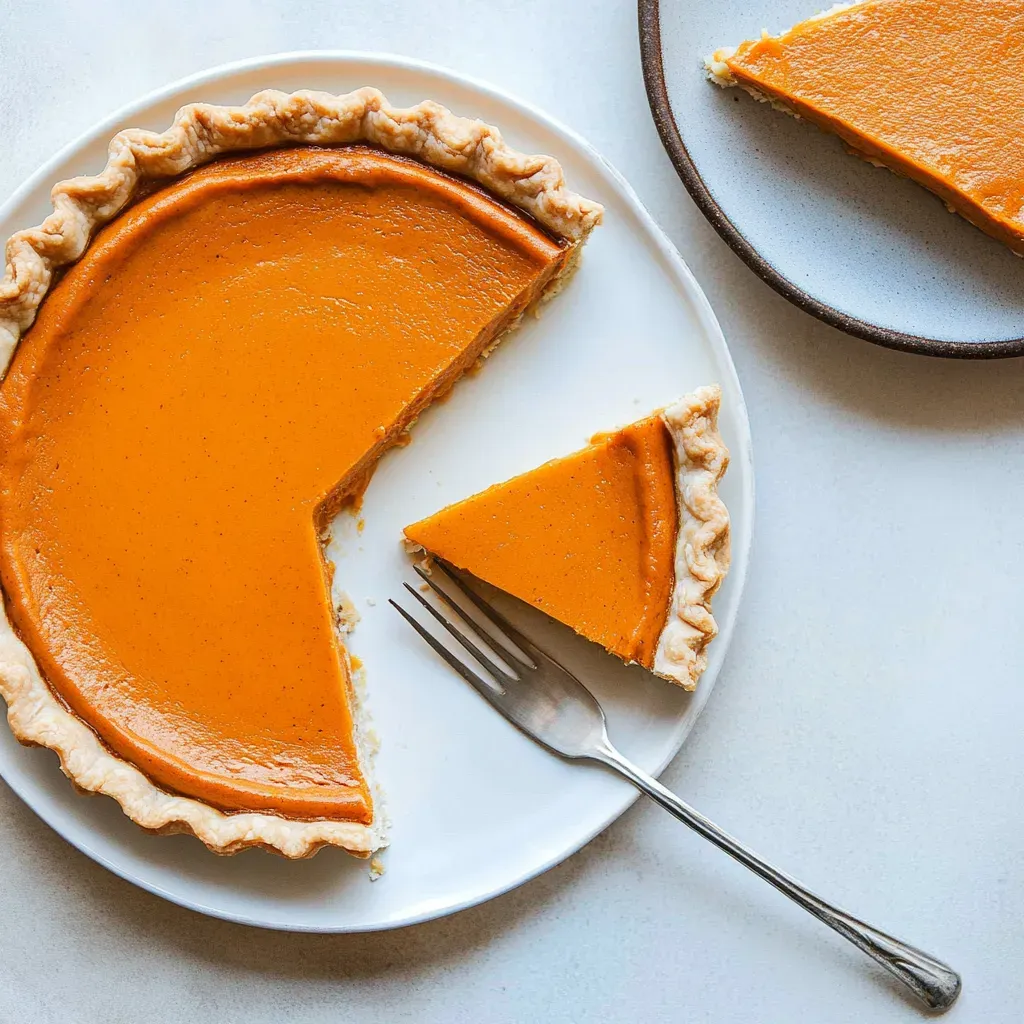
- Serving Temperature: This pie is delicious both chilled and at room temperature, so serve it however you prefer!
- Coconut Cream Topping: For an extra special touch, whip up some coconut cream as a topping. Just chill a can of coconut milk and whip the solidified cream.
- Flavor Development: The flavors of the pie improve after a day in the fridge, making it a great make-ahead dessert.
Tips for Success
Making Dairy Free Pumpkin Pie can be a breeze with a few helpful tips. Consider these suggestions to ensure your pie turns out perfectly every time.
- Storage: Store leftover pie in an airtight container in the refrigerator for up to five days.
- Freezing: You can freeze the pie for up to two months. Wrap it well with plastic wrap and then foil.
- Pairing: Serve your pie with a scoop of dairy-free ice cream or topped with whipped coconut cream.
- Adjust Sweetness: Feel free to tweak the amount of brown sugar based on your preference for sweetness.
- Experiment with Spices: Add more spices like ginger or nutmeg for a personalized flavor.
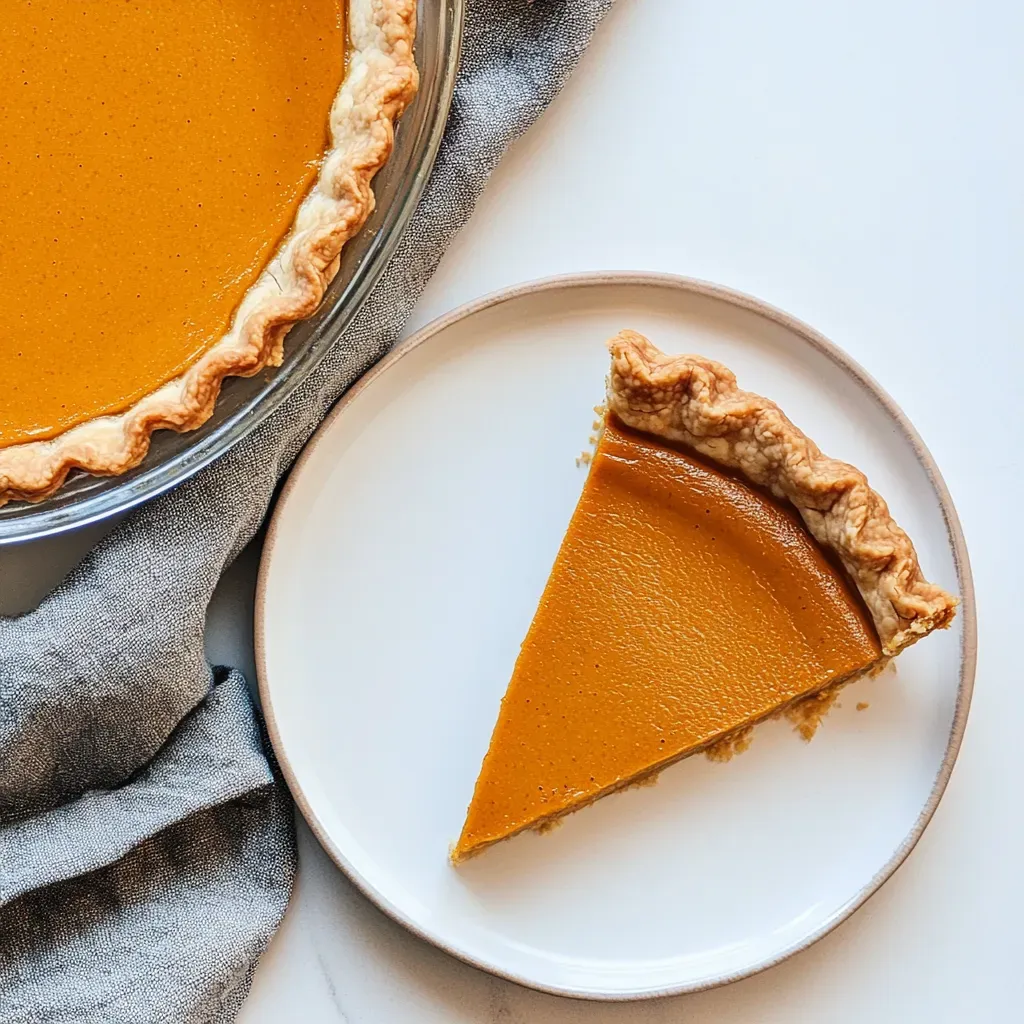
Accompaniments for Dairy Free Pumpkin Pie
When serving your Dairy Free Pumpkin Pie, there are plenty of delicious accompaniments and ways to showcase this delightful dessert:
- Enjoy with Whipped Coconut Cream: A dollop of whipped coconut cream on top adds an indulgent touch.
- Perfect for Thanksgiving: This pie is a staple for Thanksgiving, fitting right in alongside turkey and stuffing.
- Pair with Coffee or Tea: It pairs beautifully with a warm cup of coffee or tea, making it a comforting end to any meal.
- Occasions: This pie is not only for holidays; it’s perfect for casual gatherings, potlucks, or cozy evenings at home.
- Garnish with Nuts: Consider garnishing with chopped pecans or walnuts for an added crunch.
FAQ
Conclusion
The Dairy Free Pumpkin Pie is a delightful way to celebrate the flavors of fall, combining comfort and indulgence in every bite. I encourage you to try this recipe and share the joy of a delicious, dairy-free dessert with your loved ones. It’s sure to become a family favorite, bringing warmth and happiness to your table.
Dairy Free Pumpkin Pie
Ingredients
Equipment
Method
- Preheat your oven to 425 degrees Fahrenheit.
- In a large bowl, beat together the eggs, pumpkin puree, vanilla extract, brown sugar, salt, and pumpkin pie spice until they’re smooth and well combined.
- While gently stirring, add the coconut milk into the mixture and mix until everything is combined.
- Pour the prepared filling into your pie crust.
- Place the pie in the oven and bake for 15 minutes.
- After 15 minutes, reduce the oven temperature to 350 degrees Fahrenheit and continue baking for an additional 35 to 50 minutes.
- Once baked, transfer the pie to a cooling rack. Let it cool completely before moving it to the refrigerator.
- If you’re not serving immediately, store the pie in the refrigerator.
Notes
- Storage: Store leftover pie in an airtight container in the refrigerator for up to five days.
- Freezing: You can freeze the pie for up to two months. Wrap it well with plastic wrap and then foil.
- Pairing: Serve your pie with a scoop of dairy-free ice cream or topped with whipped coconut cream.
- Adjust Sweetness: Feel free to tweak the amount of brown sugar based on your preference for sweetness.
- Experiment with Spices: Add more spices like ginger or nutmeg for a personalized flavor.