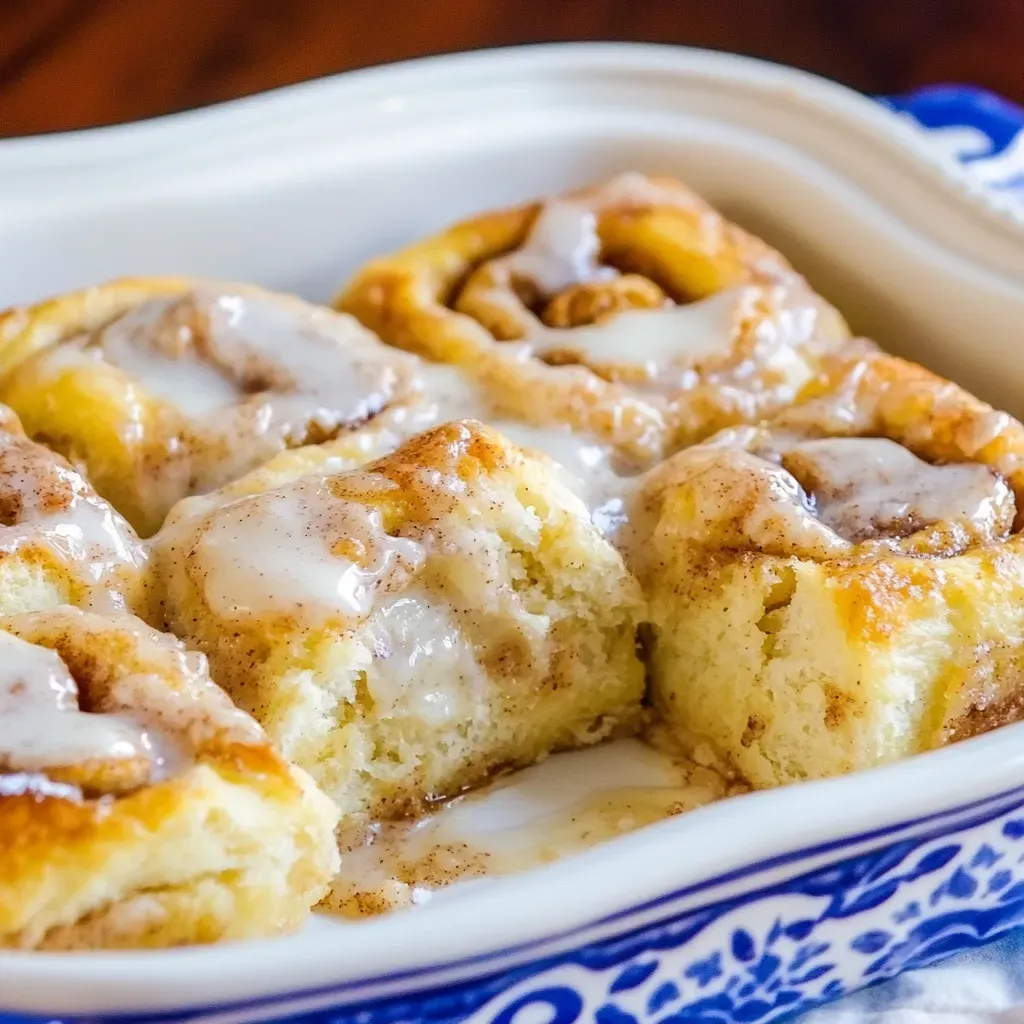
There’s something incredibly comforting about homemade cinnamon rolls. The aroma of freshly baked goods wafting through the kitchen brings back memories of lazy Sunday mornings spent with family. That’s why I love making Bisquick Cinnamon Rolls — they come together so quickly and easily, yet taste utterly divine. Each bite is fluffy, sweet, and just the right amount of sticky. They’re perfect for breakfast or as a special treat anytime you crave something warm and comforting.
Recipe Snapshot
40 mins
15 mins
25 mins
Medium
280 kcal
3 g
Gluten-Free, Low FODMAP
12 g
Frying Pan, Wooden Spoon, Oven, Chef’s Knife, Whisk, Mixing Bowl, Baking Sheet
What’s Great About This Bisquick Cinnamon Rolls
Quick and Simple
One of the standout features of Bisquick Cinnamon Rolls is how uncomplicated they are to prepare. With just a few ingredients and minimal prep time, you can have these delicious rolls baking in no time. It’s perfect for those busy mornings when you want to serve up something special without spending hours in the kitchen.
Versatile and Customizable
You can easily customize these rolls to suit your taste. Whether you prefer a cream cheese frosting or a simple glaze, the options are endless. Add in some nuts, dried fruits, or even chocolate chips for a delightful twist. The base recipe is so adaptable, allowing you to create a new favorite each time.
Perfect for Any Occasion
Whether it’s a holiday gathering, a brunch with friends, or just a cozy family breakfast, Bisquick Cinnamon Rolls fit the bill perfectly. They’re a crowd-pleaser and sure to impress anyone who takes a bite. Plus, they make for a great dessert too!
Minimal Cleanup
We all dread the cleanup after cooking, but with these rolls, you’ll find the process to be refreshingly simple. Most of the work happens in just one bowl, and the baking dish is easy to clean. You can enjoy your delicious rolls without the hassle of a mountain of dishes.
Fun Family Activity
Making Bisquick Cinnamon Rolls can be a fun family activity. Involve your kids in rolling out the dough or sprinkling the cinnamon sugar. It’s a wonderful way to create memories together while enjoying some delicious treats.
What to Gather for Bisquick Cinnamon Rolls
To create these delightful rolls, you need a handful of key ingredients that work beautifully together to create a fluffy and sweet treat. The Bisquick mix provides a solid base, while the granulated sugar and brown sugar add the perfect sweetness. The buttermilk keeps the dough tender and moist, and the butter adds richness. Together, these ingredients create the ideal cinnamon rolls that everyone will love.
- 2 3/4 cups Bisquick mix – This versatile mix forms the base of your dough, ensuring a soft and fluffy texture.
- 2 tablespoons granulated sugar – Adds sweetness to the dough, balancing the flavors wonderfully.
- 3/4 cup buttermilk – Keeps the rolls moist and tender, contributing to their delicious flavor.
- 2/3 cup packed light brown sugar – This gives a rich, caramel-like sweetness to the cinnamon filling.
- 2 teaspoons ground cinnamon – The star flavor of these rolls that gives them that classic cinnamon roll taste.
- 6 tablespoons butter, melted – Adds richness and helps the dough come together beautifully.
- 1 1/3 cups powdered sugar – Essential for creating a sweet glaze to drizzle over the finished rolls.
- 1 1/2 tablespoons melted butter – Used in the glaze for added flavor.
- 1-2 tablespoons heavy cream – Helps thin out the glaze to drizzle perfectly.
- 1/2 teaspoon vanilla extract – Adds a hint of warmth and depth to the glaze.
How to Make Bisquick Cinnamon Rolls
Getting started on Bisquick Cinnamon Rolls is a fun and rewarding experience. With just a few easy steps, you’ll have hot, gooey rolls ready to enjoy. Let’s dive into the process and make your kitchen smell heavenly!
- Preheat your oven to 375 degrees Fahrenheit and grease a 9-inch pie pan or cake pan. This ensures your rolls don’t stick during baking, making cleanup easier.
- In a large mixing bowl, stir together the Bisquick mix, granulated sugar, and buttermilk just until a dough forms. It’s okay if there’s a little dry Bisquick remaining; you can add a splash more buttermilk if needed. The dough should be soft but not too sticky.
- Sprinkle some flour on a clean surface – you can use a pastry mat, counter, or even parchment paper. This will help you roll out the dough without it sticking.
- Roll the dough out into an approximate rectangle of 8 by 12 inches. Aim for an even thickness so that the rolls bake uniformly. You want it to be about half an inch thick.
- In a small bowl, combine the brown sugar and ground cinnamon. Then, add 2 tablespoons of the melted butter and mix it in to create a paste-like filling.
- Brush the remaining melted butter over the rolled-out dough. This adds flavor and helps the cinnamon mixture stick.
- Evenly sprinkle the cinnamon mixture over the entire surface of the dough. Make sure to cover every inch to ensure every bite is flavorful.
- Now, roll the dough up jellyroll style, starting at one of the long ends. Keep the roll tight but not so tight that the filling spills out.
- Use dental floss or a sharp knife to slice the rolled dough into 8 equal pieces. These will be your individual rolls. Dental floss can help make clean cuts without squishing the rolls.
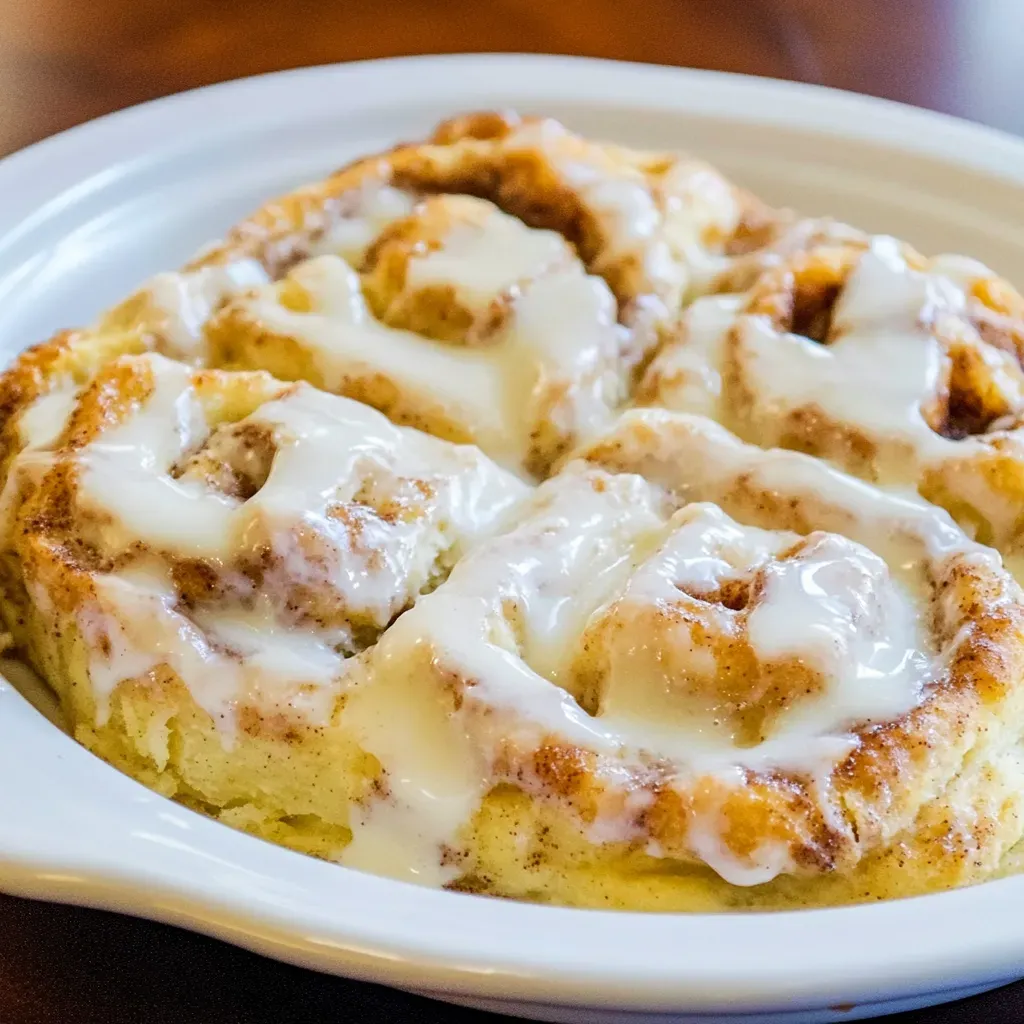
- Place the rolls in your prepared pan. Make sure they’re snug but not overcrowded, as they will expand while baking. Bake in the preheated oven for about 22 to 25 minutes, or until the centers are no longer gooey. You want them golden brown.
- While the rolls bake, prepare the glaze. In a medium bowl, whisk together the powdered sugar, melted butter, heavy cream, and vanilla extract until smooth. If it’s too thick, add a bit more heavy cream until you reach your desired consistency.
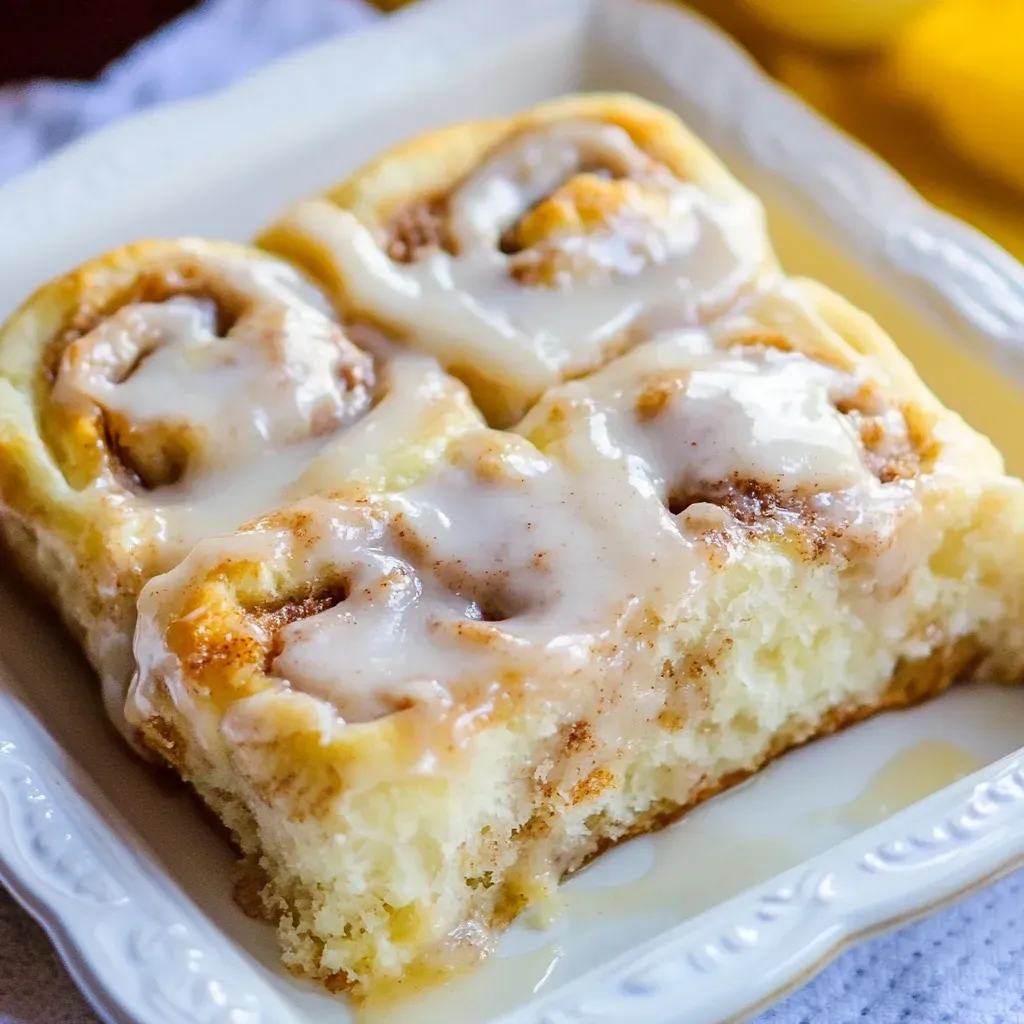
- Once the rolls are done, let them cool for a few minutes before drizzling the glaze over the top. Enjoy your delicious Bisquick Cinnamon Rolls warm from the oven!
Things Worth Knowing
- Check the Dough: The dough should be soft and pliable. If it’s too dry, a tablespoon of buttermilk can help.
- Roll Evenly: Ensure your rectangle is even in thickness to achieve uniform rolls.
- Watch the Baking Time: Keep an eye on your rolls; if they brown too quickly, cover them with aluminum foil.
- Glaze Consistency: Adjust the thickness of your glaze with heavy cream for the perfect drizzle.
Expert Tips about Bisquick Cinnamon Rolls
As you embark on making Bisquick Cinnamon Rolls, these tips will help you achieve the best results. Let’s ensure your rolls are a hit!
- Storage: Keep leftover rolls in an airtight container at room temperature for up to 3 days. They can also be refrigerated for longer freshness.
- Freezing: You can freeze baked rolls. Just wrap them tightly in plastic wrap and foil. When ready to eat, thaw and reheat in the oven.
- Variations: Experiment with different fillings! Try adding nuts, dried fruits, or chocolate chips to the cinnamon mixture for a fun twist.
- Serving Warm: These rolls taste best warm out of the oven. Reheat them slightly to bring back their gooey texture.
- Garnish Ideas: Top the glaze with chopped nuts, sprinkles, or even a sprinkle of cinnamon for added flair.
Serving Options for Bisquick Cinnamon Rolls
- Breakfast Treat: Enjoy these cinnamon rolls as a delightful breakfast option, paired with coffee or tea for a warm start to your day.
- Brunch Delight: Serve them at brunch gatherings alongside fresh fruit and yogurt for a balanced meal.
- Holiday Celebrations: Bisquick Cinnamon Rolls are perfect for holiday breakfasts, especially during festive occasions like Christmas or Easter.
- Snack Time: They can also make for a sweet afternoon snack, bringing a smile to your face with each bite.
- Storage Tips: If you have leftovers, store them properly to enjoy them later. They can be reheated in the oven or microwave.
FAQ
Conclusion
Making Bisquick Cinnamon Rolls is not just about baking; it’s about creating moments of joy and comfort. These rolls are simple, delicious, and perfect for sharing with loved ones. I encourage you to try this recipe and experience the warm, gooey goodness for yourself. Your kitchen will smell incredible, and your taste buds will thank you!
Bisquick Cinnamon Rolls
Ingredients
Equipment
Method
- Preheat your oven to 375 degrees Fahrenheit and grease a 9-inch pie pan or cake pan. This ensures your rolls don’t stick during baking, making cleanup easier.
- In a large mixing bowl, stir together the Bisquick mix, granulated sugar, and buttermilk just until a dough forms. It’s okay if there’s a little dry Bisquick remaining; you can add a splash more buttermilk if needed. The dough should be soft but not too sticky.
- Sprinkle some flour on a clean surface – you can use a pastry mat, counter, or even parchment paper. This will help you roll out the dough without it sticking.
- Roll the dough out into an approximate rectangle of 8 by 12 inches. Aim for an even thickness so that the rolls bake uniformly. You want it to be about half an inch thick.
- In a small bowl, combine the brown sugar and ground cinnamon. Then, add 2 tablespoons of the melted butter and mix it in to create a paste-like filling.
- Brush the remaining melted butter over the rolled-out dough. This adds flavor and helps the cinnamon mixture stick.
- Evenly sprinkle the cinnamon mixture over the entire surface of the dough. Make sure to cover every inch to ensure every bite is flavorful.
- Now, roll the dough up jellyroll style, starting at one of the long ends. Keep the roll tight but not so tight that the filling spills out.
- Use dental floss or a sharp knife to slice the rolled dough into 8 equal pieces. These will be your individual rolls. Dental floss can help make clean cuts without squishing the rolls.
- Place the rolls in your prepared pan. Make sure they’re snug but not overcrowded, as they will expand while baking. Bake in the preheated oven for about 22 to 25 minutes, or until the centers are no longer gooey. You want them golden brown.
- While the rolls bake, prepare the glaze. In a medium bowl, whisk together the powdered sugar, melted butter, heavy cream, and vanilla extract until smooth. If it’s too thick, add a bit more heavy cream until you reach your desired consistency.
- Once the rolls are done, let them cool for a few minutes before drizzling the glaze over the top. Enjoy your delicious Bisquick Cinnamon Rolls warm from the oven!
Notes
- Tip 1: Dental floss works really well to cut the dough into slices without smooshing it.
- Tip 2: If the tops of the cinnamon rolls start to get too browned before the middle is cooked, cover with aluminum foil.