When I first decided to make Crispy Roasted Chickpeas, I was on a quest for a healthy snack that was both satisfying and packed with flavor. Every time I craved something crunchy, I’d reach for a bag of chips, but I knew there had to be a better option. Enter roasted chickpeas! These little nuggets of goodness are not only delicious, but they also provide a great source of protein and fiber. It’s amazing how something so simple can transform into a crunchy delight. I remember the first time I pulled them out of the oven; the aroma of spices filled my kitchen, and I couldn’t resist sneaking a few before they had even cooled down. Trust me, once you try making Crispy Roasted Chickpeas, you’ll never look at snacks the same way again!
Recipe Snapshot
50 mins
10 mins
40 mins
Medium
132 kcal
7 g
Keto, Paleo, Whole30
3 g
Oven, Baking Sheet, Frying Pan, Mixing Bowl
Why This Crispy Roasted Chickpeas Is a Winner
Nutritious and Satisfying
One of the best things about Crispy Roasted Chickpeas is that they are incredibly nutritious. Chickpeas are a fantastic source of plant-based protein, making them a perfect snack for vegetarians and health enthusiasts alike. They also contain fiber, which helps keep you feeling full longer. When you roast them, you’re not just cooking them; you’re transforming them into a satisfying snack that’s good for you.
Endless Flavor Possibilities
Another reason I adore this recipe is the versatility it offers. You can easily switch up the seasonings to match your mood or the occasion. Whether you prefer a spicy kick with cayenne pepper or a savory blend of garlic and onion powder, the options are limitless. Each batch can have a different flavor profile, so you’ll never get bored of snacking on chickpeas!
Perfect for Meal Prep
Making Crispy Roasted Chickpeas is an ideal meal prep solution. They store well in an airtight container and can easily be made in bulk. I love prepping a big batch on the weekend, so I have a healthy snack ready to grab during the busy weekdays. They’re perfect for tossing in salads, adding to lunch boxes, or just snacking on throughout the day.
Great for Entertaining
If you’re looking for a crowd-pleaser for your next gathering, look no further. Crispy Roasted Chickpeas can be a fantastic addition to your appetizer table. They’re easy to make and can be served in a bowl for your guests to munch on while they socialize. I’ve found that they are often the first to disappear!
Kid-Friendly and Fun
Kids love snacks, and Crispy Roasted Chickpeas are no exception. They’re a fun, crunchy treat that can be seasoned to suit young taste buds. Plus, they’re a great way to get children involved in the kitchen. Watching them dunk the chickpeas in olive oil and sprinkle on their favorite spices can be a delightful experience!
What to Gather for Crispy Roasted Chickpeas
When it comes to making Crispy Roasted Chickpeas, the beauty lies in the simplicity of the ingredients. Chickpeas are the star of the show, bringing a lovely nutty flavor and hearty texture. Coupled with good quality olive oil and a pinch of salt, they form the base of this irresistible snack. The spices you choose can elevate the dish, allowing your creativity to shine. Let’s take a closer look at what you’ll need.
- 1 can chickpeas: The main ingredient in this recipe, chickpeas are packed with protein and fiber. They’re also versatile and can be used in various dishes.
- 1 tablespoon olive oil: This adds richness and helps the chickpeas crisp up nicely in the oven. Choose a good quality olive oil for the best flavor.
- 1/2 teaspoon kosher salt or sea salt: Salt enhances the flavor of the chickpeas, providing that necessary contrast to their natural nuttiness.
- 1 to 2 teaspoons spices: You can mix and match spices like garam masala, za’atar, curry powder, smoked paprika, chili powder, paprika, cumin, and garlic powder for a flavorful punch.
Preparation Steps for Crispy Roasted Chickpeas
Getting ready to make Crispy Roasted Chickpeas is a breeze! The best part is how easy the steps are to follow. Just gather your ingredients and prepare to be amazed at how something so simple can become a delightful snack. Let’s dive into the preparation process.
Preheat your oven to 375 degrees F. This initial step is crucial to ensuring that your chickpeas roast evenly and achieve that perfect crunch. A well-preheated oven will help them get nice and crispy!
Pour the chickpeas into a strainer in the sink, rinsing them thoroughly under cold water. This helps to remove any excess sodium from the can and ensures they are clean. Drain them well afterward, allowing them to dry properly.
Spread the drained chickpeas onto a clean dish towel and pat them dry. This step is important because moisture can prevent them from getting crispy in the oven. You might even want to rub them gently to remove any skins if you prefer. While it isn’t necessary, this can enhance the crunchiness.
Transfer the dried chickpeas to a large baking sheet. Drizzle with the olive oil, ensuring they are well-coated. Use your hands or a spatula to toss them around, making sure every chickpea is covered in oil.
Season your chickpeas with the kosher salt. Feel free to adjust the amount based on your taste preferences. Now’s the time to add any additional spices you want. This is where your creativity can shine!
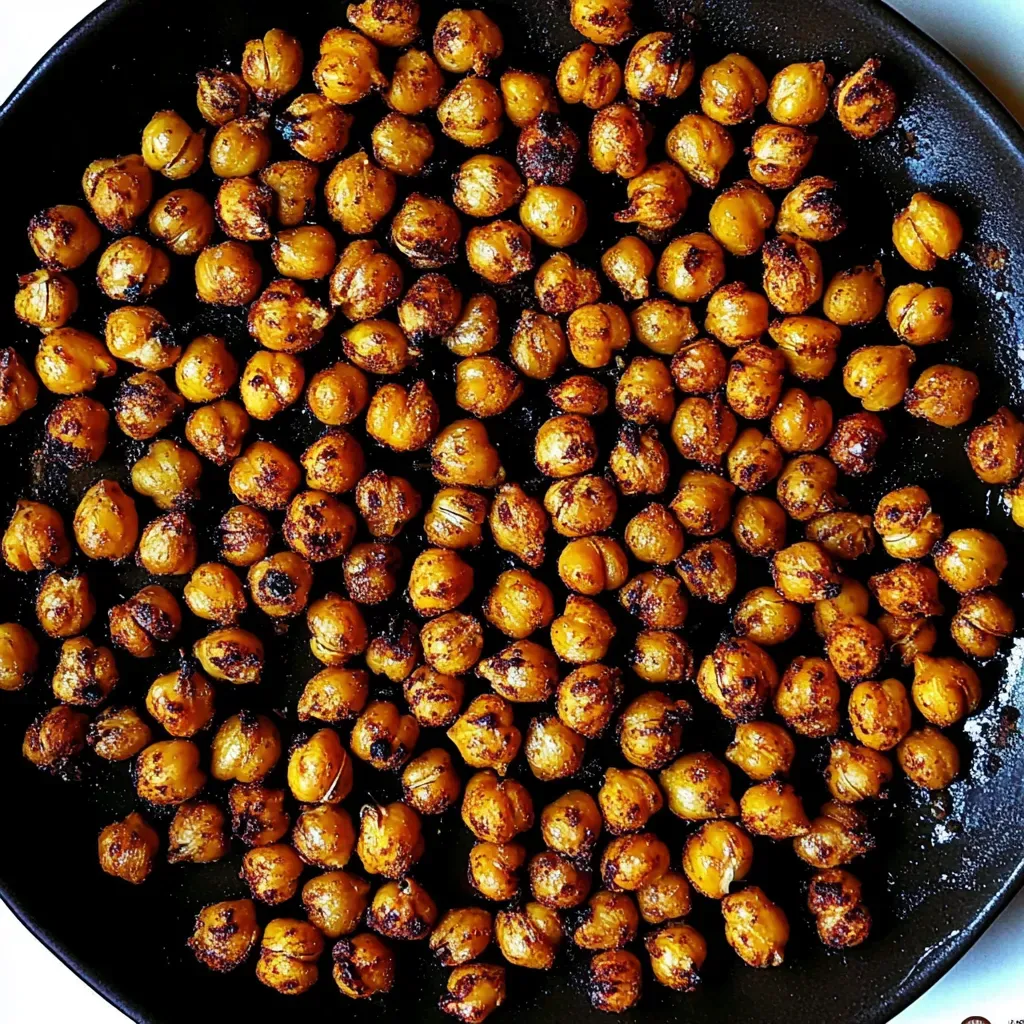
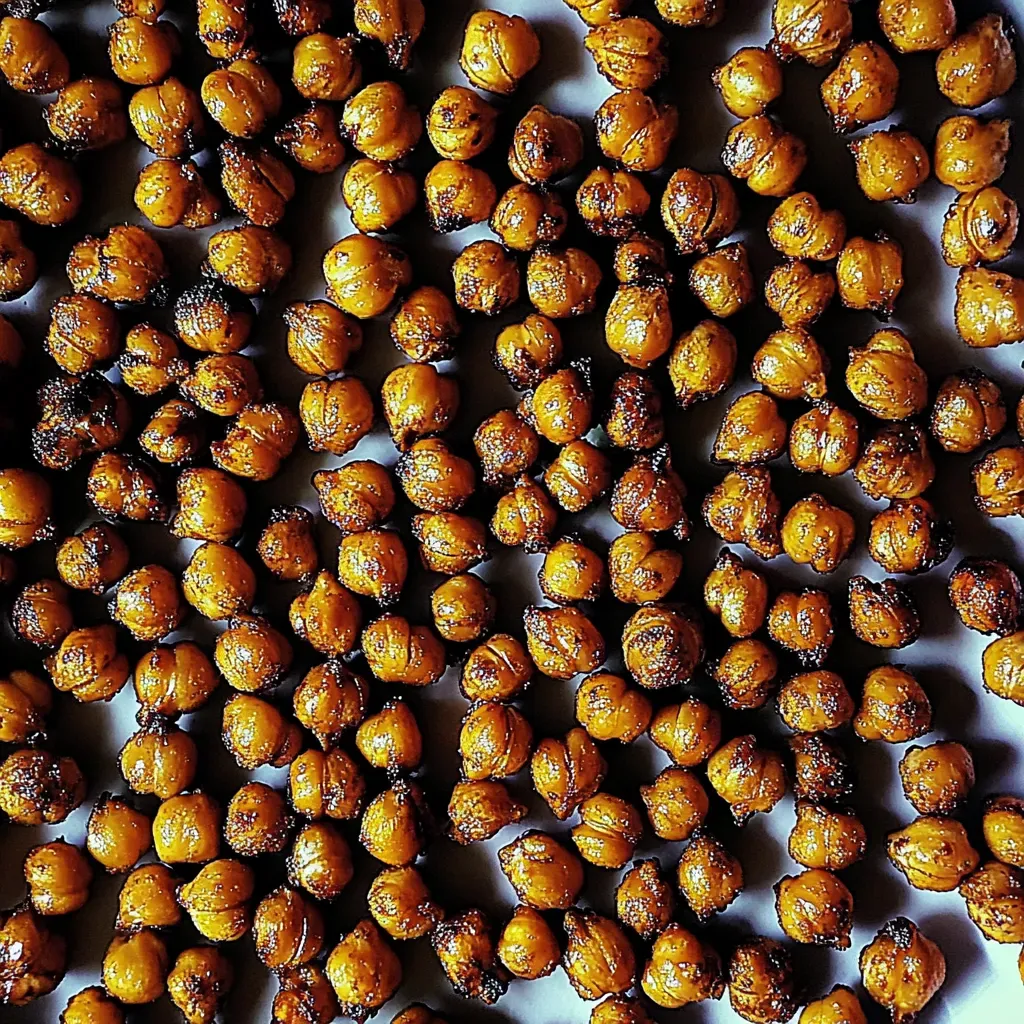
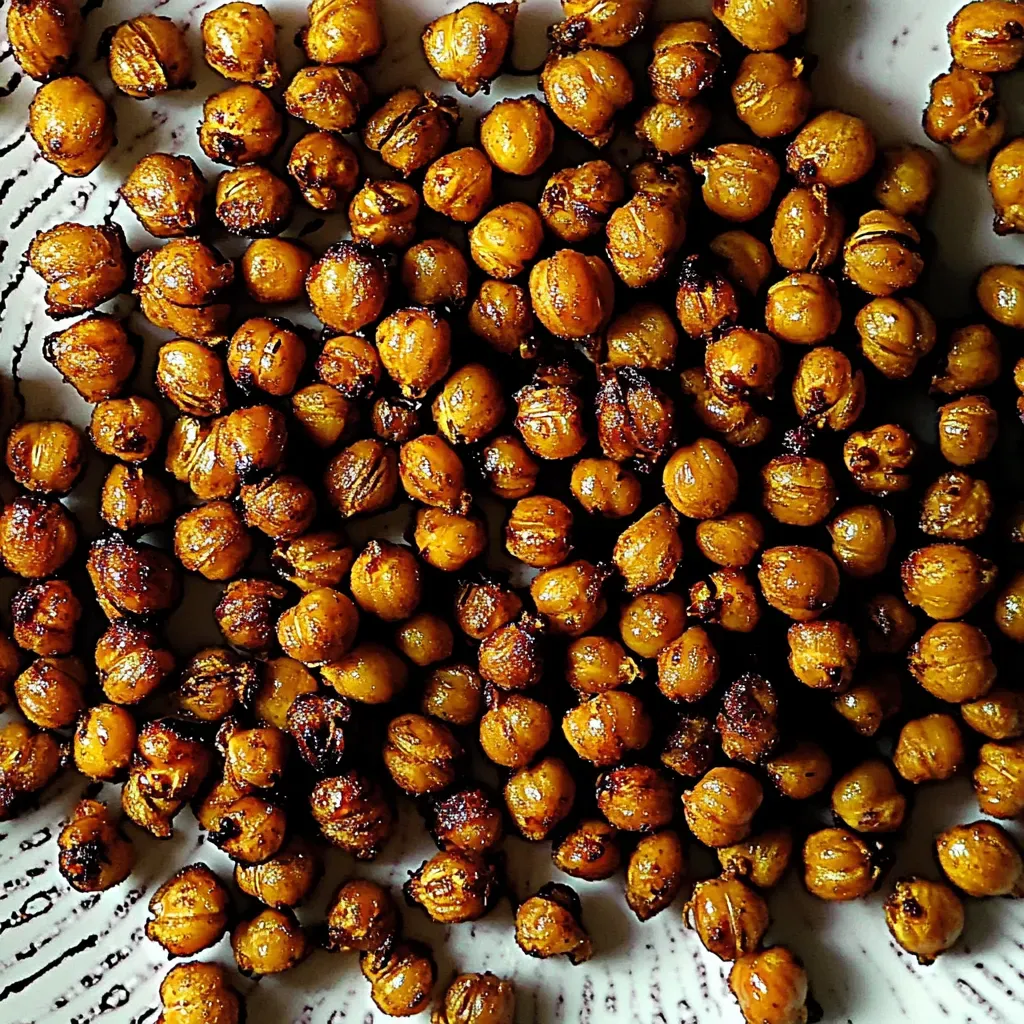
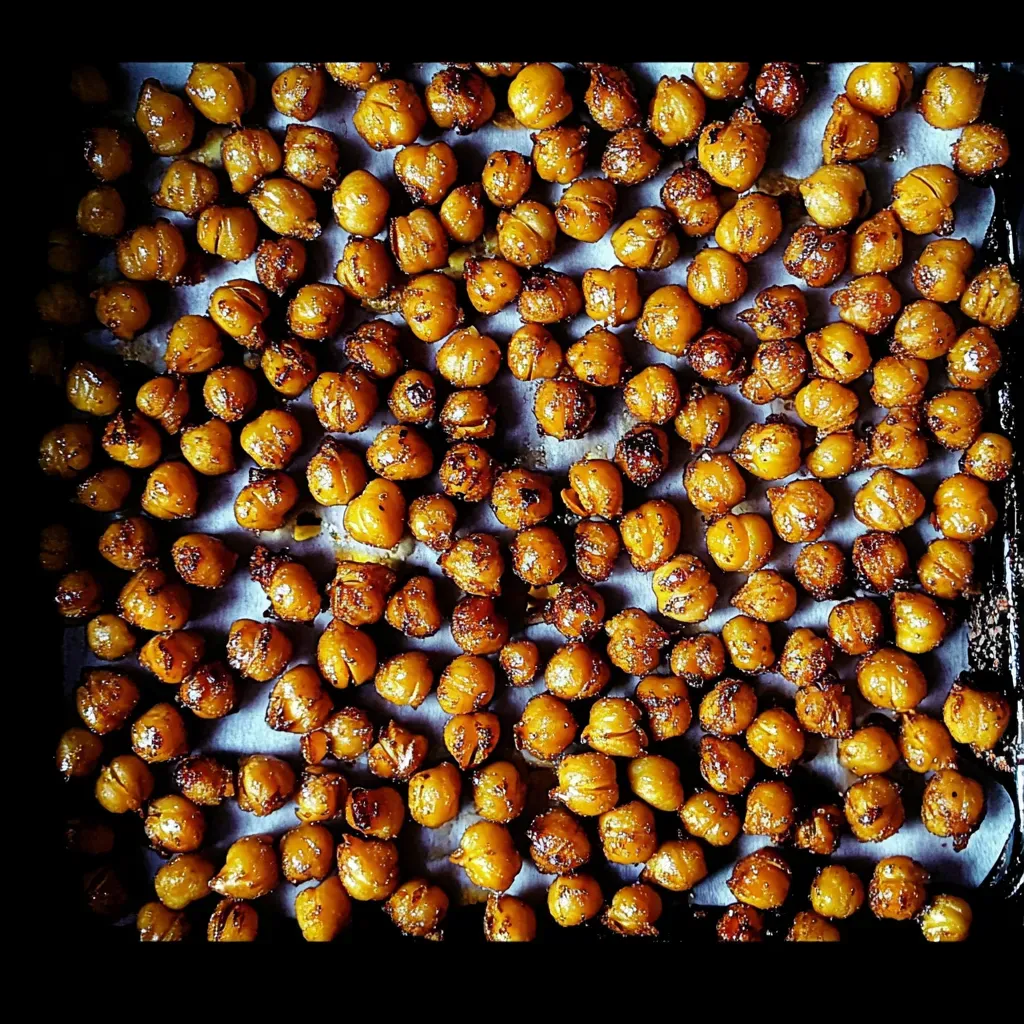
Roast the chickpeas in the oven for 35 to 45 minutes. Keep an eye on them, giving the pan a shake halfway through to promote even cooking. You’ll want them to turn a beautiful golden brown and become irresistibly crispy.
Remove the pan from the oven, and while they’re still warm, toss the chickpeas in your favorite seasonings. This is the time to sprinkle on any additional spices. Let them cool completely; they will continue to crisp up as they cool, so don’t rush this step!
Things Worth Knowing
- Ensure proper drying: Drying the chickpeas is vital for achieving that crunchy texture. Any moisture left can lead to sogginess.
- Experiment with spices: Don’t hesitate to try different spice combinations. The beauty of this recipe lies in its adaptability to your taste.
- Keep an eye on roasting: Ovens can vary, so check your chickpeas regularly to avoid burning. Adjust the cooking time based on how crispy you like them.
- Store correctly: Store your roasted chickpeas in an airtight container to maintain their crunch. They can last up to a week if stored properly.
Tips for Success
Making Crispy Roasted Chickpeas can be simple, but here are some tips to ensure your snacking experience is top-notch!
- Storage: Keep any leftover Crispy Roasted Chickpeas in an airtight container at room temperature. They should stay crunchy for about a week.
- Freezing: While it’s best to enjoy them fresh, you can freeze them in a single layer on a baking sheet and then transfer them to a freezer bag. When you’re ready to eat, roast them again to regain a fresh crunch.
- Pairing: These chickpeas make a great addition to salads, grain bowls, or as a topping for soups to add texture.
- Health Boost: Enhance their nutritional value by adding spices known for their health benefits, like turmeric or cumin.
- Flavor Variations: Try sweet varieties by adding cinnamon and a bit of sugar for a unique dessert-like snack!
Side Dish Ideas for Crispy Roasted Chickpeas
When it comes to serving Crispy Roasted Chickpeas, you have a world of possibilities. Here are some side dish ideas and occasions where these crispy delights shine:
- Salads: Toss Crispy Roasted Chickpeas into your favorite salad for added crunch and protein. They pair wonderfully with greens, tomatoes, and a tangy vinaigrette.
- Snack Bowls: Serve them in a bowl as a light snack for movie nights or gatherings. Pair with hummus or yogurt dips for extra flavor.
- Grain Bowls: Incorporate these chickpeas into grain bowls, mixing them with quinoa, brown rice, or farro for a hearty meal.
- Lunch Boxes: Pack them in lunch boxes for a healthy afternoon snack. They’re easy to transport and will keep you satisfied throughout the day.
- Potlucks: Bring Crispy Roasted Chickpeas to potlucks or parties as a unique addition to the appetizer spread. They’re sure to impress your friends!
- Seasonal Pairings: In the fall, add warming spices like cinnamon and nutmeg, while in the summer, opt for lighter, zestier flavors like lemon and dill.
FAQ
Conclusion
Crispy Roasted Chickpeas are not just a delicious snack; they embody the perfect blend of nutrition and flavor. Whether you’re looking for a satisfying crunch for movie night or a nutritious topping for your salads, these roasted chickpeas will surely impress. I encourage you to give this recipe a try; you won’t regret it!
Crispy Roasted Chickpeas
Ingredients
Equipment
Method
- Preheat your oven to 375 degrees F. This initial step is crucial to ensuring that your chickpeas roast evenly and achieve that perfect crunch. A well-preheated oven will help them get nice and crispy!
- Pour the chickpeas into a strainer in the sink, rinsing them thoroughly under cold water. This helps to remove any excess sodium from the can and ensures they are clean. Drain them well afterward, allowing them to dry properly.
- Spread the drained chickpeas onto a clean dish towel and pat them dry. This step is important because moisture can prevent them from getting crispy in the oven. You might even want to rub them gently to remove any skins if you prefer. While it isn’t necessary, this can enhance the crunchiness.
- Transfer the dried chickpeas to a large baking sheet. Drizzle with the olive oil, ensuring they are well-coated. Use your hands or a spatula to toss them around, making sure every chickpea is covered in oil.
- Season your chickpeas with the kosher salt. Feel free to adjust the amount based on your taste preferences. Now’s the time to add any additional spices you want. This is where your creativity can shine!
- Roast the chickpeas in the oven for 35 to 45 minutes. Keep an eye on them, giving the pan a shake halfway through to promote even cooking. You’ll want them to turn a beautiful golden brown and become irresistibly crispy.
- Remove the pan from the oven, and while they’re still warm, toss the chickpeas in your favorite seasonings. This is the time to sprinkle on any additional spices. Let them cool completely; they will continue to crisp up as they cool, so don't rush this step!