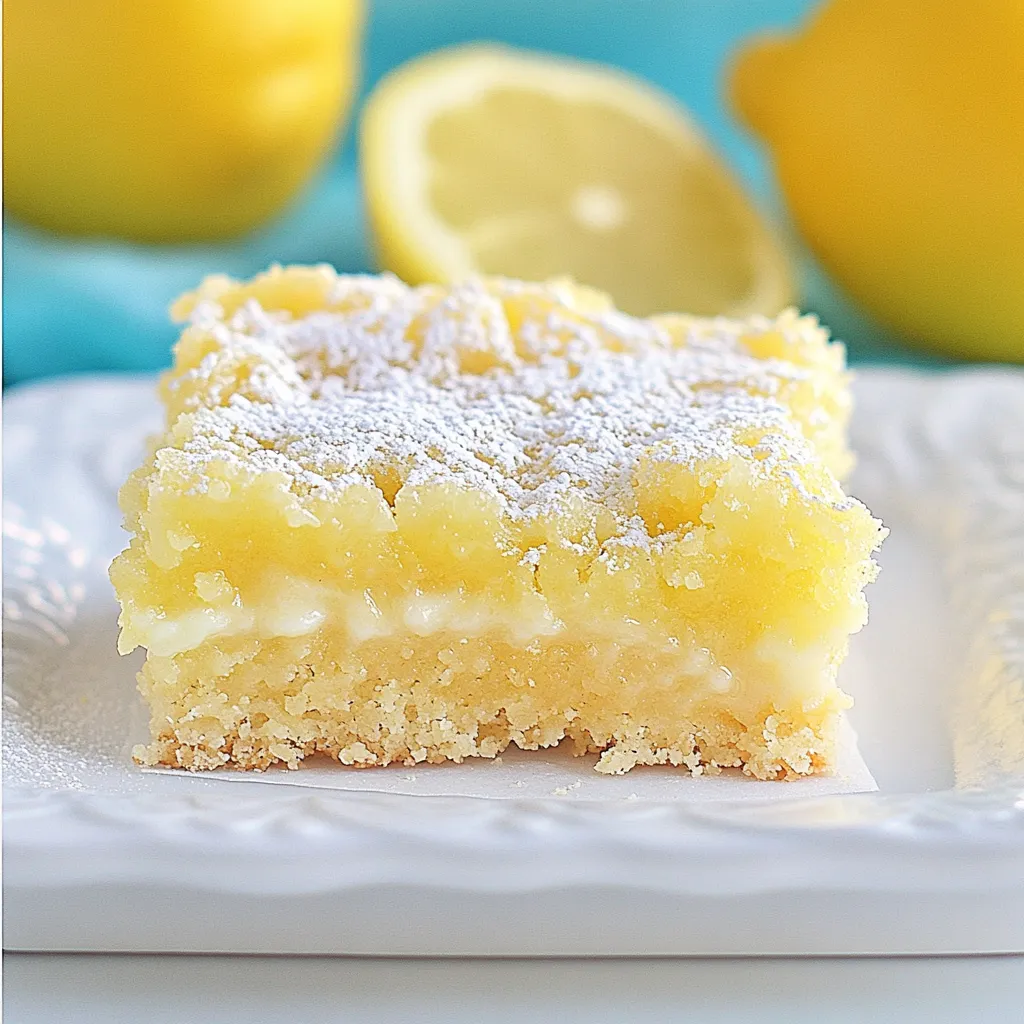
When I think of spring, I can’t help but crave the zesty, vibrant flavors of Microwave Lemon Bars. These delightful treats have a way of brightening up even the cloudiest of days. I remember the first time I made them for a gathering; everyone was curious about the secret to the perfect lemony goodness. With their buttery crust and tangy filling, these bars quickly became a favorite among friends and family. The best part? They’re incredibly easy to whip up in the microwave, giving you that fresh-baked taste in no time at all!
Recipe Snapshot
30 mins
20 mins
10 mins
Medium
150 kcal
2 g
Vegan, Gluten-Free, AIP
6 g
Whisk, Wooden Spoon
Every bite of a Microwave Lemon Bars transports me to a sunny afternoon, where laughter fills the air and the aroma of citrus dances around. They’re not just a dessert; they’re a celebration of spring! The perfect balance of sweetness and tartness allows them to shine as a delightful treat for any occasion, whether it’s a cozy family dinner or a vibrant picnic in the park. Trust me, once you make these bars, they’ll find a special place in your heart and your recipe book.
Recipe Snapshot
30 mins
20 mins
10 mins
Medium
150 kcal
2 g
Vegan, Gluten-Free, AIP
6 g
Whisk, Wooden Spoon
The Charm of This Microwave Lemon Bars
Quick and Easy Preparation
One of the best things about Microwave Lemon Bars is how quickly they come together. In under an hour, you can have a fresh batch ready to indulge in. This is especially useful for those last-minute gatherings where you want to impress but don’t have much time.
Refreshing Flavor Profile
The bright flavor of lemon zest combined with fresh lemon juice makes these bars incredibly refreshing. They’re a great way to cleanse your palate and provide a wonderful contrast to richer desserts. I often find myself reaching for a second (or third!) piece just to savor that delightful tang.
Perfect for Any Occasion
Whether it’s a birthday celebration, a spring picnic, or just a casual get-together, these bars are versatile enough to fit any occasion. I’ve served them at family gatherings and even made them as a surprise treat for friends, and they’re always a hit!
Healthier Dessert Option
Unlike many heavier desserts, Microwave Lemon Bars feel light and satisfy your sweet tooth without being overly indulgent. The balance of sugar and lemon creates a delightful treat that doesn’t leave you feeling sluggish afterward. They’re perfect for those moments when you want to treat yourself without overdoing it.
Make-Ahead Convenience
These bars can be made ahead of time, which is a huge plus for busy weeks. Just prepare them, let them chill, and they’ll be ready when you need them. You can even store them in the fridge for a few days, making them a great option for meal prep or planned gatherings.
Ingredients Overview for Microwave Lemon Bars
The ingredients for these Microwave Lemon Bars speak to the essence of what makes them special. The combination of zesty lemons, buttery crust, and a dash of sweetness creates an irresistible harmony of flavors. Each component plays a vital role, ensuring that every bite is pure bliss. Let’s dive into the key players of this recipe:
- All-Purpose Flour: The base of the crust, which provides structure and a tender crumb.
- Powdered Sugar: Adds sweetness and helps create a melt-in-your-mouth texture.
- Lemon Zest: Infuses the bars with a bright, citrusy flavor that’s unmistakably refreshing.
- Butter: Contributes richness and a luscious texture to the crust.
- Granulated Sugar: Balances the tartness of the lemon juice in the filling.
- Large Eggs: Provides the necessary binding and creates a custard-like filling.
- Fresh Lemon Juice: This is where the magic happens—freshly squeezed lemon juice gives the bars their signature tang.
- Baking Powder: Helps the filling rise slightly, giving it a lightness.
- Salt: A pinch enhances the overall flavor.
Step by Step Instructions for Microwave Lemon Bars
Making Microwave Lemon Bars is a breeze! Follow these simple steps to create a luscious treat that will impress everyone. It’s all about layering the flavors and baking them to perfection. Let’s get started!
Lightly grease a 9×9 inch microwave-safe baking dish or line it with parchment paper for easy removal. This ensures that your Microwave Lemon Bars won’t stick.
In a mixing bowl, whisk together 1 cup of all-purpose flour, 3 tablespoons of powdered sugar, and 1 tablespoon of lemon zest. This combination will form the base of your crust, so make sure it’s well mixed.
Stir in 6 tablespoons of melted butter until the mixture resembles wet sand. This will create a crumbly yet cohesive crust.
Press the crust mixture into the prepared baking dish evenly, ensuring it’s tightly packed. The crust should be slightly thicker at the edges.
Microwave the crust on high for three minutes at 80% power. After three minutes, check to see if it’s firm to the touch. If it’s still soft, heat for an additional 30 seconds at 80% power. Set aside to cool.
In a separate bowl, beat together 1 cup of granulated sugar, 2 tablespoons of lemon zest, 3 large eggs, and 1/3 cup of fresh lemon juice until well combined.
Add in 1 tablespoon of all-purpose flour, 1/2 teaspoon of baking powder, and 1/4 teaspoon of salt. Continue beating for another 2 to 3 minutes until the mixture is smooth and slightly thickened.
Pour the lemon filling over the cooled crust in the baking dish, making sure it’s evenly distributed. This will create that luscious top layer that defines your Microwave Lemon Bars.
Microwave the bars for three minutes at 80% power. Check the center; it should be set with a slight jiggle, similar to Jell-O. If it isn’t set, microwave for an additional minute at 80% power and check again.
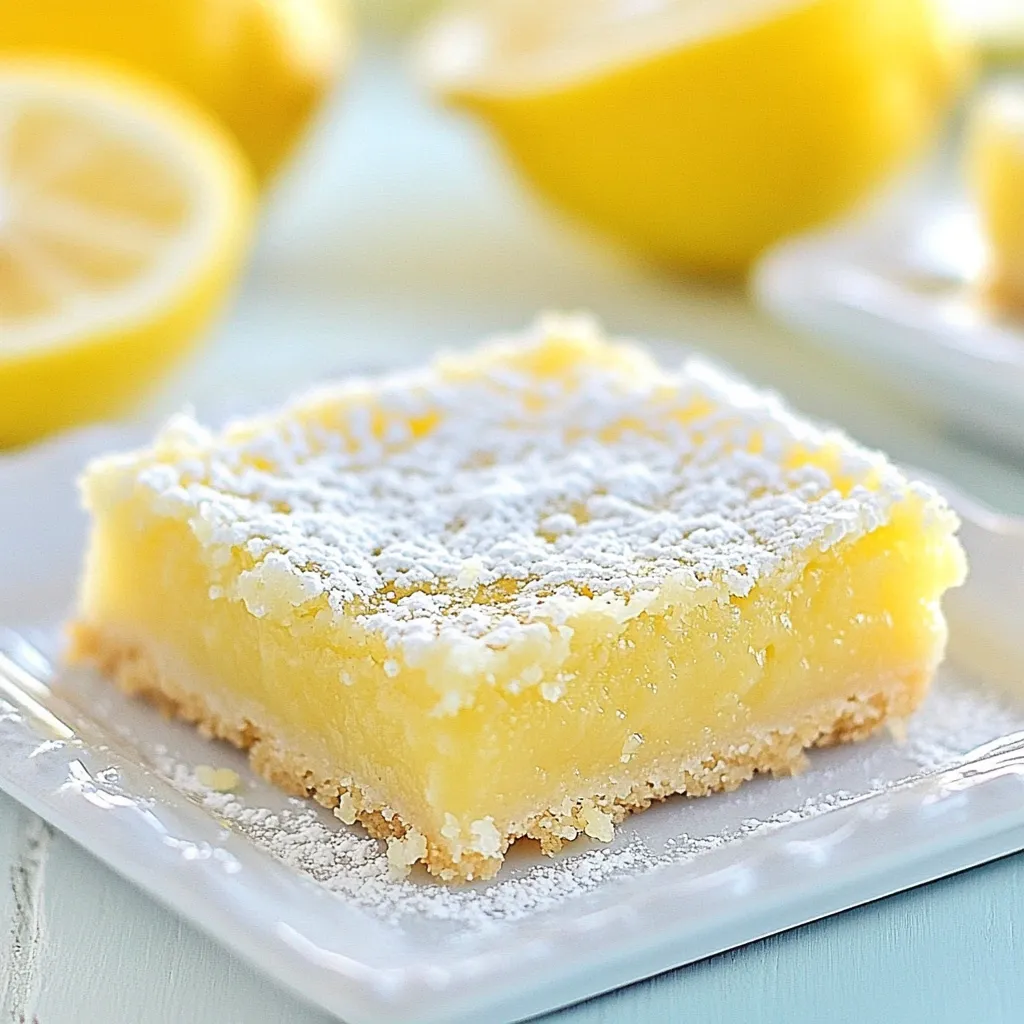
Once done, allow the lemon squares to cool completely at room temperature. Then, refrigerate them for several hours or overnight to set properly.
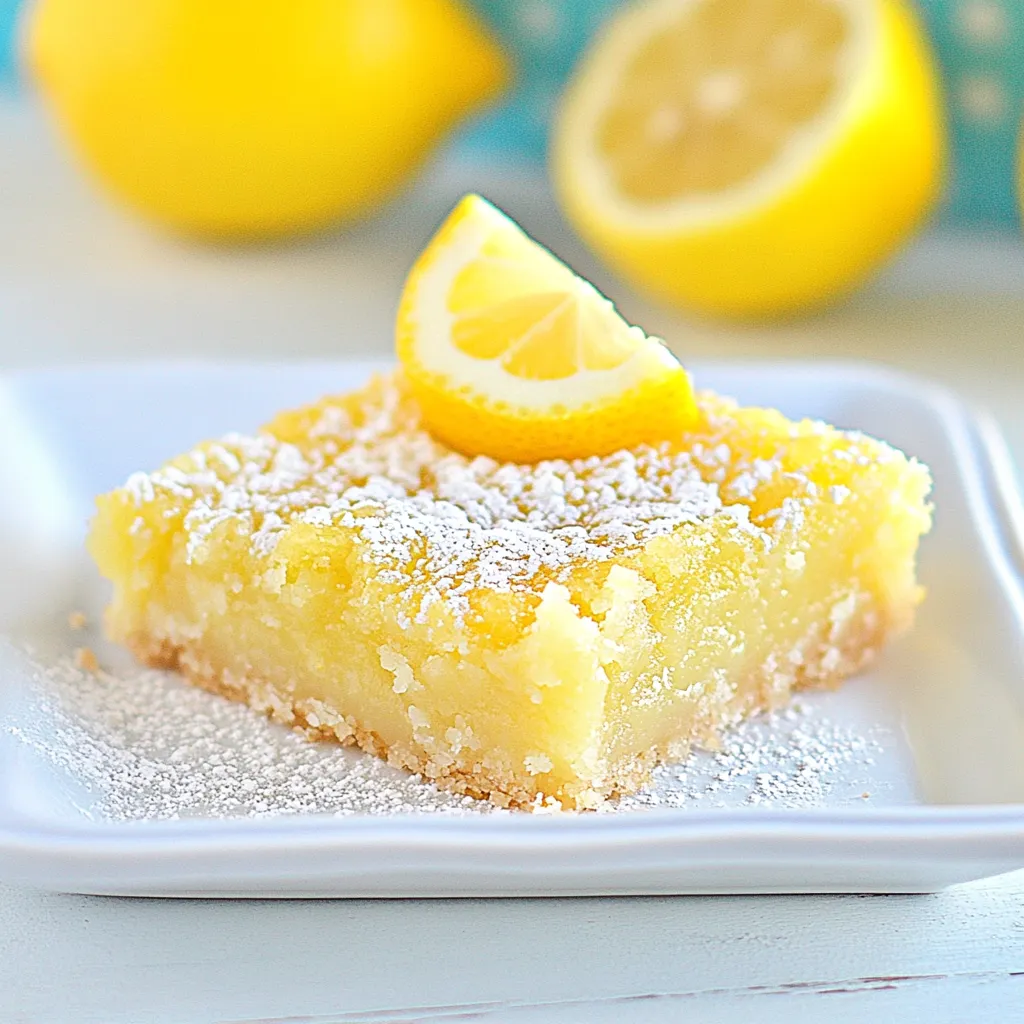
Finally, cut into squares, dust with powdered sugar, and sprinkle additional lemon zest on top if desired. Keep these delicious treats refrigerated until serving!
Things Worth Knowing
- Use a microwave-safe dish: Ensure your baking dish is specifically labeled for microwave use to avoid any mishaps.
- Check for doneness: The filling should be just set; it can continue to firm up as it cools.
- Chill before serving: This allows the flavors to meld and enhances the texture of the bars.
- Experiment with zest: Feel free to use zest from other citrus fruits for a unique twist.
Change It Up

If you’re looking to personalize your Microwave Lemon Bars, here are some fun tips to consider:
- Add a berry twist: Mixing in fresh blueberries or raspberries can provide a delightful contrast to the lemon flavor.
- Adjust the sweetness: Feel free to reduce the sugar for a less sweet but still delicious treat.
- Top with whipped cream: A dollop of whipped cream adds richness and makes for an elegant presentation.
- Infuse with herbs: Try adding a hint of mint or basil to elevate the flavor profile.
- Experiment with gluten-free options: Use gluten-free flour to make these bars suitable for those with dietary restrictions.
- Serve with a fruit compote: Pair these bars with a homemade fruit compote for a fresh and vibrant dessert.
How to Enjoy Microwave Lemon Bars
When it comes to serving Microwave Lemon Bars, there are so many delightful ways to enjoy them. Here are some suggestions:
- Perfect for Spring Gatherings: These bars are an excellent choice for springtime celebrations like Easter brunch or garden parties.
- Pack for Picnics: Their sturdy structure makes them ideal for outdoor picnics. Just slice and pack them in a container.
- Great with Afternoon Tea: Pair these bars with a hot cup of tea or coffee for a refreshing afternoon snack.
- Store for Later: Keep leftovers in the refrigerator to maintain freshness, and enjoy them for up to a week.
- Top with Fresh Fruit: Garnish with fresh berries or mint sprigs to add color and extra flavor.
- Enjoy Chilled: After refrigerating, these bars taste delightful when served cold, making them a refreshing dessert option.
FAQ
Conclusion
The Microwave Lemon Bars are a fantastic treat that perfectly balances sweet and tart flavors, making them a delightful addition to any dessert table. Their easy preparation makes them an ideal choice for both novice and experienced bakers alike. I encourage you to give them a try and enjoy the burst of citrus goodness they bring. Trust me, once you make these bars, you’ll be hooked!
Microwave Lemon Bars
Ingredients
Equipment
Method
- Lightly grease a 9x9 inch microwave-safe baking dish or line with parchment paper.
- Whisk 1 cup of all-purpose flour, 3 tablespoons of powdered sugar, and 1 tablespoon of lemon zest together.
- Stir in 6 tablespoons of melted butter.
- Press crust into prepared dish.
- Microwave for three minutes at 80% power. Check to make sure the crust is firm.
- Set aside.
- Beat 1 cup of granulated sugar, 2 tablespoons of lemon zest, 3 large eggs, and 1/3 cup of fresh lemon juice together.
- Beat in 1 tablespoon of all-purpose flour, 1/2 teaspoon of baking powder, and 1/4 teaspoon of salt.
- Pour the filling over the crust and microwave for three minutes at 80% power.
- Let cool completely and refrigerate for several hours or overnight.
- Cut into squares, dust with powdered sugar, and sprinkle with additional lemon zest if desired.
Notes
- Storage: Keep leftovers in an airtight container in the refrigerator for up to a week.
- Freezing: These bars can be frozen for up to three months. Just wrap them well!
- Pairing: Serve with a scoop of vanilla ice cream for a delicious contrast.
- Chill time: Allow enough chill time for the bars to set properly before serving.
- Variations: Try using lime juice instead of lemon for a different citrus flavor.