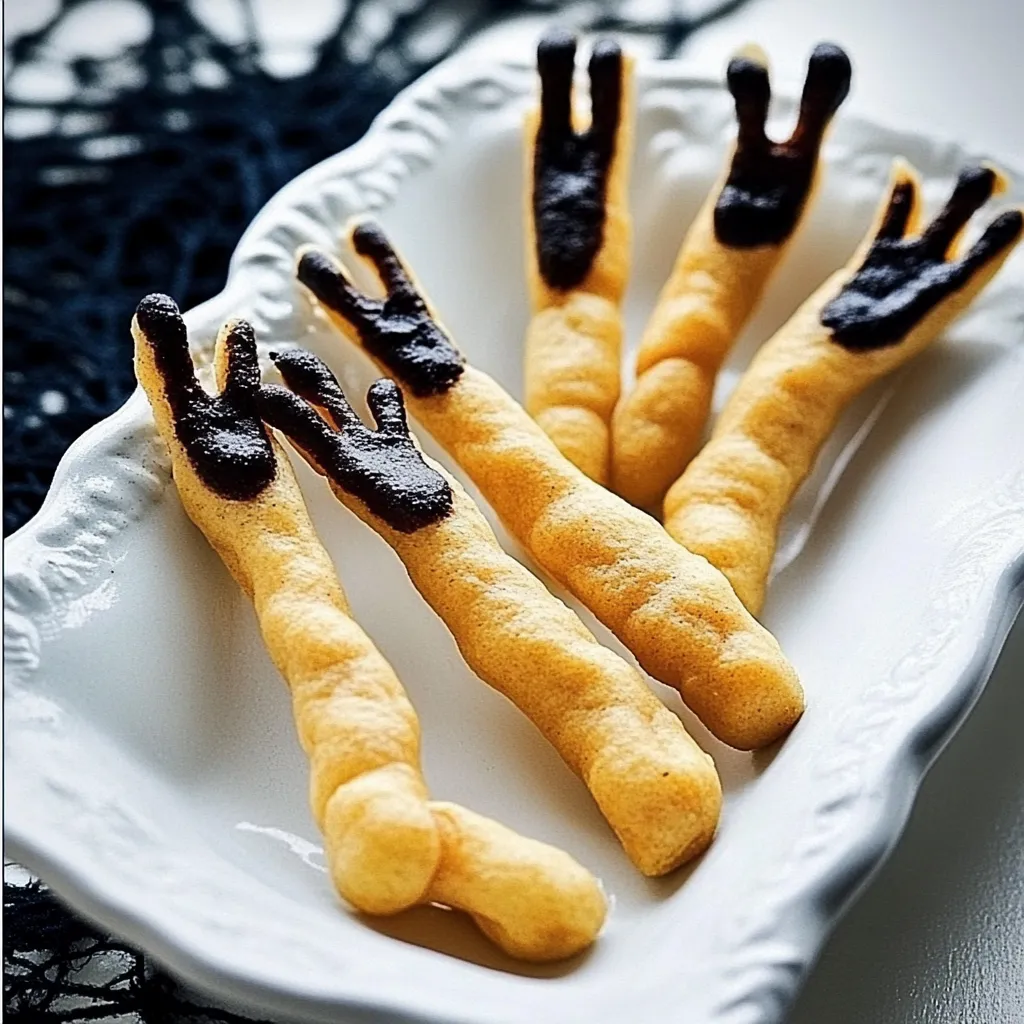
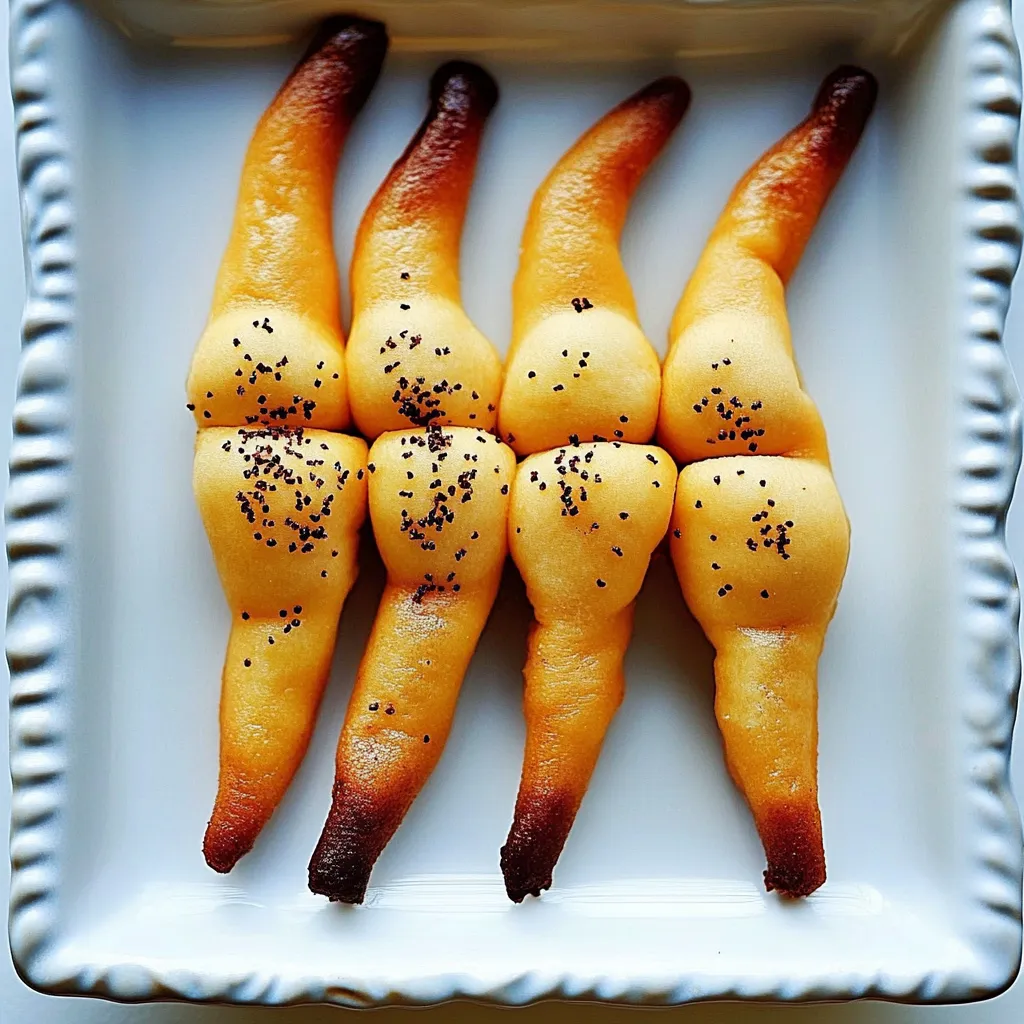
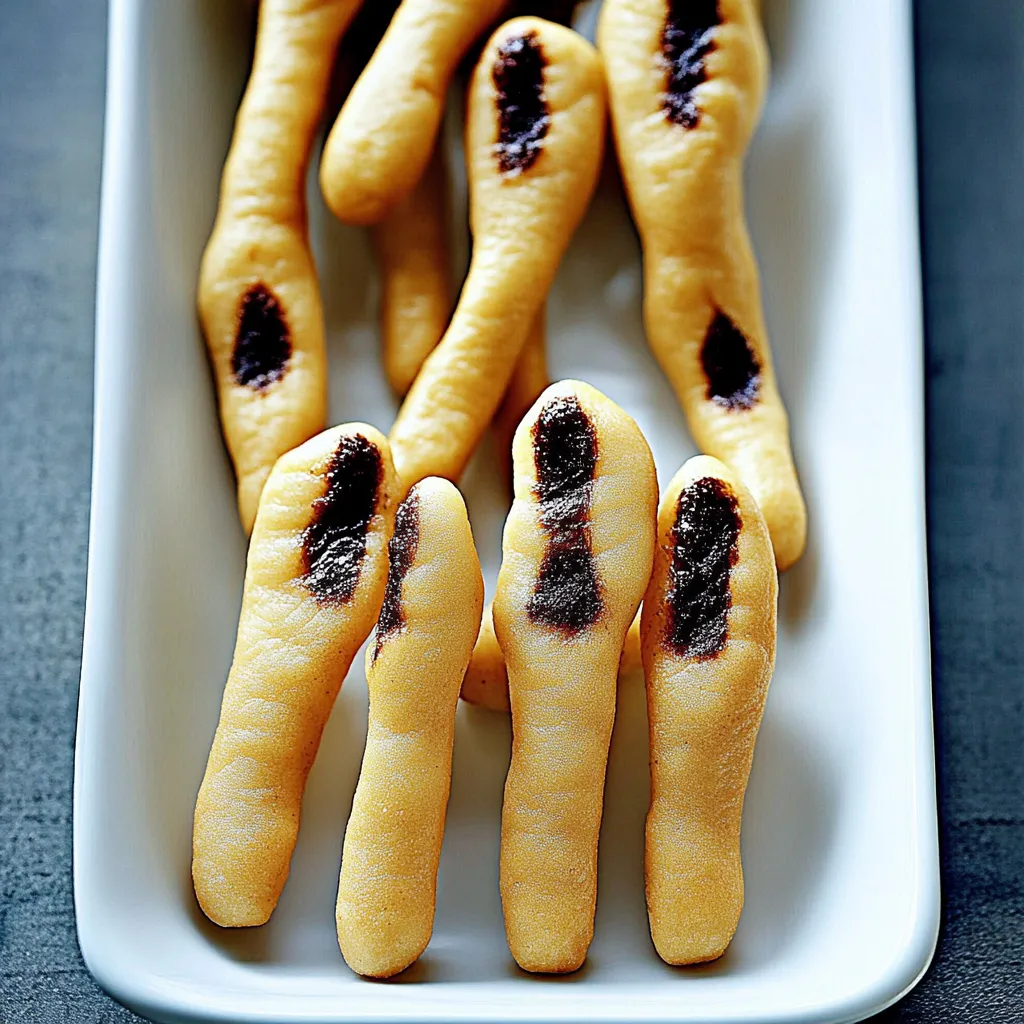
Every Halloween, I look forward to creating spooky treats that spark creativity and a bit of fun. This year, my go-to is the Witch Fingers Halloween Snack. These deliciously eerie cookies are shaped like fingers, complete with almond “nails” that bring a playful twist to any Halloween gathering. As I rolled out the dough and shaped each finger, I couldn’t help but chuckle at the thought of my friends’ reactions when they see these spooky treats. It’s the perfect combination of fun and deliciousness that makes Halloween memorable. Get ready to impress your guests while indulging in a cookie that’s as fun to make as it is to eat!
Recipe Snapshot
40 mins
20 mins
20 mins
Medium
150 kcal
2 g
Vegan
7 g
Baking Sheet, Mixing Bowl
What We Adore About This Witch Fingers Halloween Snack
Unique Presentation
One of the reasons I absolutely adore the Witch Fingers Halloween Snack is its unique presentation. These cookies not only taste fantastic but also look incredibly spooky, making them a showstopper at any Halloween party. The finger shapes, complete with knuckles and fingernails, will have guests intrigued and entertained. Who wouldn’t want to try a cookie that looks like it came right out of a witch’s cauldron?
Simple Ingredients
Another reason to love this recipe is its simplicity. Using everyday ingredients like butter, sugar, and flour, you can whip up a batch of these treats without a lot of fuss. The ease of the recipe allows even novice bakers to get in on the fun, making it accessible for families wanting to create spooky snacks together.
Perfect for Kids
Kids love helping out in the kitchen, and this recipe is perfectly designed for little hands. Shaping the cookies into fingers is not only fun but also allows kids to get creative with their designs. Watching them giggle as they place almonds on top for nails is priceless. Baking together creates lasting memories, and this spooky treat is an excellent way to bond as a family.
A Great Halloween Tradition
Making the Witch Fingers Halloween Snack can easily become a cherished tradition. Each year, you can gather your friends or family, don some aprons, and get to work on these spooky treats. As the years go by, you’ll find joy in revisiting this recipe, perhaps even adding your own twist or variation to it each time.
Fun for All Ages
This recipe isn’t just for kids; it’s an enjoyable activity for people of all ages! Whether you’re hosting a Halloween party or just want to surprise your family with something fun, these cookies are sure to bring smiles. The delightful combination of flavors in each bite will appeal to everyone, making them a hit.
Impress Your Guests
Finally, the Witch Fingers Halloween Snack is a fantastic way to impress your guests. When you bring these cookies to a gathering, they will undoubtedly be the talk of the party. It’s not every day you see a tray of cookies that look like witch fingers, and your friends will appreciate your creativity and effort.
Ingredients Required for Witch Fingers Halloween Snack

Creating the perfect Witch Fingers Halloween Snack requires a blend of simple yet essential ingredients that work in harmony to create a delightful treat. The key players in this recipe include butter, which provides a rich base, and flour, giving the cookies their structure. With a balance of sweetness from confectioners’ sugar and the delightful crunch from almonds, these ingredients come together to create a deliciously spooky snack.
- 1 cup butter, softened: The main fat that gives these cookies their rich flavor and tender texture.
- 1/2 cup confectioners’ sugar: Adds sweetness while keeping the cookies soft and tender.
- 1 large egg: Acts as a binder and adds moisture to the dough.
- 2 tsp vanilla extract: Provides a warm, aromatic flavor that enhances the sweetness of the cookies.
- 2 1/2 cups white whole wheat flour: Gives structure while adding a bit more nutrition than all-purpose flour.
- 1 tsp baking powder: Helps the cookies rise slightly during baking for a fluffy texture.
- 1/2 tsp salt: Balances out the sweetness and enhances flavor.
- 1/2 cup almonds: Adds a crunchy texture and serves as the “fingernail” for the cookies.
- 1/4 cup chocolate chips: Adds a rich, sweet flavor that pairs perfectly with the cookies.
- 1 tsp coconut oil: Used to melt the chocolate, adding a smooth consistency.
Making Witch Fingers Halloween Snack
Baking these spooky cookies is a fun experience that brings the Halloween spirit to life. Let’s dive right into the steps for making the Witch Fingers Halloween Snack.
- Begin by creaming together butter and confectioners’ sugar in a mixer. This combination should be fluffy and light, indicating that the sugar is well incorporated into the butter. Take your time to achieve that perfect creamy texture.
- Once creamy, add in the egg and vanilla extract. Beat well until everything is fully combined. You want to see a smooth mixture without lumps—this ensures your cookies will bake evenly.
- In a separate medium-sized bowl, sift together the white whole wheat flour, baking powder, and salt. Sifting helps to aerate the dry ingredients, making it easier to combine them with the wet mixture.
- Gradually mix the dry mixture into the wet ingredients. You can start with a spatula and then use your hands to knead the dough until it forms a cohesive ball. The dough should not be sticky; if it is, you can add a little more flour.
- Wrap the dough in plastic wrap and refrigerate for about 30 minutes. This step is crucial as it firms up the dough, making it easier to handle and shape later.
- Once chilled, break the dough into small pieces, roughly 2 tablespoons each. Roll each piece into a finger shape, ensuring it’s about 4 to 5 inches long. The fun part is creating the knuckles by gently pinching the dough in the middle.
- Using the flat tip of a knife, make an indentation at the end of each finger to form a nail bed. Then, take a toothpick to make three small slashes in the middle of each finger, mimicking knuckles.
- Place the shaped fingers onto a lightly greased baking sheet, ensuring there’s space between them as they will expand slightly while baking.
- Bake at 325°F for about 20 to 25 minutes. You’re looking for a light golden color on top—too dark will mean they are overcooked.
- While the cookies are baking, melt the chocolate chips with the coconut oil in a small bowl in the microwave. Stir until smooth. This melted chocolate will act as the adhesive for your almond “nails”.
- After baking, let the cookies cool for a few minutes. Then, take a small dollop of melted chocolate and place it at the tip of each finger. Softly press an almond on top of the chocolate to create the fingernail.
- Allow the chocolate to harden slightly before serving. Now, your Witch Fingers Halloween Snack are ready to frighten and delight your guests!
Things Worth Knowing
- Texture Matters: Aim for a light and fluffy texture when creaming the butter and sugar. This ensures your cookies turn out soft.
- Chilling the Dough: Never skip the chilling step. It makes shaping the fingers much easier and results in cookies that hold their form during baking.
- Watch the Baking Time: Keep an eye on the oven; every oven is different. Aim for a light golden color for the perfect cookie.
- Decorating with Chocolate: The melted chocolate is not just for decoration; it helps to keep the almond in place, adding to the overall presentation.
Tips and Variations
These Witch Fingers Halloween Snack are a hit, but there are always ways to enhance your baking experience! Here are some tips and variations to consider.
- Storage: Keep your cookies in an airtight container at room temperature for up to a week. This helps maintain their texture and flavor.
- Freezing: You can freeze the shaped but unbaked cookies. Just thaw them in the fridge before baking, allowing you to prepare ahead of time.
- Variations: Experiment with different nuts for the fingernails, like pecans or hazelnuts, to create a variety of eerie looks.
- Chocolate Swirl: Add a few drops of food coloring to the melted chocolate to create a spooky swirl effect on top of the fingers.
- Gluten-Free Option: Substitute the white whole wheat flour with a gluten-free flour blend to accommodate dietary needs without sacrificing taste.
- Holiday Themes: Change the decoration for other holidays; use red icing for a Valentine’s theme or green icing for St. Patrick’s Day.
Serving This Witch Fingers Halloween Snack
When it comes to serving the Witch Fingers Halloween Snack, the presentation is just as important as the taste. Here are some ideas to elevate your serving game:
- Halloween Parties: These cookies are perfect for Halloween parties. Serve them on a themed platter with spooky decorations for added effect.
- Kids’ Get-Togethers: Kids will love these creepy treats. Pair them with punch or other fun Halloween-themed drinks for a complete experience.
- Costume Events: If you’re attending a costume event, these cookies serve as a great snack to share while admiring everyone’s outfits.
- Picnic Treats: Consider bringing these cookies to a fall picnic. They’re easy to transport and will be a delightful surprise for your friends.
- Creative Displays: Use props like toy spiders or cobwebs around the cookies for a more thematic display that will wow guests!
- Wrapped Treats: For a party favor, wrap each cookie in clear plastic and tie with a spooky ribbon—perfect for a sweet take-home treat!
FAQ
Conclusion
The Witch Fingers Halloween Snack is a wonderfully fun recipe that combines creativity and deliciousness. It’s a unique treat that adds a playful spirit to any Halloween gathering. I encourage you to try making these cookies; they are sure to become a favorite tradition in your home. Happy baking and enjoy the spooky season!
Witch Fingers Halloween Snack
Ingredients
Equipment
Method
- Begin by creaming together butter and confectioners' sugar in a mixer. This combination should be fluffy and light, indicating that the sugar is well incorporated into the butter. Take your time to achieve that perfect creamy texture.
- Once creamy, add in the egg and vanilla extract. Beat well until everything is fully combined. You want to see a smooth mixture without lumps—this ensures your cookies will bake evenly.
- In a separate medium-sized bowl, sift together the white whole wheat flour, baking powder, and salt. Sifting helps to aerate the dry ingredients, making it easier to combine them with the wet mixture.
- Gradually mix the dry mixture into the wet ingredients. You can start with a spatula and then use your hands to knead the dough until it forms a cohesive ball. The dough should not be sticky; if it is, you can add a little more flour.
- Wrap the dough in plastic wrap and refrigerate for about 30 minutes. This step is crucial as it firms up the dough, making it easier to handle and shape later.
- Once chilled, break the dough into small pieces, roughly 2 tablespoons each. Roll each piece into a finger shape, ensuring it’s about 4 to 5 inches long. The fun part is creating the knuckles by gently pinching the dough in the middle.
- Using the flat tip of a knife, make an indentation at the end of each finger to form a nail bed. Then, take a toothpick to make three small slashes in the middle of each finger, mimicking knuckles.
- Place the shaped fingers onto a lightly greased baking sheet, ensuring there’s space between them as they will expand slightly while baking.
- Bake at 325°F for about 20 to 25 minutes. You’re looking for a light golden color on top—too dark will mean they are overcooked.
- While the cookies are baking, melt the chocolate chips with the coconut oil in a small bowl in the microwave. Stir until smooth. This melted chocolate will act as the adhesive for your almond “nails”.
- After baking, let the cookies cool for a few minutes. Then, take a small dollop of melted chocolate and place it at the tip of each finger. Softly press an almond on top of the chocolate to create the fingernail.
- Allow the chocolate to harden slightly before serving. Now, your Witch Fingers Halloween Snack are ready to frighten and delight your guests!
Notes
- Storage: Keep your cookies in an airtight container at room temperature for up to a week. This helps maintain their texture and flavor.
- Freezing: You can freeze the shaped but unbaked cookies. Just thaw them in the fridge before baking, allowing you to prepare ahead of time.
- Variations: Experiment with different nuts for the fingernails, like pecans or hazelnuts, to create a variety of eerie looks.
- Chocolate Swirl: Add a few drops of food coloring to the melted chocolate to create a spooky swirl effect on top of the fingers.
- Gluten-Free Option: Substitute the white whole wheat flour with a gluten-free flour blend to accommodate dietary needs without sacrificing taste.
- Holiday Themes: Change the decoration for other holidays; use red icing for a Valentine’s theme or green icing for St. Patrick’s Day.