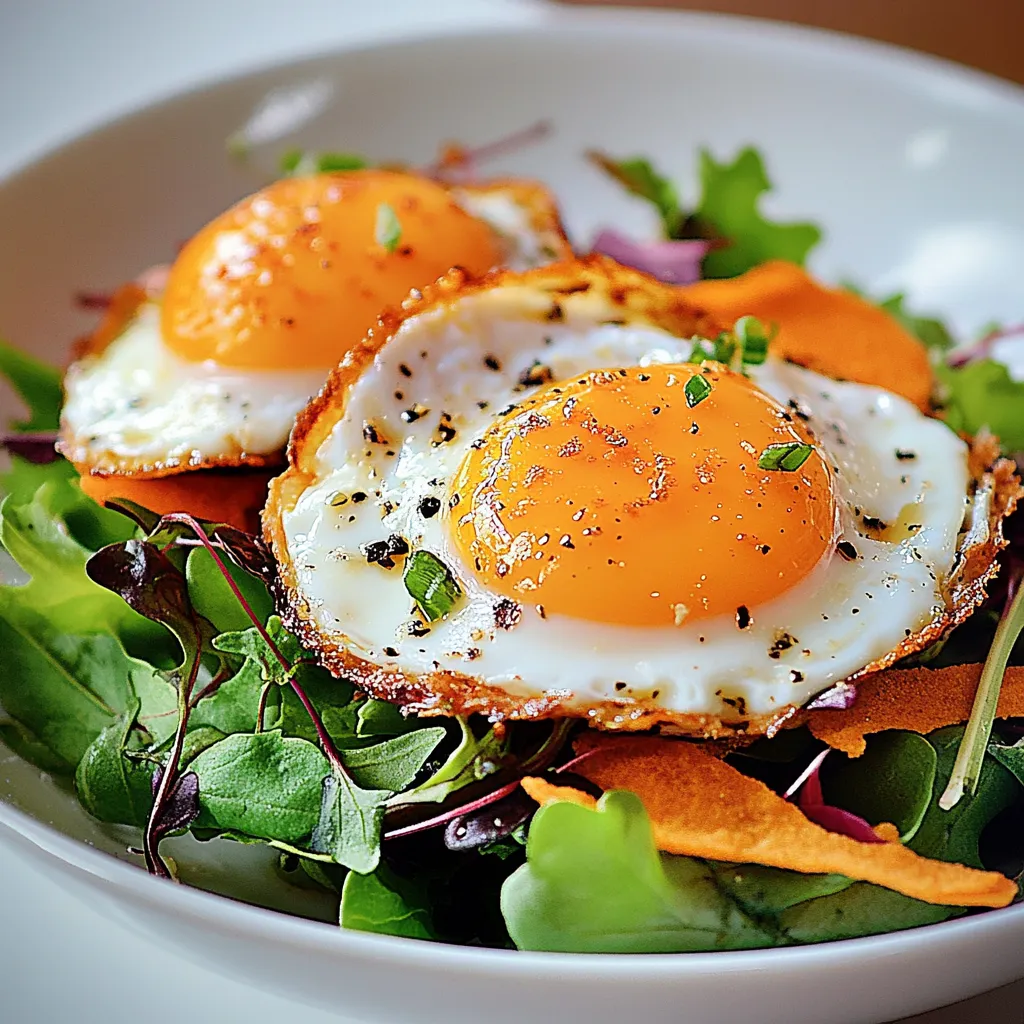
The Sunnyside Salad is one of those dishes that can magically lift your spirits. I remember the first time I stumbled upon it; it was a sunny afternoon, and I was craving something fresh yet satisfying. As I stood in my kitchen, the vibrant colors of the salad greens and the rich golden hue of the crispy eggs caught my eye. It felt like the perfect way to celebrate the arrival of spring. The best part? This dish is not just a feast for the eyes but also a delight for the taste buds. Combining the creaminess of the yolk with the crunch of the salad, the Sunnyside Salad truly encapsulates the essence of a light, wholesome meal.
As I plated the salad, I couldn’t help but feel a sense of accomplishment. The simplicity of the ingredients—each selected with care—came together in a way that was both satisfying and invigorating. From the ghee that adds a luscious richness to the crispy fried eggs to the fresh salad mix that offers a delightful crunch, every element plays a vital role in creating this dish. Whenever I make the Sunnyside Salad, it feels like I’m giving myself a little gift, reminding me of the joys of home-cooked meals. So, if you’re looking to brighten your day, let’s dive into how to make this beautiful salad.
Recipe Snapshot
10 mins
5 mins
5 mins
Medium
300 kcal
10 g
Keto, Paleo, Whole30
20 g
Skillet, Wooden Spoon, Oven, Mixing Bowl, Peeler
What Makes This Sunnyside Salad Special
It’s Fresh and Vibrant
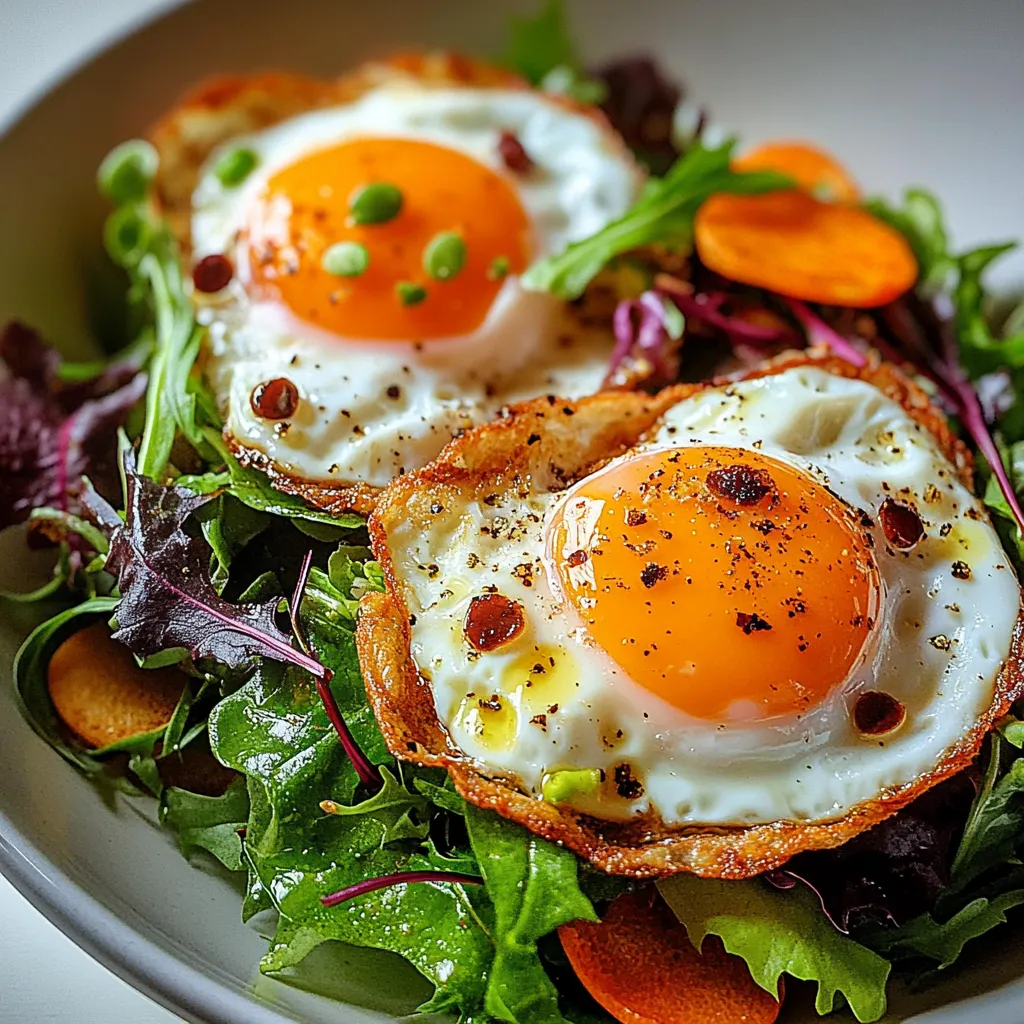
The first reason I absolutely adore the Sunnyside Salad is its freshness. The vibrant greens and colorful carrots create a visual feast, making it impossible not to smile when you see it on your plate. Eating colorful foods is not just delightful; it also signifies a variety of nutrients that our bodies crave.
Perfectly Cooked Eggs
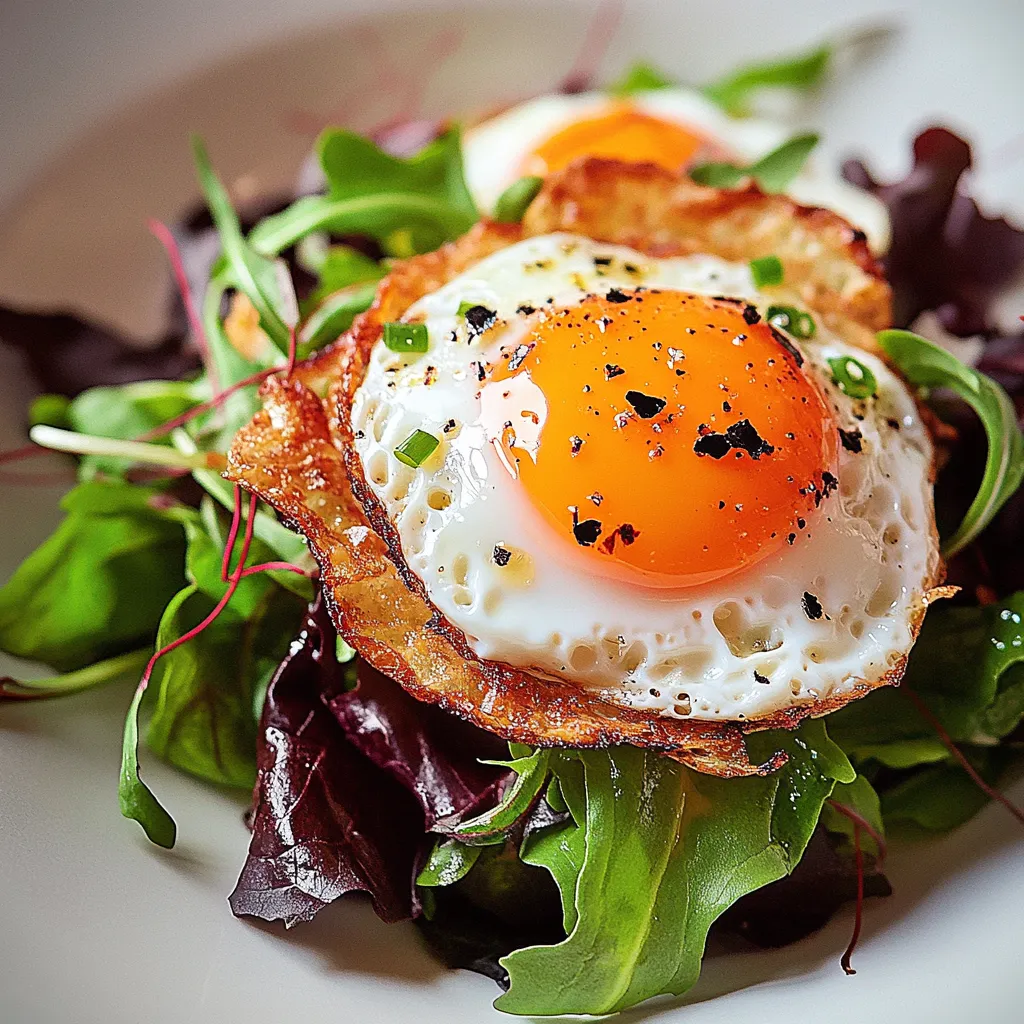
Nothing beats the crispy edges and runny yolk of the fried eggs on top. The way those eggs are cooked creates a delightful contrast with the crunchy salad mix. It’s a simple technique, but it makes all the difference. You can feel the comforting richness of the yolk mixing into the greens, creating a natural dressing that ties everything together beautifully.
Quick to Make
On busy days, the Sunnyside Salad is my go-to. It’s unbelievably quick to prepare, making it ideal for a satisfying lunch or light dinner. You can have it ready in less than 15 minutes, providing a nutritious and delicious meal without spending hours in the kitchen.
Customizable to Your Taste
Another fantastic aspect of this salad is its versatility. You can customize it with whatever fresh vegetables you have on hand. Love cucumbers? Add some. Want to throw in some radishes for extra crunch? Go for it! This recipe encourages creativity, allowing you to make it your own, which is always exciting.
Great for Meal Prep
If you’re like me and enjoy preparing meals ahead of time, the Sunnyside Salad is perfect. You can prep the salad greens and carrots in advance and store them in the fridge. When you’re ready to eat, all that’s left is frying up the eggs. It’s a fantastic way to save time while still enjoying a homemade meal.
What Goes Into Sunnyside Salad
The ingredients for the Sunnyside Salad are simple yet powerfully effective. Each element contributes to a delightful harmony of flavors and textures. The freshness of the salad mix and the sweetness of the carrots play beautifully with the richness of the eggs and ghee, creating a balanced dish that’s satisfying yet light.
- 2 cups salad mix: This is the base of your salad, providing a fresh crunch and myriad nutrients.
- 1 large carrot, peeled: A sweet and crunchy addition that enhances the texture of the salad.
- 1 heaping tablespoon ghee: This adds a subtle richness and depth to the dish, making it feel indulgent.
- 2 large eggs: The star of the dish, these create a beautiful contrast with the salad when fried to perfection.
- Flake sea salt: This brings out all the flavors, enhancing the fresh ingredients.
- Freshly ground black pepper: It adds a touch of spice that complements the other flavors beautifully.
- All-Purpose Stir-Fry Sauce or aged sherry vinegar or balsamic vinegar: A drizzle of this ties the dish together, offering a sweet and tangy kick that pairs wonderfully with the soft yolk.
Making This Sunnyside Salad
Creating the Sunnyside Salad is a delightful experience. You’ll love how simple and satisfying it is to prepare. Follow these steps to make your own version of this vibrant dish.
Start by heating a small cast iron skillet over high heat. Make sure it’s super hot before you begin cooking your eggs. This is essential for achieving that perfect crispy texture. You’ll want to hear that nice sizzle when the eggs hit the pan!
As your skillet heats up, pile some fresh salad greens into a bowl. The greens should be vibrant and crisp, making a beautiful nest for your eggs.
If you’re feeling fancy, use a vegetable peeler to shred a large carrot on top of the lettuce. This adds color and texture, making your salad even more appealing.
Once your skillet is screaming hot, add a generous dollop of ghee. Watch it melt and sizzle, filling your kitchen with a lovely aroma.
Crack the two large eggs into a small bowl first—this helps prevent any shell fragments from getting into your dish. Then, gently pour them into the hot skillet. You’ll see the edges start to cook immediately, which is a great sign!
The whites touching the skillet will blister and cook quickly, while the raised whites near the yolk might need a little extra help to cook through. Tilt the skillet away from you, ensuring the hot ghee doesn’t splatter on you, and use an offset spoon to baste the whites with the hot ghee.
Remember to use a towel or wear an oven mitt when you grab the skillet handle, as it will be very hot.
Once the whites on top are set, turn off the heat. Carefully peek underneath to check if the eggs are crispy and golden brown—this is what you want!
Using a fish spatula, gently remove the eggs from the skillet and place them on top of your salad.
Season everything to taste with flake sea salt and freshly ground black pepper. Finally, drizzle on some All-Purpose Stir-Fry Sauce or your favorite aged vinegar for added zest.
The sweet zing from the sauce or vinegar beautifully ties the dish together, especially when combined with the creamy yolk to create a natural dressing.
Things Worth Knowing
- Use a well-seasoned skillet: A good cast iron skillet not only helps create that crispy egg texture but also adds flavor over time.
- Temperature control: Make sure your skillet is hot enough before adding the eggs. This ensures the whites cook quickly while keeping the yolks runny.
- Fresh ingredients matter: Using fresh greens and vegetables enhances the overall taste of your salad.
- Experiment: Feel free to add other toppings like avocado or nuts for added texture and flavor.
Tips for Success

Making the Sunnyside Salad is simple, but here are some tips to ensure success.
- Storage: Store any leftover salad in an airtight container in the fridge. It’s best enjoyed fresh, but it can last for a day.
- Freezing: I don’t recommend freezing this salad due to the fresh ingredients, especially the greens.
- Pairing: This salad pairs beautifully with grilled chicken or fish for a more filling meal.
- Vary the toppings: Try adding other veggies or proteins to create your perfect version of the Sunnyside Salad.
- Serving suggestion: Serve it as a light lunch or as a side dish to your favorite main course.
How to Serve Sunnyside Salad
The Sunnyside Salad is versatile and can be served in various ways. Here are some ideas:
- For lunch: Enjoy it on its own for a refreshing midday meal bursting with flavor.
- As a side: Pair it with grilled chicken or fish for a light dinner that’s satisfying.
- Seasonal delight: This salad shines in the spring when fresh vegetables are abundant. It’s perfect for picnics or outdoor gatherings.
- Meal prep: Prepare ingredients ahead of time, allowing for quick assembly during busy weekdays.
- Garnishes: Consider adding toppings like croutons or seeds for added texture.
FAQ
Conclusion
The Sunnyside Salad is a delightful blend of fresh ingredients and crispy fried eggs, making it a perfect light meal. It not only satisfies your cravings but also makes you feel good about what you’re eating. I encourage you to try making it at home. You’ll find that it’s a refreshing option that can brighten up any day, whether for lunch or dinner. Enjoy the experience of creating this beautiful dish and the joy it brings to your table!
Sunnyside Salad
Ingredients
Equipment
Method
- Start by heating a small cast iron skillet over high heat. Make sure it’s super hot before you begin cooking your eggs. This is essential for achieving that perfect crispy texture. You’ll want to hear that nice sizzle when the eggs hit the pan!
- As your skillet heats up, pile some fresh salad greens into a bowl. The greens should be vibrant and crisp, making a beautiful nest for your eggs.
- If you’re feeling fancy, use a vegetable peeler to shred a large carrot on top of the lettuce. This adds color and texture, making your salad even more appealing.
- Once your skillet is screaming hot, add a generous dollop of ghee. Watch it melt and sizzle, filling your kitchen with a lovely aroma.
- Crack the two large eggs into a small bowl first—this helps prevent any shell fragments from getting into your dish. Then, gently pour them into the hot skillet. You’ll see the edges start to cook immediately, which is a great sign!
- The whites touching the skillet will blister and cook quickly, while the raised whites near the yolk might need a little extra help to cook through. Tilt the skillet away from you, ensuring the hot ghee doesn’t splatter on you, and use an offset spoon to baste the whites with the hot ghee.
- Remember to use a towel or wear an oven mitt when you grab the skillet handle, as it will be very hot.
- Once the whites on top are set, turn off the heat. Carefully peek underneath to check if the eggs are crispy and golden brown—this is what you want!
- Using a fish spatula, gently remove the eggs from the skillet and place them on top of your salad.
- Season everything to taste with flake sea salt and freshly ground black pepper. Finally, drizzle on some All-Purpose Stir-Fry Sauce or your favorite aged vinegar for added zest.
- The sweet zing from the sauce or vinegar beautifully ties the dish together, especially when combined with the creamy yolk to create a natural dressing.
Notes
- Storage: Store any leftover salad in an airtight container in the fridge. It’s best enjoyed fresh, but it can last for a day.
- Freezing: I don’t recommend freezing this salad due to the fresh ingredients, especially the greens.
- Pairing: This salad pairs beautifully with grilled chicken or fish for a more filling meal.
- Vary the toppings: Try adding other veggies or proteins to create your perfect version of the Sunnyside Salad.
- Serving suggestion: Serve it as a light lunch or as a side dish to your favorite main course.