The Strawberry Icebox Cake is more than just a dessert; it’s a cherished memory from my childhood summers spent in my grandmother’s kitchen. I can still hear her laughter and the clinking of plates as we gathered around the table, eager to dig into this refreshing treat. With its layers of light, creamy goodness and the vibrant burst of fresh berries, every bite feels like a little celebration of summer. This cake is incredibly easy to assemble, making it the perfect recipe for family gatherings or a simple weeknight indulgence. Whether you’re serving it at a picnic or enjoying it on a quiet evening at home, it always brings a smile to your face. The combination of whipped cream and cream cheese creates a delightful texture, while the graham crackers provide the perfect crunch. It’s hard to resist going back for seconds—or even thirds!
Recipe Snapshot
10 mins
10 mins
0 mins
Medium
360 kcal
4 g
Gluten-Free, Low FODMAP
25 g
Mixing Bowl
The Beauty of This Strawberry Icebox Cake
It’s a No-Bake Dream
One of the best things about the Strawberry Icebox Cake is that it requires no baking. This makes it an ideal treat for hot summer days when you want something cool but don’t want to heat up the kitchen. Just mix, layer, and let the fridge do all the work! It’s a perfect way to enjoy dessert without the fuss of baking.
Versatile and Customizable
This cake allows for so much creativity. While I love using fresh strawberries, you can easily swap them for other berries like blueberries or raspberries. You can even mix in some peaches or mangoes for a tropical twist. The options are endless, and it’s a great way to use whatever fruits are in season.
Perfect for Any Occasion
Whether it’s a birthday party, a summer barbecue, or a casual family dinner, the Strawberry Icebox Cake fits right in. It’s a crowd-pleaser that appeals to both kids and adults alike. Plus, it looks stunning when served, layered beautifully with colorful fruits on top.
Make-Ahead Convenience
This dessert is not just delicious; it’s also practical! You can prepare it up to a day in advance, allowing the graham crackers to soak up the creamy layers. This means less stress on the day of your event, giving you more time to enjoy the company of your friends and family.
Light and Refreshing
What I love most about this cake is how light it feels, especially after a hearty meal. The whipped cream and cream cheese mixture is indulgent without being overly heavy, making it the perfect ending to any summer feast. It’s refreshing, creamy, and just sweet enough!
What to Gather for Strawberry Icebox Cake
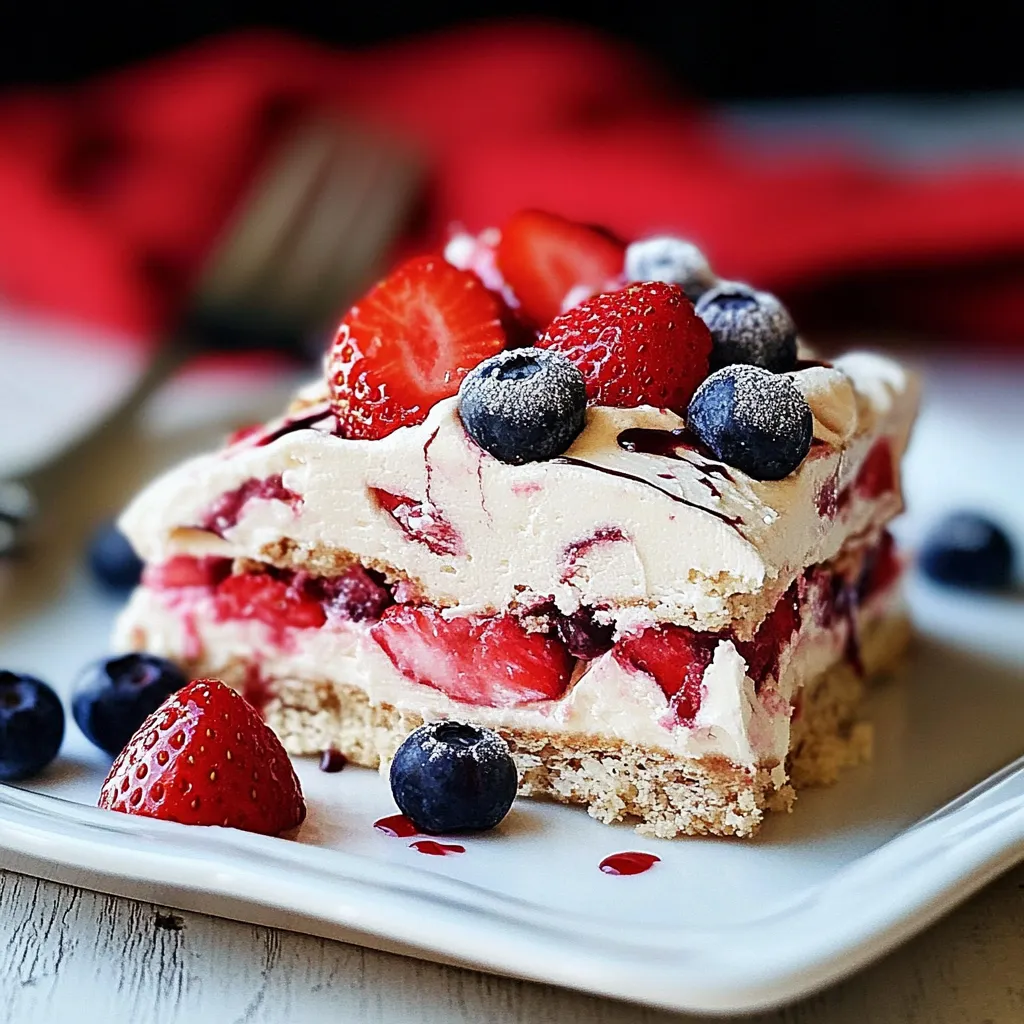
The ingredients for the Strawberry Icebox Cake come together to create a harmonious blend of flavors and textures. The stars of this dessert are the heavy whipping cream and cream cheese, which provide that luscious, creamy base. The graham crackers are essential for their crunch, while the fresh berries add sweetness and a burst of color. Together, they create a dessert that is not only visually appealing but also a delight to the palate.
- 2 cups heavy whipping cream: This ingredient is crucial for achieving that light, airy texture. It whips up beautifully and forms the base of the cake.
- 1/3 cup powdered sugar: Used to sweeten the whipped cream, this ingredient gives the cake its delightful sweetness without being overpowering.
- 1 teaspoon vanilla extract: This adds a warm, comforting flavor that enhances the overall taste of the dessert.
- 8 oz original cream cheese, softened: The cream cheese adds a rich creaminess that balances the lightness of the whipped cream.
- 18 graham crackers: These provide a crunchy layer that contrasts beautifully with the creamy filling.
- 3 cups fresh mixed berries (blueberries, strawberries, and raspberries): The berries not only add vibrant color but also a refreshing tartness that complements the sweetness of the cake.
How to Make Strawberry Icebox Cake
Making the Strawberry Icebox Cake is a delightful experience that’s as simple as it is rewarding. You’ll be amazed at how quickly it comes together. Just follow these easy steps, and you’ll have a stunning dessert ready to chill in no time!
In a large mixing bowl, using a hand mixer or a stand mixer, combine heavy cream, powdered sugar, and vanilla extract. Start mixing on low speed to avoid splatters, then gradually increase the speed to high. Beat this mixture until stiff peaks form, which usually takes about 3 to 5 minutes. It’s important to keep an eye on it; you want it to be fluffy and light, not over-beaten and grainy. Once ready, set aside about half a cup of this whipped cream for later use.
In a separate medium mixing bowl, beat cream cheese until it’s smooth and creamy. This takes about 2 to 3 minutes. Make sure there are no lumps, as you want a silky texture. Once it’s smooth, gently fold the remaining whipped cream into the cream cheese mixture. This folding technique ensures that you keep the airiness of the whipped cream, making your cake light and fluffy.
Now, it’s time to assemble your cake. Take a 9X9-inch baking dish and spread a thin layer of the cream cheese and whipped cream mixture on the bottom. This layer acts as a glue, helping the graham crackers stay in place.
Next, carefully place a layer of graham crackers over the cream cheese mixture. Make sure to cover the entire surface. This layer will provide a nice crunch and will soak up some of the creaminess from above.
Spread half of the cream cheese and whipped cream mixture over the graham crackers. Use a spatula to smooth it out evenly.
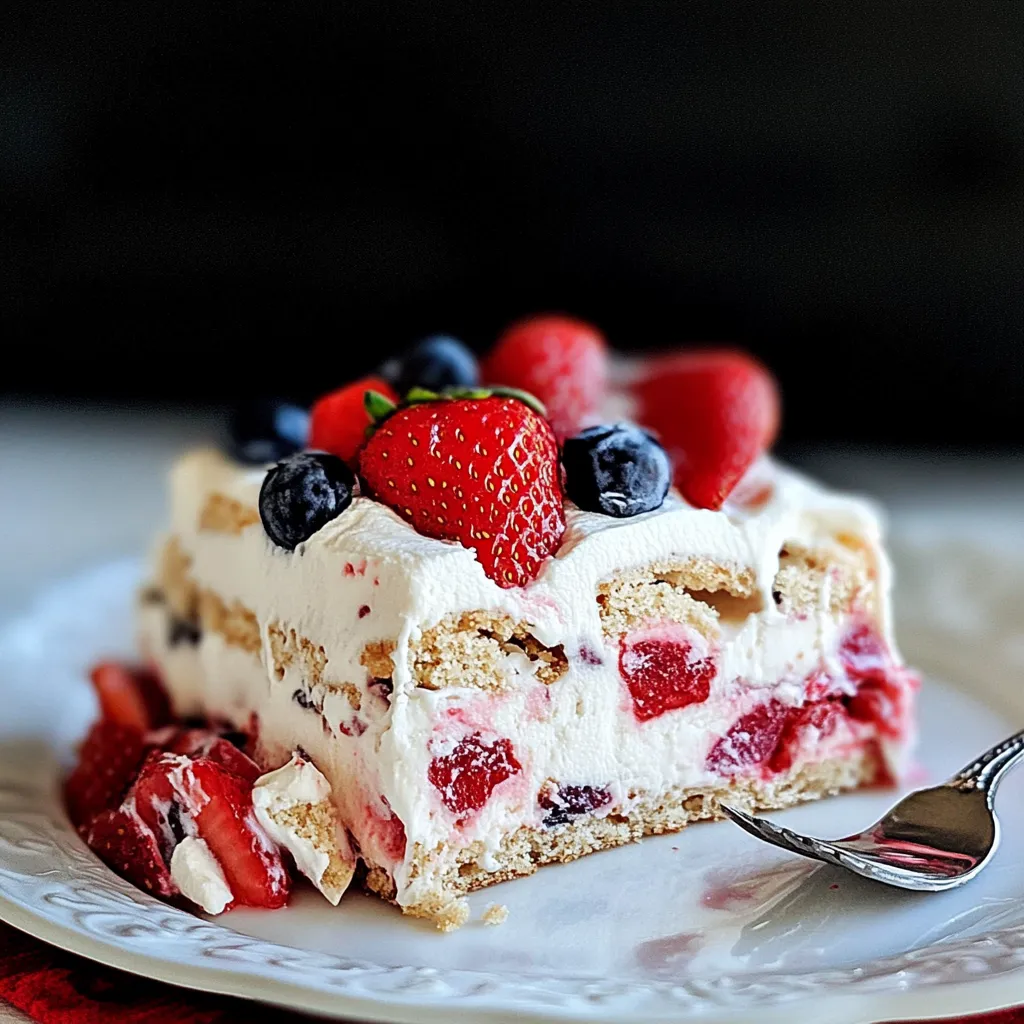
Now, add one cup of your fresh mixed berries onto this layer, distributing them evenly. This adds a burst of flavor and color that really elevates the cake.
Repeat the layering process: add another layer of graham crackers, followed by the remaining cream cheese mixture, and top with another cup of berries. Each layer enhances the cake’s overall texture and flavor.
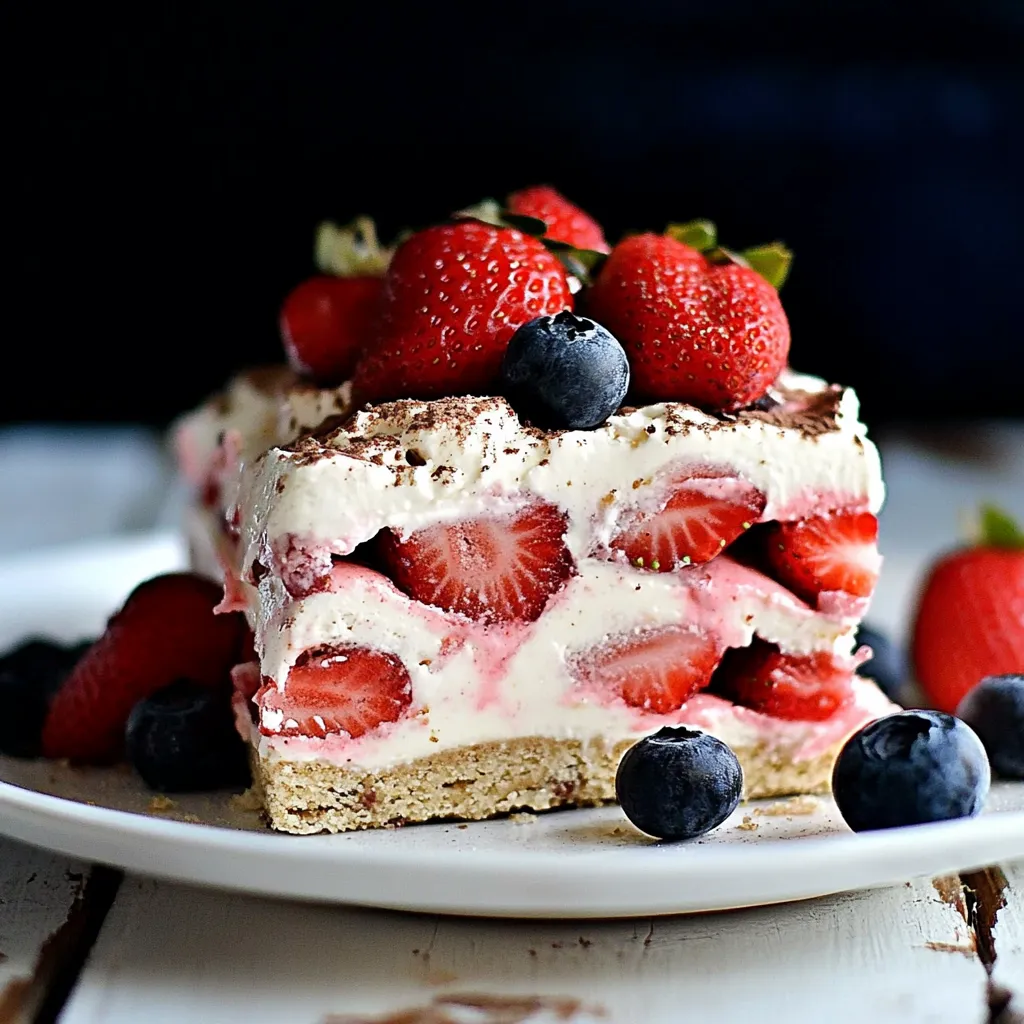
The final touch is to add one last layer of graham crackers. Once done, take the reserved whipped cream and spread it over the top layer of graham crackers. This creates a beautiful white surface that will be lovely once garnished.
For the finishing touch, sprinkle the final cup of berries over the whipped cream layer. If you want to be festive, you can arrange them in a flag pattern for holidays!
Cover the baking dish with plastic wrap and place it in the refrigerator for at least 4 hours, or overnight. This allows the graham crackers to soften and absorb the flavors, creating a magical transformation!
Things Worth Knowing
- Chill Time is Key: Don’t rush the chilling process! Allowing the cake to sit in the fridge overnight will yield the best flavor and texture.
- Graham Crackers Varieties: You can use different types of graham crackers for various flavors; honey, cinnamon, or chocolate provide a fun twist to the classic.
- Berry Selection: Use a mix of berries for a colorful and flavorful cake. Try including blackberries or kiwis for a unique twist!
- Serving Suggestion: Serve with a sprinkle of fresh mint or a drizzle of honey to elevate the presentation and flavor.
How to Switch It Up
If you’re looking to add your personal touch to the Strawberry Icebox Cake, here are some fun tips to consider that will keep it fresh and exciting!
- Storage: Store leftover cake in an airtight container in the fridge for up to 3 days. This cake tastes even better the next day!
- Freezing: Yes, you can freeze the unassembled layers! Just wrap them tightly and they can last up to 3 months. Just thaw and assemble when you’re ready!
- Pairing: This cake pairs beautifully with a scoop of vanilla ice cream or a dollop of whipped cream to serve.
- Flavors: Experiment with flavored cream cheese, such as strawberry or blueberry, to deepen the flavors even more.
- Add-Ins: Mix in some crushed nuts or chocolate chips for an extra crunch and sweetness.
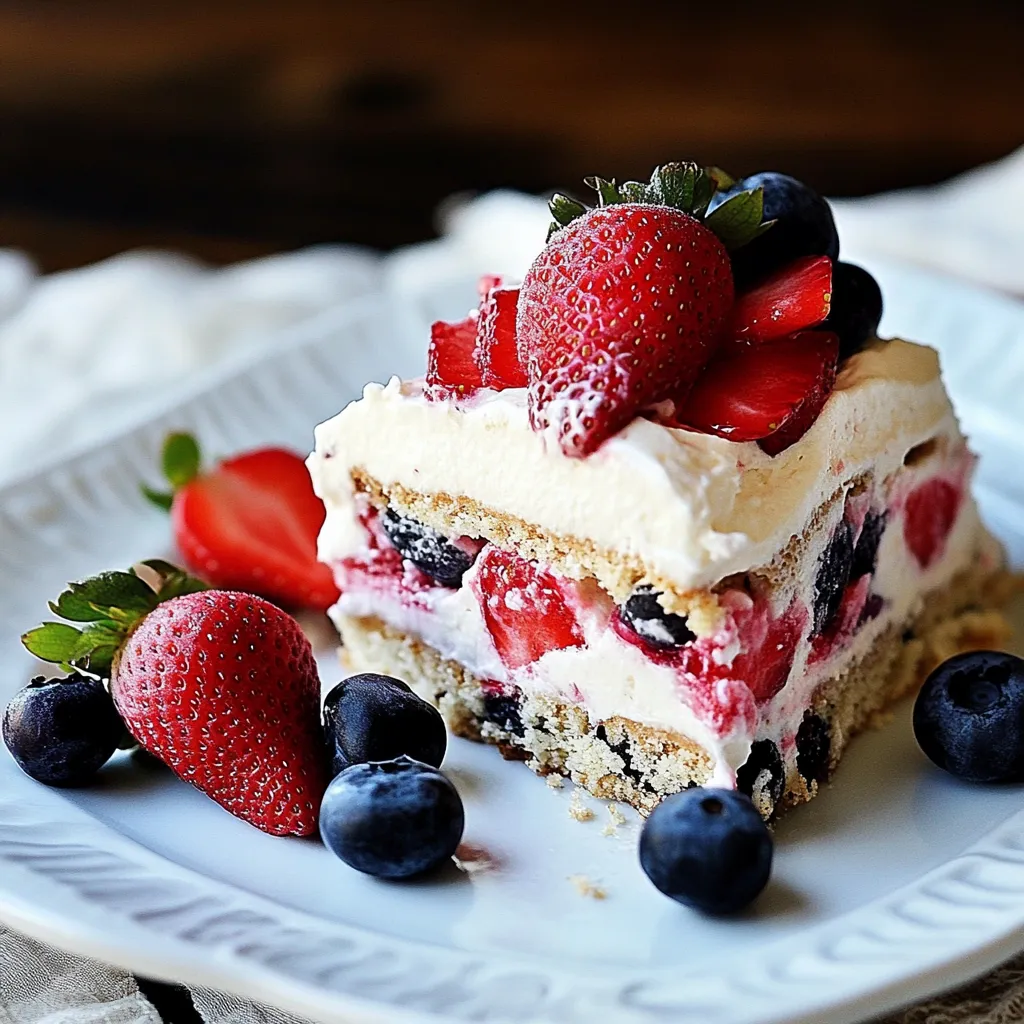
How to Serve Strawberry Icebox Cake
Serving the Strawberry Icebox Cake is just as fun as making it. Here are some delightful ways to bring this treat to the table:
- Chilled Delight: Serve the cake straight from the fridge to give guests the refreshing experience of this dessert. It’s especially satisfying on a hot day.
- Garnish with Flair: Top slices with additional fresh berries or a sprig of mint for an elegant touch.
- Occasion Perfect: This cake is fantastic for summer gatherings, birthday parties, or picnics, as it holds up well and travels easily.
- Storage Tips: Keep any leftovers covered in the fridge. It can last for about 3 days, but trust me, it’s rarely around that long!
- Seasonal Pairings: Consider serving it with iced tea or lemonade for a perfect summer afternoon treat.
- Presentation: Slice into squares and serve on colorful plates to enhance the visual appeal of this dessert.
FAQ
Conclusion
The Strawberry Icebox Cake shines as a perfect summer dessert, melding creamy textures with vibrant flavors. Its no-bake nature and ease of preparation make it an accessible option for gatherings or a simple family treat. I encourage you to try making it and share those delightful layers of flavor and fun with your loved ones—it’s sure to be a hit!
Strawberry Icebox Cake
Ingredients
Equipment
Method
- In a large mixing bowl, using a hand mixer or a stand mixer, combine heavy cream, powdered sugar, and vanilla extract. Start mixing on low speed to avoid splatters, then gradually increase the speed to high. Beat this mixture until stiff peaks form, which usually takes about 3 to 5 minutes. It’s important to keep an eye on it; you want it to be fluffy and light, not over-beaten and grainy. Once ready, set aside about half a cup of this whipped cream for later use.
- In a separate medium mixing bowl, beat cream cheese until it’s smooth and creamy. This takes about 2 to 3 minutes. Make sure there are no lumps, as you want a silky texture. Once it’s smooth, gently fold the remaining whipped cream into the cream cheese mixture. This folding technique ensures that you keep the airiness of the whipped cream, making your cake light and fluffy.
- Now, it’s time to assemble your cake. Take a 9X9-inch baking dish and spread a thin layer of the cream cheese and whipped cream mixture on the bottom. This layer acts as a glue, helping the graham crackers stay in place.
- Next, carefully place a layer of graham crackers over the cream cheese mixture. Make sure to cover the entire surface. This layer will provide a nice crunch and will soak up some of the creaminess from above.
- Spread half of the cream cheese and whipped cream mixture over the graham crackers. Use a spatula to smooth it out evenly.
- Now, add one cup of your fresh mixed berries onto this layer, distributing them evenly. This adds a burst of flavor and color that really elevates the cake.
- Repeat the layering process: add another layer of graham crackers, followed by the remaining cream cheese mixture, and top with another cup of berries. Each layer enhances the cake’s overall texture and flavor.
- The final touch is to add one last layer of graham crackers. Once done, take the reserved whipped cream and spread it over the top layer of graham crackers. This creates a beautiful white surface that will be lovely once garnished.
- For the finishing touch, sprinkle the final cup of berries over the whipped cream layer. If you want to be festive, you can arrange them in a flag pattern for holidays!
- Cover the baking dish with plastic wrap and place it in the refrigerator for at least 4 hours, or overnight. This allows the graham crackers to soften and absorb the flavors, creating a magical transformation!
Notes
- Storage: Store leftover cake in an airtight container in the fridge for up to 3 days. This cake tastes even better the next day!
- Freezing: Yes, you can freeze the unassembled layers! Just wrap them tightly and they can last up to 3 months. Just thaw and assemble when you're ready!
- Pairing: This cake pairs beautifully with a scoop of vanilla ice cream or a dollop of whipped cream to serve.
- Flavors: Experiment with flavored cream cheese, such as strawberry or blueberry, to deepen the flavors even more.
- Add-Ins: Mix in some crushed nuts or chocolate chips for an extra crunch and sweetness.