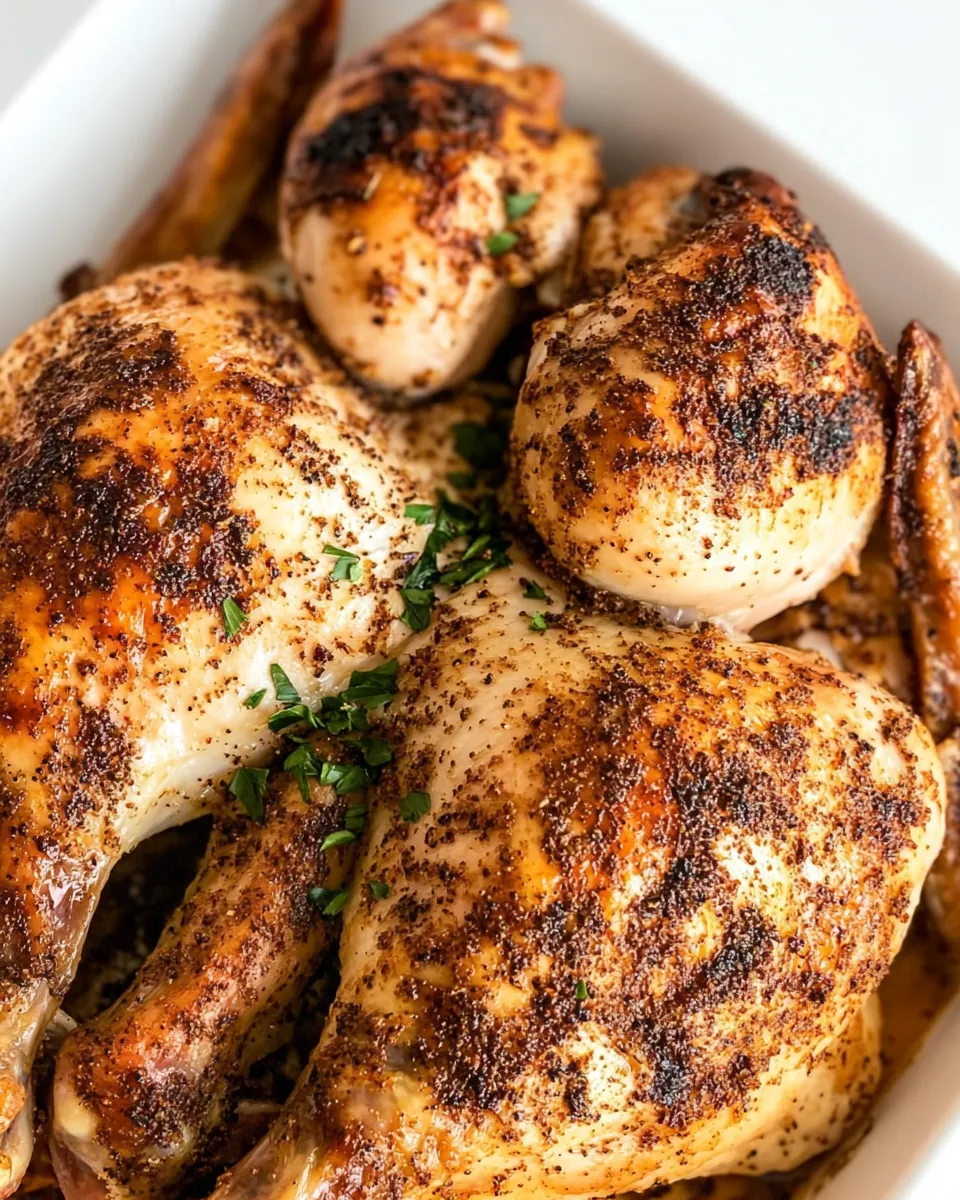
Whenever I think of simple yet stunning meals, Spatchcock Chicken tops the list. This technique has become my go-to for roast chicken, ensuring crispy skin and juicy meat every time. It all started on a chilly Sunday afternoon when I had friends over for dinner. I wanted something that would impress without keeping me tethered to the kitchen for hours. Enter the Spatchcock Chicken. The moment the aroma filled the house, I knew I had struck gold. The beauty of this dish lies in its simplicity and the joy of sharing it with loved ones.
Recipe Snapshot
55 mins
10 mins
45 mins
Medium
450 kcal
35 g
Keto, Paleo, Whole30
25 g
Baking Sheet, Oven, Mixing Bowl, Chef’s Knife, Peeler, Frying Pan
Why This Spatchcock Chicken Shines
It’s a Game Changer
When you decide to spatchcock your chicken, you’re not just cooking; you’re transforming your meal into a culinary masterpiece. This technique allows the chicken to cook evenly and more quickly, giving you the golden brown skin you crave.
Perfectly Crispy Skin
What’s better than biting into crispy skin that crackles with each cut? The method exposes more surface area to the heat, creating that irresistible texture that we all love. I can’t tell you how many compliments I’ve received for it!
Flavor Infusion
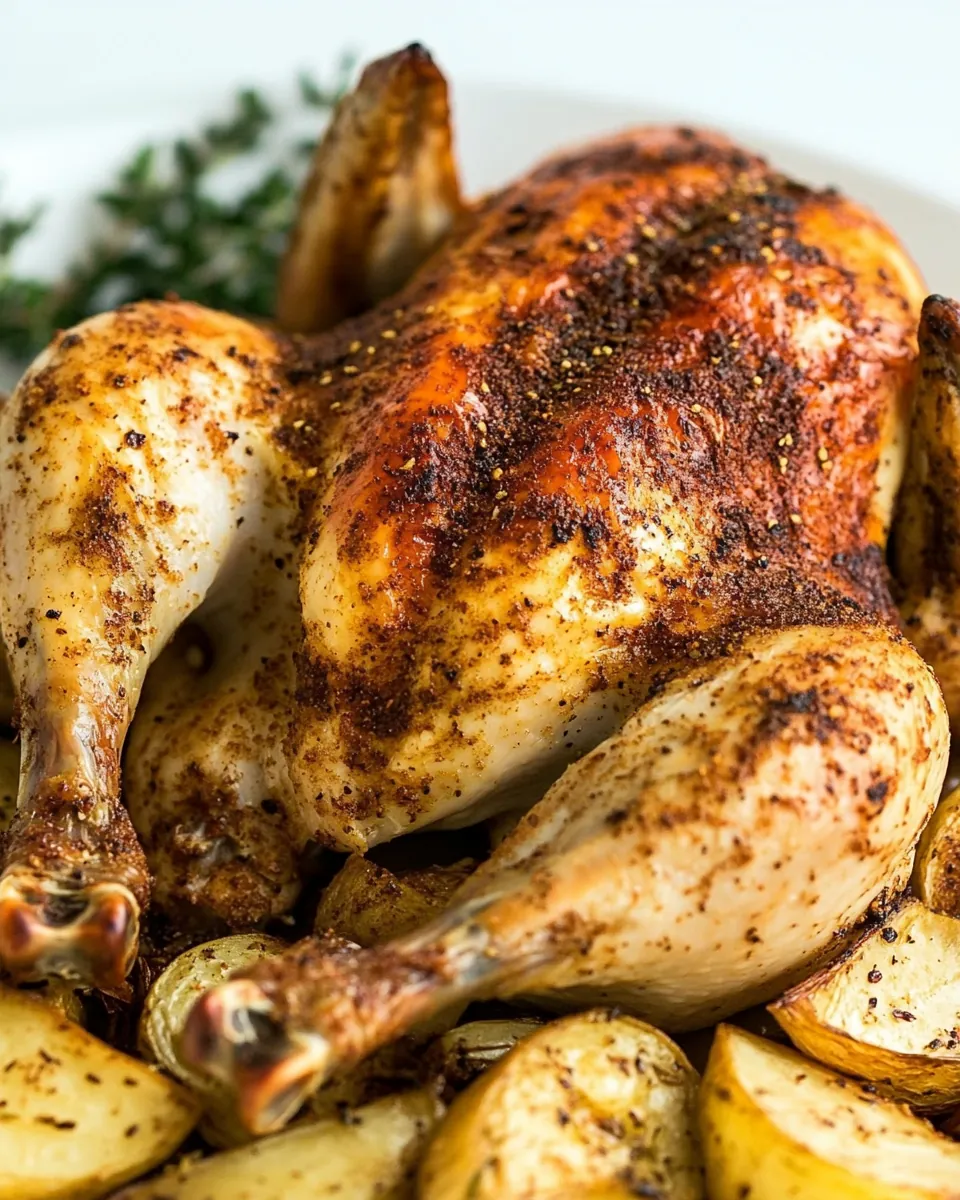
The spices and herbs really penetrate the meat when you spatchcock. I love mixing my seasonings and rubbing them under the skin, making every bite bursting with flavor. The combination of fresh thyme, garlic, and paprika gives this dish a delightful aroma that lingers in the air.
Versatile and Adaptable
Spatchcock Chicken is not a one-size-fits-all recipe. You can easily adapt the spices and herbs based on what you have at home or what you’re craving. Feel like something zesty? Add lemon and dill. Want a smoky twist? Try adding smoked paprika.
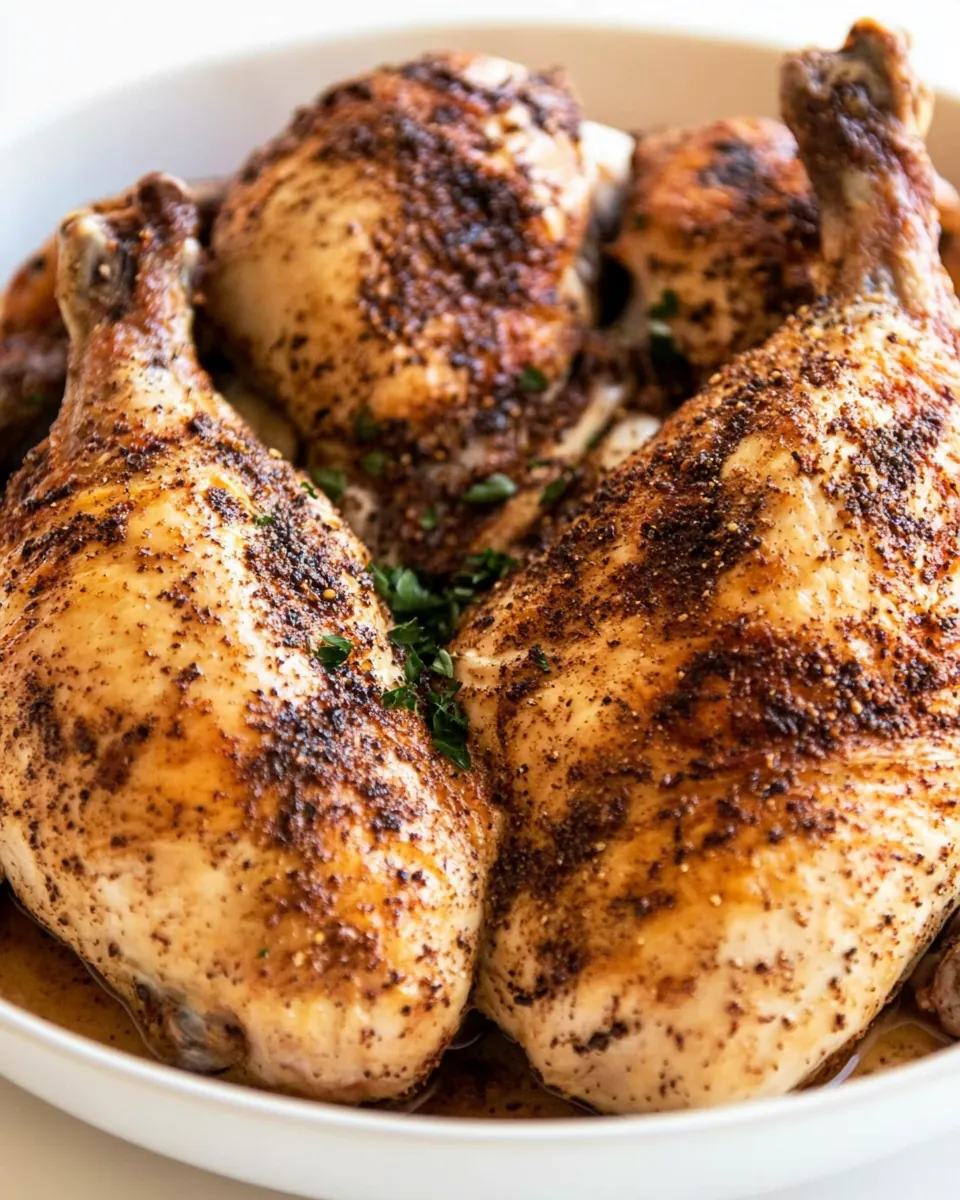
Impressive Presentation
Serving a beautifully roasted Spatchcock Chicken is a surefire way to impress guests. It looks stunning on the table, especially when garnished with fresh herbs. It’s a perfect centerpiece for any gathering.
Family-Friendly Meal
Lastly, this dish is a hit with kids and adults alike. The juicy chicken is easy to cut and share, making it a fantastic family meal for gatherings or weeknight dinners. Plus, the leftovers (if any!) can be used in sandwiches, salads, or tacos.
Essential Ingredients for Spatchcock Chicken
Creating the perfect Spatchcock Chicken relies on a few key ingredients that work harmoniously together. Each component enhances the flavor of the chicken, ensuring a delicious result. The combination of fresh herbs and spices elevates the dish, making it not just a meal but an experience.
- 1 (4 lb) Farmer Focus Whole Chicken: The star of the show! A whole chicken provides the best flavor and juiciness.
- 1 onion, sliced: Adds a sweet and savory base when roasted alongside the chicken.
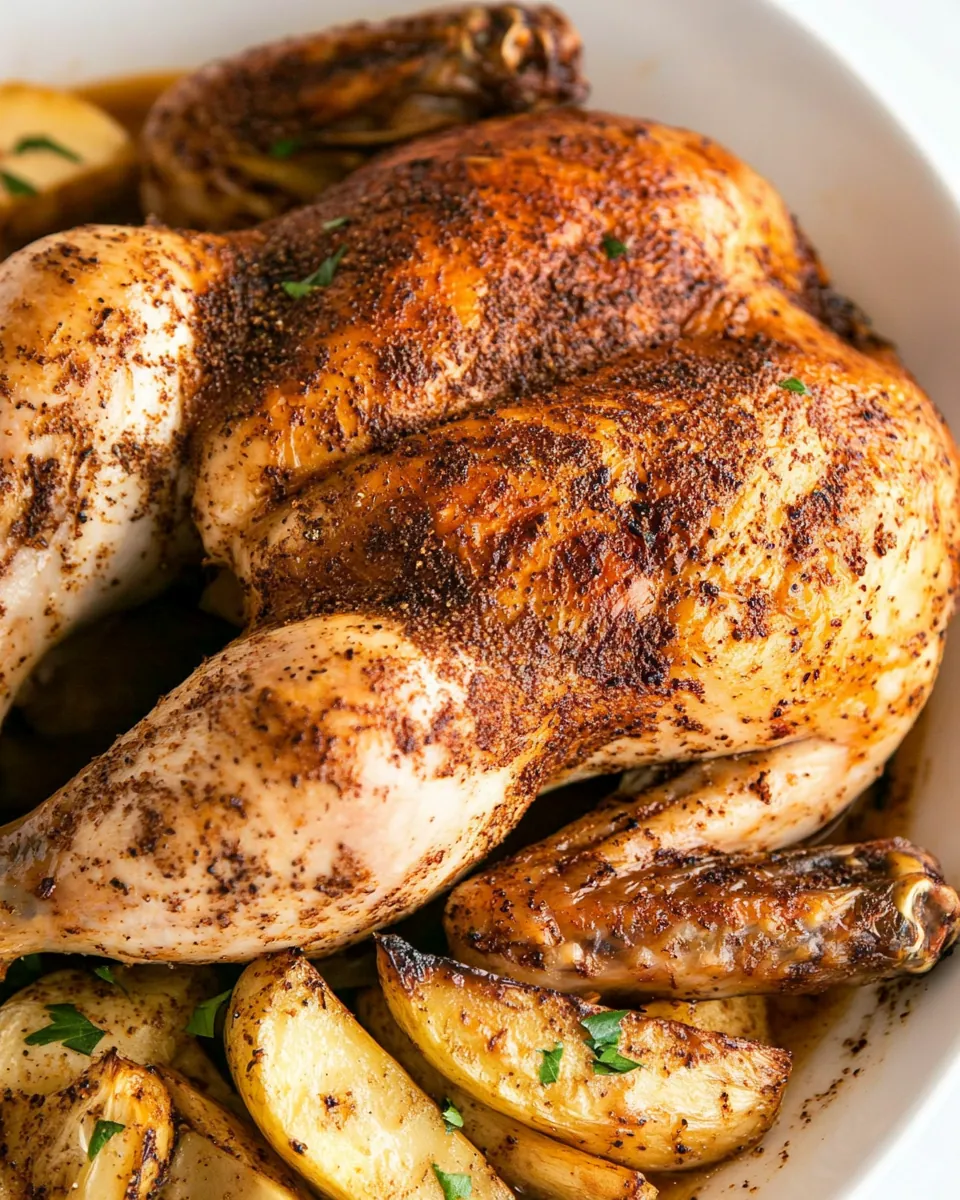
- 16 ounces baby potatoes, scrubbed and dried: These little gems roast beautifully, soaking up the chicken drippings for added flavor.
- 6 whole cloves garlic, peeled: Roasting the garlic mellows its flavor, adding a rich depth to the dish.
- 2 tablespoons olive oil, divided: Used for rubbing on the chicken and drizzling over vegetables to enhance browning.
- 1 and 1/4 teaspoons salt: Essential for seasoning and bringing out all the flavors.
- 1 teaspoon ground black pepper: Adds a subtle heat that complements the spices beautifully.
- 1 teaspoon paprika: Provides a lovely color and a hint of smokiness.
- 1 teaspoon dried thyme: An aromatic herb that pairs perfectly with chicken.
- 1 teaspoon garlic powder: Amplifies the garlic flavor throughout the dish.
- Fresh thyme leaves for garnish: Adds a touch of freshness and color when serving.
- 2 tablespoons finely sliced parsley for garnish: A vibrant finishing touch that enhances presentation.
Putting Together Spatchcock Chicken
Now that you have all your ingredients ready, let’s dive into the delightful process of making Spatchcock Chicken. You’ll be amazed at how simple it is to achieve such a spectacular meal.
- Preheat your oven to 425ºF. This high temperature is crucial for achieving crispy skin.
- Remove the packaging and the giblets from the chicken. Set them aside for another use or discard. Ensure to drain any excess liquid and dry off the chicken really well. This ensures that the skin crisps up beautifully.
- Place the chicken on a steady work surface. I prefer using a sheet pan to catch any drippings that may fall.
- Using kitchen shears, cut along one side of the backbone. It doesn’t matter if you start by the legs or the wings. Just ensure you go all the way through.
- Using the same technique, cut along the other side and remove the backbone. You can freeze this for later use if desired.
- Flip the bird over and cut off the tips of the wings, which can also be frozen for later.
- Using the palm of your hand, press firmly on the breastbone until you hear a small crack. This will allow the chicken to flatten, ensuring even cooking.
- Add the onion, potatoes, and garlic to a large roasting pan. Drizzle 1 tablespoon of olive oil over the top and toss them together to coat.
- Spread the vegetables evenly in the pan and place the chicken in the middle on top of the potatoes.
- In a small bowl, mix together the spices: salt, black pepper, paprika, thyme, and garlic powder.
- Rub the spice mixture all over the chicken (including the underside). Make sure the chicken is skin side up, and drizzle the remaining olive oil on top.
- Roast in the middle of the oven for 45 to 55 minutes, or until the thickest part of the chicken breast reaches 160ºF on a meat thermometer.
- Let the chicken rest for 10 to 15 minutes before cutting it up.
- Serve the chicken with a garnish of fresh thyme and parsley, and enjoy!
Things Worth Knowing
- Ensure Proper Drying: Make sure to dry the chicken well before seasoning to achieve that crispy skin.
- Watch the Internal Temperature: Invest in a good meat thermometer to avoid overcooking the chicken.
- Resting Time: Allow the chicken to rest after cooking. This lets the juices redistribute, ensuring moist meat.
- Flavor Variations: Experiment with different herb and spice combinations to find your favorite flavor profile.
Change It Up
While Spatchcock Chicken is fabulous as is, there are plenty of ways to change things up to suit your taste. Here are some ideas:
- Storage: To store leftovers, place them in an airtight container in the refrigerator. They will last for up to 3 days.
- Freezing: You can freeze leftover chicken for up to 4 months. Just ensure it’s well-wrapped to prevent freezer burn.
- Pairing: Serve with seasonal veggies like roasted carrots or a fresh green salad for a balanced meal.
- Experiment: Try marinating the chicken in different sauces before roasting for a unique flavor.
- Cooking Method: If you’re short on time, consider using an air fryer for a quicker cooking time while still achieving crispy skin.
Serving Options for Spatchcock Chicken
When it comes to serving Spatchcock Chicken, the options are endless! Here are some delightful ideas:
- With Seasonal Sides: Pair your chicken with roasted seasonal vegetables like Brussels sprouts or carrots to create a colorful plate.
- Salads: A light salad with mixed greens, cherry tomatoes, and a balsamic vinaigrette complements the rich flavors of the chicken.
- Sandwiches: Create delicious sandwiches with the leftovers, adding a dollop of mayo and some crisp lettuce.
- For Special Occasions: This dish is perfect for gatherings and holidays, providing a hearty option that feeds many.
- Storage Tips: Keep any leftovers in an airtight container in the fridge. They’ll taste great reheated!
FAQ
Conclusion
Spatchcock Chicken is a fantastic way to enjoy a juicy, flavorful roast chicken with a delightful crispy skin. It’s not only simple to prepare but also a great way to impress guests at your next dinner party. Don’t hesitate to give it a try; your family will thank you for a memorable meal!
Spatchcock Chicken
Ingredients
Equipment
Method
- Preheat your oven to 425ºF. This high temperature is crucial for achieving crispy skin.
- Remove the packaging and the giblets from the chicken. Set them aside for another use or discard. Ensure to drain any excess liquid and dry off the chicken really well. This ensures that the skin crisps up beautifully.
- Place the chicken on a steady work surface. I prefer using a sheet pan to catch any drippings that may fall.
- Using kitchen shears, cut along one side of the backbone. It doesn’t matter if you start by the legs or the wings. Just ensure you go all the way through.
- Using the same technique, cut along the other side and remove the backbone. You can freeze this for later use if desired.
- Flip the bird over and cut off the tips of the wings, which can also be frozen for later.
- Using the palm of your hand, press firmly on the breastbone until you hear a small crack. This will allow the chicken to flatten, ensuring even cooking.
- Add the onion, potatoes, and garlic to a large roasting pan. Drizzle 1 tablespoon of olive oil over the top and toss them together to coat.
- Spread the vegetables evenly in the pan and place the chicken in the middle on top of the potatoes.
- In a small bowl, mix together the spices: salt, black pepper, paprika, thyme, and garlic powder.
- Rub the spice mixture all over the chicken (including the underside). Make sure the chicken is skin side up, and drizzle the remaining olive oil on top.
- Roast in the middle of the oven for 45 to 55 minutes, or until the thickest part of the chicken breast reaches 160ºF on a meat thermometer.
- Let the chicken rest for 10 to 15 minutes before cutting it up.
- Serve the chicken with a garnish of fresh thyme and parsley, and enjoy!
Notes
- Tip 1: To store leftovers, place them in an airtight container in the refrigerator. They will last for up to 3 days.
- Tip 2: You can freeze leftover chicken for up to 4 months. Just ensure it’s well-wrapped to prevent freezer burn.
- Tip 3: Serve with seasonal veggies like roasted carrots or a fresh green salad for a balanced meal.
- Tip 4: Try marinating the chicken in different sauces before roasting for a unique flavor.
- Tip 5: If you’re short on time, consider using an air fryer for a quicker cooking time while still achieving crispy skin.