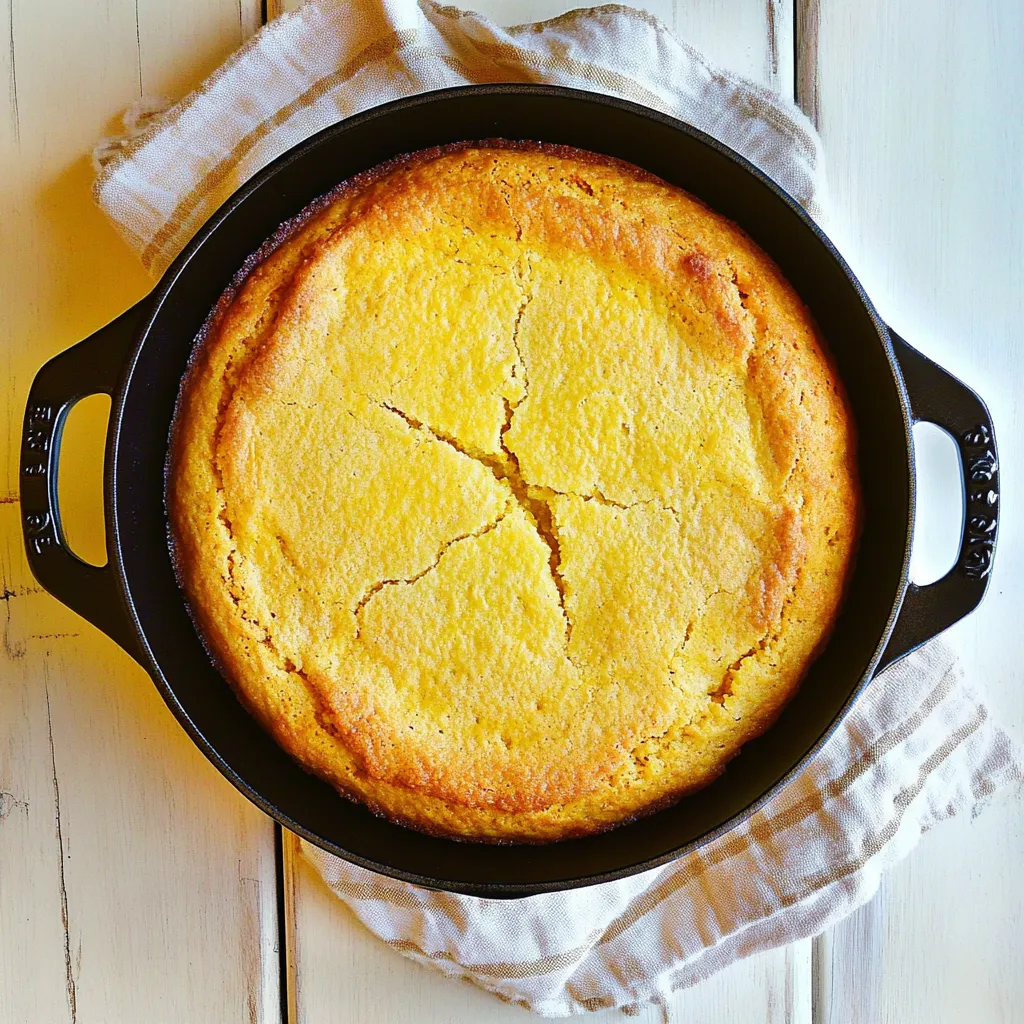
Every time I think about the warmth of home, the memory of Skillet Cornbread Recipe comes flooding back. This dish has a special place in my heart, reminiscent of cozy family gatherings around the table. I can still hear the laughter and chatter, with the aroma of freshly baked cornbread wafting through the air. It was a staple at our fall get-togethers, served warm with a smear of butter. I remember my grandmother’s secret, how she would carefully measure each ingredient, ensuring the perfect balance of flavors. Making Skillet Cornbread Recipe is not just about the food, but the love and tradition that come with it. Every bite takes me back to those cherished moments, making it more than just a recipe; it’s a connection to my roots.
Recipe Snapshot
30 mins
10 mins
20 mins
Medium
200 kcal
4 g
Gluten-Free, Low FODMAP
8 g
Skillet, Frying Pan, Wooden Spoon, Oven, Whisk, Mixing Bowl, Baking Sheet
The Appeal of This Skillet Cornbread Recipe
It’s Incredibly Easy to Make
When it comes to baking, simplicity is key. That’s why I love this Skillet Cornbread Recipe. It doesn’t require complicated techniques or hard-to-find ingredients. With a few basic items that you probably already have in your pantry, you can whip this up in no time. Plus, it allows even novice bakers to shine in the kitchen!
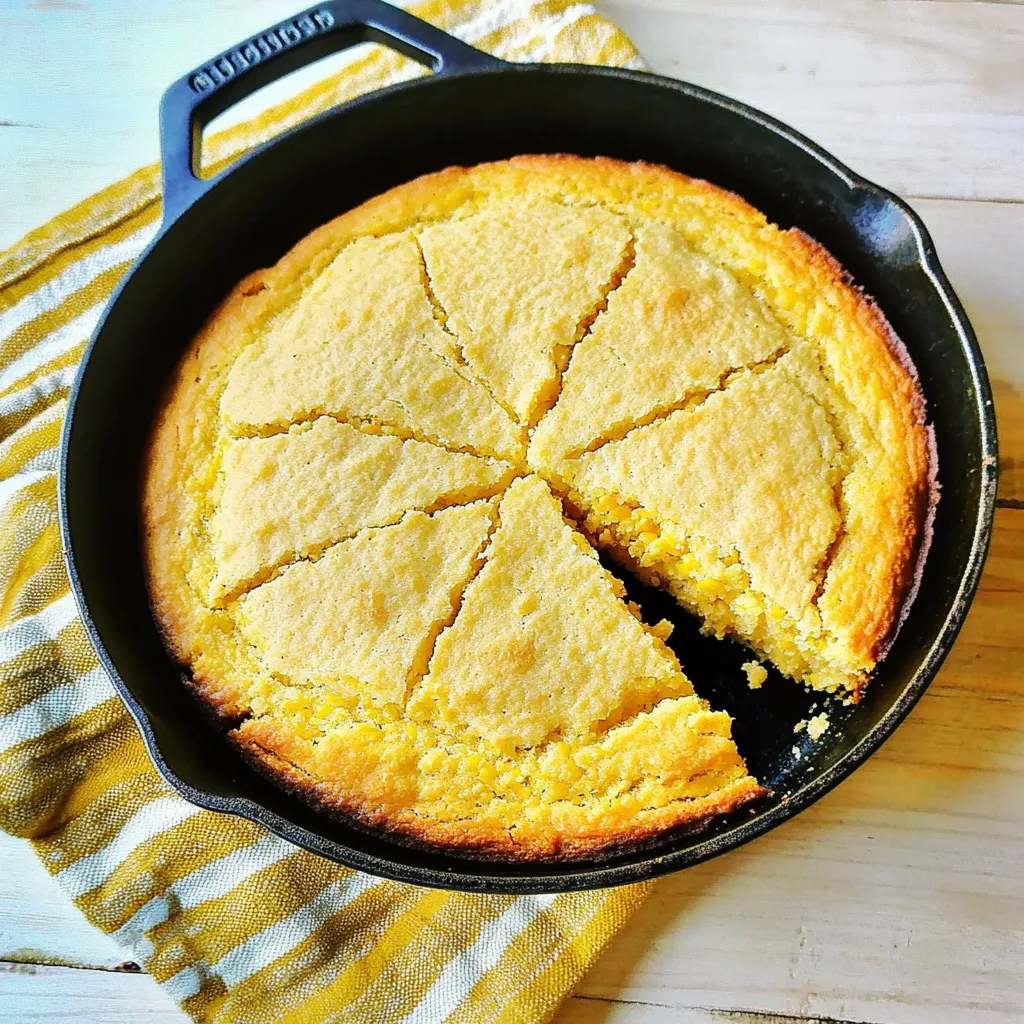
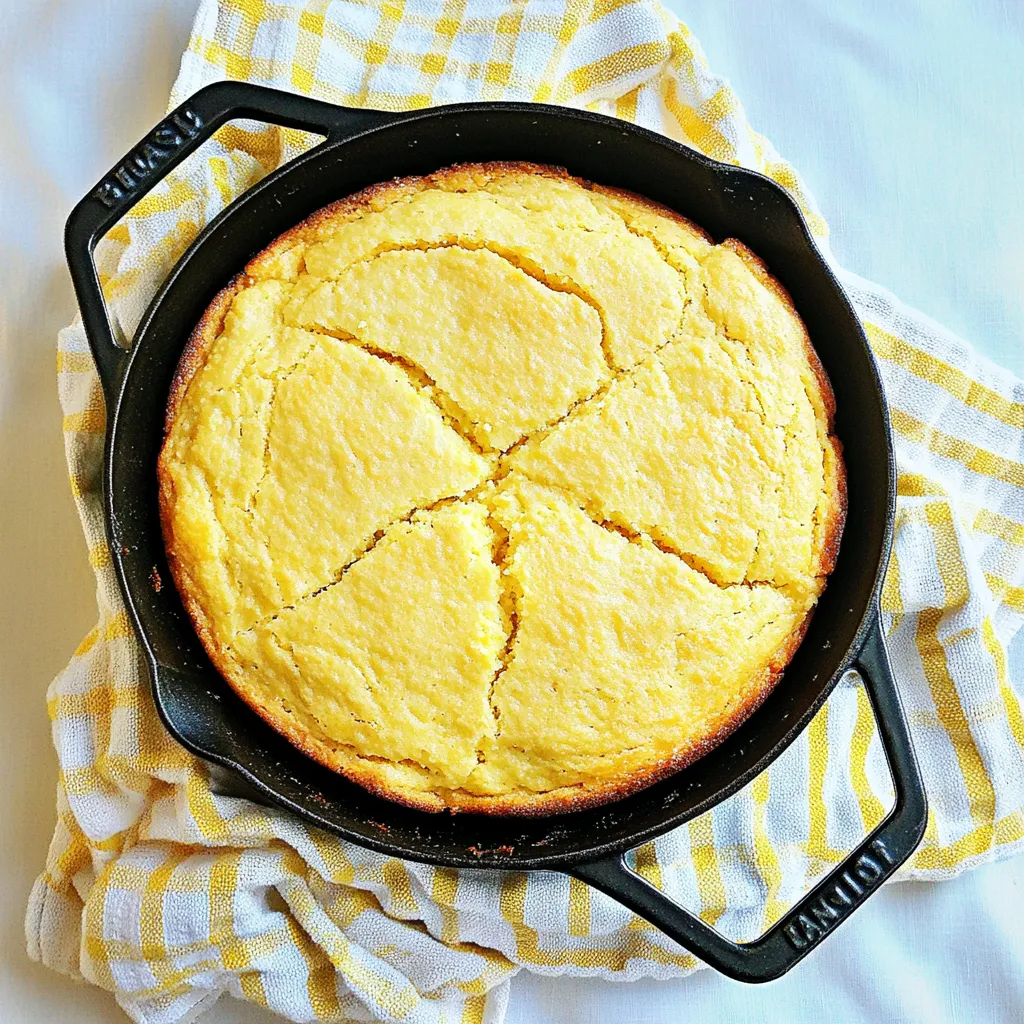
The Perfect Texture
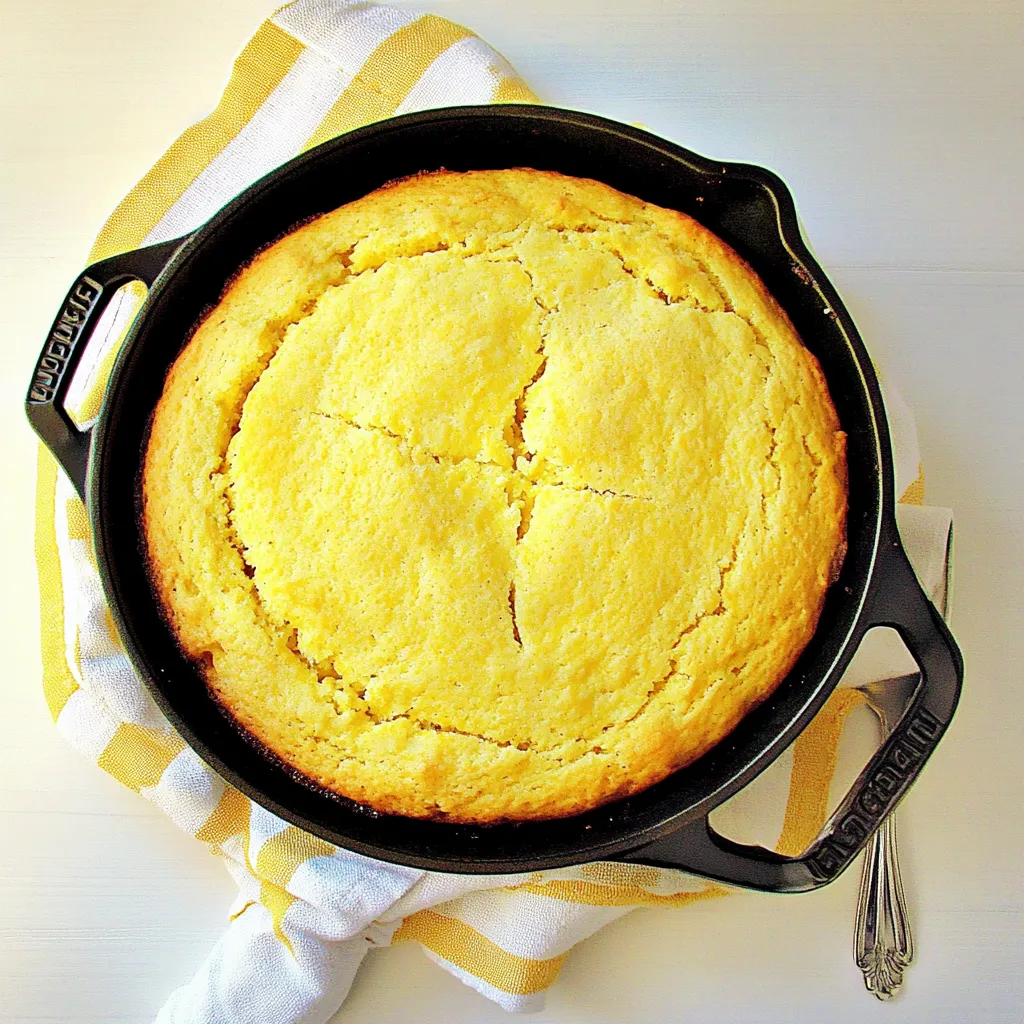
One of the standout features of this cornbread is its texture. It’s wonderfully fluffy on the inside with a slight crispiness on the edges. The use of a skillet helps achieve that golden crust, making it irresistible. Every bite is a delightful contrast of softness and crunch!
A Versatile Side
This Skillet Cornbread Recipe pairs beautifully with so many dishes. Whether it’s chili, soup, or a hearty stew, this bread complements them all. I often serve it at barbecues or potlucks, and it’s always a hit among friends and family. You can even enjoy it as a base for breakfast, topped with eggs or jam.
Deliciously Sweet and Savory
The balance of sweetness from the sugar and the savory notes from the butter makes this cornbread a crowd-pleaser. It strikes that perfect harmony between sweet and salty, making it hard to resist. You’ll find yourself reaching for another slice, especially when it’s still warm from the oven!
Great for Meal Prep
What I love most about this recipe is that it can be made in advance. Whether you’re prepping for a busy week ahead or planning a festive gathering, this cornbread holds up well. You can store it in the fridge and simply reheat it when you’re ready to serve. It’s the kind of dish that gets better with time!
Everything You Need for Skillet Cornbread Recipe
Understanding the ingredients in this cornbread is crucial. Each one plays a significant role in creating its unique flavor and texture. The combination of cornmeal and flour provides structure and the ideal crumb, while buttermilk enhances its moisture and richness. Let’s take a closer look at these key players:
- 2 tablespoons unsalted butter: Adds richness and flavor while helping achieve that beautiful golden crust.
- 1 cup all-purpose flour: Offers structure and balance to the cornbread.
- 1 cup yellow cornmeal: The star of the show, providing the signature cornbread texture and flavor.
- 3 tablespoons granulated sugar: A touch of sweetness that enhances the overall taste.
- 2 teaspoons baking powder: Acts as a leavening agent, ensuring the cornbread rises beautifully.
- ½ teaspoon baking soda: Helps with the rise and contributes to the cornbread’s light texture.
- ¾ teaspoon salt: Balances the sweetness and enhances the flavors.
- 2 large eggs beaten: Provides moisture and helps bind the ingredients together.
- ¼ cup vegetable or canola oil: Adds moisture and richness to the batter.
- 1 cup buttermilk: Contributes to the tender texture and adds a slight tanginess.
Cooking Method for Skillet Cornbread Recipe
Cooking Skillet Cornbread Recipe is not only easy, but it also becomes a fun activity to do with family or friends. Gather everyone around as you create this delicious dish together. The steps are straightforward, and I’ll guide you through each one so you can achieve perfect results.
Start by preheating your oven to 400 degrees F. This step is essential as it ensures your skillet gets hot enough to create that perfect crust on your cornbread.
Next, place 2 tablespoons of unsalted butter into your 10 or 11-inch skillet. Set it aside for now; it’ll melt beautifully once the skillet heats up.
In a large mixing bowl, whisk together your dry ingredients: 1 cup of all-purpose flour, 1 cup of yellow cornmeal, 3 tablespoons of granulated sugar, 2 teaspoons of baking powder, ½ teaspoon of baking soda, and ¾ teaspoon of salt. Make sure to combine them well to ensure an even distribution of flavors.
In a separate small mixing bowl or a 2-cup measuring cup, whisk together your wet ingredients: 2 large beaten eggs, ¼ cup of vegetable oil, and 1 cup of buttermilk. This mixture will add moisture to the cornbread.
Once your oven is preheated, place the skillet inside for about 2 minutes or until the butter is melted. This will give your cornbread a crispy edge.
Swirl the melted butter around the pan to coat it evenly. This will help prevent sticking and add flavor.
Now, add your wet ingredients to the dry ingredients. Stir gently with a wooden spoon until just combined. Be careful not to overmix, as this can lead to dense cornbread.
Pour the batter into the skillet, making sure it’s evenly distributed. The batter should fill the skillet nicely.
Next, bake your cornbread for about 15 to 20 minutes. You’ll know it’s done when the top is golden and a toothpick inserted in the center comes out clean. I usually find 18 minutes is my sweet spot!
Finally, let the cornbread cool in the pan before serving. Once cooled, cut it into wedges and enjoy!
Things Worth Knowing
- Preheating is Key: Always preheat your oven! This step ensures even cooking and helps create that golden crust.
- Don’t Overmix: Mixing too much can lead to tough cornbread. Stir until just combined for the best texture.
- Skillet Matters: Using a cast-iron skillet not only provides even heat distribution but also adds a wonderful flavor to the cornbread.
- Check for Doneness: Always use a toothpick to check if the cornbread is done. It should come out clean from the center.
Customization Ideas
What I love about the Skillet Cornbread Recipe is its versatility. You can easily customize it to suit your tastes and preferences. Here are some fun ideas to experiment with:
- Add Cheese: For a cheesy twist, mix in some shredded cheese like cheddar or Monterey Jack to the batter. It brings a wonderful creaminess.
- Spice it Up: If you enjoy a bit of heat, consider adding chopped jalapeños or a pinch of cayenne pepper to the batter for a kick.
- Sweeten the Deal: For a sweeter cornbread, try adding honey or maple syrup to the batter. It gives a nice caramel flavor.
- Herb Infusion: Incorporate fresh herbs like rosemary or thyme for an aromatic touch that pairs well with savory dishes.
- Add Fruits: If you’re feeling adventurous, experiment with adding fruits like blueberries or cranberries for a sweet and tangy flavor.
- Nutty Crunch: Toss in some chopped nuts, such as pecans or walnuts, for added texture and flavor.
- Serve with Toppings: Don’t hesitate to top your cornbread with honey butter, whipped cream, or fresh fruit for a delicious finish.
Serving This Skillet Cornbread Recipe
Serving Skillet Cornbread Recipe is a delightful experience that can elevate any meal. Here are some delicious ways to enjoy it:
- Lunch or Dinner: This cornbread makes for a fantastic side dish to accompany hearty soups or stews at lunch or dinner. It’s a comforting choice during colder months.
- Barbecue Season: Bring it to summer barbecues! It pairs perfectly with grilled meats and smoky flavors, adding a delicious contrast.
- Breakfast Treat: Serve slices with a drizzle of honey or maple syrup for breakfast. It’s great alongside eggs, making for a hearty morning meal.
- Holiday Gatherings: This cornbread is a favorite during Thanksgiving or harvest feasts, bringing warmth and comfort to the table.
- Storage Tips: Store leftovers in an airtight container at room temperature for a few days. Reheat for a few minutes in the oven to enjoy it warm again.
- Seasonal Pairing: In the fall, this cornbread pairs beautifully with pumpkin soup or apple cider, enhancing the flavors of the season.
FAQ
Conclusion
The Skillet Cornbread Recipe is a true testament to comfort food, blending simplicity and flavor in every bite. Its unique texture and delightful taste make it a recipe worth trying. Whether you enjoy it as a side dish or a sweet breakfast treat, this cornbread is sure to bring warmth to your table. So why not gather your loved ones and whip up this delightful dish tonight? You won’t regret it!
Skillet Cornbread Recipe
Ingredients
Equipment
Method
- Preheat your oven to 400 degrees F.
- Place 2 tablespoons of unsalted butter into your 10 or 11-inch skillet. Set aside.
- In a large mixing bowl, whisk together the dry ingredients: 1 cup of all-purpose flour, 1 cup of yellow cornmeal, 3 tablespoons of granulated sugar, 2 teaspoons of baking powder, ½ teaspoon of baking soda, and ¾ teaspoon of salt.
- In a separate small mixing bowl or a 2-cup measuring cup, whisk together your wet ingredients: 2 large beaten eggs, ¼ cup of vegetable oil, and 1 cup of buttermilk.
- Once your oven is preheated, place the skillet inside for about 2 minutes or until the butter is melted.
- Swirl the melted butter around the pan to coat it evenly.
- Add your wet ingredients to the dry ingredients and stir gently with a wooden spoon until just combined.
- Pour the batter into the skillet, making sure it’s evenly distributed.
- Bake your cornbread for about 15 to 20 minutes until golden and a toothpick comes out clean.
- Let the cornbread cool in the pan before serving. Cut it into wedges and enjoy!
Notes
- Storage: Store leftovers in an airtight container at room temperature for a few days. Reheat in the oven for the best results.
- Freezing: You can freeze cornbread! Wrap it tightly in plastic wrap and store it in a freezer bag for up to 3 months.
- Variations: Experiment with adding cheese, herbs, or spices to customize the flavor!