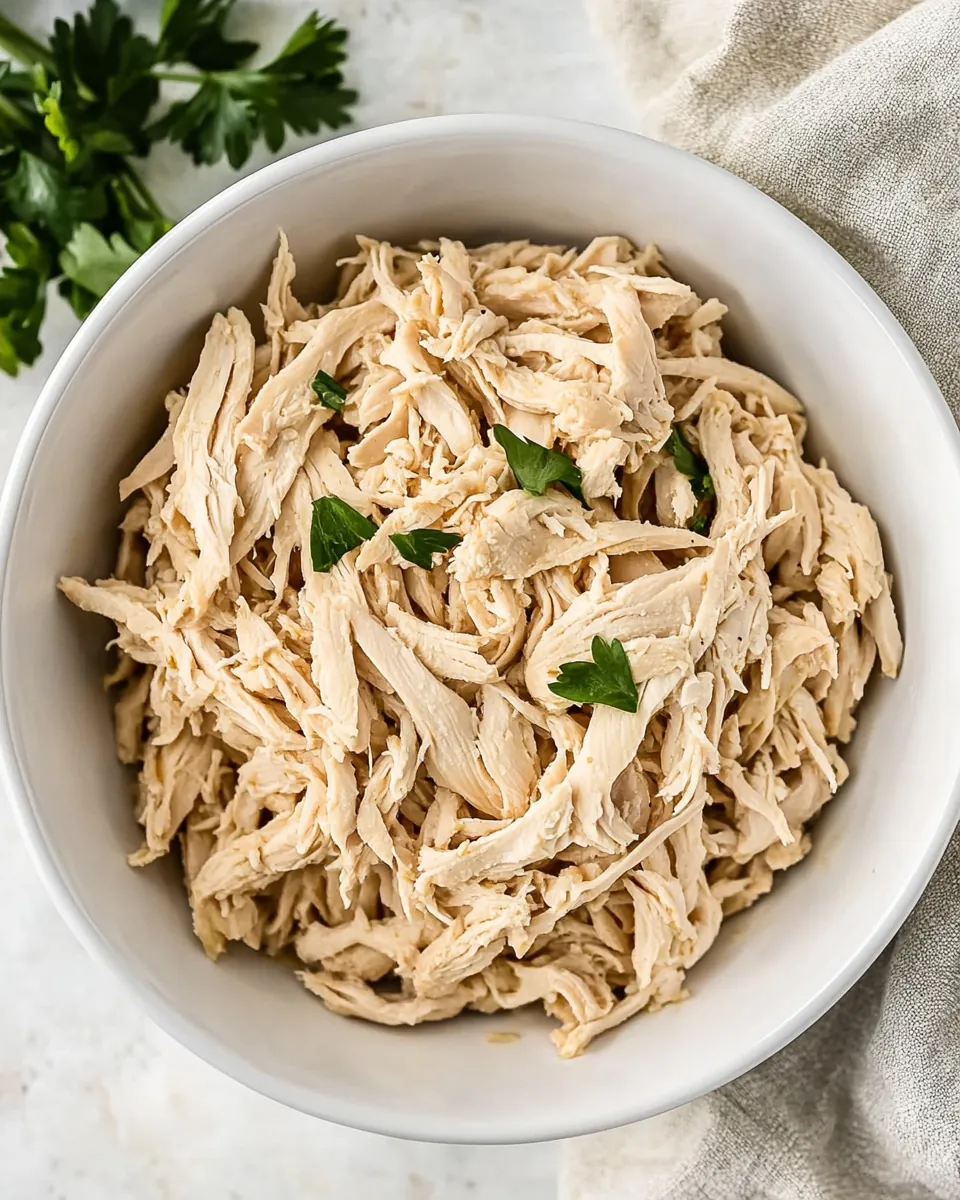
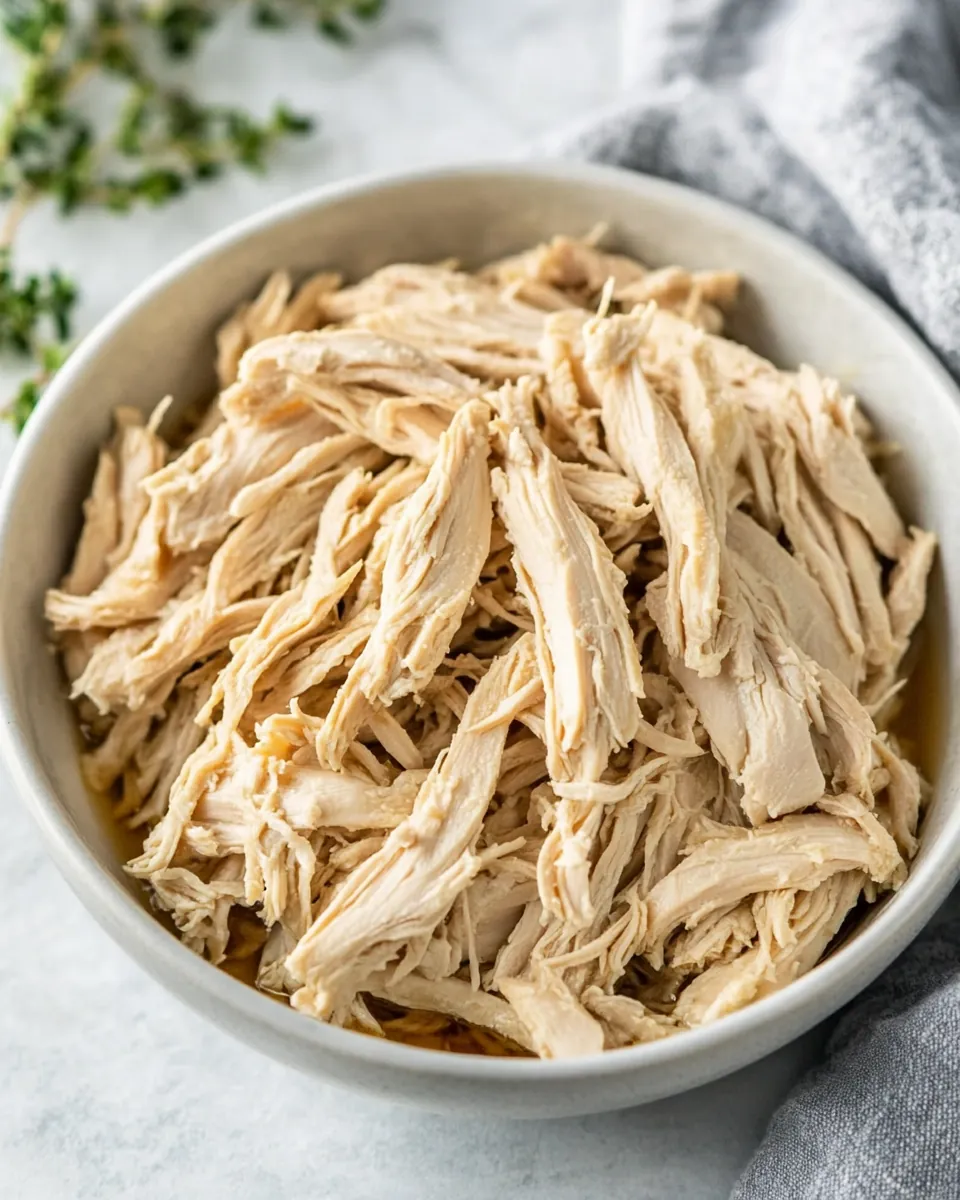
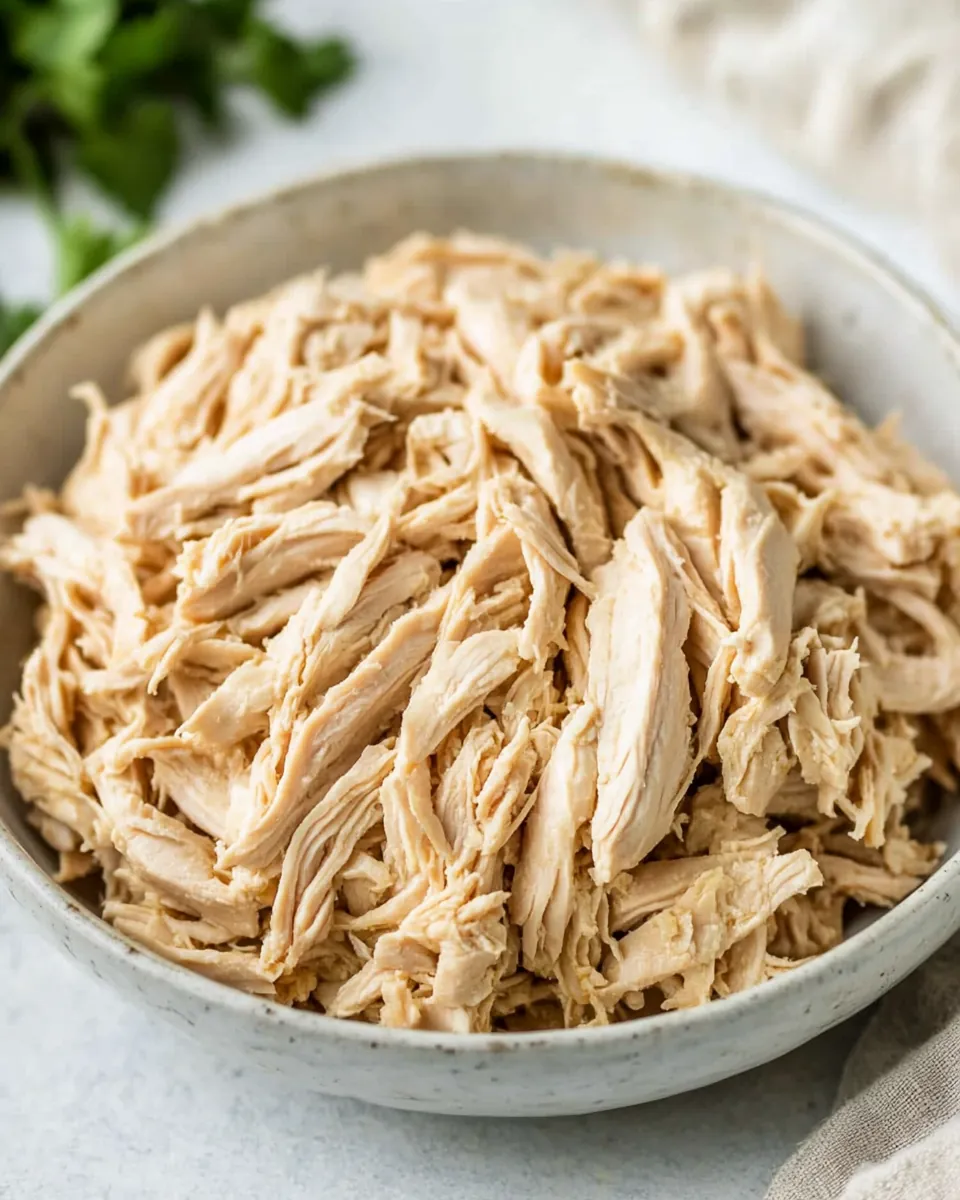
When I think of comfort food, nothing beats a plate of tender, flavorful Shredded Chicken. It’s been a staple in my kitchen for years, perfect for those busy weeknights when I want something quick yet satisfying. I remember the first time I made it; I was hosting a casual get-together and needed a dish that would please everyone. That’s when I stumbled upon the idea of shredding chicken—simple, versatile, and absolutely delicious.
As the aroma filled my kitchen, I felt a sense of nostalgia wash over me. It reminded me of family dinners where we would gather around the table, sharing stories and laughter. The best part about this Shredded Chicken is its adaptability. You can toss it into salads, serve it in tacos, or simply enjoy it on a bed of rice. No matter how you choose to use it, the result is always mouthwatering.
Plus, it’s incredibly easy to make! With just a few ingredients and minimal effort, you can have a batch ready to go. I’ve even used leftovers in a variety of ways, from sandwiches to soups, proving that this dish truly stretches your culinary creativity. If you’re looking for something that combines flavor, ease, and versatility, then the Shredded Chicken is simply the answer.
Recipe Snapshot
60 mins
0 mins
0 mins
Medium
220 kcal
40 g
Keto, Paleo, Whole30
5 g
Mixing Bowl, Frying Pan, Skillet, Food Processor
Why You Need This Shredded Chicken
Quick and Simple
One of my favorite things about this Shredded Chicken recipe is how quick it is to whip up. In just twenty minutes, you can have moist, tender chicken ready for any meal. This is a lifesaver on those hectic days when time is not on your side.
Versatility
This dish is one of the most versatile ingredients you can have in your fridge. Whether you want to add it to salads, tacos, or pasta dishes, Shredded Chicken fits seamlessly into any recipe. It’s like a blank canvas waiting for your culinary masterpiece!
Healthy Option
Not only is it delicious, but it’s also a healthy choice. Made with just a few ingredients, it’s packed with protein and low in fat, making it a wonderful option for those looking to maintain a balanced diet.
Meal Prep Friendly
Preparing Shredded Chicken in advance allows you to save time throughout the week. I often make a large batch and store it in the fridge, so I have it ready for quick meals. It’s a game-changer for meal prep enthusiasts!
Cost-Effective
Using chicken breasts is not only economical, but it also allows you to create multiple meals from one batch. You can stretch your grocery dollar while still enjoying delicious home-cooked meals.
Family Favorite
Ultimately, Shredded Chicken is a dish the whole family can enjoy. The flavors appeal to both kids and adults, making it a fantastic option for family dinners or gatherings.
Essential Ingredients for Shredded Chicken
The ingredients used in this Shredded Chicken recipe are simple yet effective. Each component plays a vital role in delivering flavor and ensuring the chicken remains juicy. The star of the show, of course, is the boneless skinless chicken breasts, which provide a lean protein source that absorbs all the delicious seasoning. Together, these ingredients create a delightful dish that is both satisfying and versatile.
- Cooking spray or your favorite cooking oil: This is essential for preventing the chicken from sticking to the pan and allows for a beautifully browned exterior.
- Boneless skinless chicken breasts: The main ingredient, offering a lean protein that cooks up tender and flavorful.
- Salt and pepper: These basic seasonings elevate the chicken’s natural flavor, making every bite deliciously satisfying.
Cooking Method for Shredded Chicken
The cooking method for this Shredded Chicken is straightforward and forgiving. It involves straightforward steps that yield flavorful results. Whether you’re new to cooking or a seasoned chef, you’ll find this method easy to follow. Let’s dive into the steps for making delicious shredded chicken!
- Start by generously salting and peppering both sides of the chicken. This simple step adds flavor right from the start.
- Next, heat a skillet over medium-high heat with a lid. Once it’s hot, spray with cooking spray or drizzle a bit of your favorite cooking oil. You want the pan hot enough to get a nice sear on the chicken.
- Gently place the chicken in the skillet and cook until it’s browned, about three to four minutes. This step is crucial, as it locks in delicious juices.
- Flip the chicken and repeat the browning process. You’ll want a lovely golden crust before adding liquid.
- Once browned, add about half an inch of water to the pan. This helps steam the chicken, keeping it moist as it cooks through.
- Cover the skillet, reduce the heat to medium, and let it cook for five to eight minutes. If your chicken breasts are on the larger side, you may need to increase the cooking time slightly. An instant-read thermometer should read 165°F.
- If the water evaporates before the chicken is done, don’t hesitate to splash in a little more liquid.
- Once cooked, remove the skillet from heat and let the chicken cool for about five minutes. This resting period helps the juices redistribute for maximum flavor.
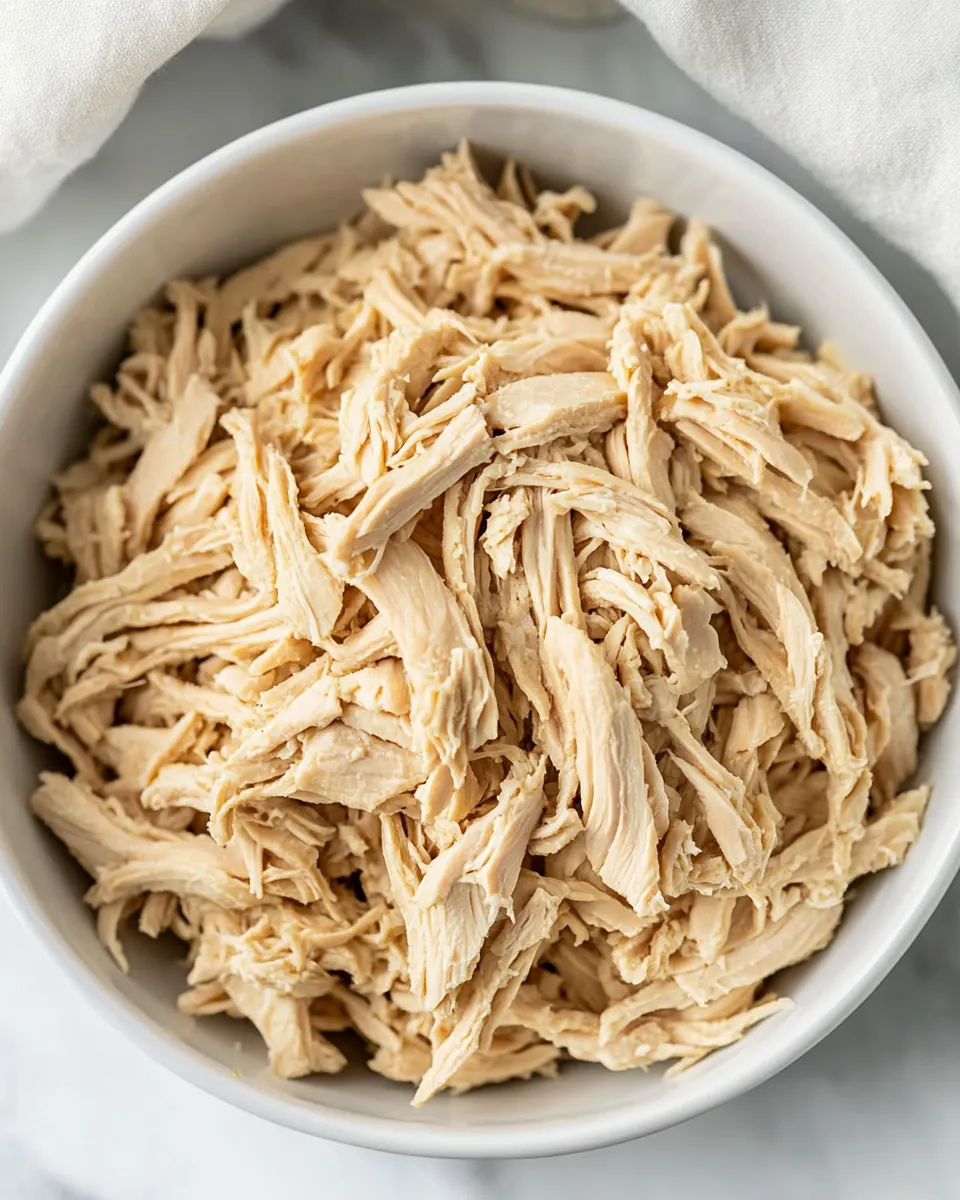
- Finally, transfer the chicken breasts to a stand mixer. Fitted with the paddle attachment, set the mixer to low, gradually increasing to medium. This will shred the chicken to perfect bite-sized pieces.
- Be cautious not to over-process; there should still be a few larger pieces. You can pull those apart by hand for a rustic feel.
- Now that you have your moist, shredded chicken, use it in your favorite dishes or store it for later use!
Things Worth Knowing
- Chicken Size Matters: The size of your chicken breasts can greatly affect cooking time. Larger pieces may need more time to reach the safe internal temperature.
- Resting Period: Allowing the chicken to rest after cooking is crucial. This step ensures the juices stay locked in, resulting in a moist final product.
- Shredding Technique: If you don’t have a stand mixer, two forks work just as well for shredding. Just keep pulling the chicken apart until you get the desired texture.
- Water Addition: Don’t be afraid to add water to the skillet if it evaporates too quickly. Keeping the moisture helps cook the chicken evenly without drying it out.
Recipe Notes about Shredded Chicken
As simple as this recipe may be, there are a few notes to keep in mind to ensure success. Let’s explore these tips for the best results!
- Storage: Store any leftover Shredded Chicken in an airtight container in the fridge. It should stay fresh for up to four days.
- Freezing: For longer storage, freeze the Shredded Chicken in portions. It will keep well for up to three months. Just thaw in the fridge overnight before use.
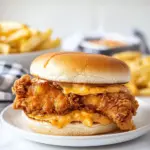
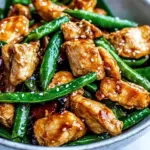
- Pairing: This Shredded Chicken is perfect in salads, tacos, and sandwiches. Its versatility means it can fit into almost any meal plan you have.
- Spicing It Up: Feel free to add spices or herbs to the chicken while cooking. Cumin, paprika, or garlic powder can elevate the flavors even more.
- Using Leftovers: Leftover Shredded Chicken can be used in a variety of dishes, such as quesadillas, soups, or even pizza toppings.
Best Served With
Knowing how to serve your Shredded Chicken can really enhance your meals. Here are some ideas to consider:
- Salads: Add Shredded Chicken to a fresh garden salad for a hearty meal. It pairs beautifully with creamy dressings.
- Tacos: Use this chicken in tacos alongside fresh avocado, cilantro, and lime for a vibrant meal.
- Rice Dishes: Serve over seasoned rice or quinoa for a satisfying and complete meal.
- Sandwiches: Make delicious sandwiches with your Shredded Chicken, adding your favorite toppings like lettuce and tomato.
- Meal Prep: This dish is perfect for meal prepping! Portion it out for easy grab-and-go lunches throughout the week.
- Freezing Options: Remember, if freezing, portion it out in meal-sized containers for convenience.
FAQ
Conclusion
This Shredded Chicken recipe is truly a winner in the kitchen. It’s simple to prepare, highly versatile, and perfect for any meal. I encourage you to try it out and see just how easy it can be to create delicious, wholesome dishes with minimal effort. Your family will love it, and soon enough, it might become a regular offering on your dinner table!
Shredded Chicken
Ingredients
Equipment
Method
- Generously salt and pepper both sides of the chicken.
- Heat a skillet (with a lid) over medium-high heat. Spray with cooking spray or drizzle on a bit of your favorite cooking oil. Once hot, add chicken to the pan and cook until browned, 3 to 4 minutes.
- Flip and repeat. Once browned, add about 1/2 inch of water to the pan, cover, turn heat down to medium, and cook for 5 to 8 minutes (longer if breasts are large), until an instant-read thermometer inserted into the center of the breasts reads 165°F.
- If at any time all the water evaporates from the pan, add more as needed.
- Remove from heat and allow to cool for 5 minutes.
- Once cooled, transfer chicken breasts to your stand mixer. With the paddle attachment, set mixer to low, working up to medium, and process chicken until mostly shredded. Don’t over process--there will be a couple larger pieces you will need to finish pulling apart by hand.
- Wash up and use your moist, shredded chicken in something delicious.
Notes
- Chicken breasts vary wildly in size: so your cooking time may vary. Just cook until your thermometer says 165°F, add water as needed, and you'll be golden.