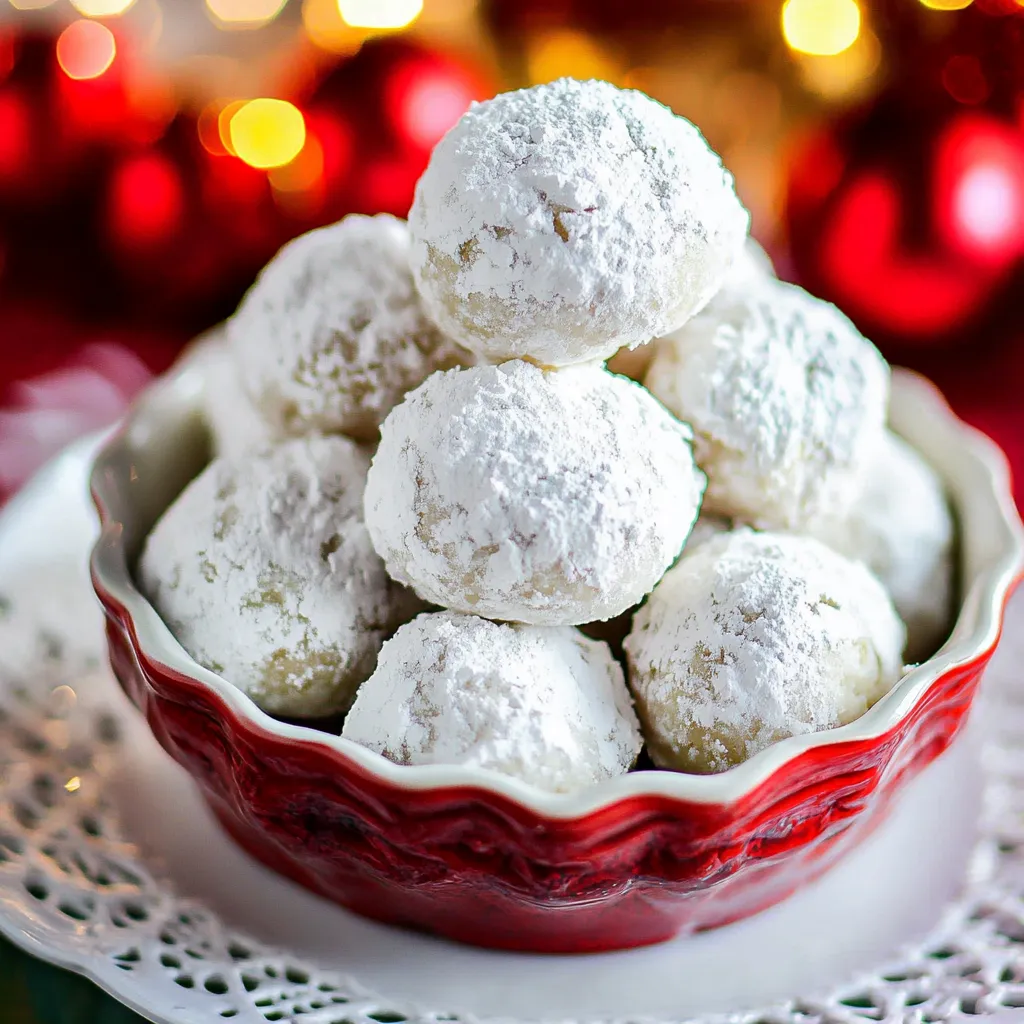
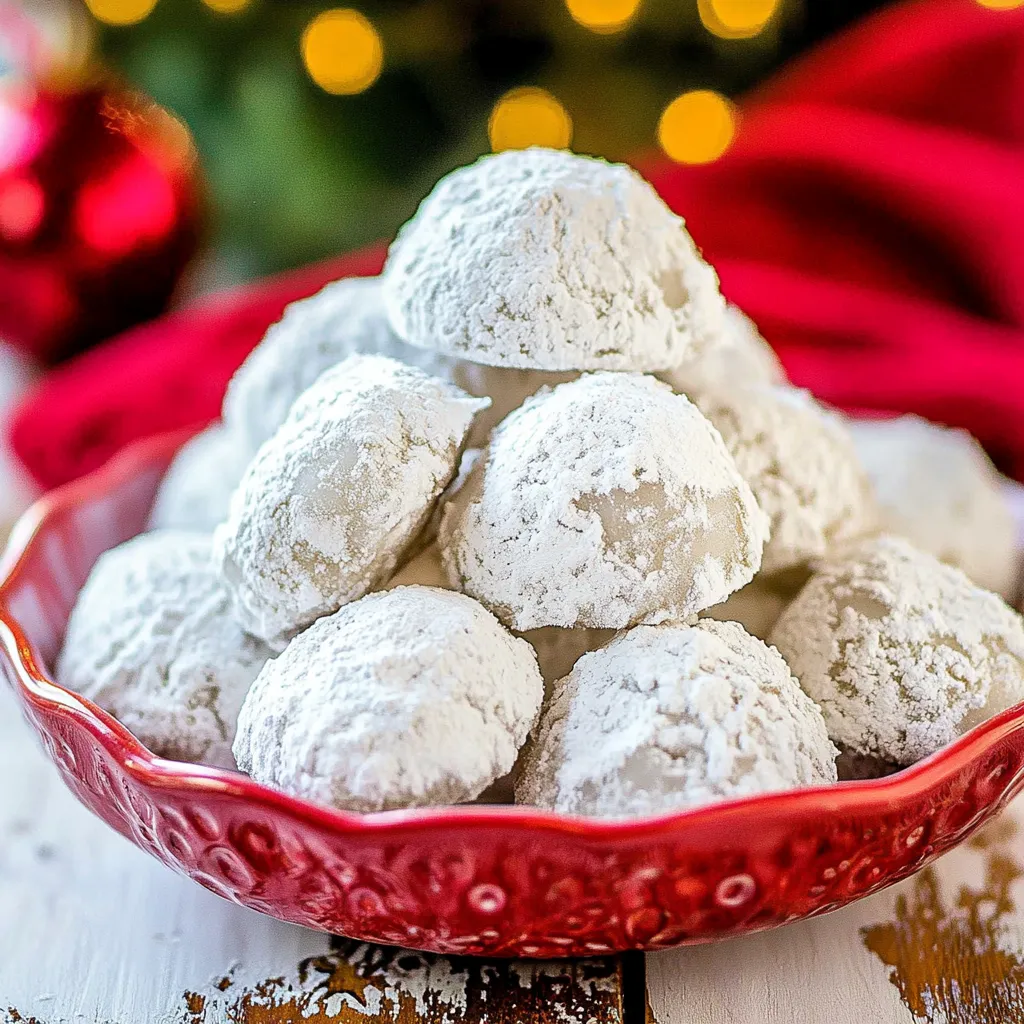
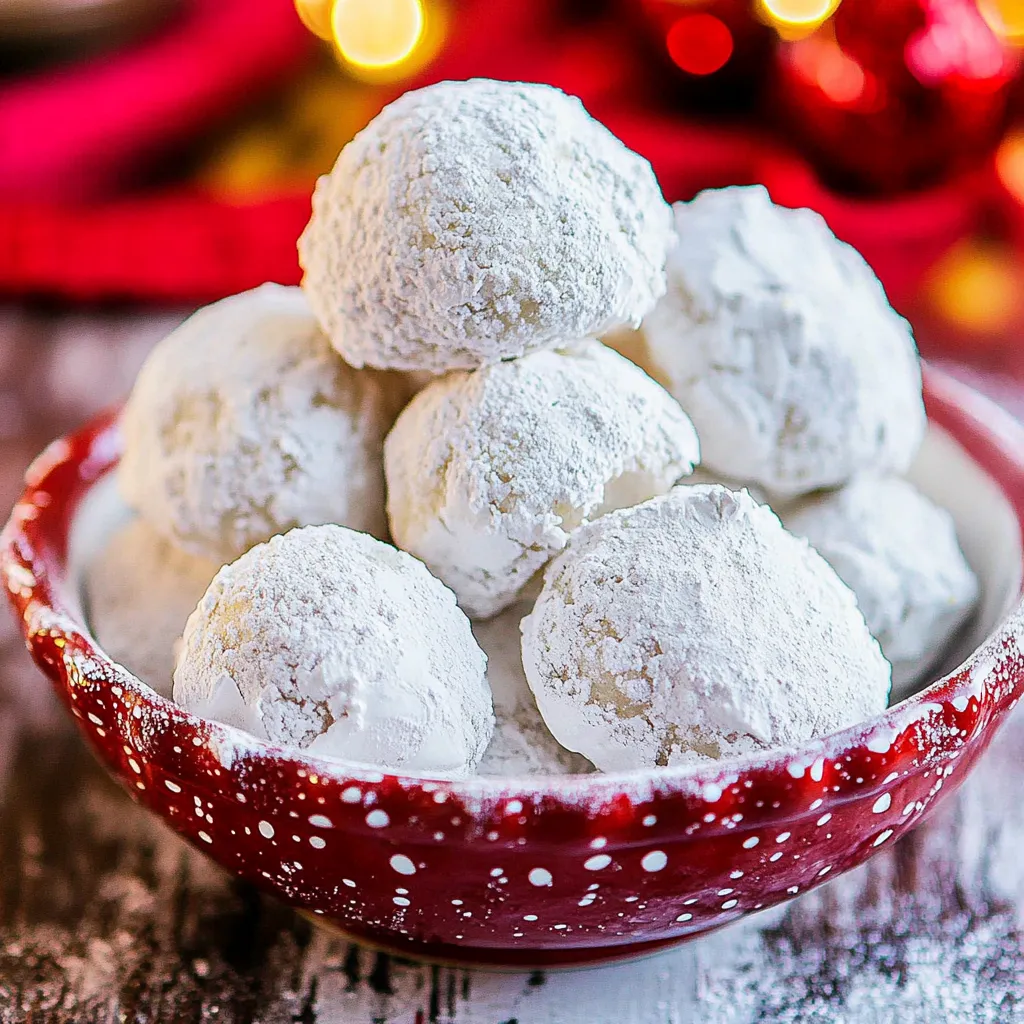
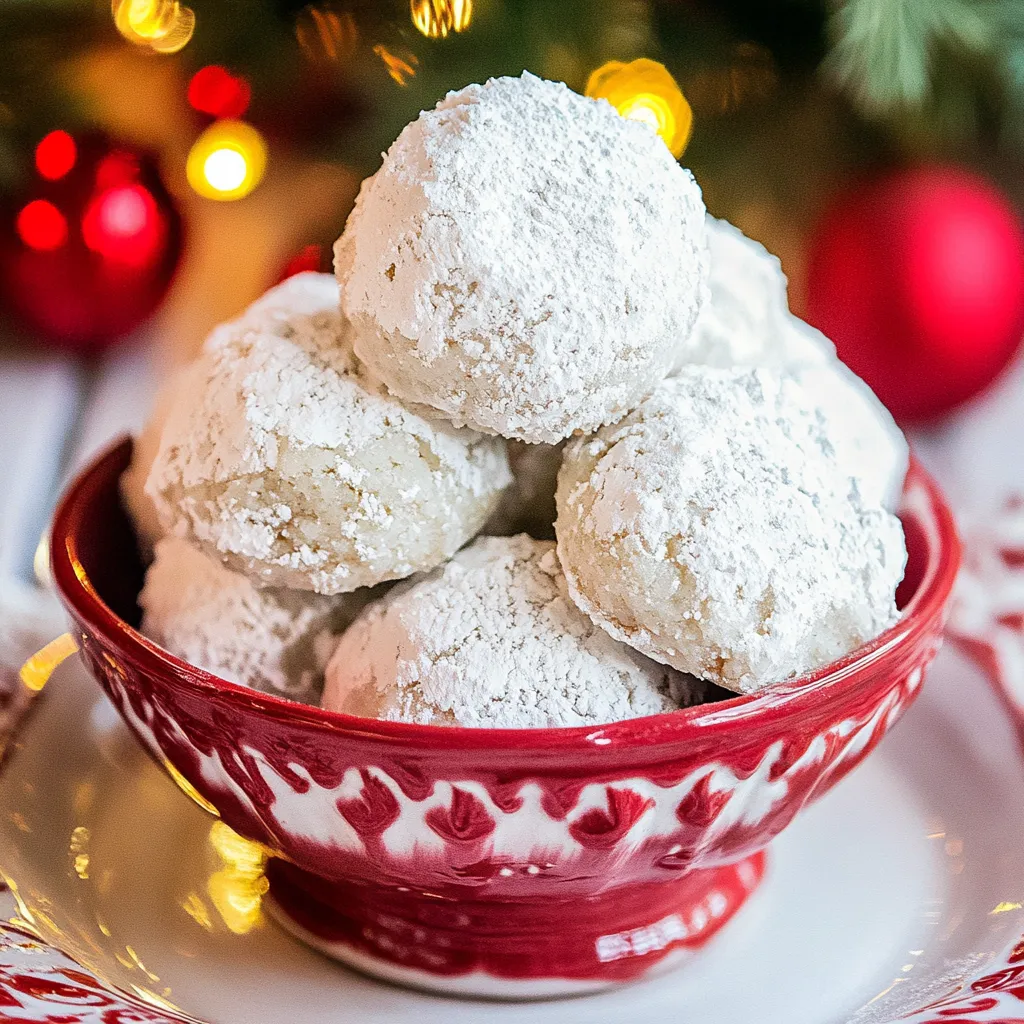
There’s something nostalgic about making Russian Tea Cakes, a recipe that takes me back to my childhood kitchen, where the scent of baked goods filled the air. My grandmother had a special place in her heart for these delightful treats, often rolling them in powdered sugar so they looked like little snowballs. It was always a joy to help her in the kitchen, measuring and mixing, and the best part was getting to lick the mixing bowl. Whether it was a chilly fall afternoon or a cozy holiday gathering, these cookies were a staple. The buttery, nutty flavor paired with that sweet dusting of sugar made them irresistible. I’ve carried on that tradition, often sharing them with friends and family. There’s something magical about watching someone’s face light up with the first bite of a Russian Tea Cake. They evoke warmth and comfort, perfect for any occasion. So, let me share with you how to make your own batch of these charming cookies!
Recipe Snapshot
30 mins
15 mins
15 mins
Medium
120 kcal
1g g
Gluten-Free, Low FODMAP
8g g
Food Processor, Skillet, Oven, Chef’s Knife, Mixing Bowl, Baking Sheet
What’s Great About This Russian Tea Cakes
Perfect for Any Time
One reason I adore Russian Tea Cakes is their versatility. They’re delightful not only during the holidays but also as an afternoon treat or a warm dessert after dinner. Their melt-in-your-mouth texture makes them perfect for tea parties or casual gatherings, creating a warm, inviting atmosphere.
Simple Ingredients
When I look at the ingredient list, I appreciate how simple and wholesome they are. With butter, flour, and walnuts as the stars, these ingredients come together to create something truly special. There’s no need for fancy additives or extensive preparation, making them an easy option for both novice and experienced bakers.
Tradition Meets Creativity
Each bite of a Russian Tea Cake is a nod to tradition, but there’s also room for creativity. You can experiment with different nuts or even add a hint of citrus zest for a refreshing twist. It’s always fun to make them your own, whether you’re sticking to the classic recipe or adding your flair.
Family Bonding
Baking these cookies is more than just cooking; it’s about creating memories. I often find myself in the kitchen with my kids, reminiscing about my own childhood. They love to help shape the cookie dough and roll them in sugar, making it a fun bonding activity. It’s a way to pass down not just a recipe, but a tradition.
Freeze and Store
Another standout feature is how well these cookies freeze. You can make a big batch, roll them in sugar, and then store them for later. This means you can always have a sweet treat on hand, ready for unexpected guests or when you just need a quick sugar fix!
What’s In This Russian Tea Cakes
The ingredients in Russian Tea Cakes work harmoniously to create a cookie that is both rich and light. The main players, butter and flour, provide a tender base, while walnuts add a delightful crunch. Powdered sugar not only sweetens but also gives that signature finish. Each element plays a crucial role in delivering that comforting taste and texture we all love.
- All-purpose flour: This is the backbone of our cookies, providing the structure and body needed for that melt-in-your-mouth texture.
- Unsalted butter: Essential for richness, the butter brings a creamy flavor that elevates the entire cookie. Remember to use it at room temperature for easy creaming.
- Walnuts: Toasted and chopped, these nuts add a wonderful crunch and nutty flavor that pairs beautifully with the sweetness of the sugar.
- Confectioners sugar: Essential for rolling the cookies, it provides that sweet coating that makes them look like little snowballs. It also sweetens the dough just right.
- Vanilla extract: While we avoid using traditional vanilla due to dietary preferences, a hint of flavor adds depth and richness to our cookies.
- Salt: Just a pinch is needed to balance out the sweetness and enhance the flavors of the other ingredients.
Recipe Steps for Russian Tea Cakes
Making Russian Tea Cakes is a straightforward process that brings a sense of joy and accomplishment. Follow these steps, and you’ll have a batch of delicious cookies in no time. Let’s get started!
First, preheat your oven to 400°F. This is crucial for achieving that perfect golden edge on your cookies. Line a rimmed baking sheet with parchment paper or a silicone liner to prevent sticking.
Next, toast your walnuts. Place them in a dry skillet over medium heat for about five minutes, tossing frequently. You want them to become fragrant and lightly golden, which will enhance their flavor.
In a large mixing bowl, cream together the unsalted butter, ½ cup of confectioners sugar, and 1 teaspoon of vanilla until the mixture is smooth and fluffy. An electric hand mixer works wonders here.
Once creamy, add in the all-purpose flour and salt. Mix until no streaks of flour remain. Don’t worry if the dough looks a bit lumpy at this point; it’s a good sign!
Now, fold in the toasted and chopped walnuts using a firm spatula. Ensure they are evenly incorporated into the dough for that delightful nutty crunch in each bite.
Shape the dough into 1-inch balls. A small cookie scoop is handy for this step, making it easier to portion out the dough. Place the balls on the lined baking sheet, making sure they’re at least 1 inch apart.
Bake your cookies in the preheated oven for 12 to 15 minutes. Keep an eye on them; you want the edges to turn golden while the centers remain soft.
Remove the cookies from the oven, and while they’re still warm, roll them in a bowl filled with 1 cup of confectioners sugar. This will give them that signature snowy exterior.
Transfer them to a platter to cool completely. Once they’re at room temperature, you can roll them in more powdered sugar for a perfect finish.
Finally, enjoy your freshly made Russian Tea Cakes! Store any leftovers in an airtight container, where they can last up to one week.
Things Worth Knowing
- Texture is Key: Look for a tender, crumbly texture that melts in your mouth. This indicates you’ve achieved the right balance of butter and flour.
- Nut Toasting: Toasting the walnuts intensifies their flavor, making the cookies taste richer and more complex.
- Proper Cooling: Let cookies cool on the baking sheet for a few minutes before transferring to a platter. This prevents breaking.
- Batch Variations: Feel free to mix in different nuts or spices for a unique twist on the classic recipe.
Make It Your Own
Every baker has a unique touch, and so can you! Here are some ideas to personalize your Russian Tea Cakes:
- Storage: Keep your cookies in an airtight container at room temperature to maintain their freshness.
- Freezing: You can freeze unbaked cookie dough for up to three months. Just shape the balls, then freeze, and bake directly from the freezer!
- Pairing: Serve these cookies with a warm cup of tea or coffee for a delightful afternoon treat.
- Flavor Enhancements: Try adding a dash of almond extract or chopped dried fruit for a different flavor profile.
- Serving Ideas: These cookies are perfect for holiday platters or as gifts during festive seasons.
How to Serve Russian Tea Cakes
Serving Russian Tea Cakes can be a delightful experience. Here are some great ideas to consider:
- Afternoon Tea: Pair these cookies with a variety of teas for a sophisticated afternoon gathering. Their lightness complements any type of tea.
- Holiday Treats: They make a lovely addition to holiday cookie trays, adding a touch of elegance and tradition.
- Snack Time: Enjoy them as a mid-day snack with a cup of coffee, offering a delightful contrast to your drink.
- Gift Giving: Package them in decorative boxes with a ribbon for a thoughtful homemade gift.
- Seasonal Pairing: Consider serving them during chilly seasons like fall and winter when the warmth of baked goods is most appreciated.
- Storing: If you have any leftovers, make sure to store them in an airtight container to keep them fresh for up to a week.
FAQ
Conclusion
There’s something truly special about Russian Tea Cakes. Their buttery, nutty flavor combined with the sweet dusting of powdered sugar makes them a beloved treat in many homes. I encourage you to try making these delightful cookies yourself. You’ll not only enjoy the delicious result but also create meaningful memories along the way. Happy baking!
Russian Tea Cakes
Ingredients
Equipment
Method
- First, preheat your oven to 400°F. This is crucial for achieving that perfect golden edge on your cookies. Line a rimmed baking sheet with parchment paper or a silicone liner to prevent sticking.
- Next, toast your walnuts. Place them in a dry skillet over medium heat for about five minutes, tossing frequently. You want them to become fragrant and lightly golden, which will enhance their flavor.
- In a large mixing bowl, cream together the unsalted butter, ½ cup of confectioners sugar, and 1 teaspoon of vanilla until the mixture is smooth and fluffy. An electric hand mixer works wonders here.
- Once creamy, add in the all-purpose flour and salt. Mix until no streaks of flour remain. Don’t worry if the dough looks a bit lumpy at this point; it’s a good sign!
- Now, fold in the toasted and chopped walnuts using a firm spatula. Ensure they are evenly incorporated into the dough for that delightful nutty crunch in each bite.
- Shape the dough into 1-inch balls. A small cookie scoop is handy for this step, making it easier to portion out the dough. Place the balls on the lined baking sheet, making sure they’re at least 1 inch apart.
- Bake your cookies in the preheated oven for 12 to 15 minutes. Keep an eye on them; you want the edges to turn golden while the centers remain soft.
- Remove the cookies from the oven, and while they’re still warm, roll them in a bowl filled with 1 cup of confectioners sugar. This will give them that signature snowy exterior.
- Transfer them to a platter to cool completely. Once they're at room temperature, you can roll them in more powdered sugar for a perfect finish.
- Finally, enjoy your freshly made Russian Tea Cakes! Store any leftovers in an airtight container, where they can last up to one week.
Notes
- Tip 1: Keep your cookies in an airtight container at room temperature to maintain their freshness.
- Tip 2: You can freeze unbaked cookie dough for up to three months. Just shape the balls, then freeze, and bake directly from the freezer!
- Tip 3: Serve these cookies with a warm cup of tea or coffee for a delightful afternoon treat.
- Tip 4: Try adding a dash of almond extract or chopped dried fruit for a different flavor profile.
- Tip 5: These cookies are perfect for holiday platters or as gifts during festive seasons.