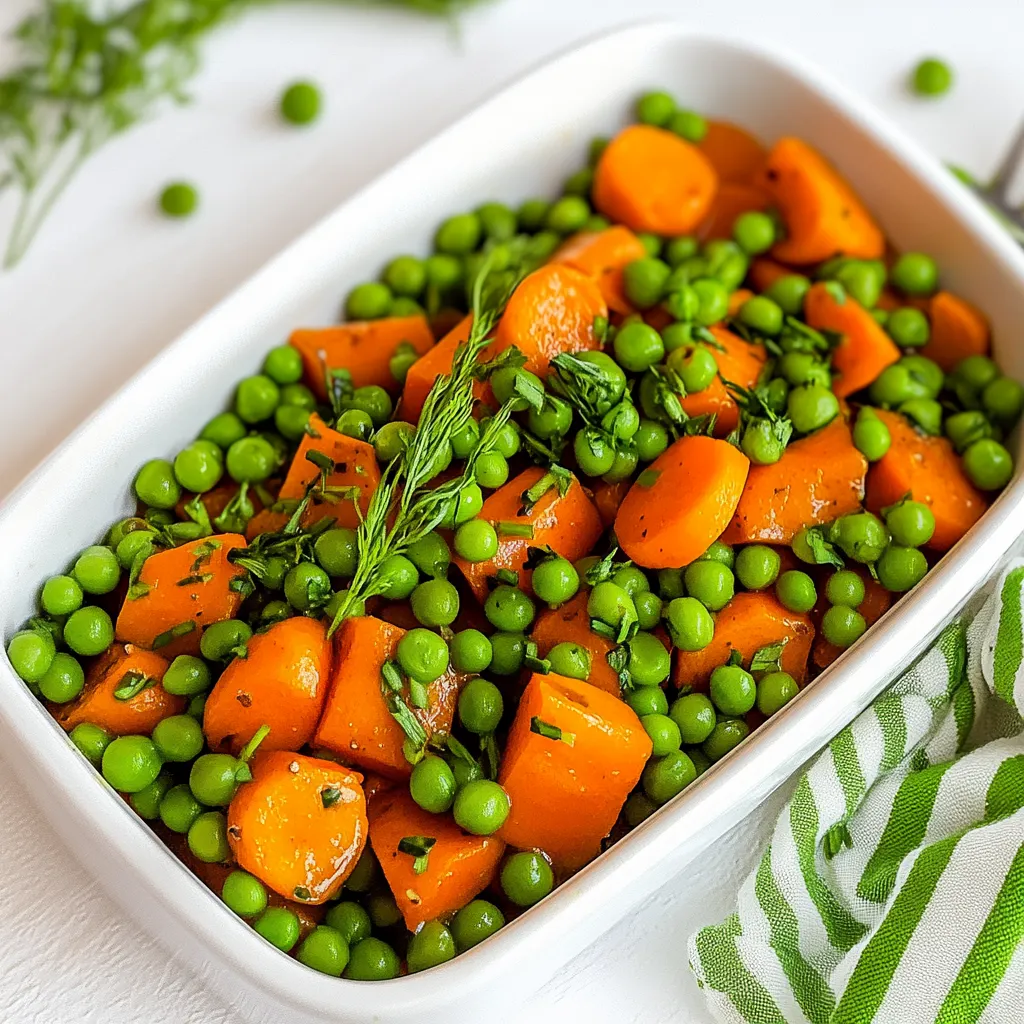
When I think of wholesome comfort food, nothing captures that feeling quite like Peas and Carrots. This simple yet delightful dish is a staple in my kitchen, evoking memories of family dinners and the laughter that fills the room as we all gather around the table. I remember my mom preparing this dish as a side, often paired with roasted chicken or grilled fish. The vibrant green of the peas juxtaposed with the orange of the carrots creates a beautiful medley, both visually appealing and deliciously comforting. It’s one of those recipes that remind me of home, of simplicity, and of flavors that are both fresh and satisfying.
Recipe Snapshot
15 mins
5 mins
10 mins
Easy
155 kcal
4 g
Keto, Gluten-Free, Low FODMAP
8 g
Skillet, Saucepan, Wooden Spoon, Chef’s Knife, Peeler
Why This Peas and Carrots Is a Winner
It’s Incredibly Easy to Make
One of the best things about Peas and Carrots is how easy it is to whip up. In no time, you can have a tasty side dish that complements almost any meal. You’ll find that it requires minimal ingredients, making it perfect for those busy weeknights when you want a home-cooked meal but don’t have much time.
Colorful and Nutritious
This dish isn’t just pretty; it’s also packed with nutrients. Both peas and carrots are rich in vitamins and minerals. Peas are a great source of protein, while carrots are known for their beta-carotene, which is great for your vision. Together, they make for a nutritious addition to your dinner plate.
Versatile Pairing
Peas and Carrots work wonderfully with a range of main dishes. Whether you’re serving it alongside roasted meats, enjoying it with a vegetarian dish, or using it to jazz up a simple pasta, the flavors blend perfectly. Plus, you can use it as a base for more elaborate recipes, adding your favorite seasonings or herbs.
Kid-Friendly
If you’re feeding little ones, Peas and Carrots tends to be a hit. Its sweetness from the carrots and the pop of the peas makes it appealing to kids. I often find that my guests’ children dive right into this dish, happily finishing their servings without any fuss.
Perfect for Any Season
This dish is not limited to any particular season. It’s light enough for spring and summer, yet comforting during the fall and winter months. You can easily use frozen peas and carrots if they’re not in season, making it a year-round side dish.
Quick and Satisfying
If you’re looking for a quick side that satisfies, Peas and Carrots is your answer. It comes together in a matter of minutes, allowing you to focus on your main dish without worrying about the sides. You can even prepare it ahead of time and reheat it when you’re ready to serve.
Ingredients You’ll Need for Peas and Carrots
In crafting a delightful dish like Peas and Carrots, it’s essential to consider the quality and freshness of your ingredients. Each component plays a vital role in creating a flavorful and satisfying plate. The combination of sweet carrots and vibrant peas not only looks appealing but also delivers a delicious taste.
- 3 tablespoons unsalted butter: Adds richness and flavor, creating a creamy base for the dish.
- 1 clove garlic, minced: Brings a fragrant note that enhances the overall taste.
- 3 medium carrots, peeled and sliced: Sweet and colorful, they form the backbone of this dish.
- 1/3 cup water: Helps in cooking the carrots to tender perfection.
- 2 cups frozen peas, thawed: Sweet and vibrant, they provide a lovely contrast to the carrots.
- Kosher salt to taste: Essential for enhancing the natural flavors of the ingredients.
- Freshly ground black pepper to taste: Adds a hint of spice that rounds out the flavor profile.
- Fresh chopped parsley for garnish: Brightens the dish with its color and adds a fresh flavor.
Making This Peas and Carrots
Making Peas and Carrots is a delightful experience that brings the kitchen to life with wonderful aromas. You’ll want to gather all your ingredients before starting to ensure a smooth cooking process. This dish is all about simplicity, so let’s get started!
- Begin by placing a large skillet over medium-high heat. Add the unsalted butter and let it melt completely. Watch for it to bubble slightly, indicating that it’s ready for the next step. Once melted, add the minced garlic and let it cook for about a minute, stirring frequently. You’re looking for a golden color and a fragrant smell that fills your kitchen.
- Now, add the sliced carrots into the skillet. Stir them around to coat with the buttery garlic mixture. Sprinkle in a pinch of Kosher salt, which will help to draw out the moisture from the carrots. Pour in the water and bring the mixture to a gentle simmer. Cover the skillet and allow it to cook for about five minutes. The carrots should begin to soften but still retain a little crunch.
- After about five minutes, remove the lid and check the carrots for tenderness. If they aren’t quite fork-tender yet, cover and simmer for a couple more minutes. Once they’re done, add the thawed peas to the skillet. Stir gently to combine everything, and let it cook for an additional five minutes. This step allows the peas to heat through while soaking up all the delicious flavors.
- As you cook, keep an eye on the moisture level. If it looks too dry, feel free to add a bit more water to prevent sticking. The goal is to have tender and flavorful peas and carrots.
- Once everything is heated through, season with freshly ground black pepper and adjust the salt to taste. Remember, seasoning is key to bringing out the best flavors in the dish.
- When serving, transfer the Peas and Carrots to a serving dish and sprinkle with fresh parsley for a pop of color and freshness. Enjoy the vibrant hues and the comforting aroma of this easy side dish.
Things Worth Knowing
- Know your cooking times: Carrots can vary in thickness, so adjust the cooking time as needed to ensure they are tender.
- Freshness matters: Use fresh ingredients when possible for the best flavor, especially with carrots and peas.
- Adjust to taste: Feel free to experiment with herbs or spices to customize the flavor to your liking.
- Presentation is key: A sprinkle of fresh parsley not only adds flavor but also enhances the visual appeal of the dish.
Pro Tips and Tweaks

To take your Peas and Carrots to the next level, here are some expert tips and tweaks that can enhance your dish.
- Storage: Store leftovers in an airtight container in the fridge for up to three days. Reheat gently on the stovetop.
- Freezing: You can freeze cooked Peas and Carrots for up to two months. Just make sure to cool them completely before transferring them to freezer-safe bags.
- Pairing: This dish pairs well with grilled meats, roasted chicken, or fish for a complete meal.
- Variations: Add a pinch of cayenne pepper for a hint of heat or a splash of lemon juice for a refreshing twist.
- Herbs: Experiment with other fresh herbs like dill or thyme to change up the flavor profile.
Serving Suggestions
When it comes to serving Peas and Carrots, the possibilities are endless. Here are some delightful suggestions to enhance your dining experience:
- As a side dish: Serve alongside grilled chicken or fish for a balanced meal. The sweetness of the peas contrasts beautifully with savory proteins.
- For a vegetarian option: Pair with quinoa or whole grain rice for a nutritious and filling dinner.
- Lunch box friendly: Pack it in your lunch for a nutritious side that reheat well and retains flavor.
- Seasonal delight: Perfect for spring and summer barbecues, adding color and nutrition to your outdoor meals.
- Garnish ideas: Top with toasted nuts or seeds for added crunch and texture.
- Comfort food: Enjoy it with creamy mashed potatoes for a comforting dinner on a chilly evening.
FAQ
Conclusion
This Peas and Carrots recipe embodies the essence of comfort food with its simplicity and delightful flavors. It’s a dish that can easily become a favorite at your family meals, and I encourage you to give it a try. The bright colors and comforting taste will surely win everyone over every time you make it!
Peas and Carrots
Ingredients
Equipment
Method
- Begin by placing a large skillet over medium-high heat. Add the unsalted butter and let it melt completely. Watch for it to bubble slightly, indicating that it's ready for the next step. Once melted, add the minced garlic and let it cook for about a minute, stirring frequently. You’re looking for a golden color and a fragrant smell that fills your kitchen.
- Now, add the sliced carrots into the skillet. Stir them around to coat with the buttery garlic mixture. Sprinkle in a pinch of Kosher salt, which will help to draw out the moisture from the carrots. Pour in the water and bring the mixture to a gentle simmer. Cover the skillet and allow it to cook for about five minutes. The carrots should begin to soften but still retain a little crunch.
- After about five minutes, remove the lid and check the carrots for tenderness. If they aren’t quite fork-tender yet, cover and simmer for a couple more minutes. Once they're done, add the thawed peas to the skillet. Stir gently to combine everything, and let it cook for an additional five minutes. This step allows the peas to heat through while soaking up all the delicious flavors.
- As you cook, keep an eye on the moisture level. If it looks too dry, feel free to add a bit more water to prevent sticking. The goal is to have tender and flavorful peas and carrots.
- Once everything is heated through, season with freshly ground black pepper and adjust the salt to taste. Remember, seasoning is key to bringing out the best flavors in the dish.
- When serving, transfer the Peas and Carrots to a serving dish and sprinkle with fresh parsley for a pop of color and freshness. Enjoy the vibrant hues and the comforting aroma of this easy side dish.