Making Paprika has become a cherished ritual in my kitchen. It all started a few summers ago when I found myself overrun with an abundance of fresh peppers from my garden. I was determined not to waste a single one, so I decided to delve into the world of spice-making. The vibrant colors and enticing aromas of the peppers inspired me to create my own Paprika. With a simple process of drying and grinding, I transformed those fresh peppers into a rich, flavorful spice that soon became a staple in my cooking. Each time I open a jar of my homemade Paprika, I’m reminded of sunny days spent tending to the garden and the joy of creating something unique from scratch. It’s not just a spice, it’s a slice of summer preserved in a jar.
Recipe Snapshot
15 mins
15 mins
0 mins
Medium
30 kcal
1 g
Keto, Paleo, Whole30
0.5 g
Coffee/spice grinder
Why You’ll Love This Paprika
It’s All About Freshness
One of the main reasons to love making Paprika at home is the freshness. Store-bought versions often sit on shelves for months, losing their vibrant flavor. When you create your own, you get to enjoy the true essence of the peppers, bursting with flavor and aroma.
Customization is Key
Making Paprika allows you to customize the flavor to your liking. You can experiment with different pepper varieties, such as Boldog or Alma, or even blend a few types together for a unique twist. Each batch can have its own personality!
A Simple Process
Don’t be intimidated; the process of making Paprika is surprisingly simple. With just a dehydrator or an oven, you can transform fresh peppers into a delightful spice. It’s an easy introduction to spice-making that anyone can achieve at home.
An Art and A Science
There’s something magical about understanding the art and science behind drying and grinding. You learn about moisture content, the best temperatures for drying, and how to achieve the perfect grind. It’s a rewarding experience that not only elevates your culinary skills but also makes you appreciate spices more.
Health Benefits
Besides flavor, Paprika offers health benefits, too. Packed with antioxidants, vitamins A and C, and anti-inflammatory properties, it’s a spice that contributes to a healthy diet. You can feel good about using it liberally in your meals!
Perfect for Gifting
Homemade Paprika makes a fantastic gift! Whether for a housewarming, holiday, or just because, a jar of your homemade spice can be a thoughtful, personalized present that shows you care.
What to Gather for Paprika
Creating your own Paprika requires just a handful of key ingredients that work beautifully together. The star of the show is, of course, the peppers. They provide the vibrant color and flavor that makes Paprika so special. Using ripe, thin-walled peppers ensures you get the best taste. Let’s explore what you’ll need to get started!
- Fully ripe red thin-walled peppers: These are essential for making Paprika. Varieties like Boldog or Alma are preferred for their rich flavor and color. Aim for peppers that are as fresh and vibrant as possible.
Cooking Instructions for Paprika
Making Paprika is a fun and rewarding process that results in a vibrant spice that enhances many dishes. Follow these simple steps to create your very own batch:
- Start by washing the peppers thoroughly to remove any dirt or impurities. This ensures that your Paprika is clean and safe to use.
- Next, cut off the stems of the peppers and slice them lengthwise. Be sure to remove the seeds carefully. Remember, leaving seeds can dilute the color and flavor, so it’s best to discard them for a more vibrant spice.
- Now it’s time to dry the peppers. If you have a dehydrator, place the sliced peppers on the racks. Set it to 125°F (51°C) and let them dehydrate for about 8 to 10 hours. You’ll know they’re done when they’re no longer soft and snap easily when bent.
- If you’re using an oven, position the peppers on a wire rack on a baking sheet. Set the oven to the lowest possible temperature, ideally around 140°F. If your oven doesn’t go that low, leave the door slightly ajar to allow moisture to escape. This prevents steaming and encourages proper drying.
- Once dried, let the peppers cool completely. This cooling step is crucial, as it ensures that no moisture remains, which could spoil your Paprika.
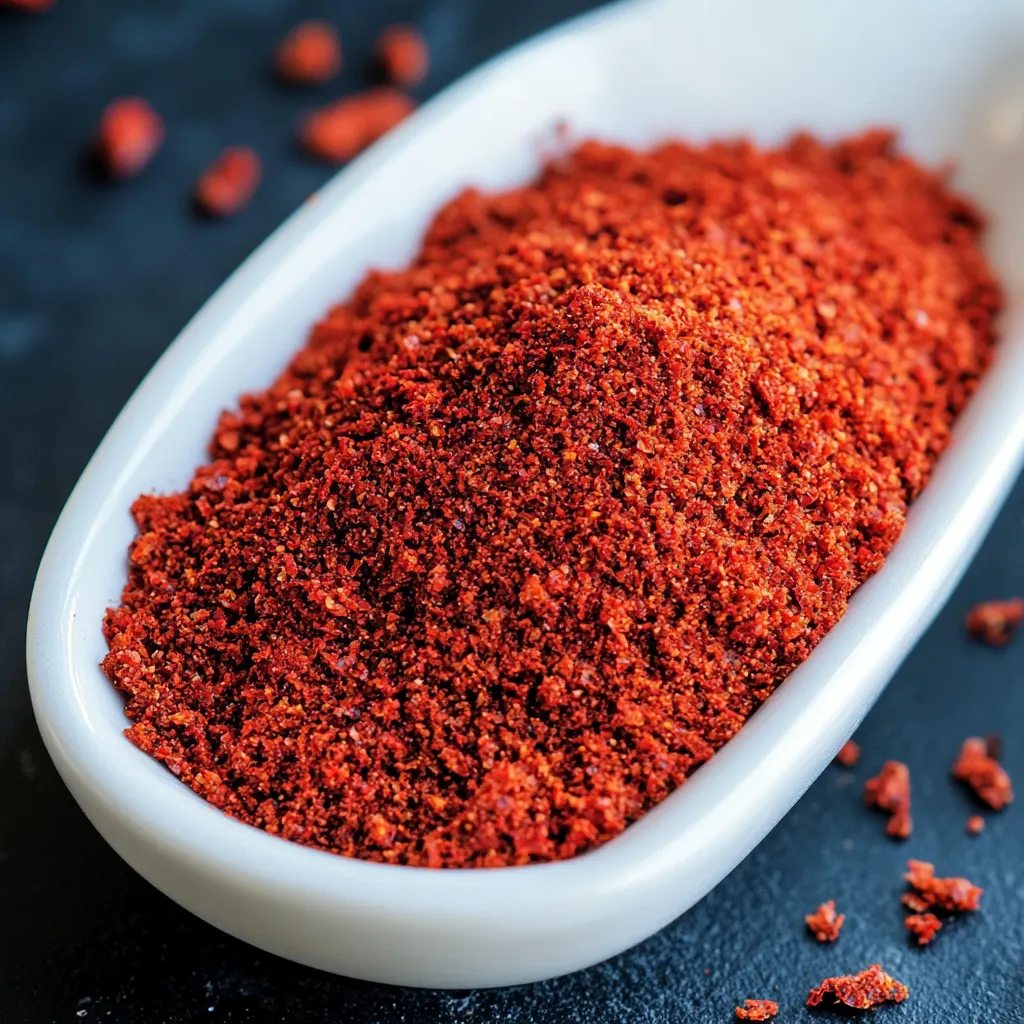
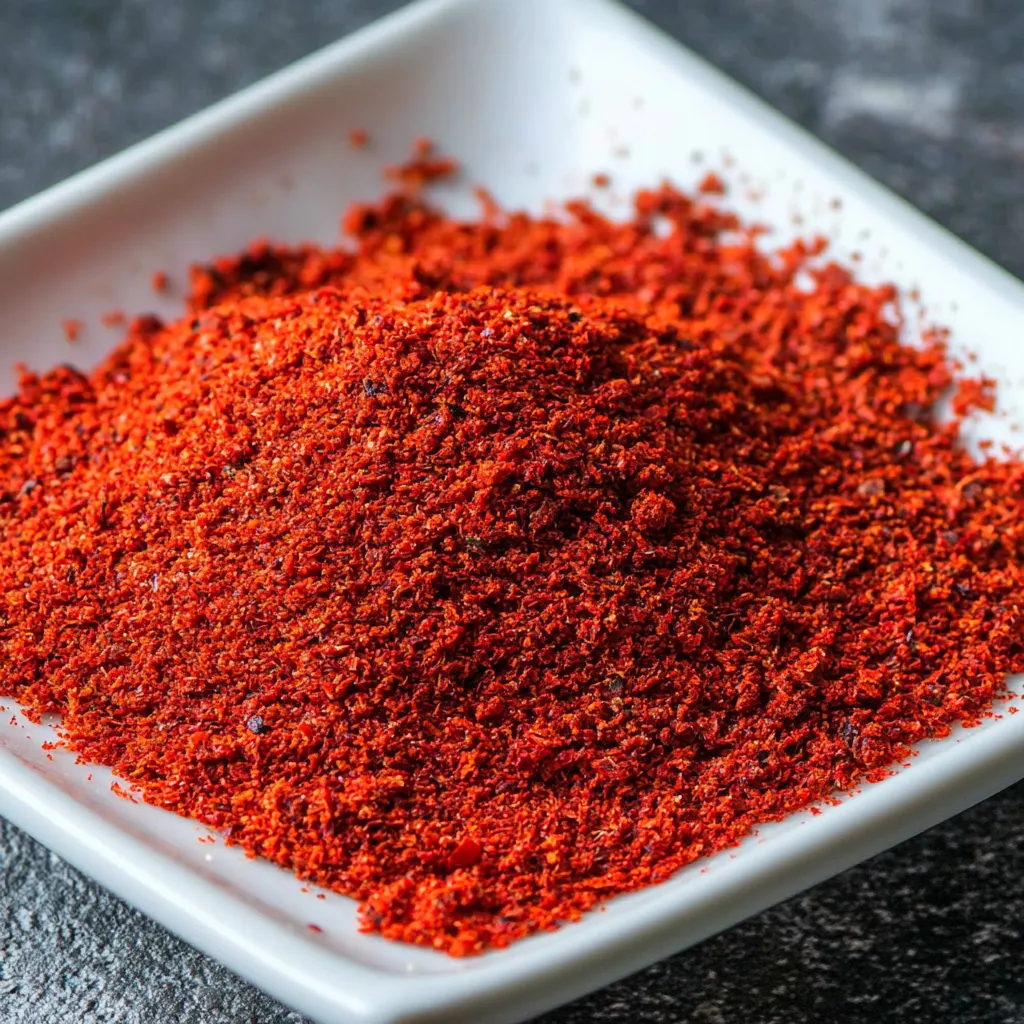
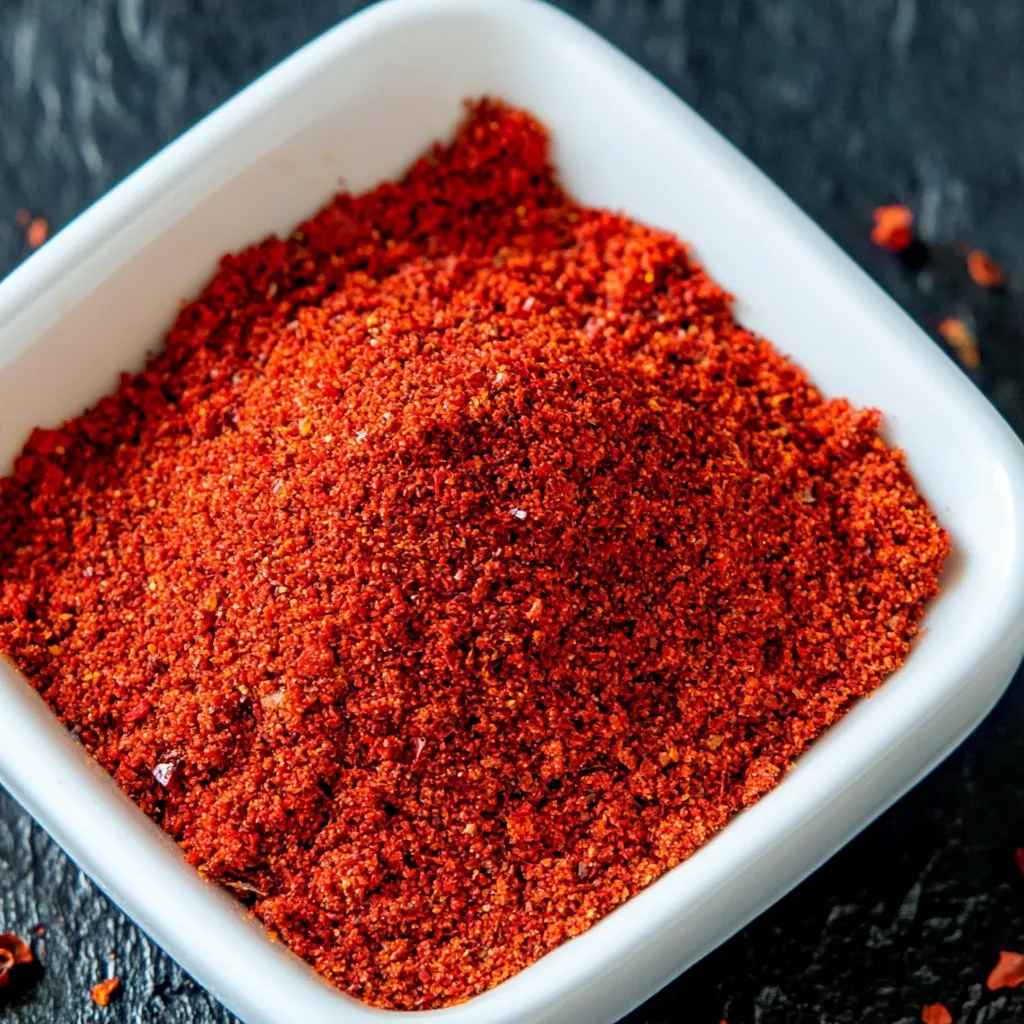
- Break the cooled peppers into smaller pieces and place them in a spice or coffee grinder. For larger quantities, a high-powered blender like a Vitamix works well to achieve a fine powder.
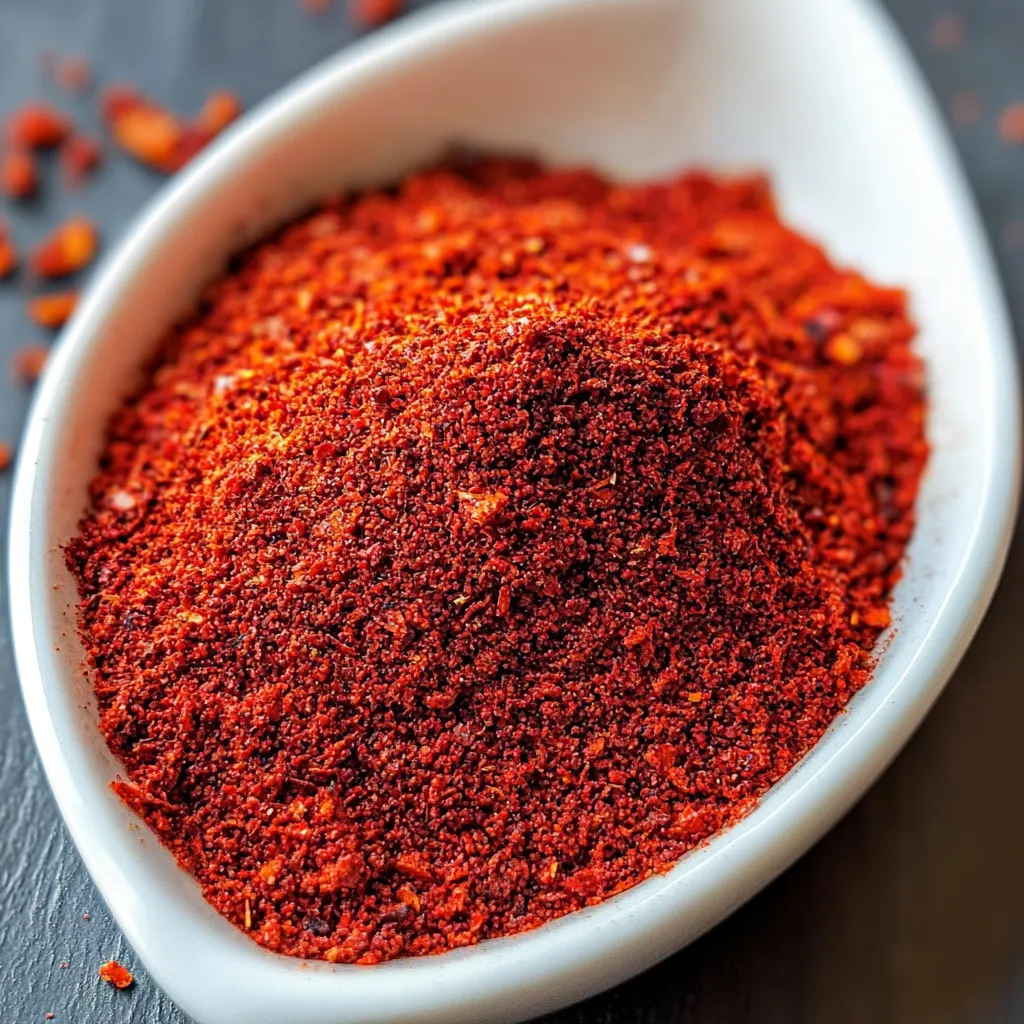
- Grind the peppers until they turn into a fine powder. Take your time with this step; the finer the grind, the better the Paprika will be.
- Transfer the ground Paprika into an airtight jar. It’s essential to store it properly to maintain its freshness. If left exposed, it can absorb moisture from the air and clump together.
- Store your homemade Paprika in a dark, cool place for optimal freshness. For the ultimate shelf life, consider keeping it in the refrigerator.
Things Worth Knowing
- Drying Temperature: Maintaining a consistent drying temperature is key to ensuring your peppers dry properly without cooking.
- Flavor Variations: Different pepper varieties can yield unique flavors. Experiment to find your favorite!
- Grinding Tips: To achieve the finest grind, make sure your peppers are completely dried before grinding.
- Storage: Always store ground Paprika in an airtight container to keep it fresh. A dark jar can help protect it from light.
- Moisture Control: To prevent clumping, avoid exposing your Paprika to humidity during storage.
Ways to Adapt This Recipe
Even though making Paprika is straightforward, there are always ways to adapt and personalize this recipe to suit your taste and needs. Here are some tips:
- Experiment with Peppers: Try different varieties of peppers to create unique flavors, like sweet or smoky.
- Spice Blends: Consider mixing your Paprika with other dried spices to create custom blends for specific dishes.
- Store in Small Batches: If you’re unsure how much you’ll use, make smaller batches to keep it fresh.
- Give as Gifts: Homemade Paprika makes a great gift—consider packaging it in attractive jars with labels.
- Use in Cooking: Incorporate Paprika into your favorite recipes. It works well in stews, marinades, and rubs.
- Cooking Method: You can toast the Paprika briefly in a dry pan before adding it to dishes to enhance its flavor.
- Seasonal Variations: Make Paprika during the peak pepper season for the best flavor.
Accompaniments for Paprika
When it comes to serving your homemade Paprika, there are countless delicious ways to enjoy it. Here are some great accompaniment ideas:
- In Soups: Sprinkle Paprika into soups and stews for added depth of flavor. It particularly shines in tomato-based soup.
- With Roasted Vegetables: Toss Paprika with seasonal vegetables before roasting to enhance their natural sweetness.
- As a Rub: Use Paprika in spice rubs for meats or tofu, adding a rich color and flavor.
- In Marinades: Incorporate Paprika into marinades for grilled or baked dishes, providing a smoky flavor.
- During Breakfast: Enhance scrambled eggs or omelets with a dash of Paprika for a beautiful presentation and flavor boost.
- With Rice or Grains: Mix Paprika into rice or grain dishes for a pop of color and taste.
- On Appetizers: Use Paprika to garnish appetizers like deviled eggs or creamy dips for an eye-catching touch.
FAQ
Conclusion
Making your own Paprika is not just about flavor; it’s an experience that connects you to your ingredients and cooking process. The vibrant colors and rich flavors remind you of sunny days spent gardening or visiting local markets. I encourage you to try making Paprika at home. It’s a simple and rewarding way to elevate your dishes and create something truly special. Enjoy the process and savor the results!
Paprika
Ingredients
Equipment
Method
- Start by washing the peppers thoroughly to remove any dirt or impurities. This ensures that your Paprika is clean and safe to use.
- Next, cut off the stems of the peppers and slice them lengthwise. Be sure to remove the seeds carefully. Remember, leaving seeds can dilute the color and flavor, so it’s best to discard them for a more vibrant spice.
- Now it’s time to dry the peppers. If you have a dehydrator, place the sliced peppers on the racks. Set it to 125°F (51°C) and let them dehydrate for about 8 to 10 hours. You’ll know they’re done when they’re no longer soft and snap easily when bent.
- If you're using an oven, position the peppers on a wire rack on a baking sheet. Set the oven to the lowest possible temperature, ideally around 140°F. If your oven doesn’t go that low, leave the door slightly ajar to allow moisture to escape. This prevents steaming and encourages proper drying.
- Once dried, let the peppers cool completely. This cooling step is crucial, as it ensures that no moisture remains, which could spoil your Paprika.
- Break the cooled peppers into smaller pieces and place them in a spice or coffee grinder. For larger quantities, a high-powered blender like a Vitamix works well to achieve a fine powder.
- Grind the peppers until they turn into a fine powder. Take your time with this step; the finer the grind, the better the Paprika will be.
- Transfer the ground Paprika into an airtight jar. It’s essential to store it properly to maintain its freshness. If left exposed, it can absorb moisture from the air and clump together.
- Store your homemade Paprika in a dark, cool place for optimal freshness. For the ultimate shelf life, consider keeping it in the refrigerator.