Every now and then, I crave something sweet yet wholesome, and that’s where my love for these No Bake Peanut Butter Granola Bars comes in. Just recently, I found myself rummaging through the pantry looking for a quick snack that wouldn’t just satisfy my sweet tooth but also give me a boost of energy. That’s when I remembered this gem of a recipe that I had tucked away. These bars are incredibly easy to make and require no baking, which is a huge plus in my book! The combination of peanut butter, dried cranberries, and pepitas not only creates a delightful taste but also packs a nutritional punch.
As I mixed the ingredients together, I could already envision them as the perfect treat for breakfast on-the-go or a post-workout snack. I’ve even shared these bars with friends and family during gatherings, and they’ve become a hit! They’re customizable too, so you can add your favorite nuts or seeds. And the best part? They hold together beautifully in the fridge and are ready when you need them. Whether you’re a busy parent looking for something healthy for your kids or just someone who loves a good granola bar, these No Bake Peanut Butter Granola Bars are just what you need.
So, if you’re looking for the perfect balance of sweet and salty, look no further. I can’t wait for you to try these – I promise you’ll be hooked!
Recipe Snapshot
10 mins
10 mins
0 mins
Easy
190 kcal
5 g
Gluten-Free
8 g
Mixing Bowl, Wooden Spoon
Why This No Bake Peanut Butter Granola Bars Stands Out
Quick and Easy Preparation
One of the main reasons I adore these No Bake Peanut Butter Granola Bars is how simple they are to whip up. It takes just a few minutes to combine everything, and you don’t need to turn on the oven! Just gather your ingredients, mix, and press into the pan. It’s a fantastic option for a busy weeknight or a weekend snack prep.
Nutrient Packed
These bars are not just tasty; they are packed with nutrients that are beneficial for your body. The oats provide fiber, and the pepitas (pumpkin seeds) offer a good dose of magnesium and protein. Meanwhile, the peanut butter gives you healthy fats to keep you feeling full and satisfied.
Customizable to Your Taste
Another standout feature is the ability to customize these bars to suit your taste. Don’t have cranberries? No problem! Toss in chocolate chips, almonds, or even coconut flakes for a twist. The base recipe is incredibly versatile, making it perfect for using up what you have in your pantry.
Great for Meal Prep
If you’re someone who loves to meal prep, these bars are a fantastic addition to your routine. You can make a big batch at the beginning of the week and have a quick, healthy snack ready whenever you need it. Plus, they store well in the fridge for up to two weeks, so you can enjoy them guilt-free.
Wholesome Ingredients
When I create recipes, I always aim for wholesome ingredients, and these bars are no exception. Each ingredient serves a purpose, contributing not only to flavor but also to health benefits. You’ll love knowing exactly what goes into your snacks when you make these!
A Kid-Friendly Snack
Finally, these bars are kid-approved! They make for a perfect after-school snack. You can also get the little ones involved in making them, which is a great way to teach them about healthy eating. With no added sugars and a natural sweetness from the cranberries and brown rice syrup, they’re a treat you can feel good about serving.
Essential Ingredients for No Bake Peanut Butter Granola Bars
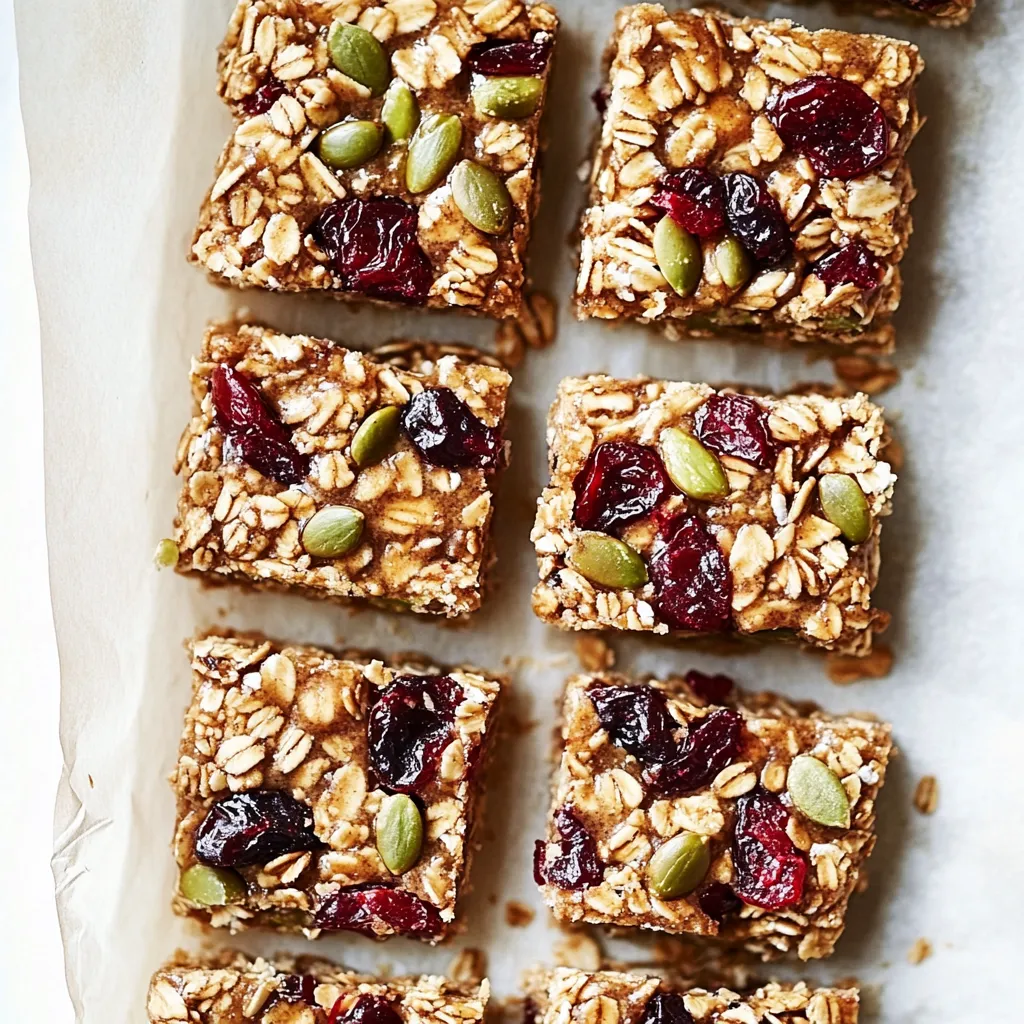
The ingredients for these No Bake Peanut Butter Granola Bars are not only simple but also incredibly complementary. They come together to create a fantastic blend of flavors and textures, ensuring every bite is satisfying. The star players include rolled oats, which serve as the base, and peanut butter, which adds creaminess and protein. Together with dried cranberries and pepitas, you have a healthy bar that’s perfect for any time of the day.
- 2 1/2 cups rolled oats: The foundation of these bars, providing fiber and chewiness.
- 1 cup toasted salted pepitas: These add a delightful crunch and are a great source of protein.
- 1/2 cup dried cranberries: They introduce a sweet and tart flavor that balances the richness of the bars.
- 2 tablespoons chia seeds (optional): Adds fiber and omega-3 fatty acids, though you can skip it if you’re not a fan.
- 2/3 cup smooth peanut butter: The creamy element that binds everything together and provides healthy fats.
- 1/2 to 2/3 cup brown rice syrup: This natural sweetener holds the bars together and adds sweetness; you can substitute with agave nectar if desired.
The Process for Making No Bake Peanut Butter Granola Bars
Creating these No Bake Peanut Butter Granola Bars is an enjoyable process that doesn’t require any complicated techniques. You’ll be surprised at how easy it is to combine all the ingredients and achieve such delicious results. Let’s dive into the steps!
- Start by lining an 8-inch by 8-inch baking dish with parchment paper. I recommend using a long piece that hangs over the edges so you can use them as handles to lift the bars out later. This little trick makes cutting and serving so much easier!
- In a large mixing bowl, combine the rolled oats, toasted pepitas, dried cranberries, and optional chia seeds. Use a spatula to thoroughly mix these dry ingredients together, ensuring the cranberries and pepitas are evenly distributed throughout the oats.
- In a separate medium bowl, combine the smooth peanut butter and brown rice syrup. Mix well until it forms a smooth and creamy texture. The blend of these two ingredients will act as your binding agent, holding the bars together.
- Pour the peanut butter mixture over the dry ingredients in the large bowl. Using a wooden spoon, stir everything together until the oats and pepitas are well coated. It may take a little effort to get everything mixed evenly, but keep at it.
- If your mixture isn’t sticking together as well as you’d like, don’t hesitate to add a bit more brown rice syrup. Just a tablespoon or two should do the trick!
- Once everything is combined, transfer the mixture into the prepared baking dish. Use your hands to press the mixture down firmly. The more compactly you pack it, the less crumbly the bars will be once they’re set.
- Now, place the baking dish in the fridge for at least 4 hours. This will allow the bars to firm up properly. You can even leave them overnight for best results.
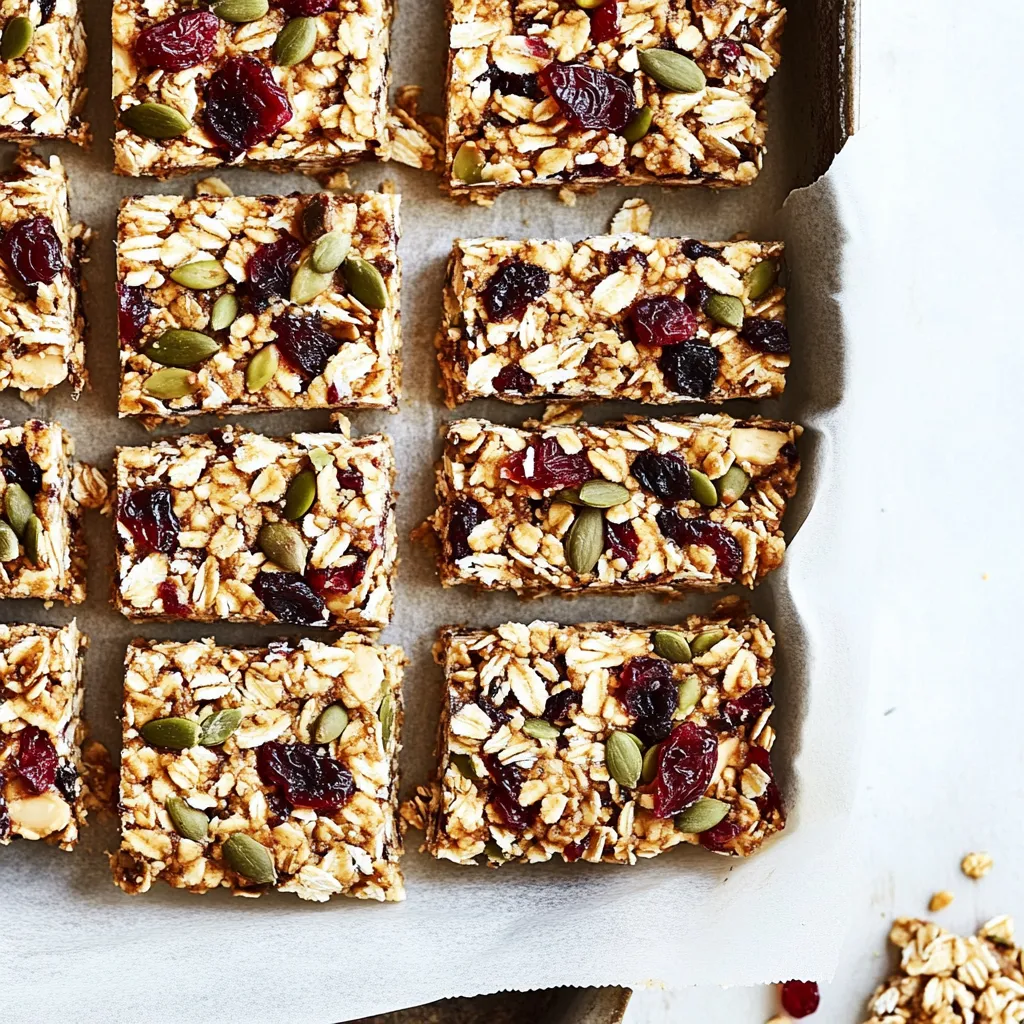
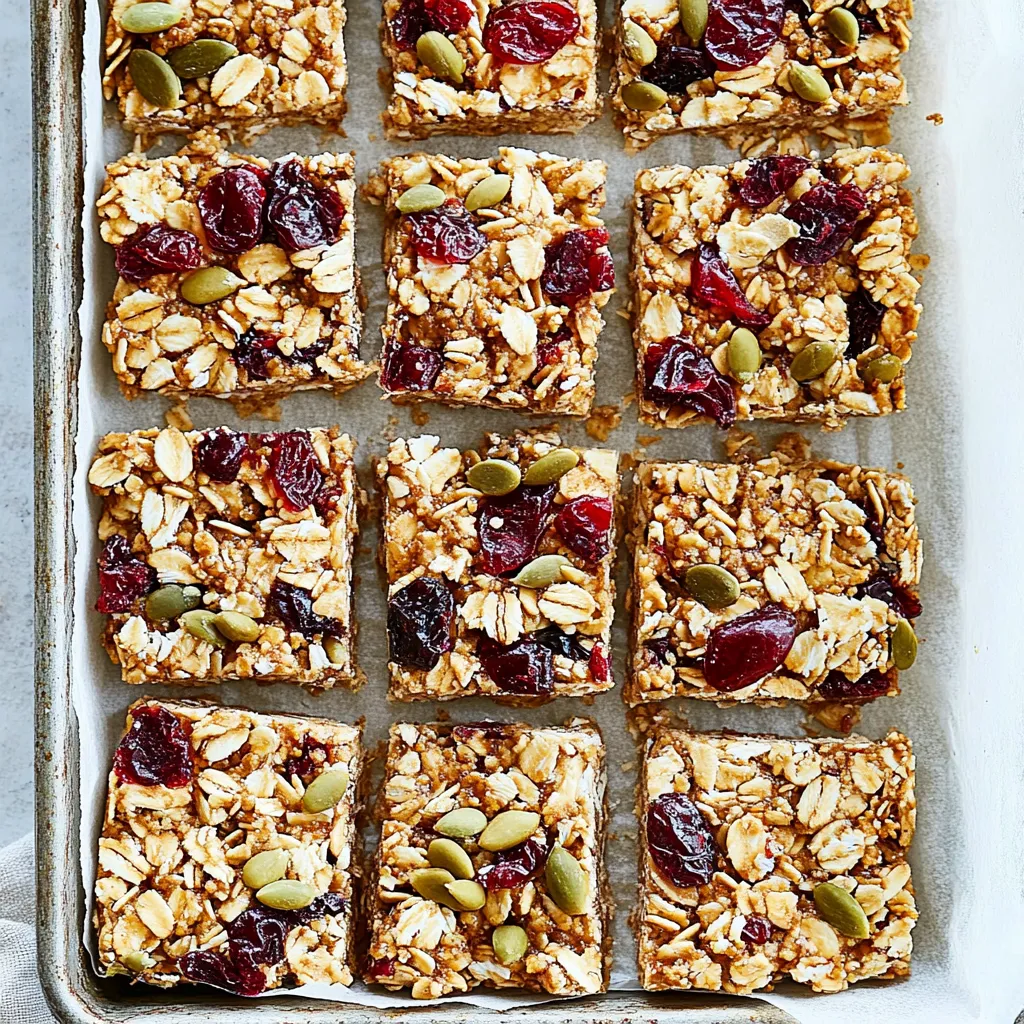
- When the time is up, remove the dish from the fridge. Use the parchment handles to lift the bars out. Set them on a cutting board, and with a sharp chef’s knife, cut them into squares or rectangles, depending on your preference.
- Store any leftovers in an airtight container in the fridge. They’ll stay fresh for up to two weeks, making them a great snack option for busy days!
Things Worth Knowing
- Storage: Store these bars in an airtight container in the fridge. They can last up to two weeks, making them great for meal prep.
- Gluten-Free Note: This recipe is already gluten-free; just make sure to use certified gluten-free oats.
- Chilling Time: For the best texture, be sure to refrigerate the bars for at least 4 hours before cutting.
- Nut Allergies: If you have nut allergies, consider using sun butter or soy nut butter instead of peanut butter for a similar consistency.
Ways to Customize

If you’re looking to switch things up with these No Bake Peanut Butter Granola Bars, here are some ideas to make them even more delicious and tailored to your preferences.
- Add Chocolate: Stir in some mini chocolate chips or drizzle melted chocolate on top for an extra treat.
- Incorporate Other Seeds: Feel free to add sunflower seeds or flaxseeds for added nutrition and crunch.
- Fruit Variations: Swap out cranberries for raisins, chopped dried apricots, or even cherries if you prefer a different flavor.
- Nut Butters: Experiment with other nut butters like almond or cashew for a unique taste.
- Protein Boost: Add a scoop of your favorite protein powder to the mixture for an extra protein punch.
- Serving Ideas: Serve them with a dollop of yogurt or a drizzle of honey for an added touch of sweetness.
Great Combinations for No Bake Peanut Butter Granola Bars
These No Bake Peanut Butter Granola Bars make an excellent snack or even a light breakfast option. Here’s how to serve them up:
- With Yogurt: Pair these bars with a side of Greek yogurt for a balanced snack.
- Post-Workout Treat: They are perfect for a quick energy boost after a workout thanks to their protein content.
- Pack for Lunch: Cut them into smaller pieces and pack them in lunch boxes for kids or adults alike.
- Great for Picnics: These bars travel well, making them an ideal choice for picnics or road trips.
- Seasonal Pairings: Try serving them with a refreshing fruit salad during the warmer months.
- Afternoon Snack: They’re an excellent choice for an afternoon pick-me-up at work or home.
FAQ
Conclusion
The No Bake Peanut Butter Granola Bars are a fantastic blend of taste and nutrition, providing a delightful and satisfying snack. Their simplicity and versatility make them perfect for anyone, whether you’re rushing out the door or looking for a healthy afternoon treat. I encourage you to give this recipe a try; once you do, you’ll find yourself making them repeatedly. Enjoy every bite!
No Bake Peanut Butter Granola Bars
Ingredients
Equipment
Method
- Line an 8-inch by 8-inch baking dish with parchment paper. I like to use a long piece with the sides sticking out so I can use them as "handles" to lift out the bars later on.
- In a large bowl, mix together the oats, pepitas, cranberries, and chia seeds.
- In a medium bowl, mix together the peanut butter and brown rice syrup.
- Pour the wet ingredients over the dry and mix well with a wooden spoon. If the ingredients aren't quite sticking together, add a little more brown rice syrup, stirring after each addition, until they do.
- Pour into the baking dish and press flat with your hands. The more firmly you can press, the less likely they are to be crumbly!
- Refrigerate for at least 4 hours, until firm. Lift from baking dish and cut with a sharp chef's knife. Store, refrigerated, in an airtight container for up to two weeks.
Notes
- Gluten-free note: This recipe is already gluten-free; just be sure to use certified gluten-free oats to be safe.