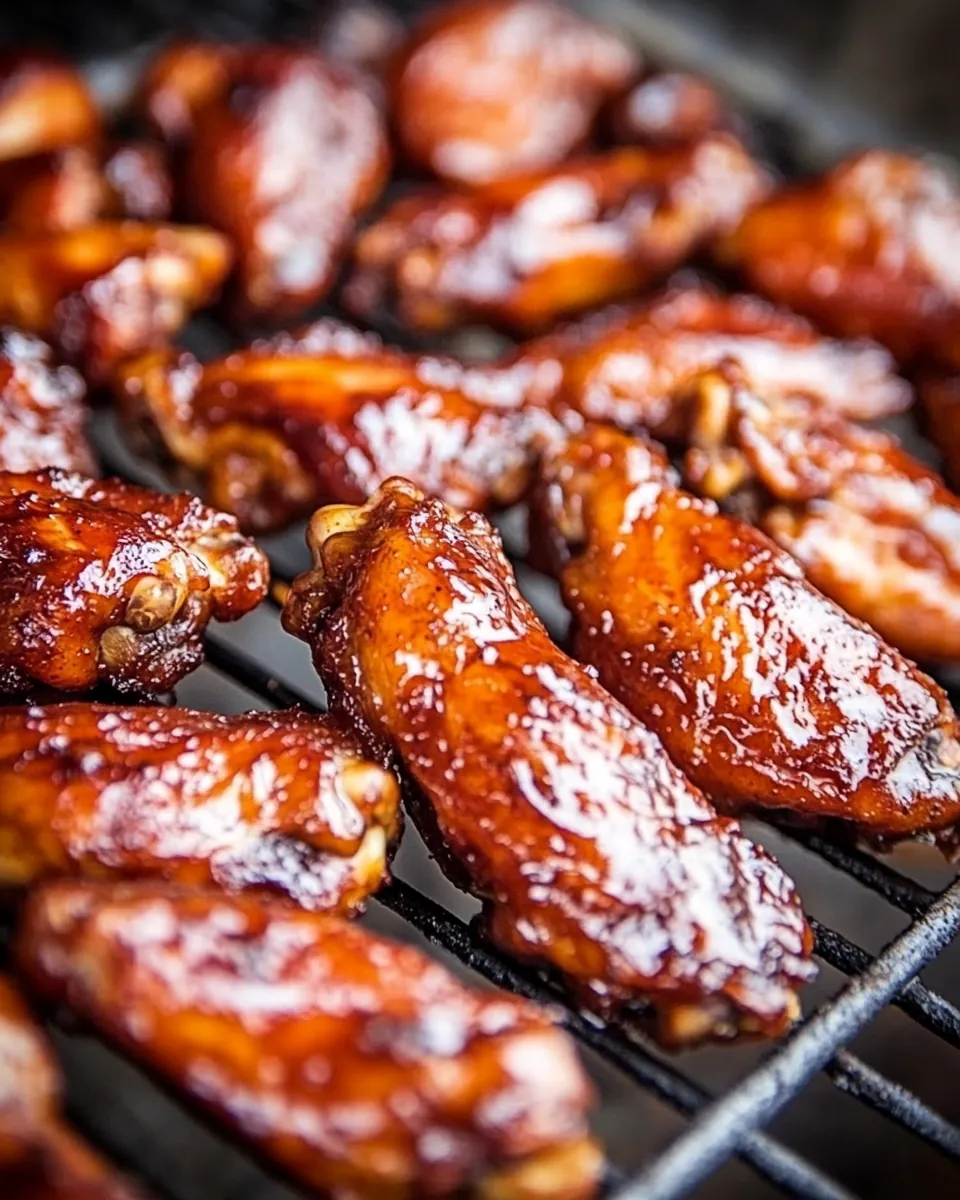
When I first learned how to cut chicken wings, I felt like a culinary magician. The How To Cut Chicken Wings technique opened up a world of possibilities for me. It was during a family gathering, and the aroma of grilled wings filled the air, drawing everyone to the kitchen. I wanted to impress my family, and I realized that mastering the art of cutting wings would make me the star of the show. This simple skill not only enhances the presentation of the dish but also ensures that each wing is perfectly prepared for a variety of recipes. From spicy buffalo wings to tangy barbecue, cutting them correctly makes a significant difference in flavor and texture.
As I stood there, knife in hand, I felt a mix of excitement and nervousness. Would I be able to do it right? I took a deep breath and began to discover the secrets behind the joints of the wing. I remember the thrill of successfully separating the drumette from the flat, the satisfying sound of the knife gliding through the joint, and the joy of creating a platter of perfectly cut wings. The How To Cut Chicken Wings technique became my go-to for any gathering, simplifying the preparation process and making me feel accomplished in the kitchen.
Today, I want to share this skill with you so you can enjoy the same sense of pride and satisfaction. Whether you’re hosting a game day party or a cozy dinner with friends, learning how to cut chicken wings will elevate your cooking game. Let’s dive into the intricacies of cutting chicken wings, and soon you’ll be impressing everyone with your newfound talent!
Recipe Snapshot
5 mins
5 mins
0 mins
Easy
200 kcal
20 g
Keto, Paleo, Whole30
12 g
Cutting Board, Kitchen Knife
Why Try This How To Cut Chicken Wings
Perfect for Parties
There’s something about chicken wings that makes them a party favorite. The How To Cut Chicken Wings technique ensures that they’re perfectly served for your guests, making them feel special with every bite. From tailgates to family gatherings, nothing beats a platter of beautifully cut wings!
Versatile Cuisine
Learning to cut chicken wings opens doors to a range of cuisines. You can marinate them in spicy sauces, barbecue them, or even bake them with herbs. The possibilities are endless, allowing you to explore culinary creativity.
Great for Meal Prep
Cutting wings beforehand makes meal prep a breeze. You can store them in the fridge or freezer, ready to be cooked whenever the craving strikes. This is a fantastic time-saver for busy weeks!
Skill Development
Mastering the How To Cut Chicken Wings technique boosts your knife skills and gives you confidence in the kitchen. It’s a foundational skill that will serve you well in various cooking endeavors.
Improved Cooking Results
When you cut wings properly, you ensure even cooking. This results in perfectly crispy skin and tender meat, enhancing the overall flavor and texture of your dish.
Fun for Everyone
Cutting wings can be a fun activity to do with family or friends. It’s an interactive cooking experience that brings people together in the kitchen, sharing tips and techniques as you go.
What to Buy for How To Cut Chicken Wings
When gathering your ingredients for cutting chicken wings, it’s essential to focus on quality. The key players in this dish are the chicken wings themselves, which should be fresh and well-prepared. Each part of the wing has its purpose, and understanding how they work together will make your cooking experience rewarding. Here’s what you’ll need:
- 12 whole chicken wings (3 section, entire wing)
The whole chicken wings are the star of the show. They consist of three sections: the drumette, flat, and tip. Each section has its unique characteristics, and when cut properly, they create a delightful bite. Fresh wings are essential for the best flavor and texture, ensuring that your guests will rave about your cooking.
How to Assemble How To Cut Chicken Wings
Cutting chicken wings is a straightforward process that, once mastered, will enhance your culinary repertoire. I’ll walk you through each step in a detailed manner so you can execute it with confidence. Let’s get started!
- Remove the chicken from the store package and set it out onto the cutting board. Make sure your cutting board is clean and stable, as this is crucial for safety.
- Open one chicken wing up and locate the thin pointy end of the wing. This part is called the tip, and we will remove it. Move the wing at the joint where you feel the bump.
- Using a sharp knife, cut the joint just above that bump toward the largest end. It’s important to use a sharp knife for a clean cut.
- If you’re unsure where to cut, move the joint backwards until you hear a “pop.” This sound indicates that you’ve loosened the joint sufficiently for a smoother cut.
- Repeat this same procedure for the middle joint, also known as the flat. Locate the bump and cut just beside it toward the largest end of the wing.
- If you’re unable to locate the bump, don’t worry! Move the joint backwards until you hear a pop, then wiggle the joint slightly and use your knife to cut directly through the loosened area.
- Once both joints are cut, you will have the drumette and flat ready for cooking. You can discard the tips if you prefer or save them for stock.
- Continue this process for the remaining chicken wings, ensuring that each cut is clean and deliberate for the best results.
- After cutting, rinse the wings under cold water and pat them dry with paper towels. This step is crucial as it helps achieve crispy skin!
- Now that you’ve successfully cut your chicken wings, you can season them or marinate them as you like.
Things Worth Knowing
- Knife Skills: A sharp knife is essential for clean cuts. Dull knives can slip, making cutting dangerous.
- Joint Identification: Familiarize yourself with the wing joints before cutting. Knowing where to cut helps in avoiding mistakes.
- Practice Patience: Take your time while cutting. Rushing can lead to uneven cuts or accidents.
- Safety First: Always cut away from your body and keep fingers clear of the blade to prevent injuries.
Substitutions and Tips
Having the right tools and knowledge is crucial for cutting chicken wings successfully. Here are some tips to remember!
- Storage: Store leftover wings in an airtight container in the fridge for up to three days.
- Freezing: You can freeze cut wings for up to six months. Just make sure to thaw them before cooking.
- Pairing: Serve with dipping sauces like ranch or blue cheese for added flavor.
- Cooking Methods: Consider grilling or baking after cutting for optimal texture.
- Seasoning: Don’t forget to season well before cooking; it enhances the overall taste.
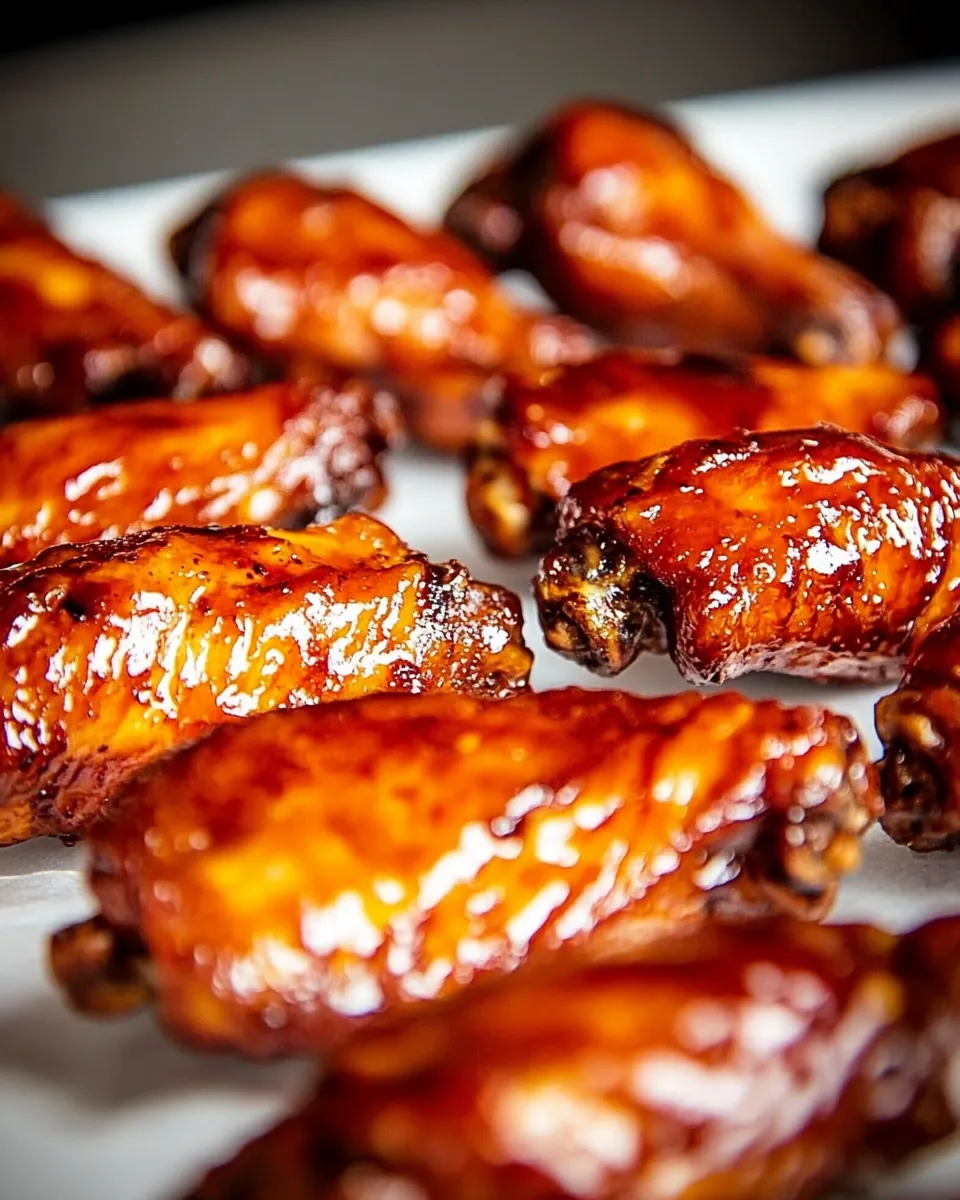
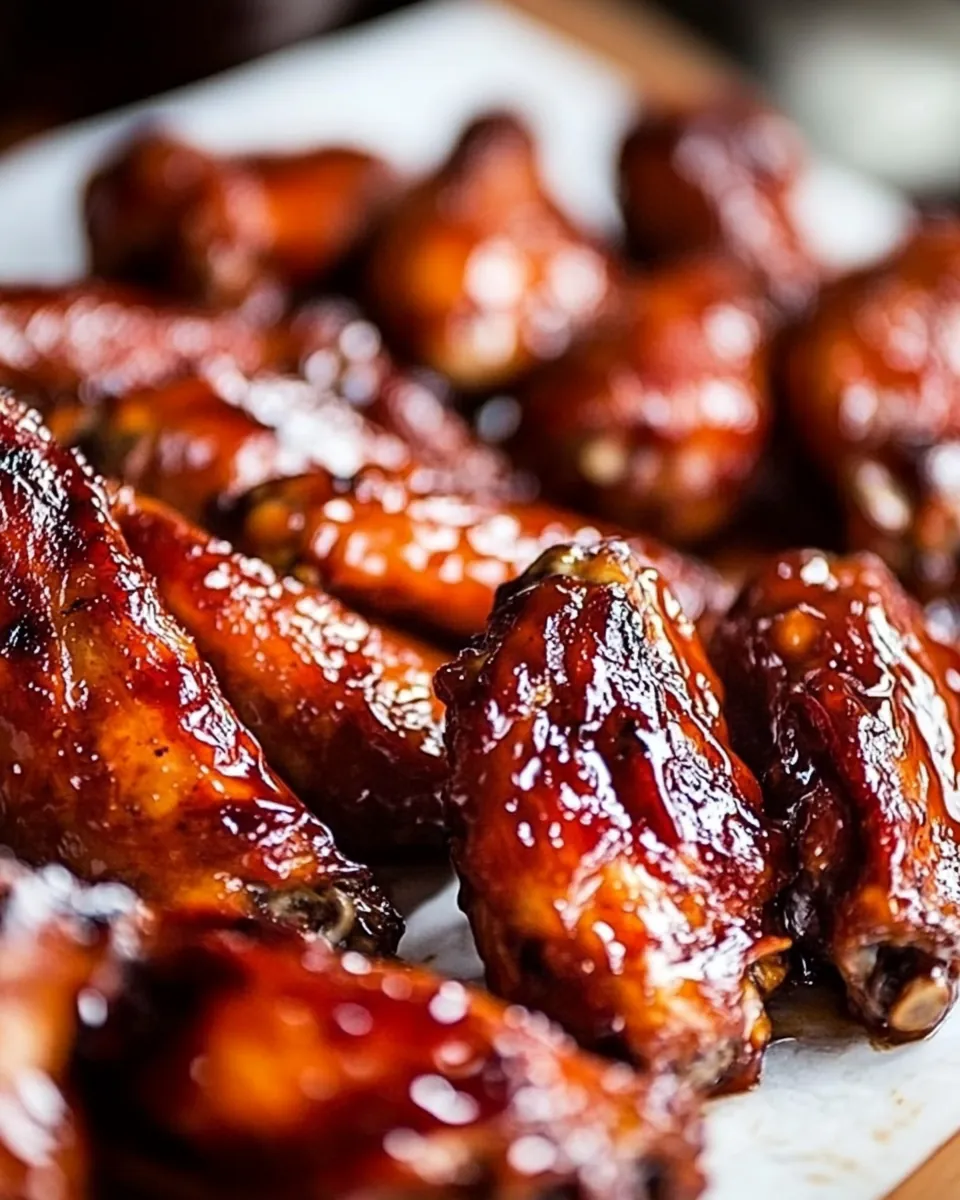
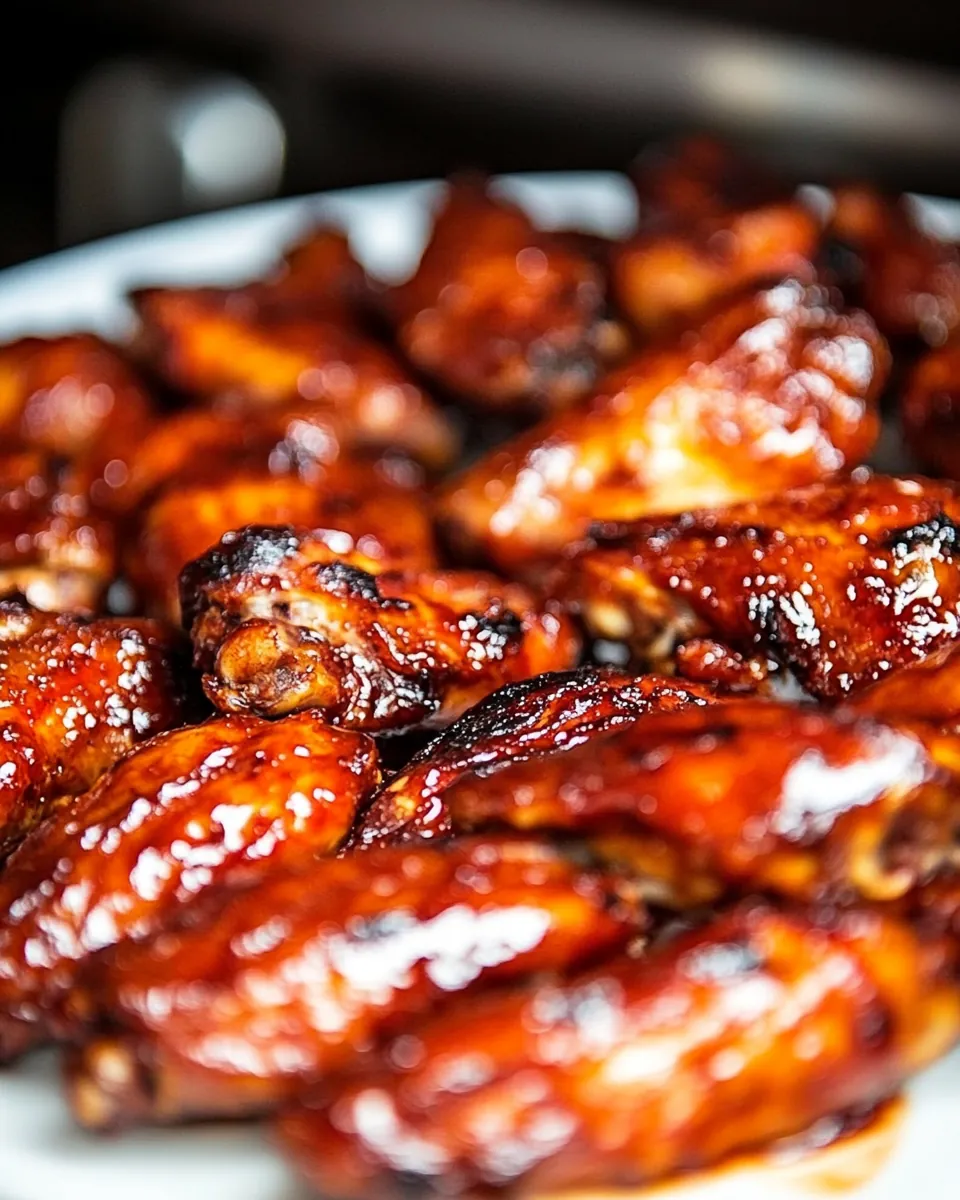
Serving Suggestions
When it comes to serving your perfectly cut chicken wings, the presentation matters just as much as the taste!
- Platter Style: Arrange the wings on a large platter, garnished with fresh herbs for a pop of color.
- Dip It: Offer a variety of dipping sauces such as buffalo, barbecue, and honey mustard for guests to choose from.
- Side Dishes: Pair with celery and carrot sticks for a crunchy contrast.
- Occasions: Perfect for game day gatherings, birthday parties, or simply a movie night at home.
- Leftover Ideas: Use any leftover wings in salads or wraps for a quick meal the next day.
- Seasonal Flair: Think about themed wings for holidays or special events to make your dishes more festive.
FAQ
Conclusion
The How To Cut Chicken Wings recipe is a fantastic skill that transforms your culinary abilities. It’s not just about cutting; it’s an art that enhances the flavors of your dishes. I encourage you to try it out and impress your friends and family. You’ll find that once you master this skill, your confidence in the kitchen will soar!
How To Cut Chicken Wings
Ingredients
Equipment
Method
- Remove the chicken from the store package and set out onto the cutting board.Open one chicken wing up and locate the thin pointy end of the chicken wing. We will remove this part. Move the wing at the joint. Feel for the bump in the joint.Using a sharp knife, cut the joint just above (towards the largest end) that bump. If you are unsure where to cut, move the joint backwards until you hear a 'pop'. This will loosen the joint sufficiently so that your knife will glide directly through the correct place in the joint.Repeat this same procedure for the middle joint. Locate the bump. Cut just beside the bump towards the largest end of the wing. If unable to locate, move the joint backwards until you hear a pop, then wiggle the joint again and use a knife to cut directly through the loosened place.
Notes
- Tip 1: Dry the wings well before attempting. The wings are slippery, and you don't want to slip while cutting.
- Tip 2: Make sure that you have a very sharp knife. A heavier knife works best.
- Tip 3: Cut at an angle to help guide the knife through the joint.
- Tip 4: If you are new to cutting chicken wings, move the joint backwards until it pops first and then cut.
- Tip 5: Don't try to give the wing a whack with the knife. You will miss the spot.