Learning How to Cut a Whole Chicken is a valuable skill for any home cook. I still remember the first time I tackled this task; it felt daunting yet rewarding. Picture this: a beautifully roasted chicken sitting in the center of the table, and you’re ready to serve it to family and friends. But instead of serving whole, you want to present perfectly cut pieces that are easy to eat and look gorgeous on the plate. With a few simple steps, you can transform a whole chicken into individual pieces, allowing for a beautiful presentation at dinner. As I learned this technique, I found that it not only saves money but also gives a satisfying sense of accomplishment. So grab your sharp knife and let’s dive into the world of cutting a chicken!
Recipe Snapshot
50 mins
10 mins
40 mins
Medium
335 kcal
65 g
Keto, Paleo, Whole30
7 g
Cutting Board, Sharp Kitchen Knife or Poultry Shears
What You’ll Enjoy About This How to Cut a Whole Chicken
It’s Cost-Effective
One fantastic reason to learn How to Cut a Whole Chicken is the cost savings. Whole chickens are often much cheaper than buying pre-cut pieces. You get more meat for your money by purchasing a whole chicken and breaking it down at home. It’s a great way to stretch your dollar while still enjoying delicious meals.
Freshness and Quality
When you cut your own chicken, you can ensure it’s fresh and of the highest quality. You have the opportunity to choose a whole chicken that meets your standards, which is particularly important if you prefer organic or locally sourced options. Cutting it down yourself allows you to inspect the quality before cooking.
Versatility in Cooking
Learning how to cut a chicken also opens up a world of cooking versatility. With individual pieces, you can experiment with various cooking techniques like roasting, grilling, or frying. Different cuts can be used in a multitude of recipes, ranging from hearty soups to savory casseroles. This flexibility enhances your cooking repertoire and makes meal planning more exciting.
Skill Development
Mastering the art of cutting a chicken is a fundamental kitchen skill that can boost your confidence as a cook. Each time you practice, you’ll refine your technique and improve your knife skills. Plus, it’s a fun challenge that breaks the routine of everyday cooking.
Impressive Presentation
There’s something incredibly satisfying about serving expertly cut chicken pieces. When you present a meal where everything looks beautifully portioned, it impresses your guests and elevates your dining experience. You’ll be proud of the skills you’ve developed and how they contribute to your culinary creations.
What to Gather for How to Cut a Whole Chicken
To successfully cut a chicken, you need to gather a few key ingredients and tools. The main star here is, of course, the whole chicken, which can be a blank canvas for your culinary creativity. Along with the chicken, having the right tools is essential for making the process smoother and safer. A sharp knife or poultry shears will make cutting through joints and bones much easier, while a cutting board provides a stable surface for your work. Together, these elements will ensure your chicken cutting experience is enjoyable and efficient.
- 1 whole chicken: The centerpiece of this recipe, a whole chicken offers versatility for various cooking methods and flavors.
The Process for Making How to Cut a Whole Chicken
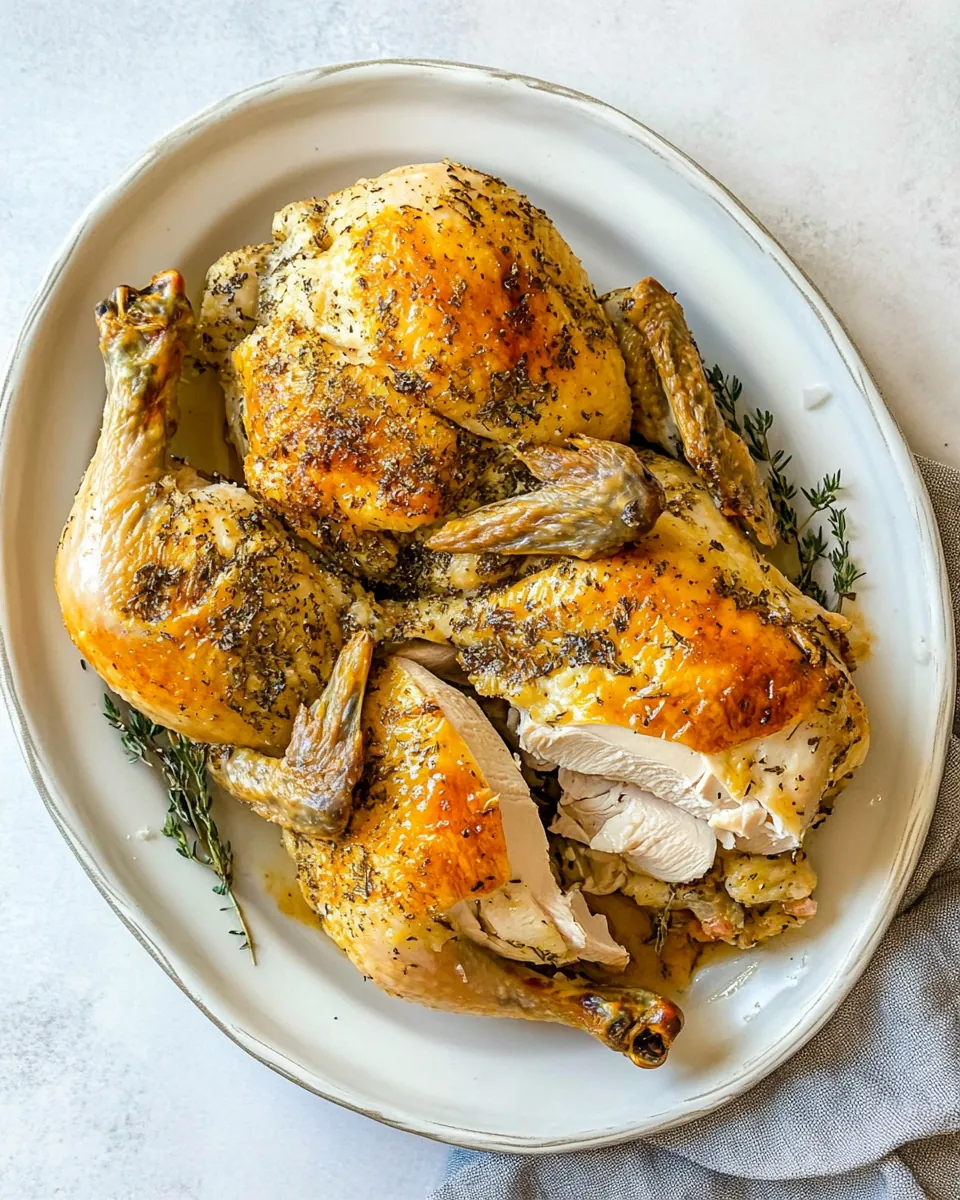
Cutting a whole chicken may seem intimidating at first, but with practice, it can become a quick and easy task. Follow these simple steps to ensure you get the most out of your chicken.
- Start by placing your whole chicken on the cutting board, breast-side up. Make sure your board is secure; a damp towel underneath can help prevent slipping. Locate the area of thin skin where the breast and thigh connect. Using a sharp knife, slice through the skin, exposing the joint.
- Next, pull the chicken leg away from the body and gently bend it upwards until you hear a pop. This indicates the bone has dislocated from the joint. Slice through the joint to remove the leg. Repeat this step for the other leg and set them aside.
- Now, grab one of the wings and gently pull it upward to locate the joint connecting to the breast. Cut right through this joint to remove the wing, and repeat for the other wing.
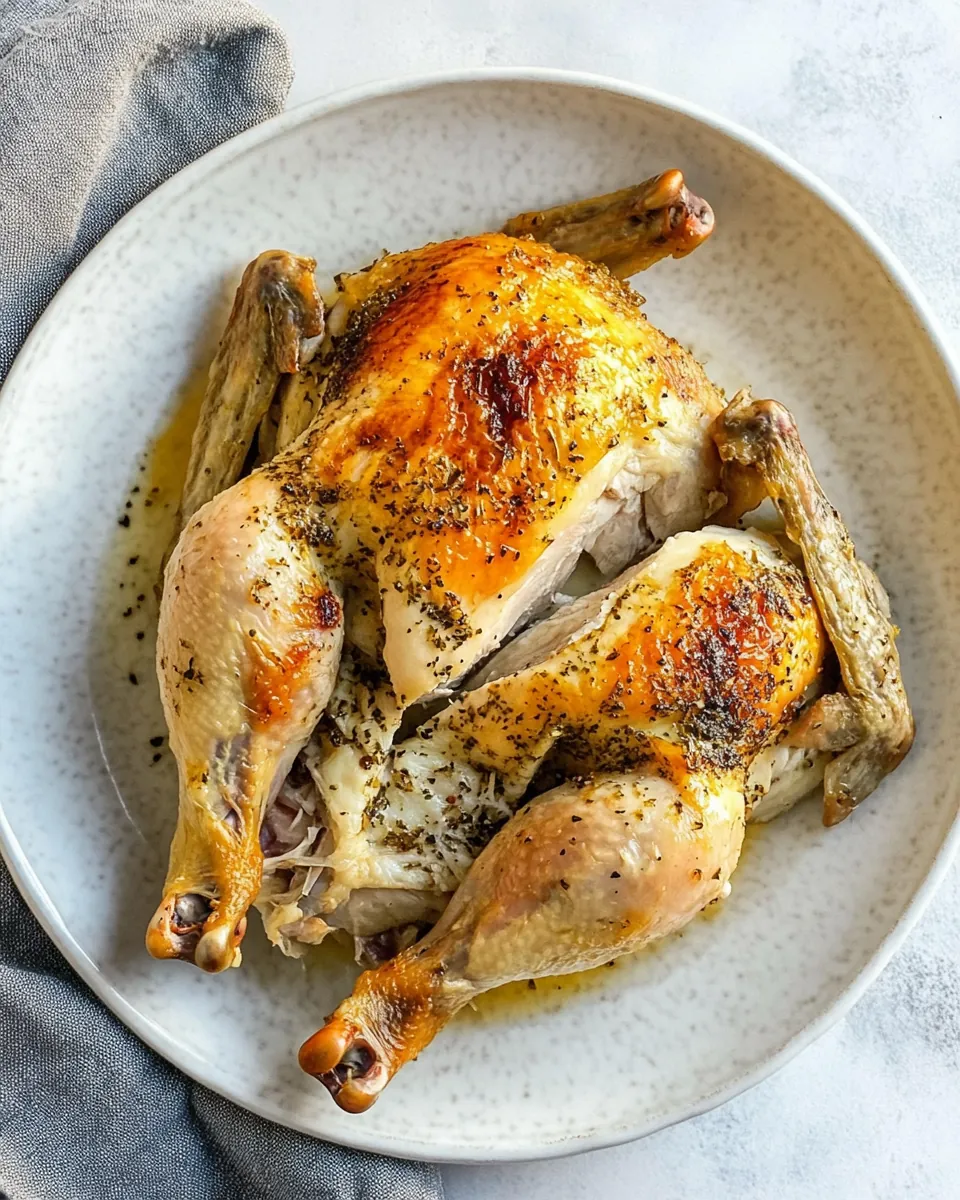
- With the wings and legs removed, turn the chicken onto its side. Look for the line of fat running along the side of each breast. Cut through this fat to separate the rib cage from the breasts. This will make it easier to access the meat.
- Carefully separate the rib cage from the breast, allowing you to get to the meat. Once removed, turn the breasts skin side up. Cut through the middle line separating the breasts until you hit the breastbone.
- At this point, run your knife along the bone, cutting through the meat to remove the breast from the bone. Don’t forget to repeat this for the other breast.
- Now that both breasts are separated, flip the legs over and look for the line of fat that separates the thigh from the drumstick. Cut through this line of fat and the joint to separate these pieces. Repeat for the other leg, and you’ll have all the parts cut and ready to season.
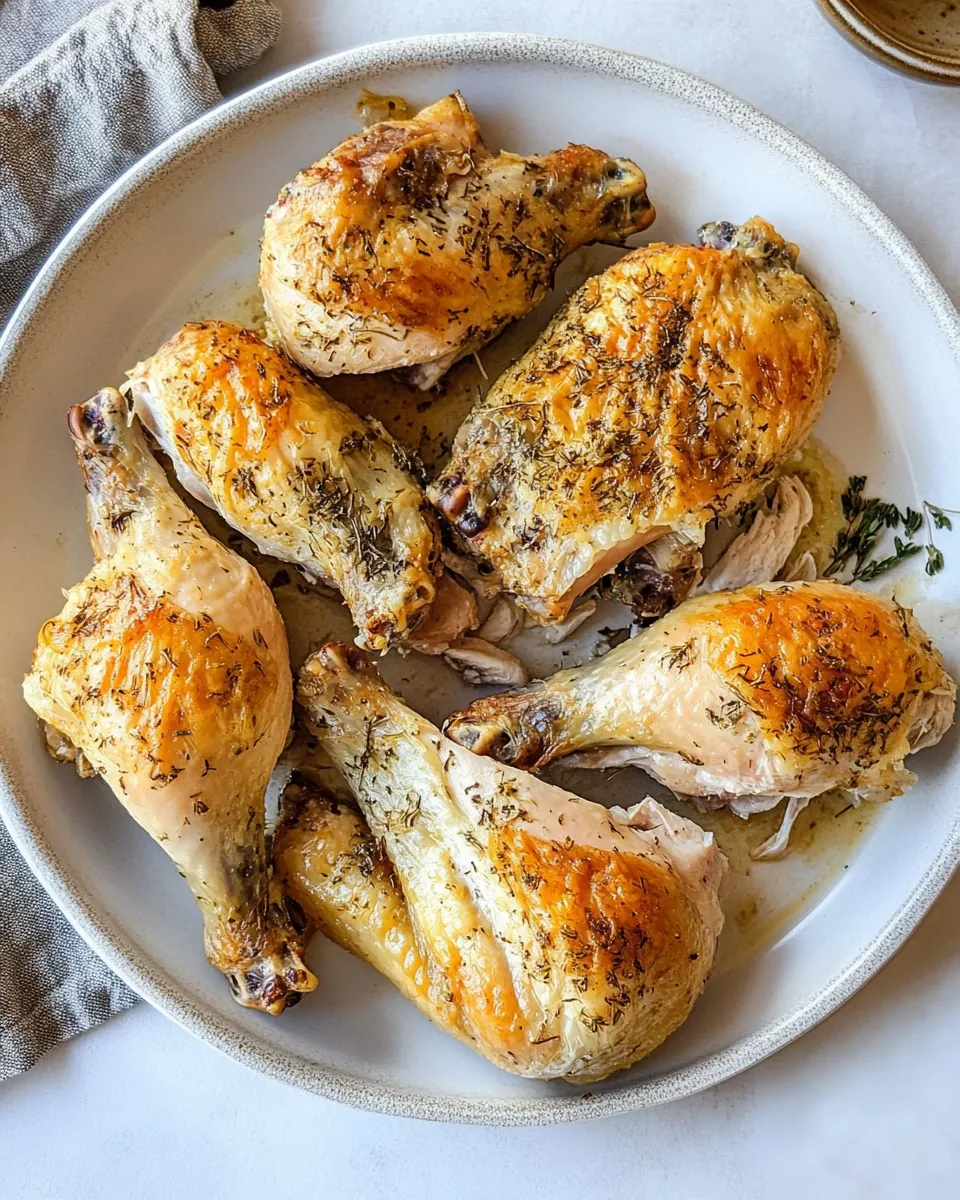
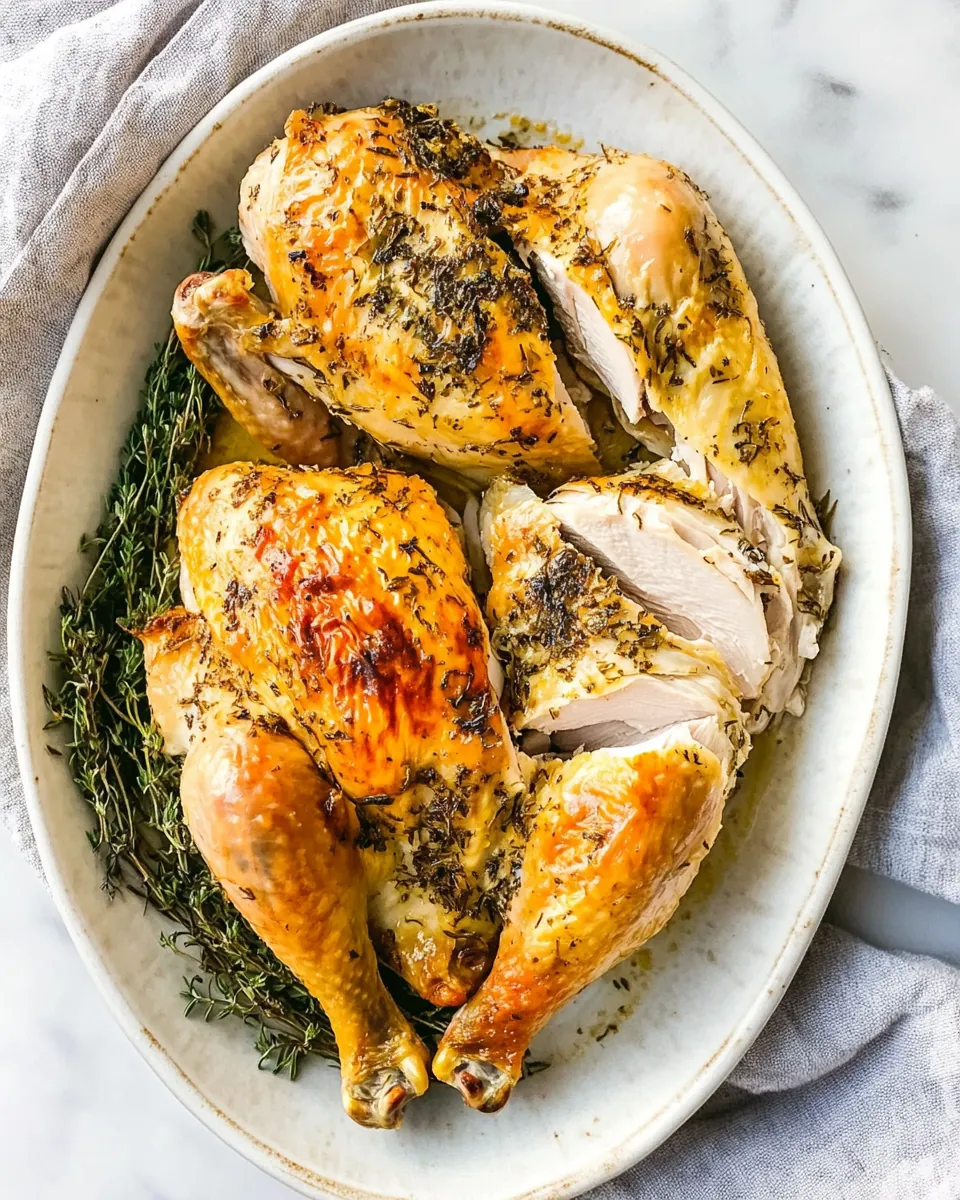
- Once you’re done, you should have eight pieces total: two breasts, two thighs, two drumsticks, and two wings. Season the chicken pieces as desired, then place them on a baking tray.
- Preheat your oven to 400°F and bake the chicken for thirty minutes. After that, reduce the oven temperature to 350°F and continue baking for another fifteen to twenty minutes, or until each piece registers 165°F at the thickest point.
Things Worth Knowing
- Use a sharp knife: A sharp knife will make cutting easier and safer, reducing the risk of slipping.
- Cutting board stability: Place a damp towel under your cutting board to prevent it from moving while you cut.
- Dry the chicken: Patting the chicken dry before cutting helps it stay in place and reduces slipping.
- Locate the joints: When separating wings and legs, aim for the joint where bones meet for easier cutting.
- Save the backbone: Don’t discard the backbone; it’s ideal for making homemade chicken stock.
Customization Ideas
Once you’ve mastered How to Cut a Whole Chicken, you might want to explore different ways to customize your chicken. Here are some tips to take your culinary skills to the next level.
- Marination: Consider marinating your chicken pieces in your favorite seasonings or sauces for extra flavor.
- Spices: Experiment with various spices and herbs for different flavor profiles, such as garlic powder, paprika, or rosemary.
- Cooking Methods: Try different cooking methods like grilling, roasting, or frying to suit your meals.
- Serving Style: Serve your chicken pieces with dips or sauces for a fun appetizer or finger food experience.
- Side Dishes: Pair your chicken with a variety of sides such as roasted vegetables, rice, or salads for a complete meal.
- Leftover Use: Use leftover chicken in salads, sandwiches, or soups for quick and easy meals.
- Freezing: If you have excess chicken, consider freezing some pieces for later use, ensuring they are well-wrapped to prevent freezer burn.
Perfect Pairings for How to Cut a Whole Chicken
Now that you’ve expertly cut your chicken, let’s explore how to pair it for serving. Here are some ideas to elevate your meal:
- Roasted Vegetables: Serve your chicken with a medley of roasted seasonal vegetables like carrots, potatoes, and bell peppers. They complement the savory flavors beautifully.
- Salads: A fresh side salad with mixed greens, tomatoes, and a light vinaigrette adds a refreshing contrast to your chicken.
- Rice or Quinoa: Pair the chicken with a fluffy serving of rice or quinoa for a filling meal.
- Garnishes: Top your plated chicken with fresh herbs like parsley or cilantro for an appealing presentation and added flavor.
- Occasions: This dish is perfect for family dinners, holiday gatherings, or casual barbecues. The versatility of the chicken ensures it fits any occasion.
- Storage Tips: Leftover chicken can be stored in an airtight container in the refrigerator for up to four days. Reheat thoroughly before serving.
- Seasonal Pairings: In summer, consider serving your chicken with corn on the cob or fresh fruit salads. In winter, pair it with hearty mashed potatoes and gravy.
FAQ
Conclusion
Learning How to Cut a Whole Chicken not only enhances your culinary skills but also opens up a world of possibilities for meal preparation. With practice, this technique becomes second nature, allowing you to enjoy fresh chicken pieces at a lower cost. I encourage you to give this a try—it’s a rewarding skill that will elevate your cooking and impress your family and friends.
How to Cut a Whole Chicken
Ingredients
Equipment
Method
- Start by placing your whole chicken on the cutting board, breast-side up. Make sure your board is secure; a damp towel underneath can help prevent slipping. Locate the area of thin skin where the breast and thigh connect. Using a sharp knife, slice through the skin, exposing the joint.
- Next, pull the chicken leg away from the body and gently bend it upwards until you hear a pop. This indicates the bone has dislocated from the joint. Slice through the joint to remove the leg. Repeat this step for the other leg and set them aside.
- Now, grab one of the wings and gently pull it upward to locate the joint connecting to the breast. Cut right through this joint to remove the wing, and repeat for the other wing.
- With the wings and legs removed, turn the chicken onto its side. Look for the line of fat running along the side of each breast. Cut through this fat to separate the rib cage from the breasts. This will make it easier to access the meat.
- Carefully separate the rib cage from the breast, allowing you to get to the meat. Once removed, turn the breasts skin side up. Cut through the middle line separating the breasts until you hit the breastbone.
- At this point, run your knife along the bone, cutting through the meat to remove the breast from the bone. Don’t forget to repeat this for the other breast.
- Now that both breasts are separated, flip the legs over and look for the line of fat that separates the thigh from the drumstick. Cut through this line of fat and the joint to separate these pieces. Repeat for the other leg, and you’ll have all the parts cut and ready to season.
- Once you’re done, you should have eight pieces total: two breasts, two thighs, two drumsticks, and two wings. Season the chicken pieces as desired, then place them on a baking tray.
- Preheat your oven to 400°F and bake the chicken for thirty minutes. After that, reduce the oven temperature to 350°F and continue baking for another fifteen to twenty minutes, or until each piece registers 165°F at the thickest point.
Notes
- Use a sharp knife: A sharp knife will make cutting easier and safer, reducing the risk of slipping.
- Cutting board stability: Place a damp towel under your cutting board to prevent it from moving while you cut.
- Dry the chicken: Patting the chicken dry before cutting helps it stay in place and reduces slipping.
- Locate the joints: When separating wings and legs, aim for the joint where bones meet for easier cutting.
- Save the backbone: Don’t discard the backbone; it’s ideal for making homemade chicken stock.