There’s something undeniably magical about the first sip of a warm, creamy drink on a cold winter day. That’s why I absolutely adore making Hot Chocolate Bombs. These delightful treats not only warm your heart but also bring a sense of nostalgia, reminding me of cozy nights spent by the fire with family and friends. I remember the first time I made these chocolate wonders; the excitement of watching them melt in steaming milk was pure joy. It’s not just a drink; it’s an experience! When I see the kids’ faces light up as they drop the bombs into their mugs, I know it’s become a beloved tradition.
Recipe Snapshot
1 hr 20 mins
75 mins
5 mins
Medium
150 kcal
1 g
Keto, Paleo, Whole30
7 g
Hot Chocolate Bomb Mold
The Beauty of This Hot Chocolate Bombs
They’re a Fun Activity
One of the best things about Hot Chocolate Bombs is how fun they are to make. You can involve family and friends in the process, turning it into a delightful activity. Each person can customize their bombs with different fillings and decorations, making them truly one-of-a-kind.
Perfect for Gifting
Homemade Hot Chocolate Bombs make for thoughtful gifts during the winter season. Wrap them up in a beautiful box, and you’ve got a sweet surprise for anyone who loves hot cocoa. It’s a personal touch that everyone appreciates.
Endless Customizations
The beauty of these bombs lies in their versatility. You can experiment with various types of chocolate, flavors, and fillings. Whether you want a classic hot chocolate mix or something a little more adventurous, the options are endless!
Great for Any Occasion
Winter gatherings, holidays, or even a cozy night in can be made special with Hot Chocolate Bombs. They add a touch of cheer to any occasion, making them perfect for celebrations or simply a reason to treat yourself.
A Delectable Treat for All Ages
Kids and adults alike love these chocolate bombs. They can be a fun treat for children after a day of playing in the snow or a comforting drink for adults winding down after a long day. Everyone can find joy in these delicious bites of chocolatey goodness.
Elevate Your Hot Chocolate Game
Lastly, Hot Chocolate Bombs elevate your hot chocolate experience. They don’t just taste great; they make the whole process enjoyable. Watching them dissolve in hot milk is almost as delightful as sipping the warm drink itself!
Hot Chocolate Bombs Ingredients
The ingredients for Hot Chocolate Bombs are simple yet indulgent. Each component plays a role in creating those rich, melty, and sweet sensations in every sip. The combination of high-quality chocolate and delightful fillings ensures that your hot chocolate experience is nothing short of extraordinary.
- 16 ounces white or chocolate almond bark: This is the base for your bombs, providing a rich chocolate flavor.
- Hot chocolate mix: The classic filling that creates the heart of your hot chocolate experience.
- Pink candy melts: For a fun and colorful decoration that adds sweetness.
- Teal candy melts: Another vibrant layer of decoration to make your bombs visually appealing.
- Assorted unicorn sprinkles: These add a whimsical touch to your hot chocolate bombs.
- Unicorn candy toppers: Cute little accents that enhance the magic of these treats.
- Lucky Charm marshmallows: A playful and tasty addition that adds a fun surprise with each sip.
Step by Step Guide for Hot Chocolate Bombs
Creating your own Hot Chocolate Bombs is an enjoyable process that brings a touch of creativity to your kitchen. It’s straightforward, and I promise you’ll love every minute of it! Let’s dive into the step-by-step guide to making these delightful treats.
Start by melting your almond bark. You can do this using a double boiler or by microwaving it in a medium microwave-safe bowl. If using a microwave, heat it in 30-second increments, stirring in between until fully melted. The texture should be smooth and glossy.
Once melted, take a spoon and place a bit of the melted chocolate into each mold of your Hot Chocolate Bomb Mold. Make sure to cover the bottom and sides, creating a nice shell.
Now, smooth the chocolate up and around the edges of the mold. This will help create a sturdy shell that holds all your delicious fillings.
Next, place the mold in the fridge for about 10 to 15 minutes to let the chocolate set. Keep an eye on it; you want it to harden just enough to hold its shape.
After the initial chill, spoon a little more melted chocolate into each hardened shell and spread it around for a second coat. This adds durability to your bombs. Chill them again for another 10 to 15 minutes.
Carefully remove the chocolate shells from the molds once they are fully hardened. Gently tap the molds to help the shells release.
Microwave a small glass plate for 30 to 45 seconds and set it aside. This will be used to smooth the edges of your chocolate shells.
Take one shell and place it on the warm plate to slightly melt the edges. Do this for half of your shells to create the top and bottom halves.
For the fillings, fill half of the shells with 1 tablespoon of hot chocolate mix, some assorted unicorn sprinkles, and a few Lucky Charm marshmallows. This is where the magic happens!
Now, take each of the remaining half shells and place them on the warm plate to lightly melt the edges again. This will help them adhere when you place them together.
Immediately place the top shell onto the filled shell and press gently to seal. Use your finger to smooth out the seam, ensuring that the filling stays inside.
Finally, melt your pink candy melts in a small microwave-safe bowl, heating in 30-second intervals and stirring until smooth. Repeat the same process with the teal candy melts.
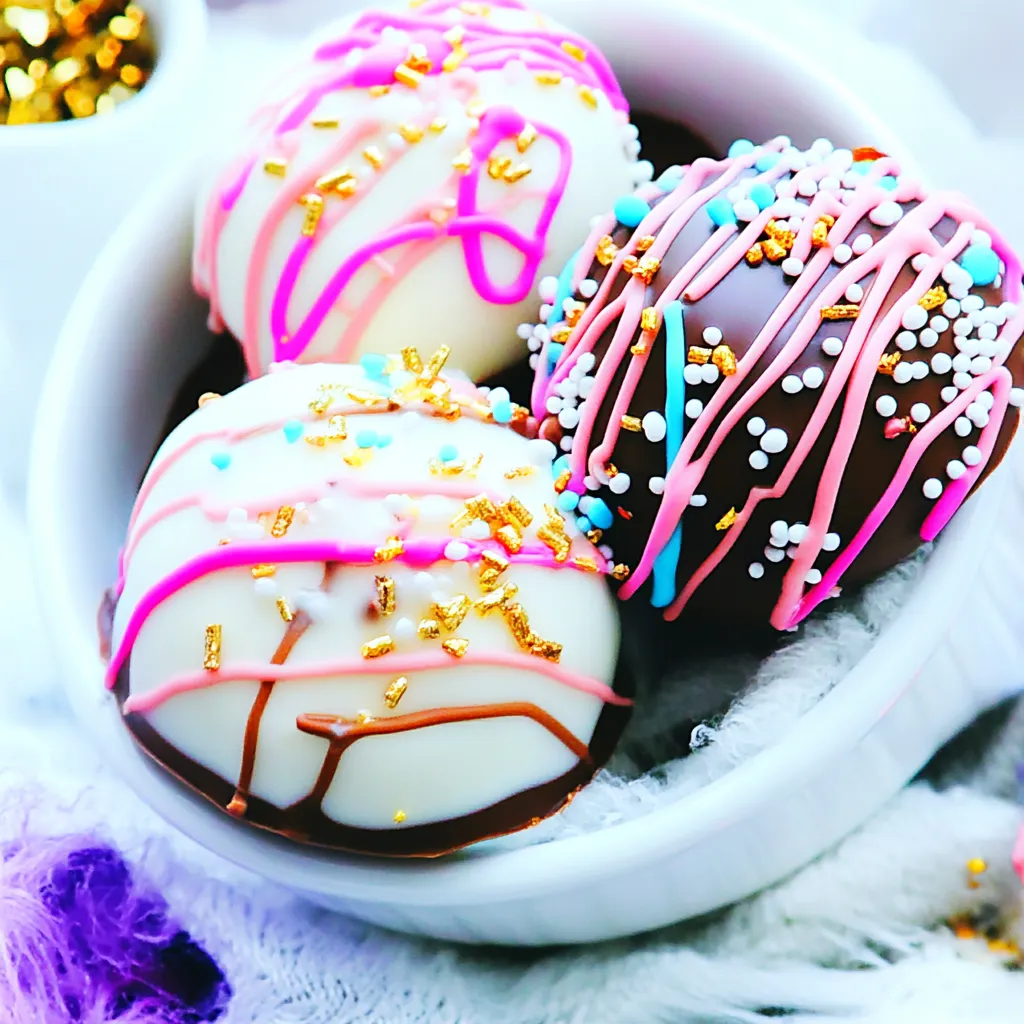
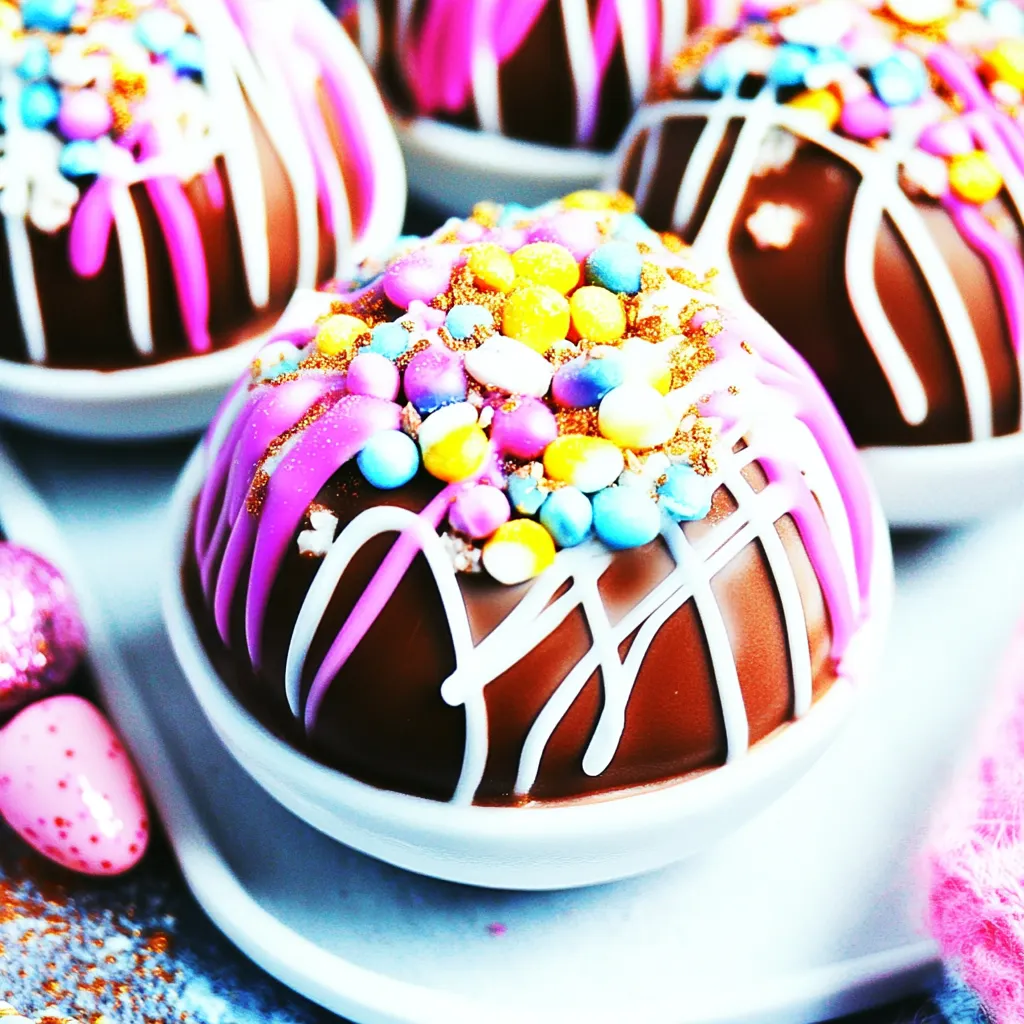
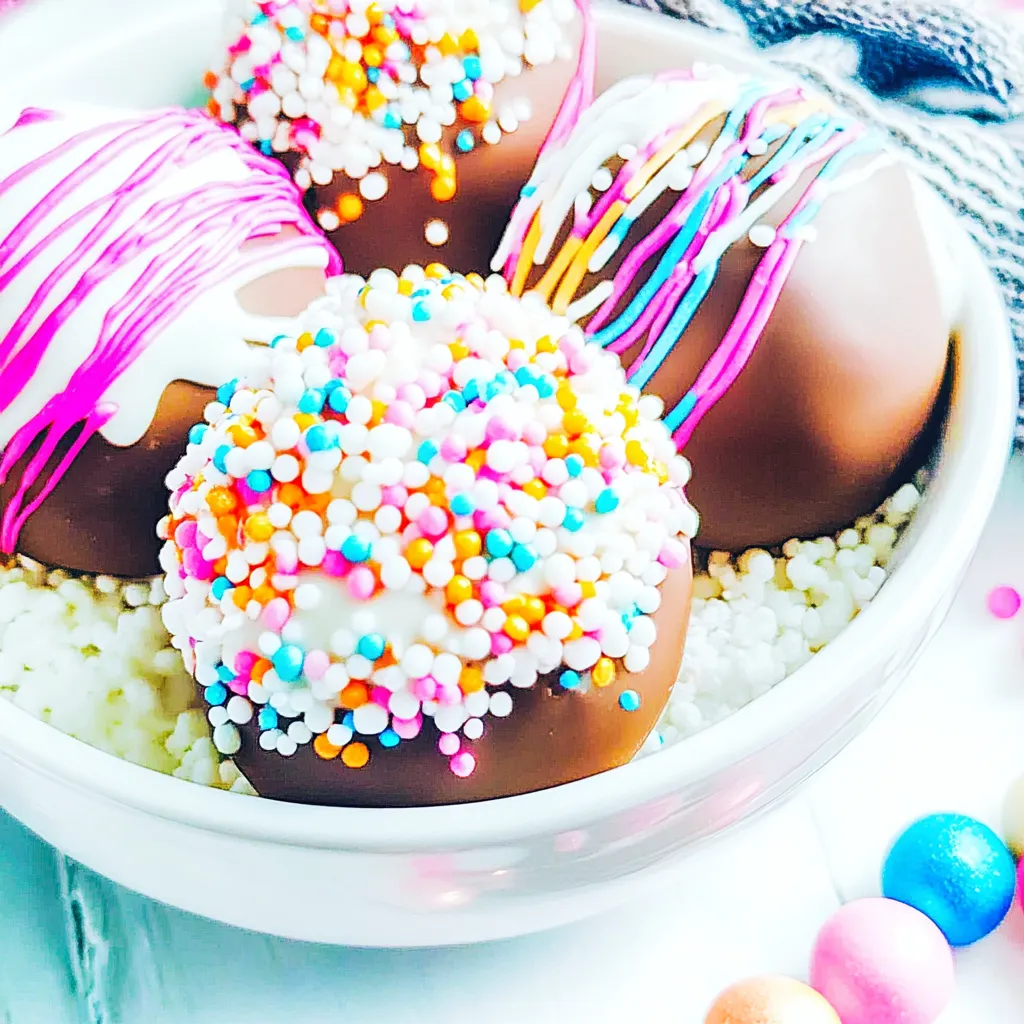
Drizzle the pink and teal chocolate over each Hot Chocolate Bomb and immediately decorate them with the unicorn candies and sprinkles. Let them set for a moment.
To serve, place a bomb in a mug and pour hot milk over it. Stir until completely melted, and enjoy your delicious creation!
Things Worth Knowing
- Use high-quality chocolate: The better the chocolate, the more delicious the bombs will be.
- Don’t rush the setting: Allow each layer to set properly; this ensures your bombs stay intact.
- Experiment with fillings: Get creative! Try different flavors of hot cocoa or fillings to make each batch unique.
- Store properly: Keep finished bombs in an airtight container to maintain freshness.
Helpful Hints
As you prepare to craft your own Hot Chocolate Bombs, here are some helpful hints to ensure you achieve the best results.
- Storage: Store your Hot Chocolate Bombs in a cool, dry place, preferably in an airtight container, to keep them fresh and prevent them from melting.
- Freezing: You can freeze these bombs! Just make sure they’re in a sealed container, and they’ll keep for up to a month.
- Serve with toppings: Consider serving your hot chocolate with whipped cream, a sprinkle of cinnamon, or even a drizzle of caramel for an extra special treat.
- Gift them: Package them up with a cute mug and some hot milk mix as a gift for family or friends. It’s a thoughtful and delicious surprise!
- Customize: Feel free to get creative with the decorations. Use different colored melts and fun toppings to make each bomb unique.
Serving Ideas for Hot Chocolate Bombs
When it comes to serving Hot Chocolate Bombs, the presentation and the experience can elevate the enjoyment. Here are some ideas on how to serve them:
- Cozy Winter Nights: Serve these bombs in winter, enjoying them by the fireplace with family. They’re perfect for creating a warm atmosphere.
- Kids’ Parties: Make these as a fun activity at children’s parties or playdates. Kids will love watching the magic unfold as the bombs dissolve in hot milk.
- Hot Chocolate Bar: Set up a hot chocolate bar with various toppings and flavors, allowing guests to customize their drinks with Hot Chocolate Bombs.
- Winter Holidays: These bombs are a great addition to holiday gatherings. They can be served alongside cookies or festive treats.
- Gifts: Package them in decorative boxes for a fun gift. Include instructions for how to use them, so the recipient knows exactly what to do.
- Pair with Sweets: Enjoy your Hot Chocolate Bombs with some cookies, brownies, or pastries for a delightful dessert experience.
FAQ
Conclusion
Hot Chocolate Bombs are not just a fun treat; they are a wonderful way to bring warmth and joy into your home during the winter months. With their delicious melt-in-your-mouth flavors, they create a cozy experience that everyone will love.
Give them a try and see how they can transform your hot chocolate experience into something truly special. You won’t regret it!

Hot Chocolate Bombs
Ingredients
Equipment
Method
- Start by melting your almond bark. You can do this using a double boiler or by microwaving it in a medium microwave-safe bowl. If using a microwave, heat it in 30-second increments, stirring in between until fully melted. The texture should be smooth and glossy.
- Once melted, take a spoon and place a bit of the melted chocolate into each mold of your Hot Chocolate Bomb Mold. Make sure to cover the bottom and sides, creating a nice shell.
- Now, smooth the chocolate up and around the edges of the mold. This will help create a sturdy shell that holds all your delicious fillings.
- Next, place the mold in the fridge for about 10 to 15 minutes to let the chocolate set. Keep an eye on it; you want it to harden just enough to hold its shape.
- After the initial chill, spoon a little more melted chocolate into each hardened shell and spread it around for a second coat. This adds durability to your bombs. Chill them again for another 10 to 15 minutes.
- Carefully remove the chocolate shells from the molds once they are fully hardened. Gently tap the molds to help the shells release.
- Microwave a small glass plate for 30 to 45 seconds and set it aside. This will be used to smooth the edges of your chocolate shells.
- Take one shell and place it on the warm plate to slightly melt the edges. Do this for half of your shells to create the top and bottom halves.
- For the fillings, fill half of the shells with 1 tablespoon of hot chocolate mix, some assorted unicorn sprinkles, and a few Lucky Charm marshmallows. This is where the magic happens!
- Now, take each of the remaining half shells and place them on the warm plate to lightly melt the edges again. This will help them adhere when you place them together.
- Immediately place the top shell onto the filled shell and press gently to seal. Use your finger to smooth out the seam, ensuring that the filling stays inside.
- Finally, melt your pink candy melts in a small microwave-safe bowl, heating in 30-second intervals and stirring until smooth. Repeat the same process with the teal candy melts.
- Drizzle the pink and teal chocolate over each Hot Chocolate Bomb and immediately decorate them with the unicorn candies and sprinkles. Let them set for a moment.
- To serve, place a bomb in a mug and pour hot milk over it. Stir until completely melted, and enjoy your delicious creation!