When I think about my favorite game day snacks, the first dish that comes to mind is definitely Honey Garlic Chicken Wings. These wings have a special place in my heart because they remind me of family gatherings, where laughter fills the room, and the aroma of delicious food wafts through the air. Picture this: a crisp evening with friends gathered around, everyone eagerly waiting for those wings to emerge from the oven, their sweet and savory scent beckoning. As I serve them up, I can see the smiles on everyone’s faces as they take that first bite, the crispy skin giving way to tender meat coated in a sticky, flavorful glaze. It’s moments like these that make cooking worthwhile, and I love sharing my passion for food through this Honey Garlic Chicken Wings recipe. They’re easy to prepare, packed with flavor, and perfect for any occasion, whether it’s a casual dinner or a festive celebration.
Recipe Snapshot
60 mins
15 mins
45 mins
Medium
450 kcal
35 g
Keto, Paleo, Whole30
30 g
Large Pot, Baking Sheet, Grater, Oven, Saucepan, Chef’s Knife, Frying Pan, Wooden Spoon
Why This Honey Garlic Chicken Wings Shines
1. Unforgettable Flavor Combination
There’s something magical about the mix of honey and garlic that makes these wings truly irresistible. The sweetness from the honey perfectly balances the pungent flavor of the garlic, creating a sticky glaze that’s packed with flavor. I always find myself licking my fingers after the last wing, wanting more!
2. Versatile for Any Occasion
Whether you’re hosting a game night, throwing a backyard barbecue, or simply craving a delicious dinner, Honey Garlic Chicken Wings fit the bill. They’re a crowd-pleaser and can be served as an appetizer or a main dish, making them ideal for any gathering.
3. Easy to Prepare
You don’t need to be a culinary expert to whip up these wings. With just a few simple ingredients and straightforward steps, you can have a delicious dish on the table in no time. I love that I can enjoy cooking without the stress, and you will too!
4. Perfectly Crispy Texture
One of the standout features of these wings is their incredible crispiness. By following the oven-baking method, you achieve that satisfying crunch without any fuss. It’s all about how you prepare them, and I’ll guide you through creating that texture that everyone loves.
5. Great for Meal Prep
If you’re looking for a dish that can be made ahead of time, these wings are perfect! You can make a big batch, refrigerate the leftovers, and enjoy them throughout the week. Just reheat them in the oven or air fryer for a quick and tasty meal.
6. Fun to Customize
While I adore the classic honey garlic flavor, you can easily tweak the recipe to suit your taste. Want it spicier? Add some hot sauce to the glaze. Prefer a tangy twist? A splash of vinegar can do wonders. The possibilities are endless!
What You’ll Need for Honey Garlic Chicken Wings
Gathering the right ingredients is the first step to achieving the perfect Honey Garlic Chicken Wings. Each component plays a vital role in creating that mouthwatering flavor profile we crave. From the succulent chicken wings to the sweet honey and savory garlic, these ingredients work harmoniously together, resulting in a dish that’s both comforting and satisfying.
- 2-1/2 pounds split chicken wings (wings and drumettes, often labeled “party wings”)
- ¼ cup cornstarch
- 1 teaspoon kosher or fine sea salt
- ½ teaspoon freshly-ground black pepper
- ½ teaspoon garlic powder
- 2 tablespoons vegetable oil (or other high-heat, neutral flavored oil)
- ½ cup honey
- ¼ cup water
- ¼ cup soy sauce (I use reduced sodium)
- 4 large garlic cloves, minced (about 1 tablespoon)
- ½ tablespoon finely-grated fresh ginger (I use a microplane)
- 1 teaspoon cornstarch
- ¼ teaspoon crushed red pepper flakes (optional, for a spicy kick)
- ½ tablespoon toasted sesame seeds
- 1 scallion, thinly sliced
Putting Together Honey Garlic Chicken Wings
Cooking these Honey Garlic Chicken Wings is a satisfying process that fills your kitchen with delightful aromas. Let’s dive into the steps that will lead you to a mouthwatering dish!
- Start by using a paper towel to pat the wings very dry. This is crucial for achieving that crispy texture we all love. Place them in a large bowl or a gallon-size disposable zip-top bag.
- Sprinkle the cornstarch, salt, pepper, and garlic powder over the wings. Stir with a rubber spatula until they are all evenly coated. If you’re using a zip-top bag, seal it and shake to coat; I find this method works best.
- Preheat your oven to 425°F with racks positioned in the upper-middle and lower-middle positions. Line two half-sheet pans with foil, then place parchment paper over the foil and set aside. This will make for easy cleanup later!
- Divide the wings between the lined sheet pans, ensuring there’s room between each wing so they can crisp nicely. Brush the tops of the wings lightly with oil to promote browning.
- Place the sheet pans in the oven and bake for 35 to 45 minutes, until golden and crispy. Halfway through cooking, rotate the pans and use tongs to flip the wings for even cooking.
- While the chicken is baking, combine the sauce ingredients in a saucepan. Bring them to a low boil over medium to medium-high heat, then reduce the heat and simmer for about eight minutes or until the sauce thickens enough to coat the back of a spoon.
- Once the wings are done baking, use tongs to remove them from the baking sheets and transfer them to a large bowl. Keep the oven on, as you’ll be cooking the wings again after glazing them.
- Toss the wings with the sauce to ensure they are fully coated. Return them to the lined sheet pans and baste the tops with any remaining sauce.
- Bake the glazed wings for five minutes. Flip them, baste again with the remaining sauce, and continue baking for another four to five minutes, until the glaze is caramelized. Keep a close watch to prevent burning.
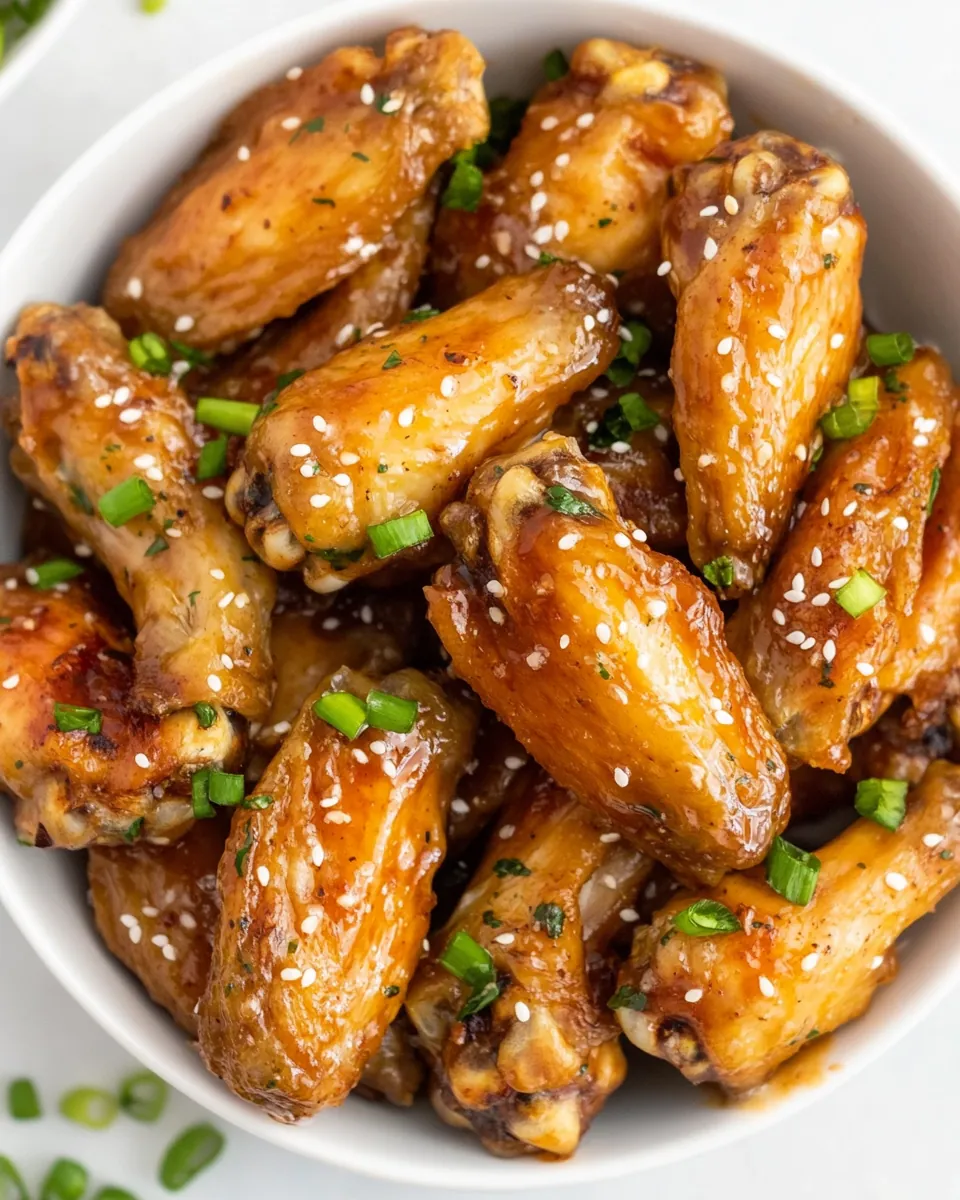
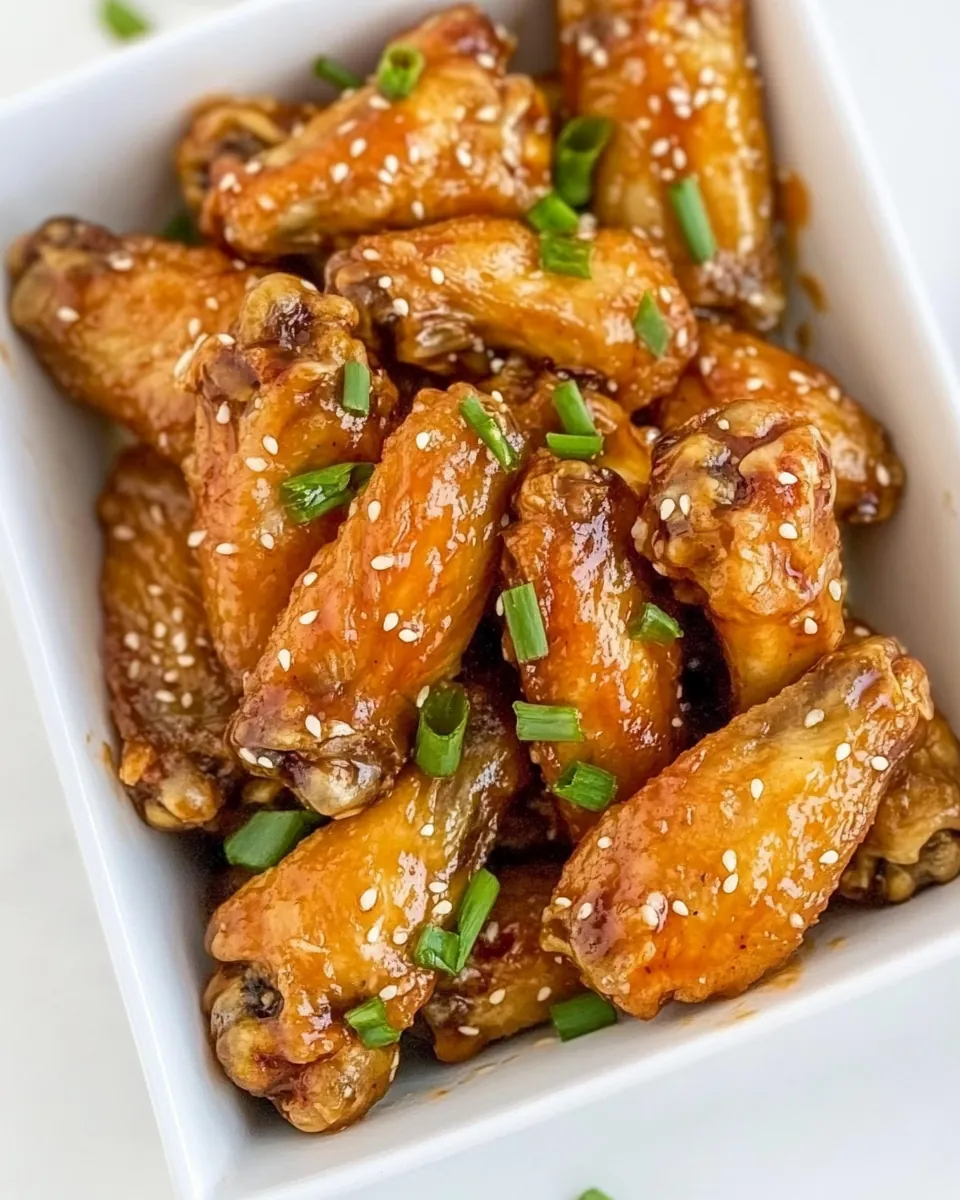
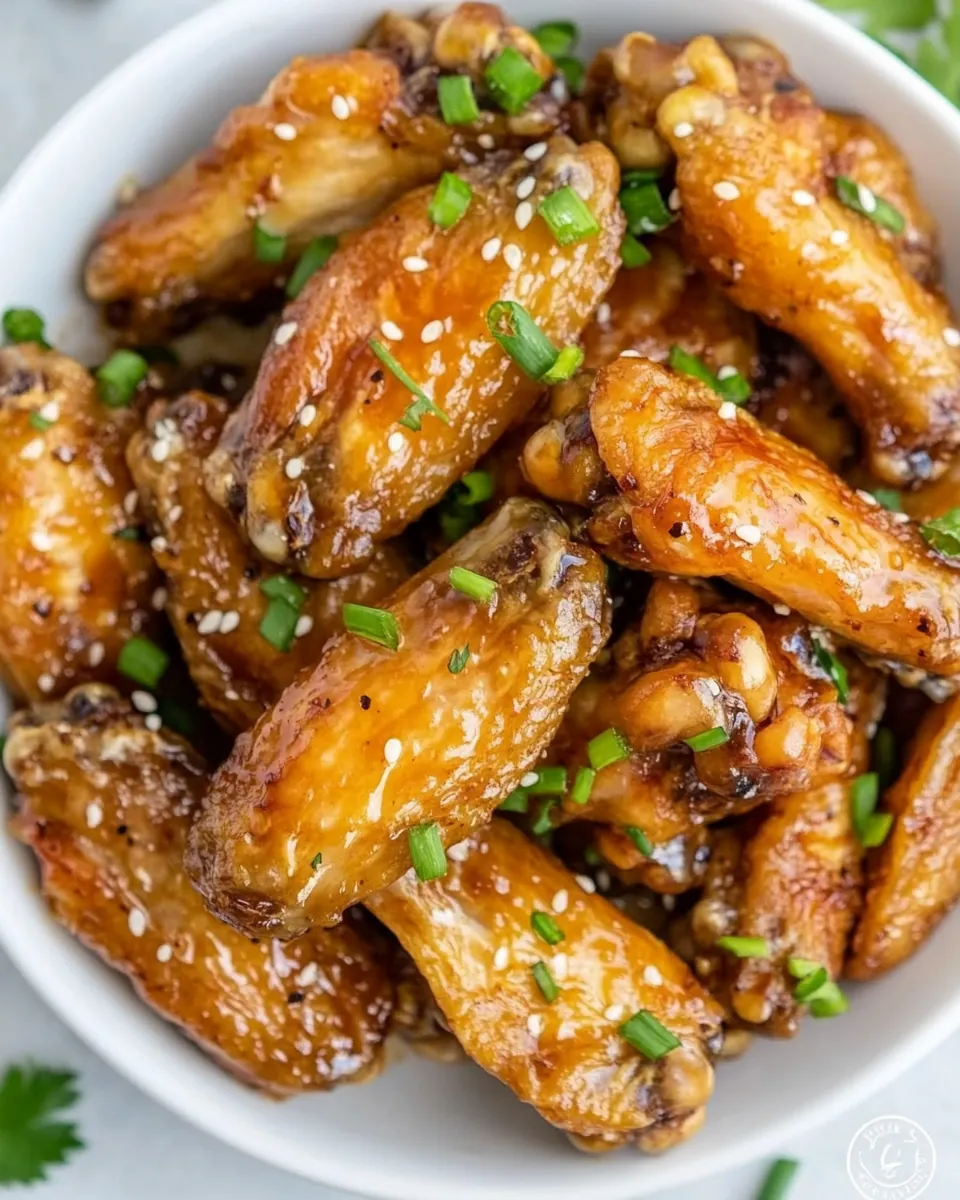
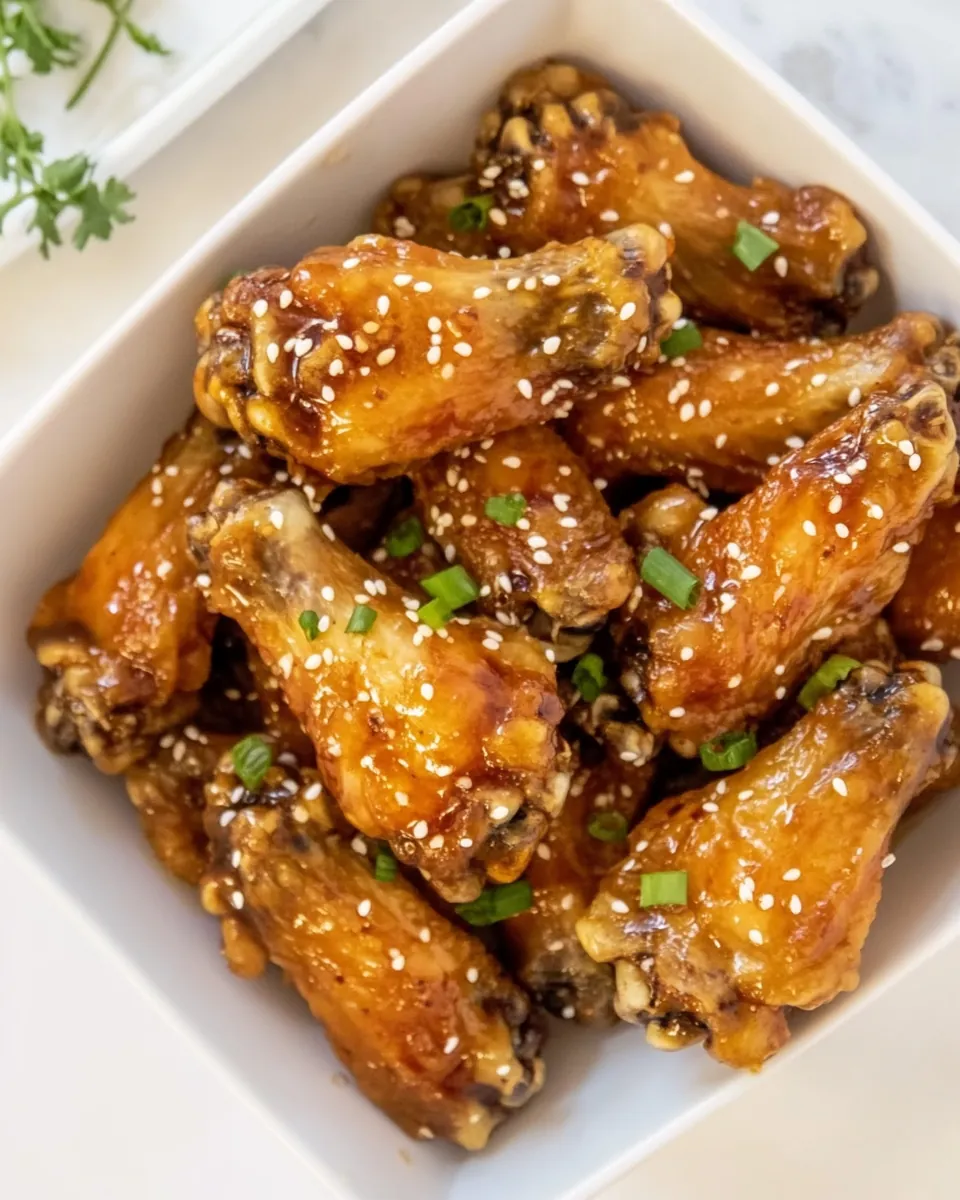
- Finally, transfer the wings to a large platter. Sprinkle with toasted sesame seeds and scallions. Serve them hot with plenty of napkins!
Things Worth Knowing
- Internal Temperature: Ensure the chicken wings reach an internal temperature of at least 165°F for safety, but for best texture, aim for 185 to 200°F.
- Storage: Refrigerate any leftovers in an airtight container for three to four days. Reheat in the oven or air fryer until hot.
- Air Frying: If you prefer air frying, spray the basket with nonstick spray, arrange the wings in a single layer, and air fry at 390°F for about 12 minutes, flipping halfway.
- Batch Cooking: These wings are great for batch cooking; prepare a large quantity, and enjoy throughout the week!
Pro Tips and Tweaks
Cooking is all about making it your own. Here are some tips to enhance your Honey Garlic Chicken Wings experience:
- Experiment with Flavors: Feel free to adjust the sweetness by adding more or less honey to suit your taste.
- Make it Spicy: If you love heat, consider adding a few dashes of hot sauce to the glaze for a spicy kick.
- Serving Suggestions: Pair with celery sticks and blue cheese dressing for a classic combination.
- Glaze Options: Try using different glazes such as teriyaki or BBQ for a fun twist.
- Leftover Ideas: Use any leftover wings in salads, sandwiches, or wraps for a quick meal.
- Meal Prep: These are great for meal prep! Make them ahead of time and enjoy them throughout the week.
- Freezing: You can freeze cooked wings for up to three months. Simply reheat when ready to enjoy!
What to Serve With Honey Garlic Chicken Wings
Finding the perfect accompaniments for your Honey Garlic Chicken Wings can elevate your meal even further. Here are some ideas:
- Classic Sides: Serve with crispy fries or onion rings for a delightful crunch.
- Fresh Salads: A refreshing coleslaw or green salad pairs nicely to balance the richness of the wings.
- Veggie Platters: Pair with a platter of fresh veggies, like carrots and cucumbers, with a tangy dip.
- Dipping Sauces: Offer a variety of dipping sauces such as ranch or blue cheese for added flavor.
- Occasions: These wings are perfect for game days, birthday parties, or any casual gatherings.
- Storage Tips: Keep leftovers in an airtight container; they’ll last for up to four days in the fridge.
- Seasonal Pairings: In cooler months, enjoy with warm sides like baked potatoes or corn on the cob.
FAQ
Conclusion
The Honey Garlic Chicken Wings are a true crowd-pleaser, blending sweetness and savory flavors in every bite. I encourage you to try making these delicious wings at home for your next gathering or dinner. They’re simple, satisfying, and sure to become a favorite in your household. Enjoy the crispy goodness and the delightful memories that come with sharing this dish with loved ones!
Honey Garlic Chicken Wings
Ingredients
Equipment
Method
- Start by using a paper towel to pat the wings very dry. This is crucial for achieving that crispy texture we all love. Place them in a large bowl or a gallon-size disposable zip-top bag.
- Sprinkle the cornstarch, salt, pepper, and garlic powder over the wings. Stir with a rubber spatula until they are all evenly coated. If you’re using a zip-top bag, seal it and shake to coat; I find this method works best.
- Preheat your oven to 425°F with racks positioned in the upper-middle and lower-middle positions. Line two half-sheet pans with foil, then place parchment paper over the foil and set aside. This will make for easy cleanup later!
- Divide the wings between the lined sheet pans, ensuring there’s room between each wing so they can crisp nicely. Brush the tops of the wings lightly with oil to promote browning.
- Place the sheet pans in the oven and bake for 35 to 45 minutes, until golden and crispy. Halfway through cooking, rotate the pans and use tongs to flip the wings for even cooking.
- While the chicken is baking, combine the sauce ingredients in a saucepan. Bring them to a low boil over medium to medium-high heat, then reduce the heat and simmer for about eight minutes or until the sauce thickens enough to coat the back of a spoon.
- Once the wings are done baking, use tongs to remove them from the baking sheets and transfer them to a large bowl. Keep the oven on, as you’ll be cooking the wings again after glazing them.
- Toss the wings with the sauce to ensure they are fully coated. Return them to the lined sheet pans and baste the tops with any remaining sauce.
- Bake the glazed wings for five minutes. Flip them, baste again with the remaining sauce, and continue baking for another four to five minutes, until the glaze is caramelized. Keep a close watch to prevent burning.
- Finally, transfer the wings to a large platter. Sprinkle with toasted sesame seeds and scallions. Serve them hot with plenty of napkins!
Notes
- Internal Temperature: Ensure the chicken wings reach an internal temperature of at least 165°F for safety, but for best texture, aim for 185 to 200°F.
- Storage: Refrigerate any leftovers in an airtight container for three to four days. Reheat in the oven or air fryer until hot.
- Air Frying: If you prefer air frying, spray the basket with nonstick spray, arrange the wings in a single layer, and air fry at 390°F for about 12 minutes, flipping halfway.
- Batch Cooking: These wings are great for batch cooking; prepare a large quantity, and enjoy throughout the week!