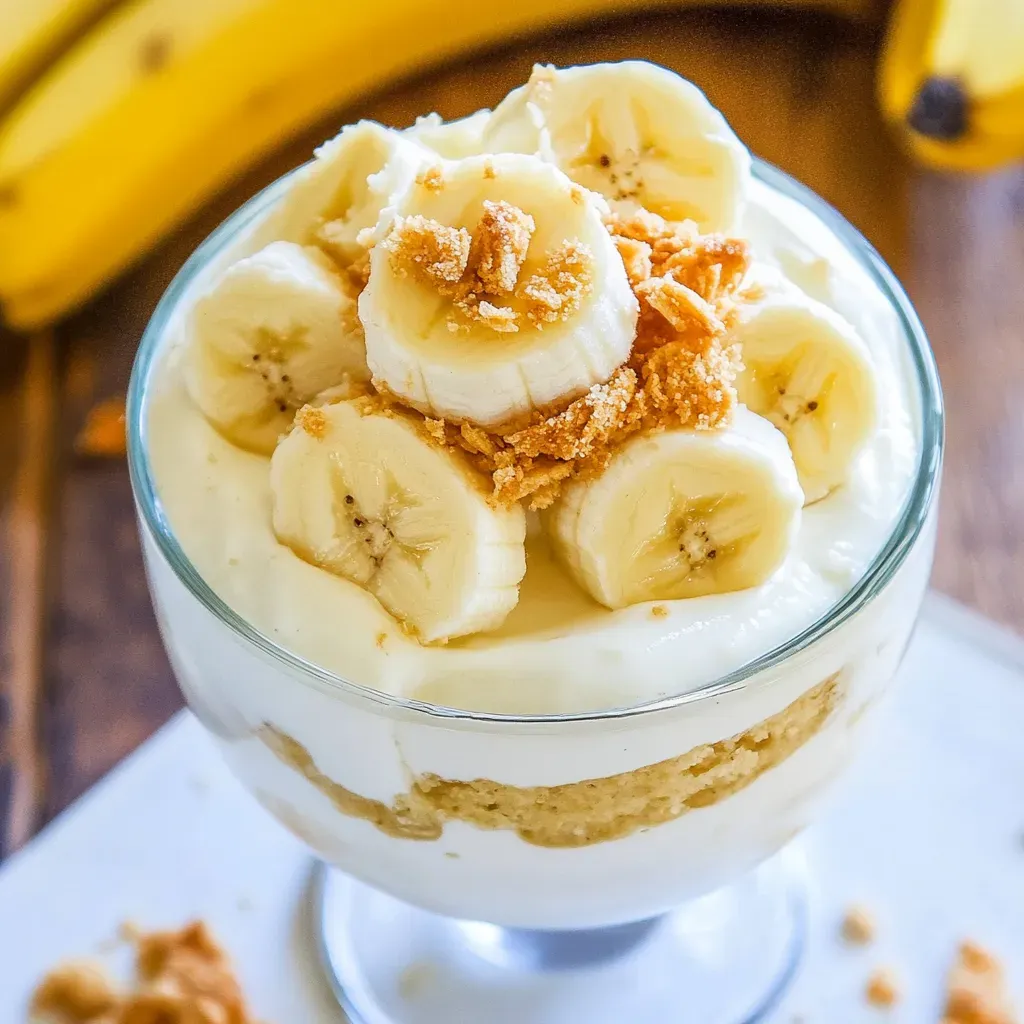
Every time I think of comfort food, the first thing that comes to mind is Homemade Banana Pudding Recipe. There’s something so nostalgic about a creamy, dreamy bowl of this dessert that takes me back to family gatherings and sunny afternoons. My grandmother used to whip up a batch whenever we had company, and it was devoured in seconds. The smoothness of the pudding paired with the crunch of Nilla Wafers and the sweetness of fresh bananas creates a perfect blend of textures and flavors. It’s a dessert that brings everyone together, making it a staple in my home kitchen.
Recipe Snapshot
25 mins
25 mins
0 mins
Medium
350 kcal
3 g
Gluten-Free, Low FODMAP
15 g
Saucepan, Frying Pan, Wooden Spoon, Chef’s Knife, Whisk, Mixing Bowl
What Sets This Homemade Banana Pudding Recipe Apart
Classic Comfort
What I love about Homemade Banana Pudding Recipe is its simplicity. It’s a dish that requires minimal effort but yields maximum satisfaction. The creamy filling is made from scratch, and there’s nothing better than that homemade touch. You can feel the love in each spoonful!
Full of Flavor
The combination of half-and-half, milk, and butter creates a rich and velvety pudding that’s hard to resist. The taste is beautifully balanced with just the right amount of sweetness from sugar, making it a delightful treat for anyone with a sweet tooth.
Fresh Ingredients
This recipe utilizes fresh bananas, which not only enhance the flavor but also add a lovely texture. I always recommend using ripe, yet firm bananas to avoid the overpowering taste of overripe fruit. Trust me, it makes all the difference!
Versatile Dessert
Whether it’s a casual family dinner or a festive gathering, Homemade Banana Pudding Recipe fits every occasion. It can be prepared in advance, allowing you to enjoy the moment without the stress of last-minute cooking. Plus, the kids love it!
Great for Sharing
This dish is perfect for gatherings. It’s hard to find someone who doesn’t enjoy a serving of this delicious pudding. I often find myself making a double batch because it disappears so quickly!
Homemade Banana Pudding Recipe Ingredients
The beauty of the ingredients in Homemade Banana Pudding Recipe lies in their simplicity and how they work harmoniously together. Each component enhances the others, creating a rich and fulfilling dessert. Here are the key players:
- 2 cups half-and-half: This adds creaminess and richness to the pudding base.
- 1 cup whole milk: Ensures the pudding is not too thick while adding a smooth texture.
- 3/4 cup sugar: Sweetens the pudding, balancing out the creaminess. Use in two parts for the best results.
- 1/4 teaspoon salt: Enhances all the flavors without making it salty.
- 4 egg yolks: Provides a rich flavor and helps thicken the pudding.
- 3 tablespoons cornstarch: Acts as a thickening agent, giving the pudding its luscious texture.
- 2 tablespoons butter: Adds a luxurious flavor and richness.
- 1 teaspoon vanilla: A touch of this elevates the entire dish.
- 1 box Nilla Wafers: Crunchy layers that contrast beautifully with the smooth pudding.
- 3 medium bananas: Fresh and sliced, they bring a natural sweetness.
- 1 cup heavy cream: Whipped to soft peaks for a delightful topping.
Step by Step Guide for Homemade Banana Pudding Recipe
Making Homemade Banana Pudding Recipe is a joy. The process is straightforward, and you’ll be rewarded with a treat that is sure to please. Let’s dive into the steps to create this creamy dessert.
- To start, in a medium saucepan with a heavy bottom, combine half-and-half, whole milk, 1/2 cup of sugar, and salt. Heat this mixture over medium heat, stirring occasionally until it comes to a gentle simmer. You want to dissolve the sugar completely and see small bubbles forming on the edges.
- While waiting for the mixture to simmer, crack open 4 egg yolks into a medium bowl. Add the remaining 1/4 cup of sugar and whisk them together until they are well combined and slightly lightened in color. This process incorporates air, which helps the pudding’s texture.
- Next, whisk in 3 tablespoons of cornstarch until it is fully integrated. This will ensure your pudding thickens properly when added to the warm mixture.
- When the milk mixture is just about simmering, carefully scoop out about 1 cup of it into a measuring cup. Gradually add this hot mixture into the egg mixture while whisking continuously. This step, known as tempering, prevents the eggs from curdling.
- Pour the tempered egg mixture back into the saucepan with the remaining milk mixture. Stir consistently over medium heat for about 2 to 3 minutes until the mixture thickens significantly. It should coat the back of a spoon; this signals that your pudding is ready.
- Off the heat, stir in 2 tablespoons of butter and 1 teaspoon of vanilla. If you find any bits of cooked egg, don’t worry—just strain the pudding through a fine-mesh strainer to ensure it’s silky smooth.
- Now, it’s time to assemble your dessert. In a 2-quart casserole dish, start by spreading a thin layer of the pudding mixture at the bottom. This acts as the base.
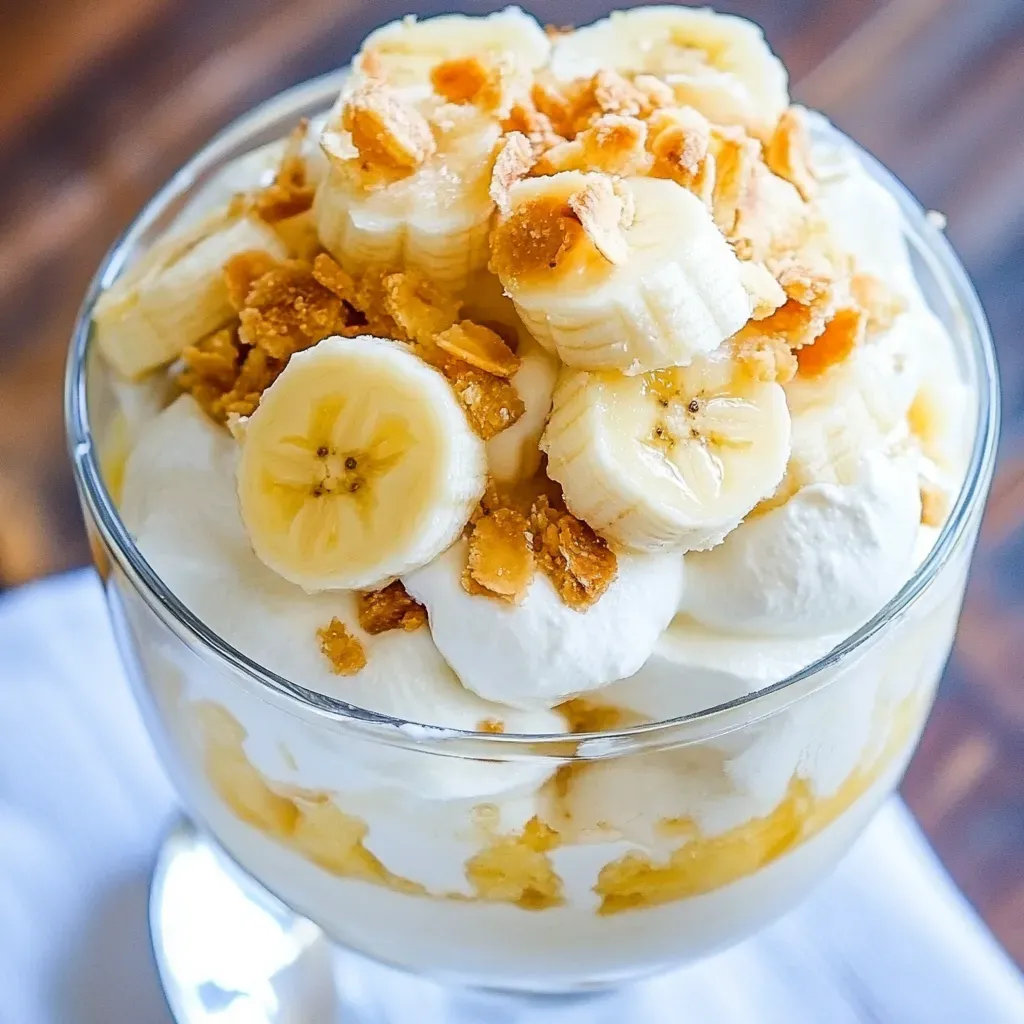
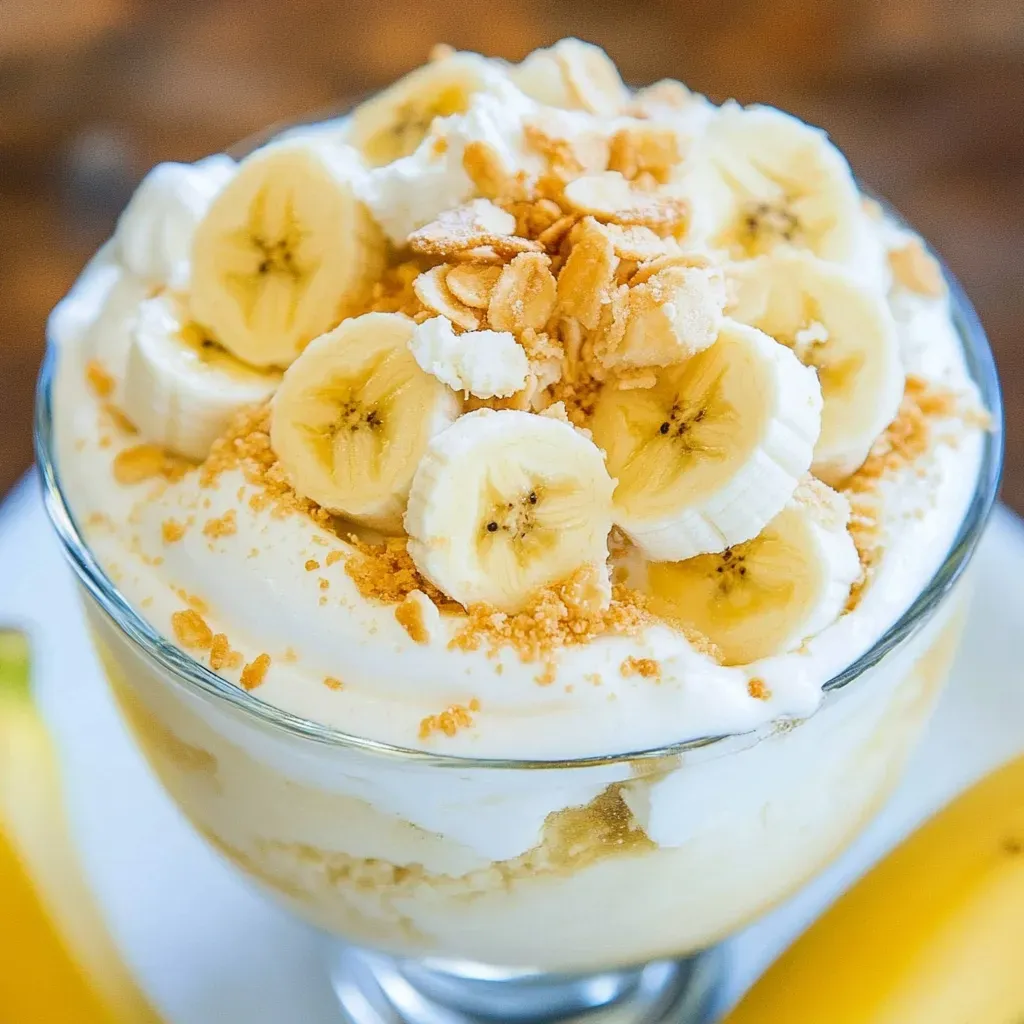
- Next, layer on a generous amount of Nilla Wafers, followed by a layer of freshly sliced bananas. Repeat the layering process until you’ve used up all the pudding, finishing with a layer of pudding on top.
- Finally, spread the heavy cream, whipped to soft peaks with a tablespoon of sugar, over the top. This creamy layer adds a beautiful finish to your dessert.
- Cover the dish and refrigerate for at least 4 hours before serving. This chilling time allows the flavors to meld and the pudding to set perfectly.
Things Worth Knowing
- Cooling Tip: Allow the pudding to cool to room temperature before refrigerating. This helps it set better.
- Layering: Build layers carefully to avoid crushing the Nilla Wafers; they should provide a nice crunch.
- Banana Freshness: Slice the bananas just before layering to keep them from browning.
- Pudding Thickness: If your pudding seems too thin, cook it for a few more minutes while whisking constantly—it’ll thicken up.
Helpful Hints

When it comes to making Homemade Banana Pudding Recipe, a few helpful hints can make all the difference. Here are some tips that I’ve gathered over the years:
- Storage: Keep any leftovers in an airtight container in the fridge. It’s best enjoyed within 2 to 3 days for optimal freshness.
- Freezing: While this pudding is best served fresh, you can freeze it. However, the texture may change slightly once thawed.
- Pairing: Enjoy this pudding with a side of fresh berries for a delightful contrast in flavors.
- Variations: Try adding a layer of chocolate pudding between the layers for a fun twist! Or, sprinkle some crushed nuts for added texture.
- Presentation: Serve in individual cups for a more elegant presentation, perfect for parties.
What to Serve With Homemade Banana Pudding Recipe
When it comes to serving Homemade Banana Pudding Recipe, the possibilities are endless. Here are some delightful options to consider:
- Classic Comfort: This pudding is a wonderful dessert to serve after a hearty meal, pairing well with roasted meats or comfort foods like fried chicken.
- Fresh Fruits: Serve with a side of assorted fresh fruits like strawberries, blueberries, or kiwi to add a refreshing touch.
- Picnic Treat: Perfect for picnics, this dessert travels well in a secured container and can be enjoyed outdoors.
- Seasonal Occasions: This dessert shines during family gatherings, holidays, and barbecues, making it a versatile choice for any celebration.
- Chill Vibes: For a hot summer day, this cold dessert is refreshing and satisfying, ideal for cooling off after outdoor activities.
- Sweet Snack: It can also be enjoyed as a sweet afternoon snack, satisfying those mid-day cravings!
FAQ
Conclusion
Homemade Banana Pudding Recipe is not just a dessert; it’s a heartfelt dish that brings memories and smiles to the table. Whether you’re celebrating a special occasion or simply indulging in a sweet craving, this recipe will surely brighten your day. So, gather your ingredients and whip up this classic treat tonight; your taste buds will thank you!
Homemade Banana Pudding Recipe
Ingredients
Equipment
Method
- Make the pudding. Place half-and-half, whole milk, 1/2 cup sugar, and salt in a medium saucepan with a heavy bottom. Bring to a simmer over medium heat, stirring occasionally to help dissolve the sugar.
- Place 4 egg yolks in a medium bowl and add remaining 1/4 cup sugar. Whisk together well. Whisk in 3 tablespoons cornstarch until combined well, about 30 seconds.
- When half-and-half mixture comes to a simmer, use a measuring cup to scoop out about 1 cup of the mixture. (Go ahead and turn the heat down some so it will not go beyond a slow simmer. Very gradually add it to egg mixture while whisking constantly to temper the eggs.
- Pour egg mixture into saucepan. Stir over medium heat for 2 to 3 minutes, until mixture is thickened. Remove from heat and stir in butter pieces and vanilla. If any of the egg curdles, pour the pudding through a fine-mesh strainer, pressing through with the back of a spoon.
- To assemble, cover the bottom of a 2-quart casserole dish with a thin layer of pudding mixture.
- Top with a layer of Nilla Wafers and then a layer of banana slices. Repeat layers, until all pudding is used.
- Spread whipped cream on top. Refrigerate for at least 4 hours before serving.
Notes
- Tip: Don’t use overripe bananas. They will be too strong in flavor and have a tendency to turn brown. The skin on the bananas should be yellow with no black spots.
- Tip: Cool Whip can be used instead of homemade whipped cream.