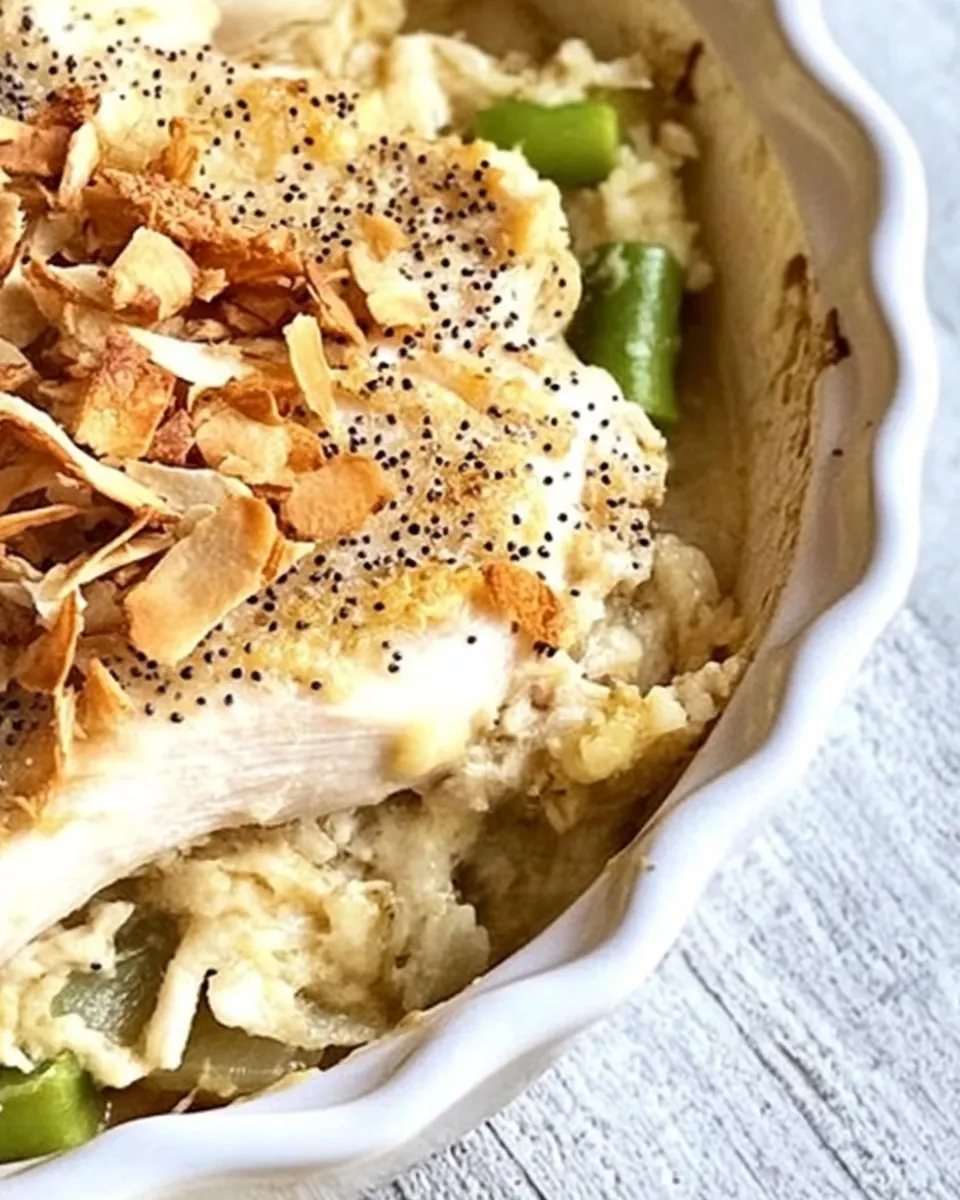
Granny’s Poppy Seed Chicken is more than just a dish; it’s a cherished family recipe that brings back fond memories of family gatherings and warm, inviting dinners. I remember the first time I tasted it at my grandmother’s house, where the aroma of baked chicken and savory stuffing filled the air. Every time I take a bite, I’m transported back to those cozy evenings, surrounded by loved ones, sharing stories and laughter. The combination of flavors in this dish is truly magical; the tender chicken paired with the creamy sauce and the crunch of the poppy seeds creates a delightful experience. It’s not just a meal, it’s a tradition that has been passed down through generations, connecting us to our roots and reminding us of home-cooked love. Whether it’s a special occasion or just a quiet family dinner, this dish never fails to impress. I can’t wait to share this recipe with you, so you too can enjoy the comfort of Granny’s Poppy Seed Chicken in your home!
Recipe Snapshot
40 mins
10 mins
30 mins
Medium
420 kcal
36 g
Keto, Gluten-Free
18 g
Baking Sheet, Skillet, Oven, Mixing Bowl, Frying Pan
What’s Great About This Granny’s Poppy Seed Chicken
Comforting Ingredients
One of the reasons I absolutely love Granny’s Poppy Seed Chicken is the blend of ingredients that come together to create a comforting, hearty meal. Using basic pantry staples like sour cream and cream of chicken soup makes it simple and accessible. These ingredients work together in perfect harmony to create a creamy base that envelops the chicken, adding moisture and flavor.
Easy to Prepare
This dish is incredibly easy to prepare, making it perfect for weeknight dinners or even when entertaining guests. You can quickly sauté the chicken, mix everything together, layer it, and pop it in the oven. It’s a great way to spend minimal time in the kitchen while still presenting a beautiful dish!
Perfect for Feeding a Crowd
This recipe yields enough to serve several people, making it ideal for family gatherings or potlucks. The generous portion sizes ensure everyone leaves the table satisfied and happy. Plus, it’s always a hit with kids and adults alike!
Versatile and Customizable
Another standout feature of Granny’s Poppy Seed Chicken is its versatility. While the recipe is delicious as is, you can easily add your own twist by incorporating vegetables or adjusting the seasoning. Feel free to experiment and make it your own!
Freezes Well
If you find yourself with leftovers, don’t worry! This casserole freezes beautifully, making it a great option for meal prepping. Just reheat it in the oven, and you’ll have a delicious meal ready to go!
Ingredients Required for Granny’s Poppy Seed Chicken
When it comes to the ingredients for Granny’s Poppy Seed Chicken, the philosophy is all about simplicity and flavor. Each ingredient plays a crucial role, contributing to the dish’s creamy and savory profile. The key players include succulent chicken, rich sour cream, and aromatic poppy seeds, which elevate the dish to a delightful level.
- 2 tablespoons of oil – This is used to sauté the chicken, creating a golden brown exterior that seals in the juices.
- 2 pounds of boneless skinless chicken breasts or thighs, cut into 1” chunks – The star of the show, contributing protein and flavor. Thighs are particularly recommended for their juiciness.
- Pinch of salt – Essential for enhancing the flavor of every ingredient.
- Pinch of pepper – Adds a subtle heat to the dish.
- 1 teaspoon of garlic powder – Infuses the dish with a warm, aromatic flavor.
- 1 teaspoon of onion powder – Complements the garlic and adds depth to the overall taste.
- ½ teaspoon of thyme – A lovely herb that rounds out the flavors.
- 1 cup of sour cream – Provides creaminess and tang to the dish.
- 1 can of cream of chicken soup – This is the base that binds everything together, creating a rich sauce.
- 4 tablespoons of poppy seeds – These give a delightful crunch and unique flavor.
- 1 box of Stove Top stuffing – A convenient way to add texture and flavor.
- 4 tablespoons of butter, melted – This adds richness and a golden top.
Step by Step Instructions for Granny’s Poppy Seed Chicken
Making Granny’s Poppy Seed Chicken is a delightful experience that fills your kitchen with mouthwatering aromas. Let’s dive into the simple steps to create this comforting casserole. Remember to keep an eye on the chicken as it cooks, and don’t rush the layering process; each step is crucial for achieving the perfect dish.
- In a skillet on the stove over medium heat, allow the oil and pan to come to temperature. This step is crucial for achieving that golden-brown color on the chicken. Once hot, add the chicken pieces all at once.
- Cook the chicken over medium heat, stirring occasionally. You’ll want to cook it until you see very little to no pink left in the chicken. While cooking, sprinkle a generous pinch of salt and pepper to season it well.
- In a medium-sized bowl, mix together the garlic powder, onion powder, thyme, sour cream, and cream of chicken soup. Stir until everything is well combined, creating a luscious mixture that will coat your chicken perfectly.
- Once the chicken is cooked almost through, add it to the sour cream mixture and stir well to ensure every piece is covered. This is where the magic happens; the chicken will absorb all those wonderful flavors.
- Pour half of the chicken mixture into your prepared baking dish and spread it out evenly. This layer sets the foundation for your casserole.
- Top the first layer with half of the Stove Top stuffing and half of the poppy seeds. This will add texture and crunch to the dish.
- Layer the remaining chicken mixture on top of the stuffing. Make sure to spread it out, so every bite is packed with flavor.
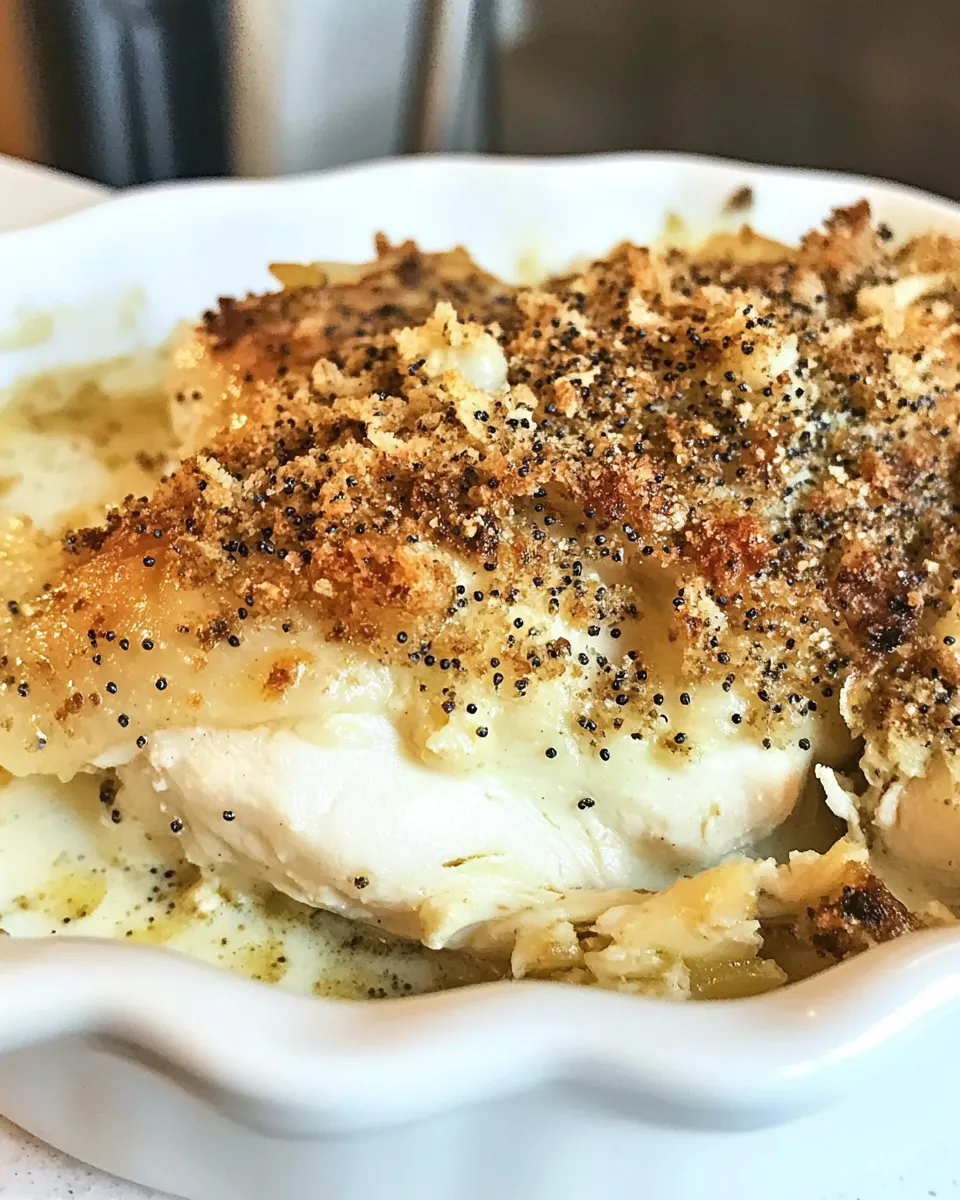
- Sprinkle the remaining poppy seeds over the top, followed by the rest of the Stove Top stuffing. Lastly, pour the melted butter evenly over the entire casserole. This will help create a beautiful, golden crust.
- Place the baking dish into your preheated oven at 350 degrees Fahrenheit on the middle rack. Bake for 20 to 30 minutes, or until it is heated through and bubbly. The top should be nicely browned.
- Remove from the oven and let it cool for a few minutes before serving. This helps to set the layers and makes it easier to serve.
Things Worth Knowing
- Cook chicken until no pink remains: Ensure that your chicken is cooked through to avoid any food safety issues. It should be white and firm to the touch.
- Let it rest after baking: Allowing the casserole to rest for a few minutes after baking helps the flavors meld together and makes serving easier.
- Adjust seasonings: Feel free to taste and adjust the salt and pepper to your preference before baking.
- Use different stuffing flavors: Experiment with different flavors of Stove Top stuffing to give your casserole a unique twist.
Recipe Notes about Granny’s Poppy Seed Chicken
This dish is a family favorite, and there are some tips that can enhance your experience when making Granny’s Poppy Seed Chicken. Here are some ideas to keep in mind.
- Storage: Leftovers can be stored in an airtight container in the refrigerator for up to 3 days. Just reheat in the oven until warmed through.
- Freezing: You can freeze the casserole before baking. Just cover it tightly with foil and store it for up to 3 months. Thaw in the fridge before baking.
- Pairing: This dish pairs beautifully with a simple green salad or steamed vegetables for a balanced meal.
- Serving Size: This recipe serves 8, making it great for large gatherings or leftovers throughout the week.
- Variations: Feel free to add vegetables like broccoli or spinach to the chicken mixture for added nutrition.
Great Combinations for Granny’s Poppy Seed Chicken
When it comes to serving Granny’s Poppy Seed Chicken, there are numerous options to consider. This dish is versatile and can complement a variety of sides and occasions.
- Pair with roasted vegetables: Roasted carrots or green beans make for a colorful and nutritious side.
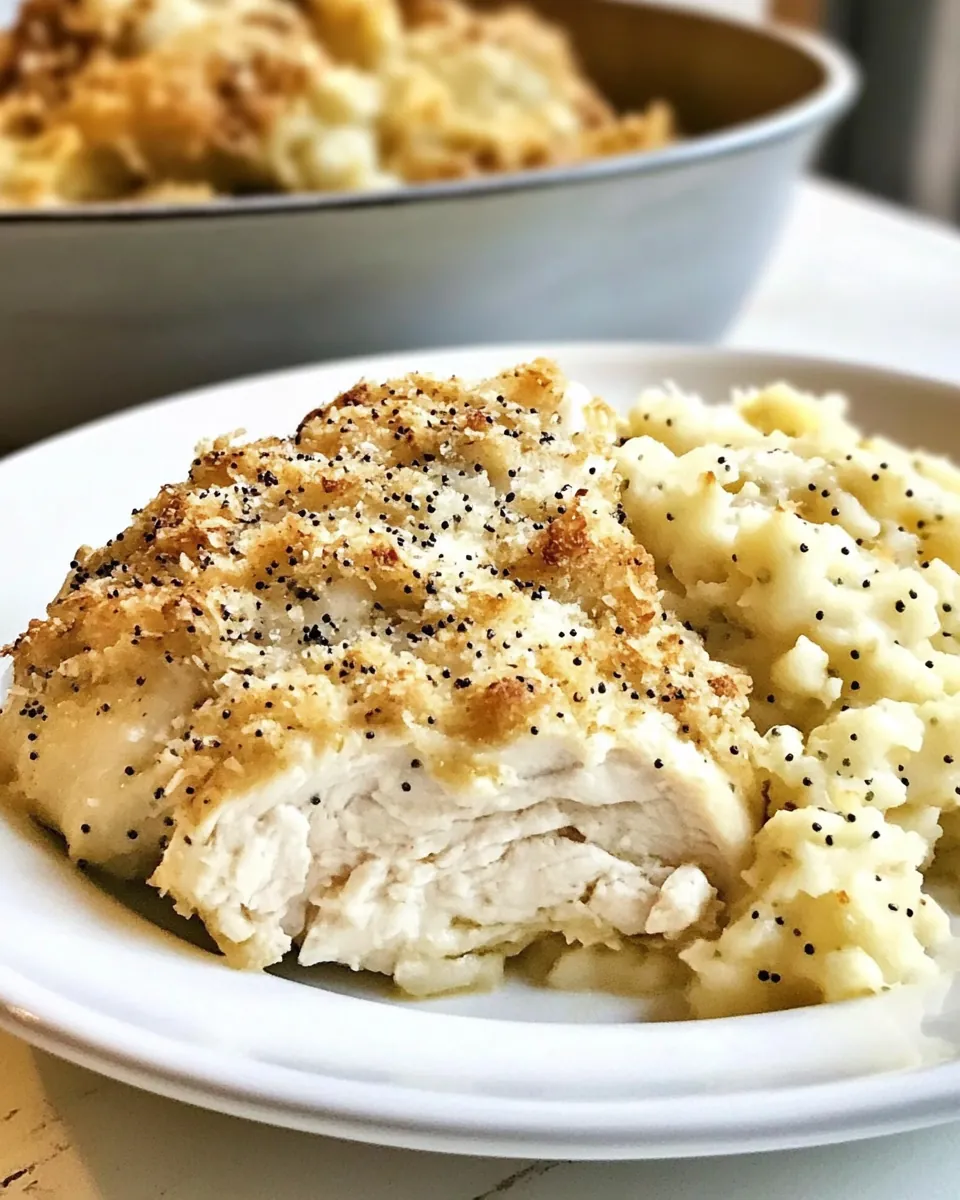
- Serve with mashed potatoes: Creamy mashed potatoes can soak up the delicious sauce from the casserole.
- Perfect for potlucks: This dish is always a hit at gatherings, so consider bringing it to your next potluck.
- Ideal for family dinners: It’s a comforting dish that’s perfect for family meals, especially in colder months.
- Seasonal occasions: This dish works well for holiday dinners, like Thanksgiving or Christmas, where hearty meals are appreciated.
- Lunchbox friendly: Leftovers make for tasty lunch options throughout the week, providing a satisfying meal.
FAQ
Conclusion
Granny’s Poppy Seed Chicken is truly a special dish that evokes warmth and nostalgia with every bite. It’s the perfect comfort food that combines ease of preparation with incredible flavor. I encourage you to try this recipe and share it with your loved ones. You might just create new memories around the dinner table, just like I did with my family.
Granny's Poppy Seed Chicken
Ingredients
Equipment
Method
- In a skillet on the stove over medium heat, allow the oil and pan to come to temperature. This step is crucial for achieving that golden-brown color on the chicken. Once hot, add the chicken pieces all at once.
- Cook the chicken over medium heat, stirring occasionally. You’ll want to cook it until you see very little to no pink left in the chicken. While cooking, sprinkle a generous pinch of salt and pepper to season it well.
- In a medium-sized bowl, mix together the garlic powder, onion powder, thyme, sour cream, and cream of chicken soup. Stir until everything is well combined, creating a luscious mixture that will coat your chicken perfectly.
- Once the chicken is cooked almost through, add it to the sour cream mixture and stir well to ensure every piece is covered. This is where the magic happens; the chicken will absorb all those wonderful flavors.
- Pour half of the chicken mixture into your prepared baking dish and spread it out evenly. This layer sets the foundation for your casserole.
- Top the first layer with half of the Stove Top stuffing and half of the poppy seeds. This will add texture and crunch to the dish.
- Layer the remaining chicken mixture on top of the stuffing. Make sure to spread it out, so every bite is packed with flavor.
- Sprinkle the remaining poppy seeds over the top, followed by the rest of the Stove Top stuffing. Lastly, pour the melted butter evenly over the entire casserole. This will help create a beautiful, golden crust.
- Place the baking dish into your preheated oven at 350 degrees Fahrenheit on the middle rack. Bake for 20 to 30 minutes, or until it is heated through and bubbly. The top should be nicely browned.
- Remove from the oven and let it cool for a few minutes before serving. This helps to set the layers and makes it easier to serve.
Notes
- Tip 1: You can use any boneless skinless cut of chicken you like for this dish, but I wholeheartedly recommend thighs because they are more forgiving and do not dry out like breast meat does.
- Tip 2: Be sure to season the chicken when you are cooking it initially or you will note that your final product has a ton of flavor EXCEPT on the chicken pieces.
- Tip 3: Do NOT be distressed that your stuffing package contents settle where a lot of the seasoning ends up in the bottom. That is actually a GOOD thing for this recipe.
- Tip 4: This is made in a 2 quart baking dish (not a 9x13). If you are making in a 9x13, you will need to adjust the baking time.
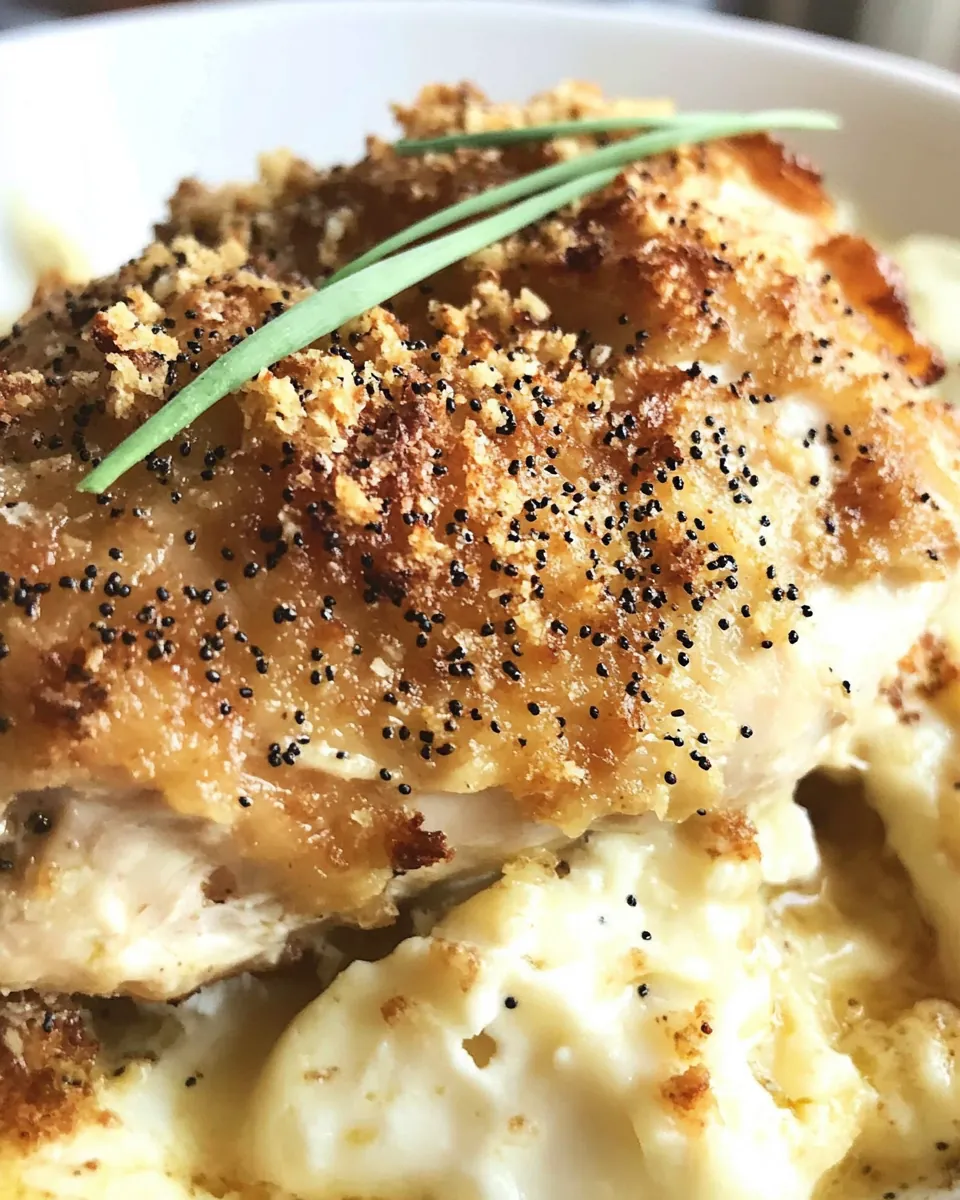
- Tip 5: I use a TON of poppy seeds when I make this recipe but that is totally adjustable to your tastes.
- Tip 6: It also works to just lay pats of butter on the top of the casserole once it is assembled if you aren't into melting the butter.