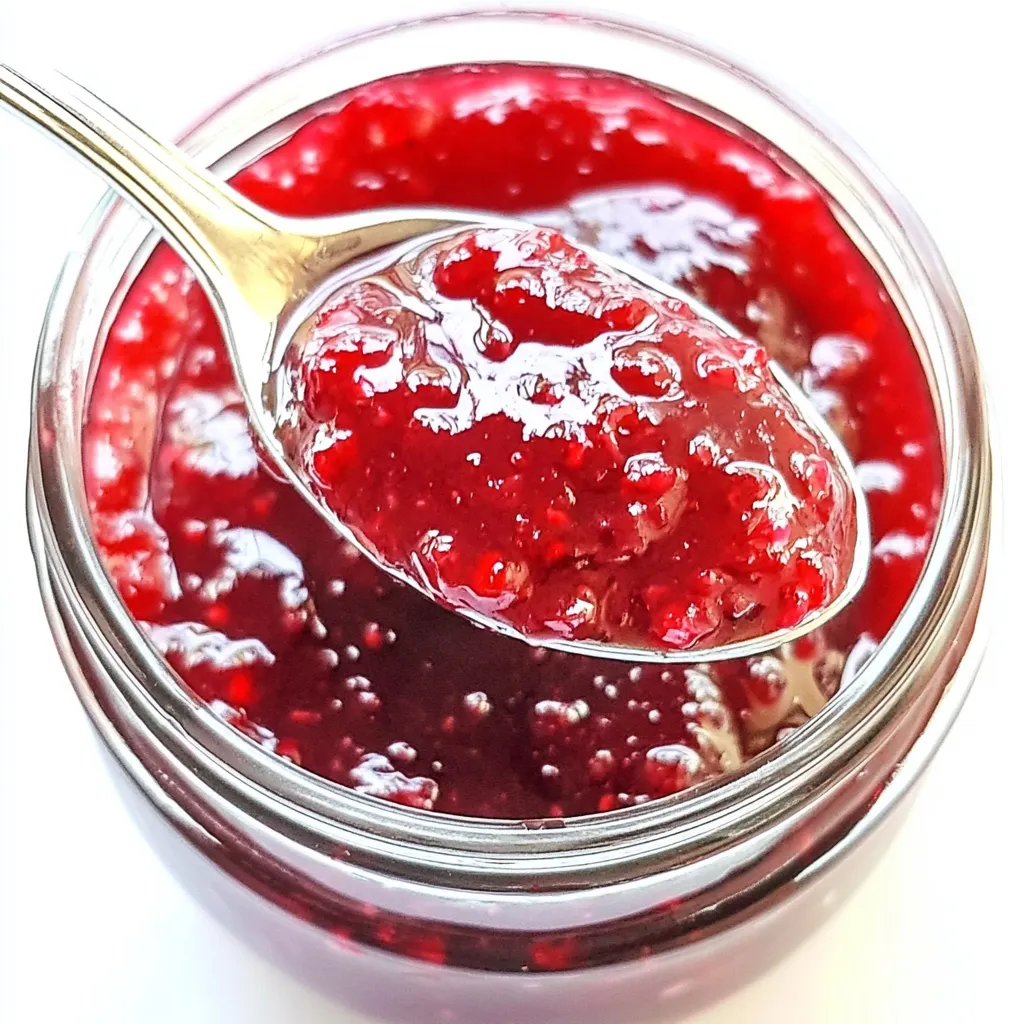
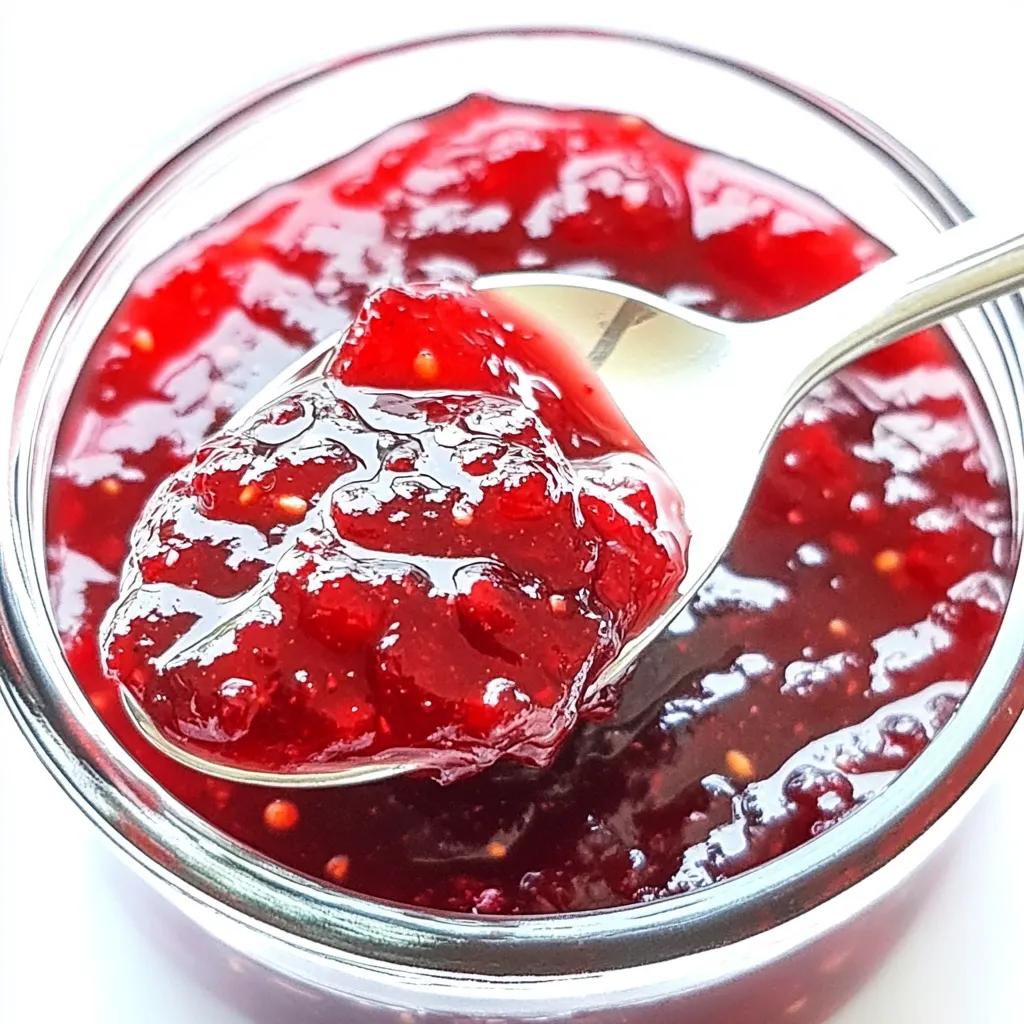
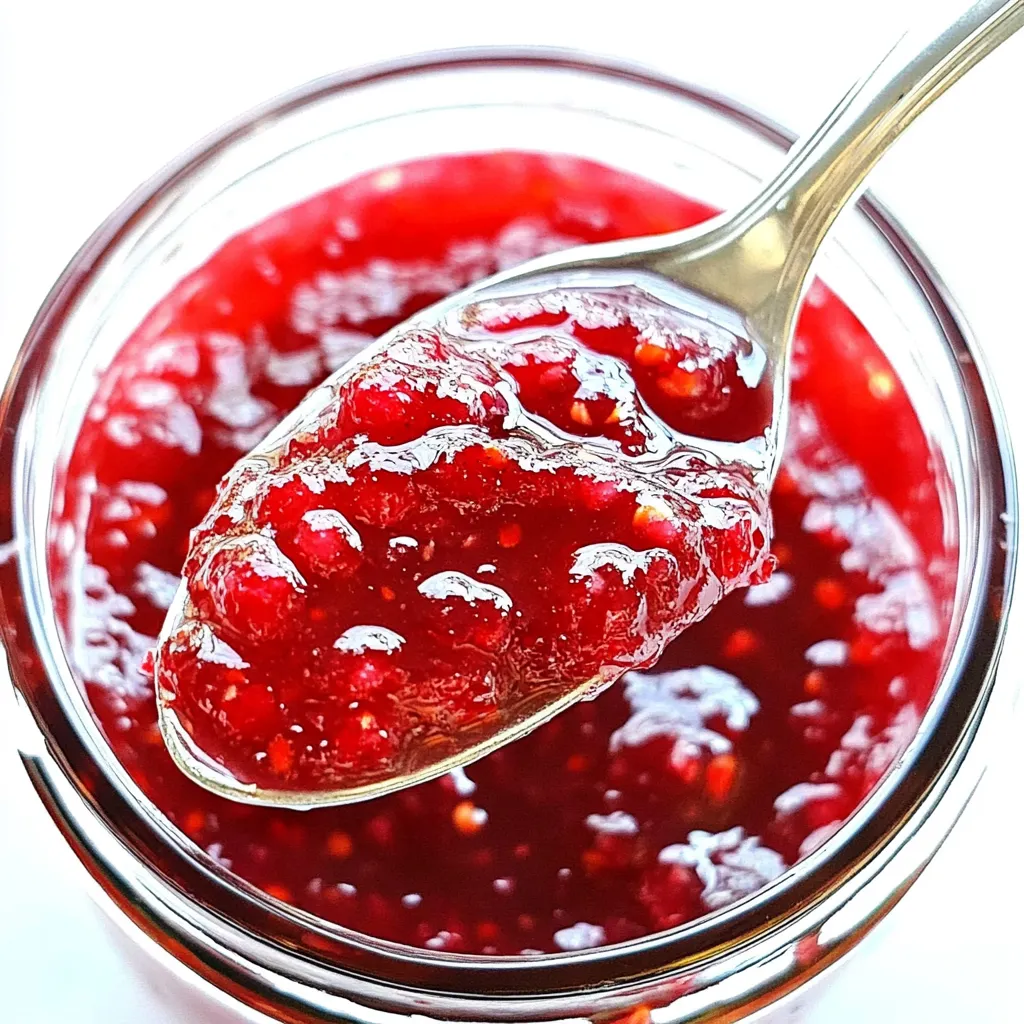
Making Gooseberry Jam has become one of my favorite summer traditions. It all started last year when I found myself with an abundance of fresh gooseberries from my garden. I had never tasted homemade jam before, and I was eager to create something special with these tart little gems. As I stirred the bubbling mixture on my stove, the sweet and tangy aroma filled my kitchen, instantly transporting me to my grandmother’s house where she would always share her love for homemade preserves. This recipe has grown into a cherished way to capture the essence of summer in a jar, perfect for enjoying on warm toast or as a flavorful addition to desserts.
Recipe Snapshot
50 mins
20 mins
30 mins
Medium
80 kcal
0 g
Vegan, Gluten-Free, AIP
0 g
Large Pot, Food Processor, Saucepan, Wooden Spoon, Mixing Bowl
What Makes This Gooseberry Jam Special
The Joy of Making Your Own Jam
There’s something incredibly satisfying about making your own jam. It connects us to the ingredients and the process, making each jar a labor of love. With Gooseberry Jam, you’re not just following a recipe; you’re crafting a piece of your culinary story.
Perfect Balance of Sweet and Tart
The combination of sweet and tart flavors in Gooseberry Jam is nothing short of magical. The gooseberries add a unique tang that perfectly balances the sweetness of the sugar. This means that you can enjoy it in both sweet and savory applications, making it incredibly versatile.
Preserving Summer’s Bounty
Making jam is a wonderful way to preserve the flavors of summer. When the season ends, you can savor the taste of fresh gooseberries long into the colder months. Each spoonful brings back memories of sunny days and ripe fruit, allowing you to enjoy summer even in winter.
Great for Gifting
Homemade jam makes for a thoughtful gift. Friends and family will appreciate the time and care put into each jar, and it’s a delightful way to share a bit of your kitchen with them. From birthday gifts to holiday treats, everyone loves a jar of homemade goodness.
Simple Ingredients
Making Gooseberry Jam requires only a few simple ingredients: fresh gooseberries, sugar, water, and lemon juice. This simplicity makes it accessible, even for novice cooks. You don’t need any special equipment, just a pot and some jars!
Healthier Option
By making your own jam, you can control the ingredients and avoid unnecessary preservatives and additives found in store-bought versions. Plus, you can adjust the sweetness to your liking, making it a healthier alternative for your morning toast or desserts.
Recipe Ingredients for Gooseberry Jam

When it comes to the ingredients for Gooseberry Jam, simplicity is key. Each ingredient plays a crucial role in transforming fresh gooseberries into a luscious spread. Here’s a closer look at what you’ll need:
- 1 pound fresh gooseberries (any variety; we’re using purple gooseberries in the photos), cleaned and tops and tails removed
- 1 1/2 cups granulated sugar (can use a little more sugar if the berries are underripe or especially tart)
- 1/4 cup water
- 2 tablespoons lemon juice
Recipe Steps for Gooseberry Jam
Making your own Gooseberry Jam is a fun and rewarding process. Trust me, once you make it a few times, you’ll be a pro! Here’s how to do it:
Start by placing the gooseberries in a large pot along with the water and lemon juice. Stir gently to combine. The lemon juice adds brightness and helps balance the sweetness.
Bring the mixture to a boil over medium-high heat. It’s important to watch closely as it heats up, as boiling can happen quickly. The gooseberries will begin to soften and release their juices, creating a beautiful aroma.
Once boiling, reduce the heat to medium-high and let it simmer for about 10 to 15 minutes. Stir occasionally until the gooseberries are softened. You want them to break down and become mushy.
Now it’s time to stir in the sugar. Return the mixture to a boil and stir until all the sugar is completely dissolved. This will create a lovely glossy texture in your jam.
Continue boiling for about 25 to 35 minutes, stirring frequently. The mixture will thicken and start to reach the gel stage. You can either use a thermometer to check for a temperature of 220°F or perform a gel test.
To perform the gel test, take a plate and place it in the freezer before starting the jam. After about 25 minutes of boiling, drop a spoonful of the hot jam onto the cold plate and return it to the freezer for 2 minutes. Remove it and gently nudge the jam with your finger; if it wrinkles, it’s ready!
If the jam doesn’t wrinkle, continue boiling and test again every few minutes until it does. Patience is key here!
Once ready, ladle the hot jam into hot sterilized jars, leaving a 1/4 inch space at the top. It’s important to clean the rims of the jars with a damp cloth to ensure a good seal.
Close the jars and allow them to cool completely before placing them in the fridge. Your jam can be stored for about a month in the fridge.
If you want to can the jam for long-term storage, process the jars in a water canner for 5 minutes. Remove carefully and let them sit undisturbed for 24 hours to seal.
Store your sealed jars in a cool, dark place for up to a year! You’ll have a delightful summer treat to enjoy whenever you like.
Things Worth Knowing
- When boiling, make sure to stir frequently to avoid burning.
- Use ripe berries for best flavor; underripe berries can be tart.
- Check your jars for any cracks before filling them with hot jam.
- For a unique twist, try adding spices like cinnamon or ginger to your jam.
Tips and Tricks about Gooseberry Jam
Making Gooseberry Jam can be a delightful experience, but there are definitely some tips that can help you perfect your process. Here are some handy tips to keep in mind:
- Storage: Store your jam in the fridge for up to a month. If properly canned, it can last up to a year in a cool, dark place.
- Freezing: You can freeze Gooseberry Jam, but make sure to leave space in the jars for expansion.
- Pairing: This jam pairs beautifully with toast, biscuits, and even as a cheesecake topping.
- Texture: For a smoother jam, blend the mixture before ladling it into jars.
- Experimentation: Don’t be afraid to play with additional flavors like mint or basil to create a unique twist!
Pairing Suggestions for Gooseberry Jam
When it comes to serving Gooseberry Jam, the possibilities are endless! Here are some delightful pairing suggestions:
- Toast: Spread it on warm buttered toast for a perfect breakfast treat.
- Cheese Boards: Serve it alongside a cheese platter with brie or goat cheese for a sophisticated appetizer.
- Scones: Pair with freshly baked scones for a classic afternoon tea.
- Yogurt: Swirl it into yogurt or oatmeal for a flavorful breakfast option.
- Pancakes: Use as a topping for pancakes or waffles for a fruity kick.
- Desserts: Incorporate into desserts, such as cheesecake or tarts, for added flavor.
- Gifting: Gift jars to friends and family for holidays or special occasions, sharing the love of homemade goodness.
FAQ
Conclusion
Making Gooseberry Jam is a delightful way to preserve the vibrant flavors of summer. The sweet-tart balance of the jam is sure to please anyone who tries it, making it a versatile addition to your kitchen. I encourage you to give this recipe a try. You’ll not only enjoy the process of making it but also the satisfaction of spreading your own homemade jam on breakfast delights.
Gooseberry Jam
Ingredients
Equipment
Method
- Start by placing the gooseberries in a large pot along with the water and lemon juice. Stir gently to combine. The lemon juice adds brightness and helps balance the sweetness.
- Bring the mixture to a boil over medium-high heat. It’s important to watch closely as it heats up, as boiling can happen quickly. The gooseberries will begin to soften and release their juices, creating a beautiful aroma.
- Once boiling, reduce the heat to medium-high and let it simmer for about 10 to 15 minutes. Stir occasionally until the gooseberries are softened. You want them to break down and become mushy.
- Now it’s time to stir in the sugar. Return the mixture to a boil and stir until all the sugar is completely dissolved. This will create a lovely glossy texture in your jam.
- Continue boiling for about 25 to 35 minutes, stirring frequently. The mixture will thicken and start to reach the gel stage. You can either use a thermometer to check for a temperature of 220°F or perform a gel test.
- To perform the gel test, take a plate and place it in the freezer before starting the jam. After about 25 minutes of boiling, drop a spoonful of the hot jam onto the cold plate and return it to the freezer for 2 minutes. Remove it and gently nudge the jam with your finger; if it wrinkles, it’s ready!
- If the jam doesn’t wrinkle, continue boiling and test again every few minutes until it does. Patience is key here!
- Once ready, ladle the hot jam into hot sterilized jars, leaving a 1/4 inch space at the top. It’s important to clean the rims of the jars with a damp cloth to ensure a good seal.
- Close the jars and allow them to cool completely before placing them in the fridge. Your jam can be stored for about a month in the fridge.
- If you want to can the jam for long-term storage, process the jars in a water canner for 5 minutes. Remove carefully and let them sit undisturbed for 24 hours to seal.
- Store your sealed jars in a cool, dark place for up to a year! You’ll have a delightful summer treat to enjoy whenever you like.