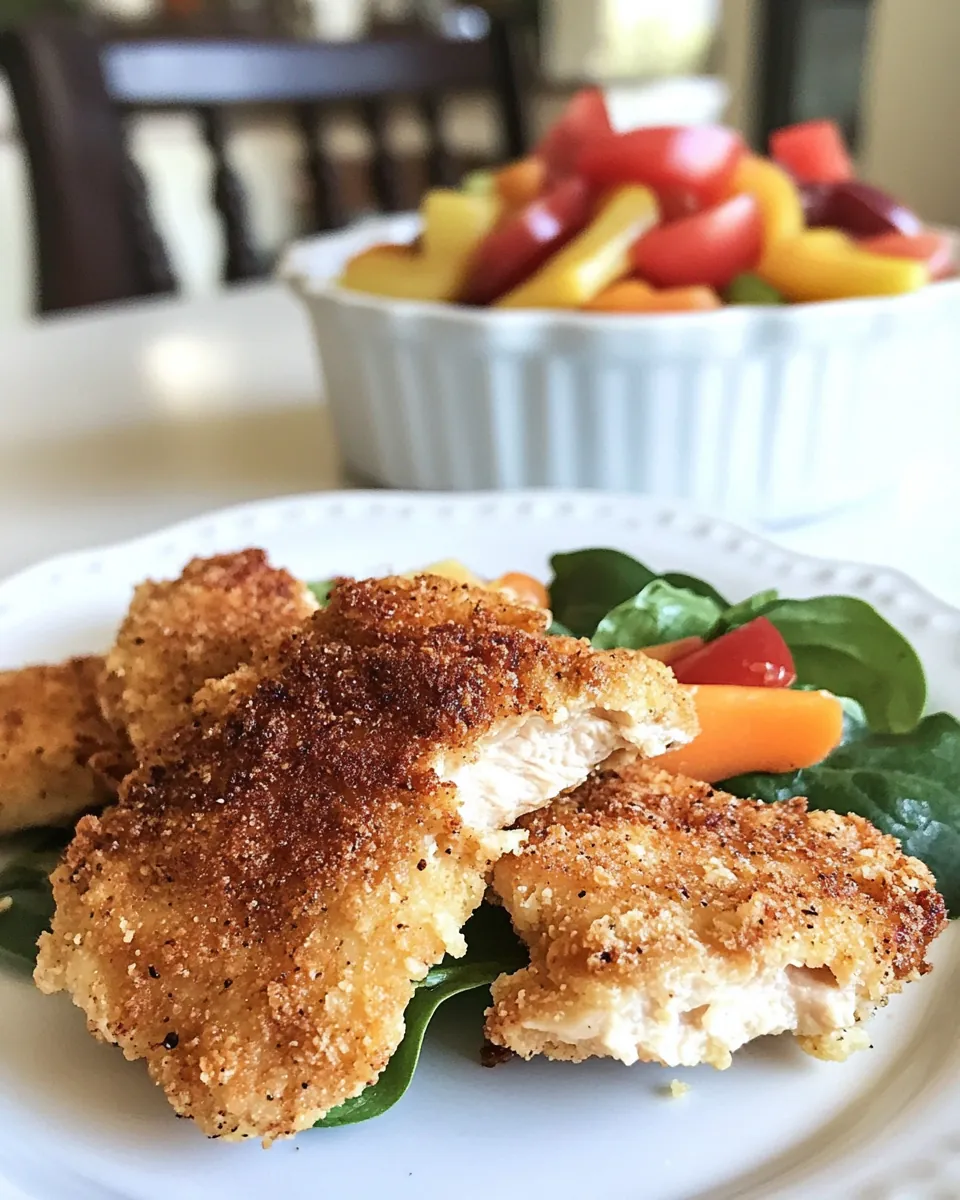
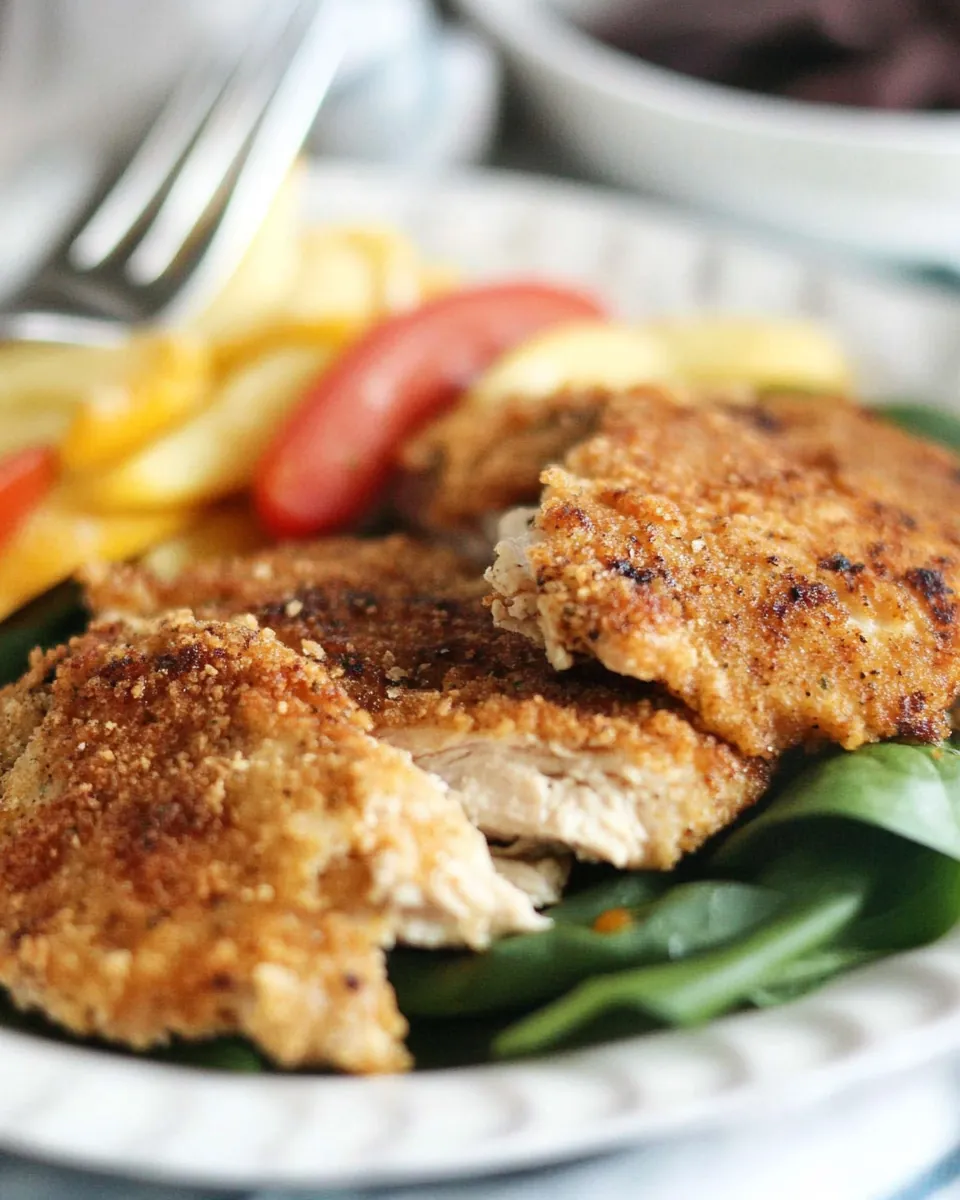
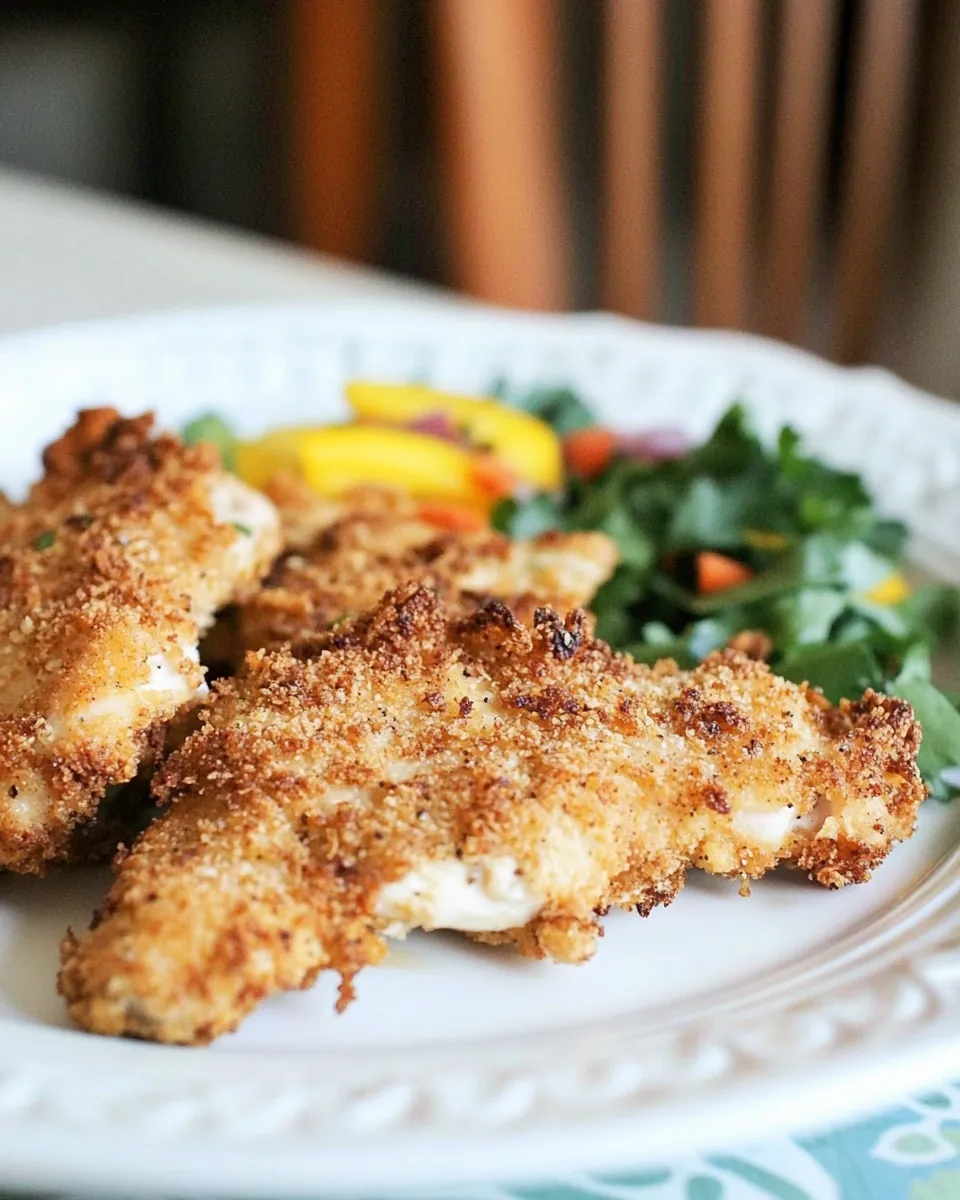
There’s something truly special about the comforting crunch of a perfectly cooked dish, like Gluten Free Pan Fried Chicken. I still remember the first time I made this for my family. It was a rainy evening, and I wanted something warm and satisfying that everyone would love. As the chicken sizzled in the skillet, the kitchen filled with an intoxicating aroma that had everyone gathering around the table. The golden-brown crust was crispy, the chicken juicy inside, and it quickly became one of our favorite meals. This dish is not only delicious but also gluten-free, making it perfect for those with dietary restrictions. Whether you’re hosting friends or enjoying a cozy night in, Gluten Free Pan Fried Chicken is sure to impress. Let’s dive into why this dish is a must-try!
Recipe Snapshot
20 mins
10 mins
10 mins
Medium
350 kcal
25 g
Paleo, Whole30, Gluten-Free
20 g
Chef’s Knife, Mixing Bowl, Frying Pan, Skillet
What’s Great About This Gluten Free Pan Fried Chicken
There are countless reasons to love Gluten Free Pan Fried Chicken. Here are just a few:
1. Crispy Texture
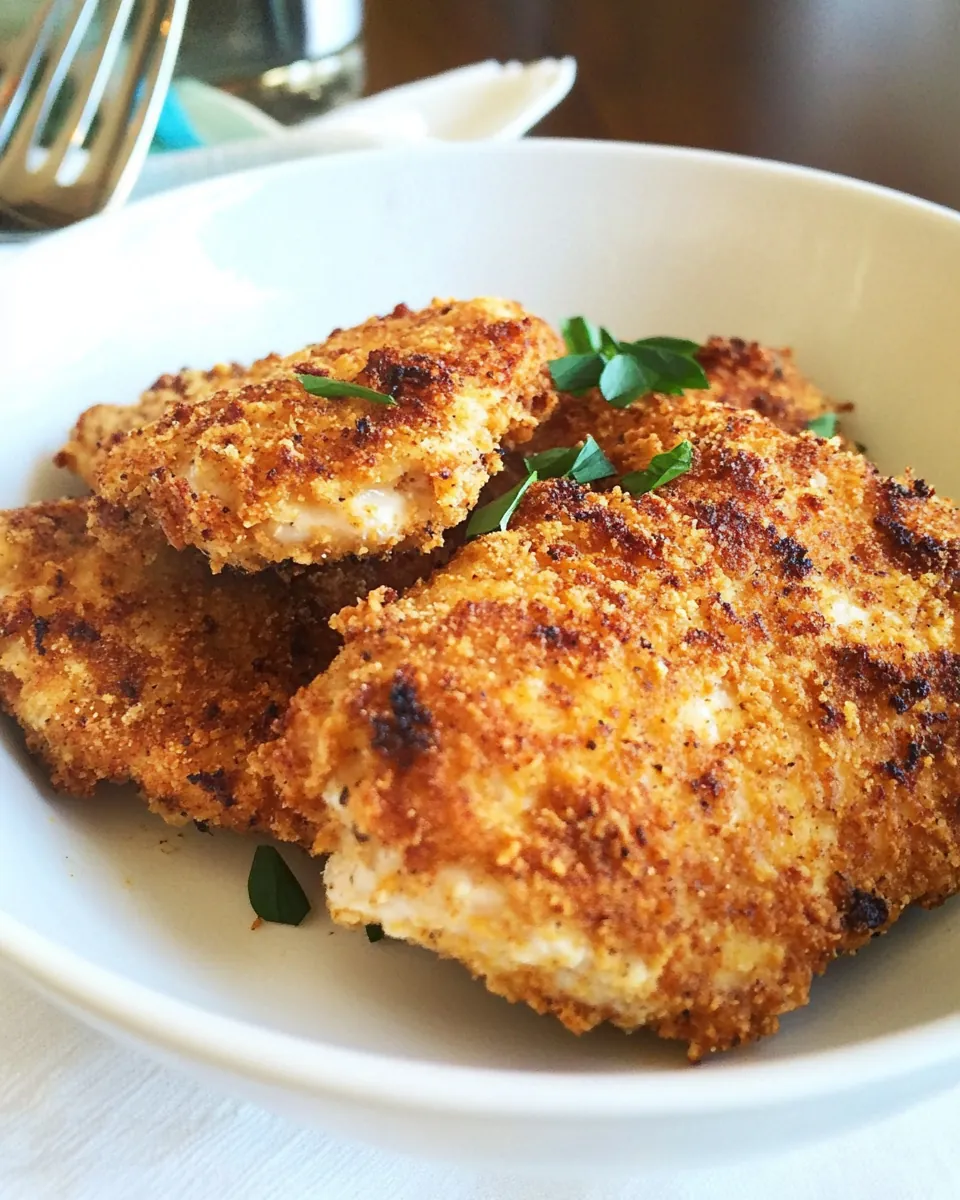
The satisfying crunch of the breading contrasts beautifully with the tender chicken inside. Each bite is a delightful experience that keeps you coming back for more.
2. Quick and Easy
This dish comes together in just a matter of minutes, making it perfect for busy weeknights. You can whip it up quickly, so it’s ideal when you crave something hearty without spending hours in the kitchen.
3. Versatile Serving Options
One of the best things about Gluten Free Pan Fried Chicken is its adaptability. It pairs well with a variety of sides, from salads to roasted vegetables, allowing you to customize your meal to your liking.
4. A Family Favorite
This dish resonates with everyone in the family. Whether young or old, the crispy, savory chicken always brings smiles to the dinner table. It’s a meal that creates great memories!
5. Gluten-Free Goodness
For those who are gluten intolerant, finding meals that are both delicious and safe to eat can be a challenge. This recipe ensures that everyone can enjoy a delicious chicken dish without worry.
6. Flavorful Ingredients
With simple yet flavorful ingredients like garlic powder and salt, every bite of Gluten Free Pan Fried Chicken is packed with taste. The combination of almond meal and gluten free flour creates a delightful crumb that elevates the dish.
7. Perfect for Any Occasion
Whether it’s a casual dinner, a special occasion, or a family gathering, Gluten Free Pan Fried Chicken fits right in. It’s bound to be a hit, making it a go-to recipe for various events.
What to Gather for Gluten Free Pan Fried Chicken
When it comes to cooking, the quality of your ingredients can make all the difference. The ingredients for Gluten Free Pan Fried Chicken work harmoniously together, creating a dish that’s not only flavorful but also satisfying. The key players here are the chicken breasts, which serve as the foundation, complemented by the crunchy coating made from gluten-free all-purpose flour and almond meal. Each ingredient contributes to the overall texture and taste, ensuring a delightful experience in every bite.
- 1 pound boneless skinless chicken breasts: The star of the dish, these juicy cutlets are perfect for frying and absorbing flavors.
- 2 eggs slightly beaten: This acts as the binding agent that helps the breading stick to the chicken.
- 2/3 cup gluten free all-purpose flour: This flour provides a crunchy coating without the gluten, making it accessible for all.
- ½ teaspoon salt: Essential for enhancing the flavors of the chicken and the breading.
- ½ teaspoon ground black pepper: Adds a little kick to the flavor profile.
- 1 teaspoon garlic powder: Brings depth and a wonderful aroma to the dish.
- ½ cup almond meal/flour: A great gluten-free alternative that adds nuttiness and texture.
- 2 to 3 tablespoons coconut oil: For frying, this oil gives a lovely flavor and helps achieve that crispy finish.
Preparation Steps for Gluten Free Pan Fried Chicken
Cooking is all about enjoying the process, and Gluten Free Pan Fried Chicken is no exception. You’ll love how straightforward these steps are. Plus, the payoff is incredible! Here’s how to make this delicious dish:
Start by laying the chicken breasts on a cutting board. Using a sharp knife, carefully slice each breast lengthwise from the thicker end to the thinner end. This will create thinner cutlets that will fry up nicely and cook evenly. Make sure to take your time with this step to ensure even pieces.
In a mixing bowl, combine the gluten-free all-purpose flour with the salt, ground black pepper, and garlic powder. Stir well until everything is evenly mixed. This will be the first layer of flavor for your chicken.
Next, pour the almond meal onto a separate plate. This will serve as the final coating for your chicken, adding an extra layer of crunch. Make sure you have enough space to easily coat the chicken.
In a small bowl, crack the two eggs and beat them lightly until they’re well mixed. This will create a sticky mixture that helps the coating adhere.
Now it’s time to bread the chicken! Take a sliced chicken cutlet, dip it first into the egg mixture, ensuring it’s well coated, then roll it in the flour mixture, covering it completely. Finally, dip it back into the egg and then coat with the almond meal. Repeat this process for each cutlet, setting them aside on a plate when finished.
Grab a cast iron skillet and heat enough coconut oil over medium heat. You want the skillet to be hot before adding the chicken. This is crucial for achieving that beautiful golden-brown crust.
Once the oil is hot, carefully place the breaded chicken cutlets in the skillet, being sure not to overcrowd them. Allow the chicken to cook for about 2 to 3 minutes on each side. You’re aiming for a nice, crispy exterior, and a golden color that indicates they’re perfectly cooked.
If your chicken cutlets are thicker, they may need a little longer to cook through. A quick check with a meat thermometer should show an internal temperature of 160 degrees F. This ensures the chicken is safe to eat.
Once cooked, remove the chicken from the skillet and let it rest on a plate lined with paper towels to absorb excess oil. This will keep them crispy!
Finally, serve your pan-fried chicken with a refreshing green salad or your favorite side dish. Enjoy this flavorful meal that’s sure to impress!
Things Worth Knowing
- Resting the Chicken: Allow the cooked chicken to rest for a few minutes before serving. This will help retain its juices, keeping the meat tender and moist.
- Adjusting Thickness: If you prefer thicker cutlets, you can pound the chicken to your desired thickness before breading. Just be aware that they may take a bit longer to cook.
- Oil Temperature: Ensure your oil is hot enough before adding the chicken. If it’s too cool, the breading will absorb oil and become soggy instead of crispy.
- Cooking in Batches: If you’re making a larger batch, consider cooking the chicken in batches to avoid crowding the skillet, which can lower the oil temperature and affect cooking.
Pro Tips and Tweaks
Cooking is a journey, and every chef has their own little tricks. Here are some tips to enhance your experience with Gluten Free Pan Fried Chicken:
- Storage: Store any leftover chicken in an airtight container in the refrigerator for up to three days.
- Freezing: You can freeze the cooked chicken for up to two months. To reheat, bake in the oven for a crispy texture.
- Pairing: Pair this dish with a light salad, roasted veggies, or even a creamy pasta to create a balanced meal.
- Spice it Up: Feel free to add your favorite spices or herbs to the flour mixture for an extra kick. Paprika or Italian seasoning can add great flavor.
- Alternative Oils: If you don’t have coconut oil, consider using canola or grapeseed oil for frying, which also performs well at high temperatures.
How to Enjoy Gluten Free Pan Fried Chicken
Serving Gluten Free Pan Fried Chicken can be as creative and delightful as the dish itself. Here are some fantastic ways to enjoy it:
- With a Fresh Salad: Serve the chicken alongside a vibrant green salad to complement the rich flavors.
- As a Main Dish: This chicken works perfectly as the star of any dinner plate, paired with your favorite gluten-free sides.
- In a Wrap: Slice the cooked chicken and wrap it in gluten-free tortillas with some fresh veggies and a light sauce for a delicious meal on the go.
- As an Appetizer: Cut the chicken into bite-sized pieces for a finger food option that’s perfect for parties or gatherings.
- Seasonal Pairing: During summer, serve with a refreshing mango salsa; in winter, a warm side of roasted potatoes balances the meal beautifully.
- Storage Tips: Leftovers can be stored in an airtight container. For the best texture, reheat in an oven or air fryer to maintain crispiness.
FAQ
Conclusion
In summary, Gluten Free Pan Fried Chicken is a delightful dish that brings together crispy textures and juicy flavors, making it a standout at any table. I encourage you to give this recipe a try, as it’s sure to become a staple in your home. Enjoy the process of cooking and the satisfaction of a meal that everyone will love!
Gluten Free Pan Fried Chicken
Ingredients
Equipment
Method
- Start by laying the chicken breasts on a cutting board. Using a sharp knife, carefully slice each breast lengthwise from the thicker end to the thinner end. This will create thinner cutlets that will fry up nicely and cook evenly. Make sure to take your time with this step to ensure even pieces.
- In a mixing bowl, combine the gluten-free all-purpose flour with the salt, ground black pepper, and garlic powder. Stir well until everything is evenly mixed. This will be the first layer of flavor for your chicken.
- Next, pour the almond meal onto a separate plate. This will serve as the final coating for your chicken, adding an extra layer of crunch. Make sure you have enough space to easily coat the chicken.
- In a small bowl, crack the two eggs and beat them lightly until they're well mixed. This will create a sticky mixture that helps the coating adhere.
- Now it’s time to bread the chicken! Take a sliced chicken cutlet, dip it first into the egg mixture, ensuring it’s well coated, then roll it in the flour mixture, covering it completely. Finally, dip it back into the egg and then coat with the almond meal. Repeat this process for each cutlet, setting them aside on a plate when finished.
- Grab a cast iron skillet and heat enough coconut oil over medium heat. You want the skillet to be hot before adding the chicken. This is crucial for achieving that beautiful golden-brown crust.
- Once the oil is hot, carefully place the breaded chicken cutlets in the skillet, being sure not to overcrowd them. Allow the chicken to cook for about 2 to 3 minutes on each side. You’re aiming for a nice, crispy exterior, and a golden color that indicates they’re perfectly cooked.
- If your chicken cutlets are thicker, they may need a little longer to cook through. A quick check with a meat thermometer should show an internal temperature of 160 degrees F. This ensures the chicken is safe to eat.
- Once cooked, remove the chicken from the skillet and let it rest on a plate lined with paper towels to absorb excess oil. This will keep them crispy!
- Finally, serve your pan-fried chicken with a refreshing green salad or your favorite side dish. Enjoy this flavorful meal that’s sure to impress!
Notes
- Storage: Store any leftover chicken in an airtight container in the refrigerator for up to three days.
- Freezing: You can freeze the cooked chicken for up to two months. To reheat, bake in the oven for a crispy texture.
- Pairing: Pair this dish with a light salad, roasted veggies, or even a creamy pasta to create a balanced meal.
- Spice it Up: Feel free to add your favorite spices or herbs to the flour mixture for an extra kick. Paprika or Italian seasoning can add great flavor.
- Alternative Oils: If you don’t have coconut oil, consider using canola or grapeseed oil for frying, which also performs well at high temperatures.