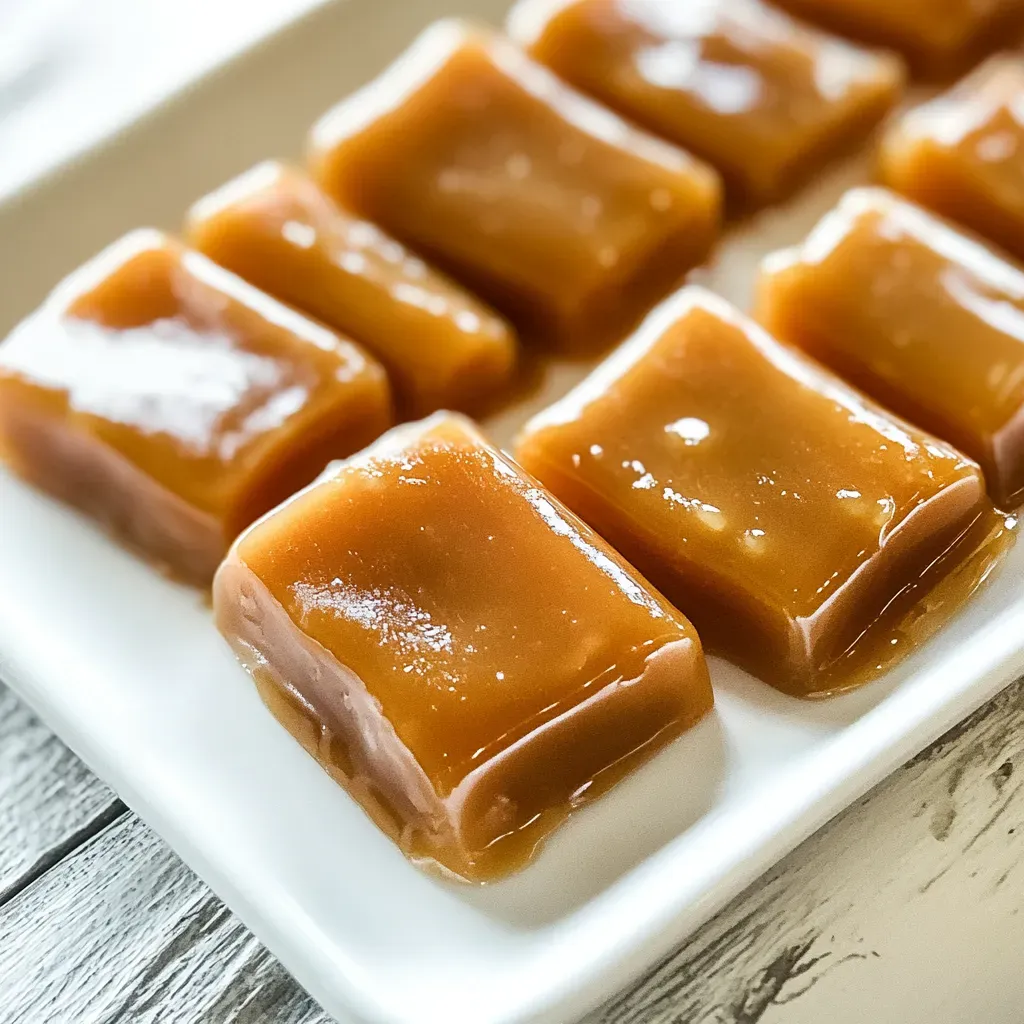
The first time I made Gingerbread Caramels, I didn’t expect them to become a holiday tradition. It was a chilly afternoon in November, and the aroma of spices filled my kitchen, reminding me of cozy gatherings and festive cheer. As I stirred the bubbling mixture of heavy cream, corn syrup, and butter, the anticipation grew. When I finally poured the golden caramel into the pan, I felt a wave of nostalgia wash over me, recalling the first time I tasted these delightful treats at a friend’s holiday party. They were chewy, rich, and perfectly spiced—everything I wanted to create for my loved ones.
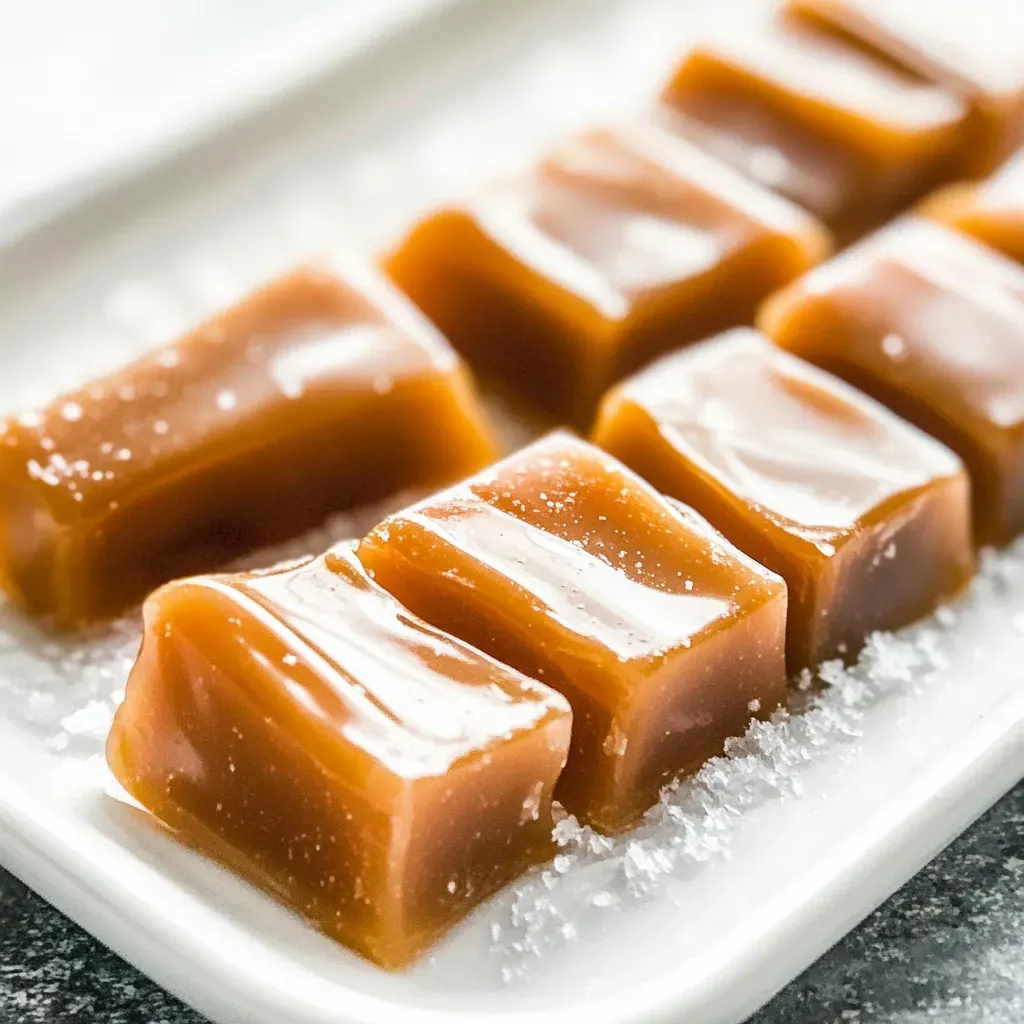
These little squares of heaven aren’t just a treat; they’re a way to share love and warmth during the holiday season. Friends gathered around, unwrapping each piece, their eyes lighting up with joy at the first taste. I remember the laughter and stories shared as we enjoyed each bite, a perfect accompaniment to our festive decorations and hot beverages. Every batch I make carries that same spirit, filling my home with the smell of ginger, cinnamon, and the sweet promise of shared moments. So, if you’re looking to bring happiness to your gatherings, these Gingerbread Caramels are a must-try!
Recipe Snapshot
60 mins
0 mins
0 mins
Easy
120 kcal
1 g
Gluten-Free, Low FODMAP
6 g
Large Pot, Frying Pan, Wooden Spoon, Whisk, Mixing Bowl
What You’ll Enjoy About This Gingerbread Caramels
Irresistible Flavor
There’s something truly special about the combination of spices in Gingerbread Caramels. The ginger and cinnamon create a warmth that wraps around you like a cozy blanket, making each bite a comforting experience. The rich heavy cream adds a luxurious texture that perfectly complements the spices.
Perfect for Gifting
Homemade candies are a heartfelt gift, and these caramels are no exception. Wrapped in cellophane or wax paper, they make lovely additions to holiday baskets or a sweet surprise for neighbors and friends. Sharing them is just as delightful as making them!
Easy to Make
You don’t need to be a skilled confectioner to make Gingerbread Caramels. With a few simple ingredients and a little patience, you can create something truly special from scratch. The process may seem daunting at first, but trust me, it’s worth every minute spent in the kitchen.
Versatile Treats
These caramels can be enjoyed in so many ways! Use them as a topping for ice cream, gift them during the holidays, or enjoy them as a sweet treat when you need a pick-me-up. They’re perfect for any occasion, not just Christmas!
Long-lasting Indulgence
One of the best things about these caramels is their shelf life. When stored properly in an airtight container, they can last up to a month, making them a fantastic treat to have on hand for unexpected guests or last-minute cravings.
Family Tradition
Making Gingerbread Caramels has become a cherished tradition in my home. It’s a chance for family members to come together, share stories, and create sweet memories. Each batch becomes a bonding experience that we look forward to every year.
Key Ingredients for Gingerbread Caramels
The ingredients for Gingerbread Caramels play a crucial role in achieving that perfect balance of flavors and textures. Each component works together harmoniously to create a rich, chewy treat that embodies the essence of the holiday season.
- Heavy Cream: This is the base of your caramels, providing a rich, creamy texture that melts in your mouth.
- Light Corn Syrup: Helps prevent crystallization, ensuring your caramels are smooth and soft.
- Granulated Sugar: The main sweetener that caramelizes beautifully to give that classic caramel flavor.
- Unsalted Butter: Adds richness and depth of flavor to the caramels.
- Molasses: Infuses a deep, warm flavor that complements the spices perfectly.
- Spices: Ground Ginger, Cinnamon, Allspice, Cloves, and Black Pepper create the signature gingerbread flavor that makes these caramels irresistible.
- Vanilla Extract: Enhances the flavors and adds a hint of sweetness.
Cooking Instructions for Gingerbread Caramels
Making Gingerbread Caramels is a rewarding process that fills your kitchen with delightful aromas. Follow these steps to create your own batch of sweet treats!
- Start by lining a 12-by-17-inch rimmed baking sheet with parchment paper. If the paper isn’t sticking, use a few dabs of corn syrup to keep it in place. This will make it easier to lift the caramels out later.
- In a small bowl, whisk together the ginger, cinnamon, allspice, salt, cloves, and black pepper until they’re evenly combined. Set this spice mix aside for later.
- In a large pot—make sure it’s at least twice the size of your ingredients—combine the heavy cream, light corn syrup, granulated sugar, unsalted butter, and molasses. Bring this mixture to a boil over high heat, stirring constantly until the sugar has dissolved completely.
- Once boiling, reduce the heat to medium-high. Continue to boil, stirring frequently, until the mixture reaches 246 degrees Fahrenheit on a candy thermometer. This should take about 30 to 40 minutes. Keep a close eye on it to prevent burning!
- When the mixture reaches the right temperature, remove it from the heat and sprinkle the spice mix over the top. Stir until it’s evenly incorporated. The aroma will be absolutely heavenly!
- Next, stir in the vanilla extract and immediately pour the hot caramel into the prepared baking sheet. Make sure to spread it evenly.
- Let the caramels cool at room temperature, uncovered, for 24 hours without disturbing them. This is crucial for setting the perfect texture.
- After cooling, use the parchment paper to lift the caramel out of the pan. Place it on a cutting board for easy access.
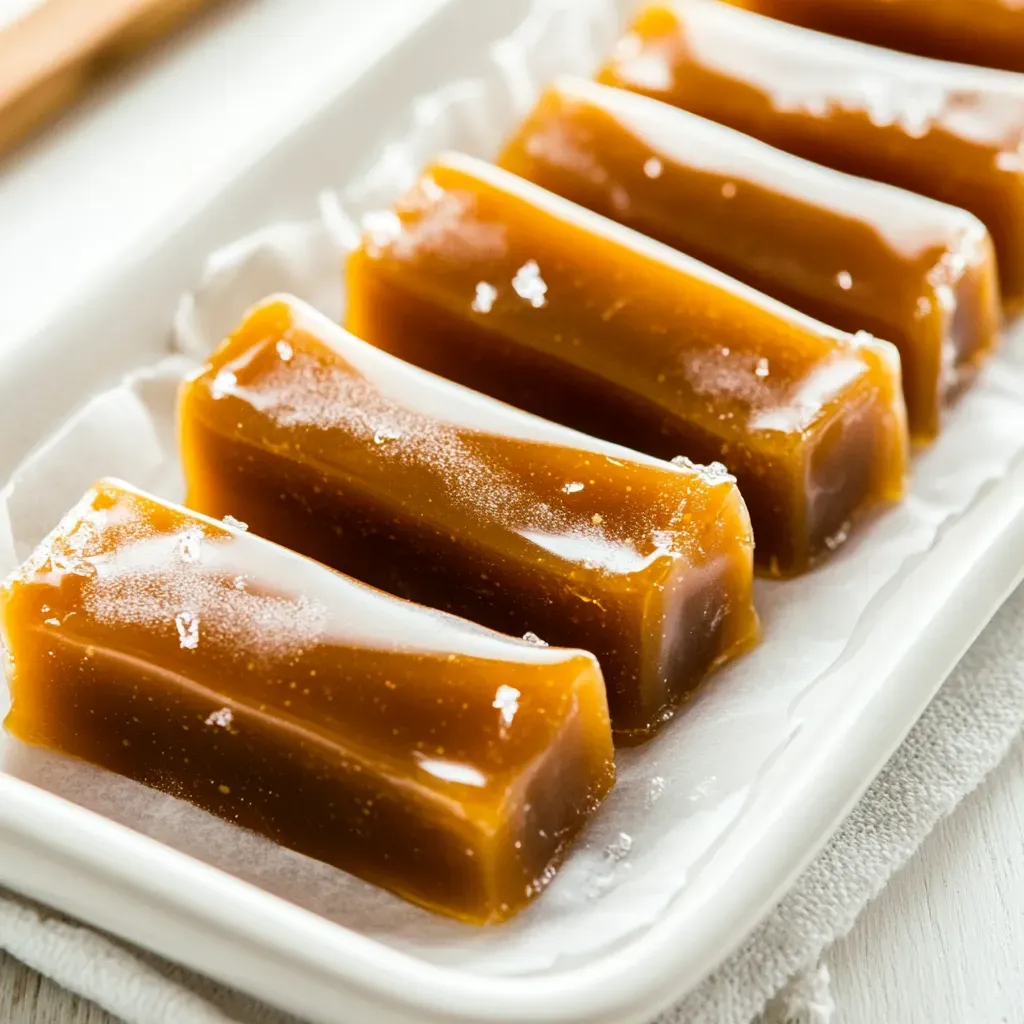
- Using a sharp knife or rotary cutter—lightly buttered or sprayed with cooking spray if needed—cut the caramel into 1 1/4-inch strips, then crosswise into 3/4-inch pieces.
- Wrap each piece individually in cellophane or waxed paper to keep them fresh. These delightful treats can be stored for up to a month in airtight containers.
Things Worth Knowing
- Consistency Check: Ensure the mixture reaches the right temperature (246 degrees Fahrenheit) for perfect texture; too low and they’ll be soft, too high and they’ll be hard.
- Cooling Time: Allow the caramels to cool undisturbed for 24 hours to achieve the right firmness.
- Storage: Keep wrapped caramels in an airtight container to maintain freshness and chewiness.
- Tools: Use a large pot to prevent overflow, and a candy thermometer for accurate temperature measurement.
Recipe Variations about Gingerbread Caramels
If you’re eager to experiment, there are plenty of ways to put a spin on Gingerbread Caramels. Here are some ideas to inspire your creativity!
- Spice It Up: Add a pinch of cayenne pepper or nutmeg for an extra kick of flavor.
- Nuts Galore: Incorporate chopped nuts like pecans or walnuts into the caramel for added texture and flavor.
- Chocolate Twist: Drizzle melted dark chocolate over the cut caramels for a rich, decadent treat.
- Seasonal Flavors: Experiment with different spices based on the season. Consider adding pumpkin spice for a fall-themed version.
- Caramel Sauce: Transform the caramels into a sauce by adding a little extra cream and warming them up. It’s perfect for drizzling over ice cream!
- Gifting Variations: Use colorful wrappers or decorative jars to gift the caramels, making them a beautiful present for friends and family.
Pairing Suggestions for Gingerbread Caramels
When it comes to enjoying your Gingerbread Caramels, there are many delightful pairings to enhance the experience. Here are some ideas:
- Hot Beverages: Enjoy these caramels with a warm cup of chai, hot chocolate, or spiced cider. The flavors complement each other beautifully!
- Cheese Board: Add these caramels to a cheese board, pairing them with sharp cheeses for a sweet and savory contrast.
- Family Gatherings: Serve them at holiday gatherings, whether as a dessert option or a sweet snack during family game night.
- Seasonal Events: Perfect for Christmas parties or fall festivities, these caramels can be a hit at any seasonal event.
- Storage Tips: Keep your caramels in an airtight container at room temperature to maintain their chewy texture, or refrigerate if you prefer a firmer bite.
- Creative Wrapping: Consider wrapping caramels in festive-themed wrappers for a cheerful presentation during the holidays.
FAQ
Conclusion
In summary, Gingerbread Caramels are a delightful fusion of spice and sweetness that can elevate any festive gathering. These treats not only taste amazing but also create warm memories with family and friends. I encourage you to try making them; it’s a rewarding experience that fills your home with holiday cheer. Enjoy every chewy bite and the joy they bring to your celebrations!
Gingerbread Caramels
Ingredients
Equipment
Method
- Line a 12-by-17-inch rimmed baking sheet with parchment paper. If needed, use a few dabs of corn syrup to keep the paper firmly in place. In a small bowl, whisk together ginger, cinnamon, allspice, salt, cloves, and black pepper until evenly combined; set aside.
- In a large pot (emphasis on large here – you want a pot at least twice the volume of the ingredients inside as the mixture will bubble up) combine cream, corn syrup, sugar, butter, and molasses. Bring to a boil over high heat, stirring until sugar has dissolved. Reduce heat to medium-high and continue to boil, stirring frequently, until mixture reaches 246 degrees on a candy thermometer, about 30 to 40 minutes.
- Remove from heat; sprinkle spices over top of caramel, stirring until evenly incorporated. Stir in vanilla extract. Immediately pour into prepared pan. Let sit at room temperature, uncovered, for 24 hours without disturbing.
- Lifting the caramel out of the pan using the parchment paper as a handle. Using a sharp knife or rotary cutter (lightly buttered or sprayed with cooking spray if needed), cut caramel into 1 1/4-inch strips, and then crosswise into 3/4-inch pieces. Wrap each piece individually in cellophane or waxed paper. Caramels can be stored up to 1 month in airtight containers.
Notes
- Storage: Keep your caramels in an airtight container at room temperature to maintain their chewy texture.
- Freezing: If you want to extend their shelf life, you can freeze the wrapped caramels for up to 3 months.
- Pairing: These caramels pair beautifully with hot beverages like chai or hot chocolate.
- Gifting: They make wonderful gifts wrapped in festive cellophane.
- Variations: Experiment with spices to create different flavor profiles!