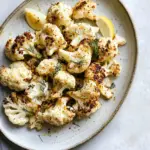
There’s something truly magical about Fried Halloumi that never fails to captivate my taste buds. It all started during a sun-drenched summer in a cozy Mediterranean village I often visited. The local markets overflowed with vibrant produce, and the scent of sizzling cheese wafted from nearby stalls, drawing me in. I remember my first bite of that perfectly fried halloumi, the outer layer crisp and golden while the inside remained soft and creamy, a delightful contrast that danced on my palate. Ever since, I’ve made it a staple in my kitchen, perfect for quick meals or as an impressive appetizer. Each time I fry up a batch, it transports me back to those sunlit days, making Fried Halloumi not just a dish, but a cherished memory.
Recipe Snapshot
10 mins
5 mins
5 mins
Easy
320 kcal
18 g
Keto, Paleo, Whole30
28 g
8-inch non-stick frying pan
What We Adore About This Fried Halloumi
It’s Incredibly Versatile
There’s no doubt that Fried Halloumi is a superstar when it comes to versatility. Whether you enjoy it on its own, as part of a salad, or in a wrap, it complements a variety of dishes. You can add it to a warm grain bowl for a protein boost, or serve it alongside roasted vegetables for a delightful contrast. The possibilities are endless!
Perfect for Any Occasion
From casual summer barbecues to elegant dinner parties, Fried Halloumi fits right in. Its unique texture and flavor make it a crowd-pleaser, appealing to both vegetarians and meat-lovers alike. You can easily prep a large batch to serve as an appetizer, or keep it simple and enjoy it as a solo snack.
Simple and Quick to Make
One of the best things about Fried Halloumi is how quick and easy it is to prepare. With just a few ingredients and less than 15 minutes, you can have golden, crispy cheese ready for your enjoyment. It’s perfect for those busy weeknights when you want something delicious without spending hours in the kitchen.
It’s a Healthier Indulgence
While it may be a cheese, Fried Halloumi offers a satisfying alternative to many fried foods. It’s lower in fat than some other cheeses, and when paired with fresh vegetables or whole grains, it creates a balanced meal. You get all the indulgence without the guilt!
Great for Meal Prep
If you enjoy meal prepping, Fried Halloumi is fantastic for adding to your weekly rotations. It can be cooked in advance and stored in the fridge. Just reheat it in a skillet or microwave, and you’ll have a delicious addition to your lunch or dinner.
What You Need for Fried Halloumi
The beauty of Fried Halloumi lies not just in its taste, but in the simplicity of its ingredients. With just a few key players, you can create a dish that dazzles the senses. The star of the show is, of course, the halloumi, known for its firm texture and ability to hold up beautifully under heat. Paired with olive oil, it ensures that the cheese comes out perfectly crispy and golden. Together, they create a dish that’s not only delicious but also incredibly satisfying.
- 9-ounce (250g) halloumi block: This semi-hard cheese has a unique squeaky texture and rich taste, making it perfect for frying. When cooked, it becomes golden brown on the outside while remaining creamy inside.
- 1 tablespoon olive oil: High-quality olive oil is essential for frying. It adds flavor and helps achieve that perfect crispiness while also being heart-healthy.
Making This Fried Halloumi
Cooking Fried Halloumi is as enjoyable as eating it! The process is straightforward, and I love the sizzle of the cheese hitting the hot pan. Follow these simple steps to create a delicious dish.
- Start by heating the olive oil in an 8-inch non-stick frying pan over medium-high heat. You want the oil to shimmer but not smoke. This indicates that it’s hot enough for frying.
- Once the oil is ready, carefully place the sliced halloumi into the pan in a single layer. Avoid overcrowding to ensure an even fry. Each slice should have a bit of space around it to develop that beautiful golden crust.
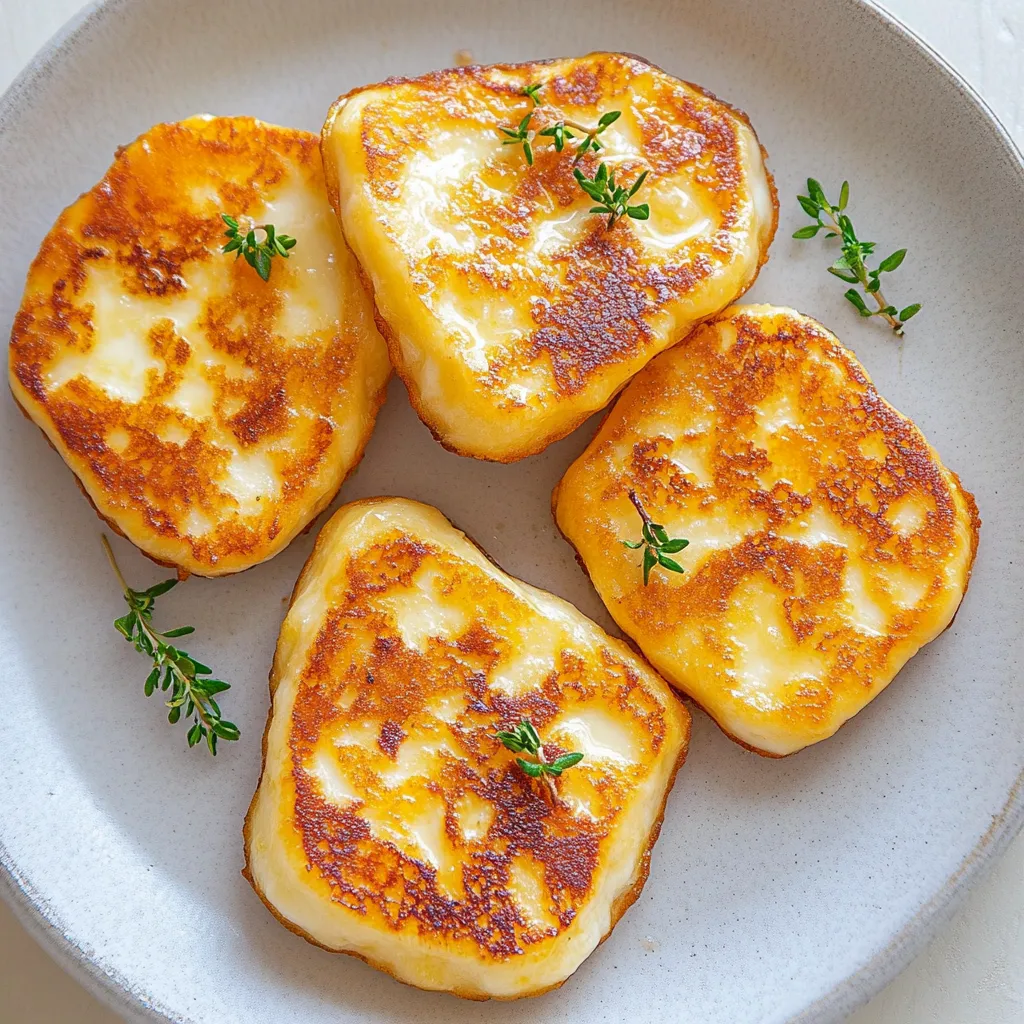
- Fry the halloumi for about one to two minutes per side. Keep an eye on the color; you’re aiming for a lovely golden brown, but be cautious not to let it burn. If you notice the edges darkening too quickly, lower the heat slightly.
- After the first side is golden and crispy, use a spatula to gently flip the slices over. Take your time, as halloumi can be delicate. A wide spatula can help support the cheese as you flip.
- Continue frying until both sides are evenly browned and crispy. The cheese should feel firm to the touch. This process typically takes around five to six minutes total.
- Once done, remove the halloumi from the pan and place it onto a plate lined with paper towels to absorb any excess oil.
- For a delightful finish, you can drizzle the fried cheese with some extra virgin olive oil or warm honey. This adds a touch of sweetness that beautifully complements the salty cheese.
- Serve immediately while hot. Enjoy the Fried Halloumi with a side of fresh salad, or enjoy it as is. It’s best when enjoyed fresh!
Things Worth Knowing
- Cooking in batches: If you’re making a larger quantity of Fried Halloumi, cook the cheese in batches to maintain the ideal frying temperature. This prevents the cheese from steaming instead of frying.
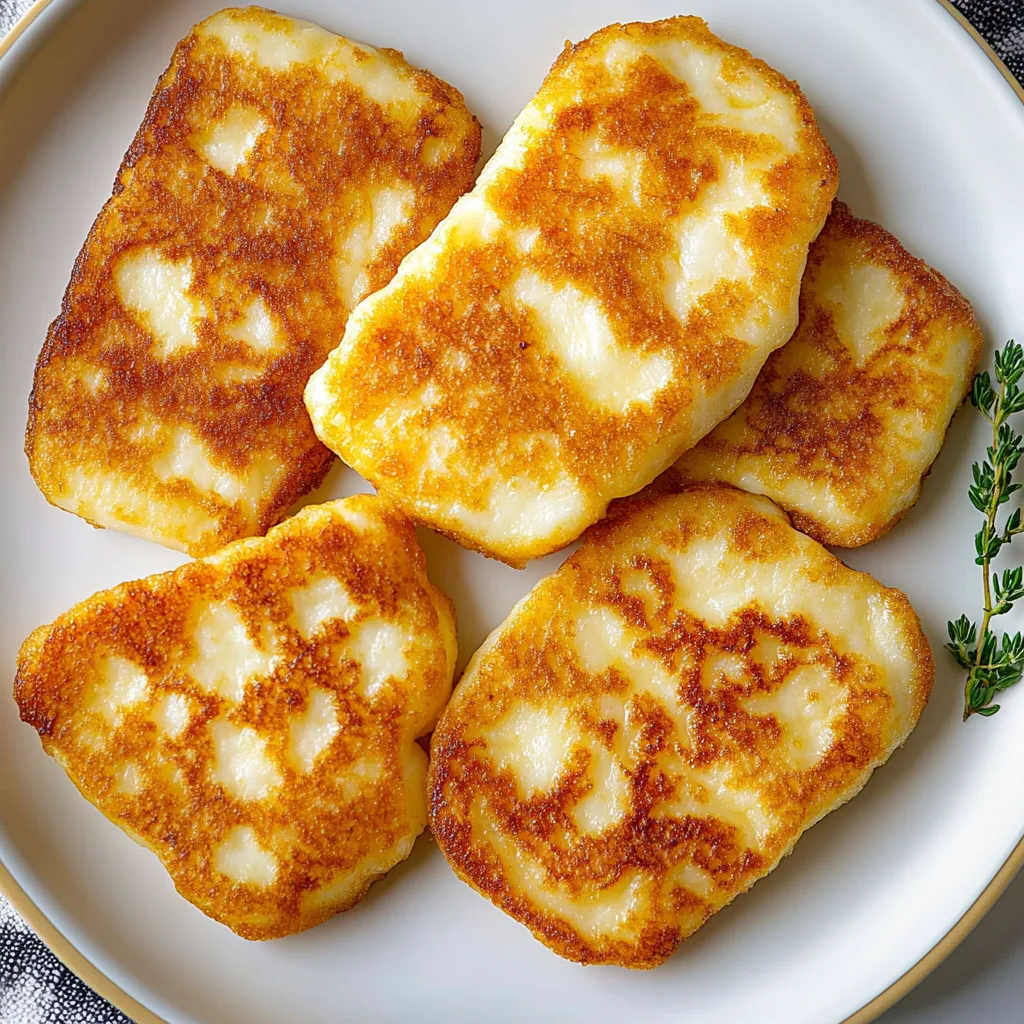
- Experiment with flavors: Try adding herbs or spices to the olive oil for added flavor. A pinch of chili flakes or fresh herbs like thyme can elevate the dish.
- Using the right heat: If the oil isn’t hot enough, the halloumi will absorb too much oil and become greasy. If it’s too hot, it will burn quickly before the cheese melts properly.
- Let it rest: Allow the Fried Halloumi to rest for a minute before serving. This helps it firm up slightly, making it easier to handle.
Tips and Variations

Cooking can be an adventure, and with Fried Halloumi, there’s always room for creativity! Here are some tips and variations to make this dish your own.
- Storage: If you have leftovers, store them in an airtight container in the fridge for up to three days. Reheat in a skillet for best results.
- Freezing: While it’s not recommended to freeze fried cheese, you can freeze uncooked halloumi slices. Just be sure to thaw before frying.
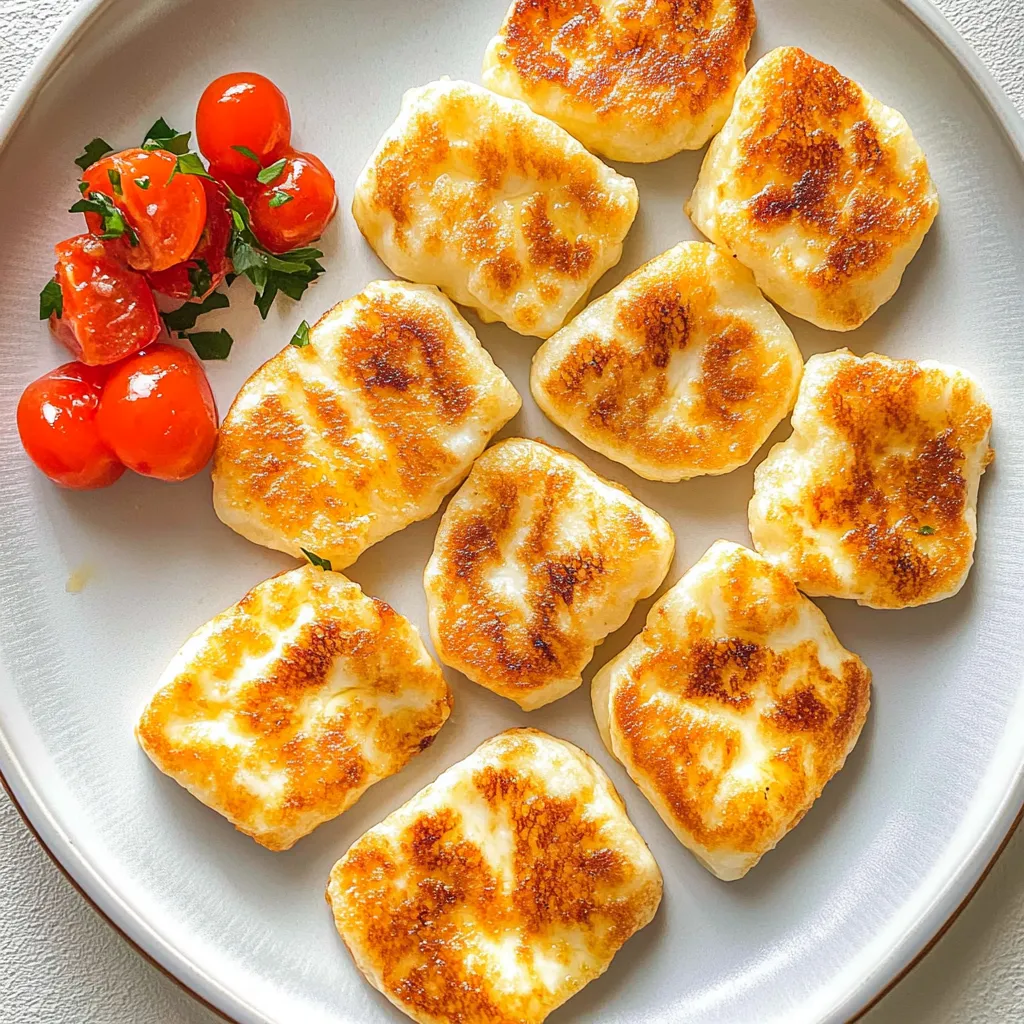
- Pairing: Serve Fried Halloumi with a fresh tomato salad or atop a bed of greens for a light meal.
- Spice it up: Add a sprinkle of smoked paprika or za’atar on top before serving to enhance the flavor profile.
- Wrap it up: Create a delicious wrap with Fried Halloumi, fresh vegetables, and a tangy sauce for a fantastic lunch option.
- Make it a meal: Pair Fried Halloumi with roasted vegetables or grains like quinoa for a hearty dinner.
Side Dish Ideas for Fried Halloumi
- Chickpea Salad: A refreshing salad with chickpeas, cucumber, and a lemon vinaigrette balances the richness of Fried Halloumi.
- Roasted Vegetables: Serve alongside seasonal roasted vegetables like zucchini and bell peppers for a colorful plate.
- Grain Bowls: Create a hearty grain bowl by layering brown rice or quinoa, sautéed greens, and Fried Halloumi.
- Flatbreads: Enjoy Fried Halloumi in pita or flatbreads with a dollop of yogurt and fresh herbs for a tasty wrap.
- Soups: Pair with a light soup, such as a tomato basil or cucumber soup, for a delightful starter.
- Picnic Delight: Pack Fried Halloumi into a picnic basket with fresh fruits and dips for a lovely outdoor meal.
FAQ
Conclusion
In summary, Fried Halloumi is a delightful dish that not only pleases the palate but also brings a touch of Mediterranean charm to any table. Whether you’re enjoying it solo or as part of a larger meal, its unique texture and flavor are sure to impress. I encourage you to experiment with different pairings and enjoy this crispy cheese in new and exciting ways. Don’t wait too long to try this recipe; it’s absolutely worth it!
Fried Halloumi
Ingredients
Equipment
Method
- Heat olive oil in a non-stick pan over medium high heat, and when the oil is shimmering add the raw halloumi slices in a single layer in the hot pan. Do not overcrowd the pan!
- Cook for 1-2 minutes per side or until golden brown, and use a spatula to flip the halloumi keeping an eye on the crust so it does not get too dark.
- Remove from the pan onto a plate. Drizzle with extra virgin olive oil, or warm honey. Serve immediately!
Notes
- Do Not Overcrowd the Pan: When frying halloumi, make sure to cook it in a single layer and do not overcrowd the pan! This will help it brown evenly and cook more evenly as well.
- Flip Carefully: Halloumi is delicate so handle it carefully when flipping. Use a spatula that is large enough to support the cheese, and be careful not to break it.
- Serve Immediately: Halloumi tastes best and has the best texture while still warm. It will firm up and become rubbery when it cools, so I recommend serving it immediately for the creamiest centers.