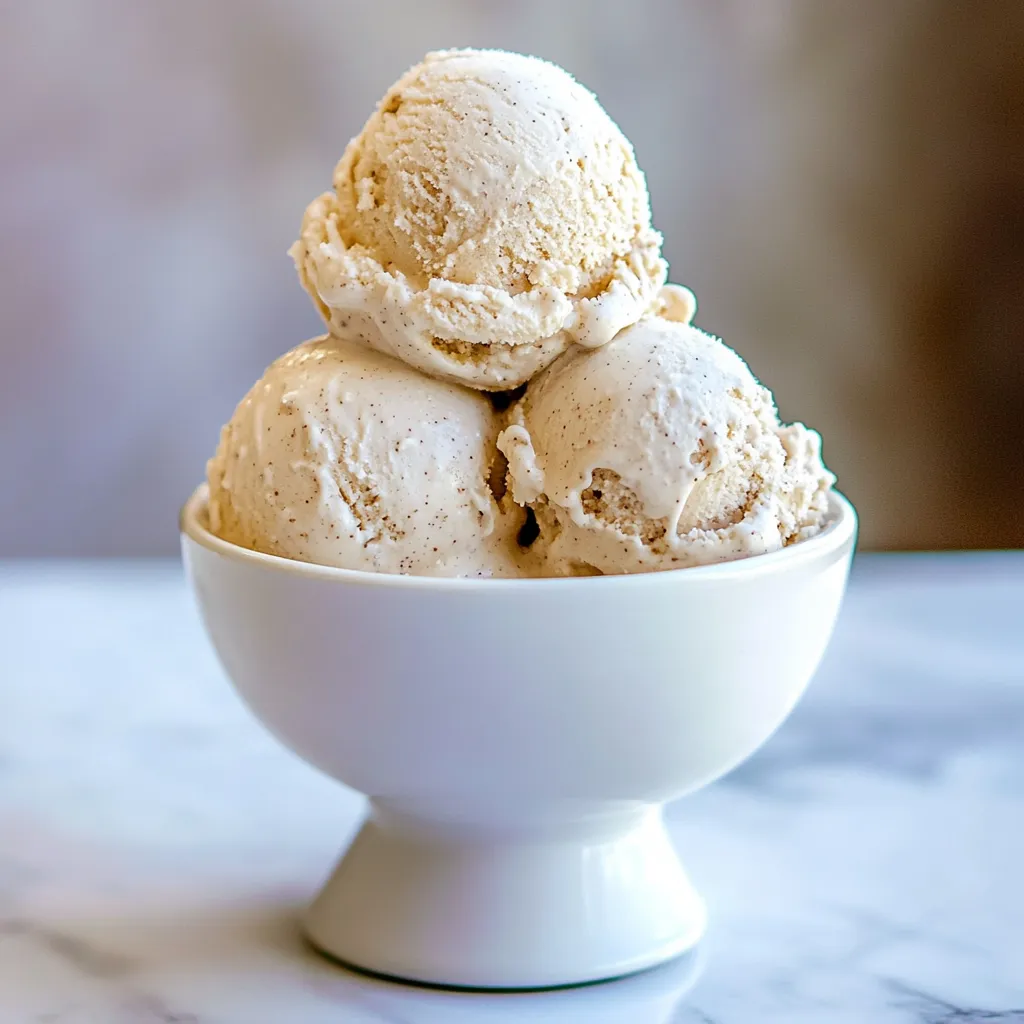
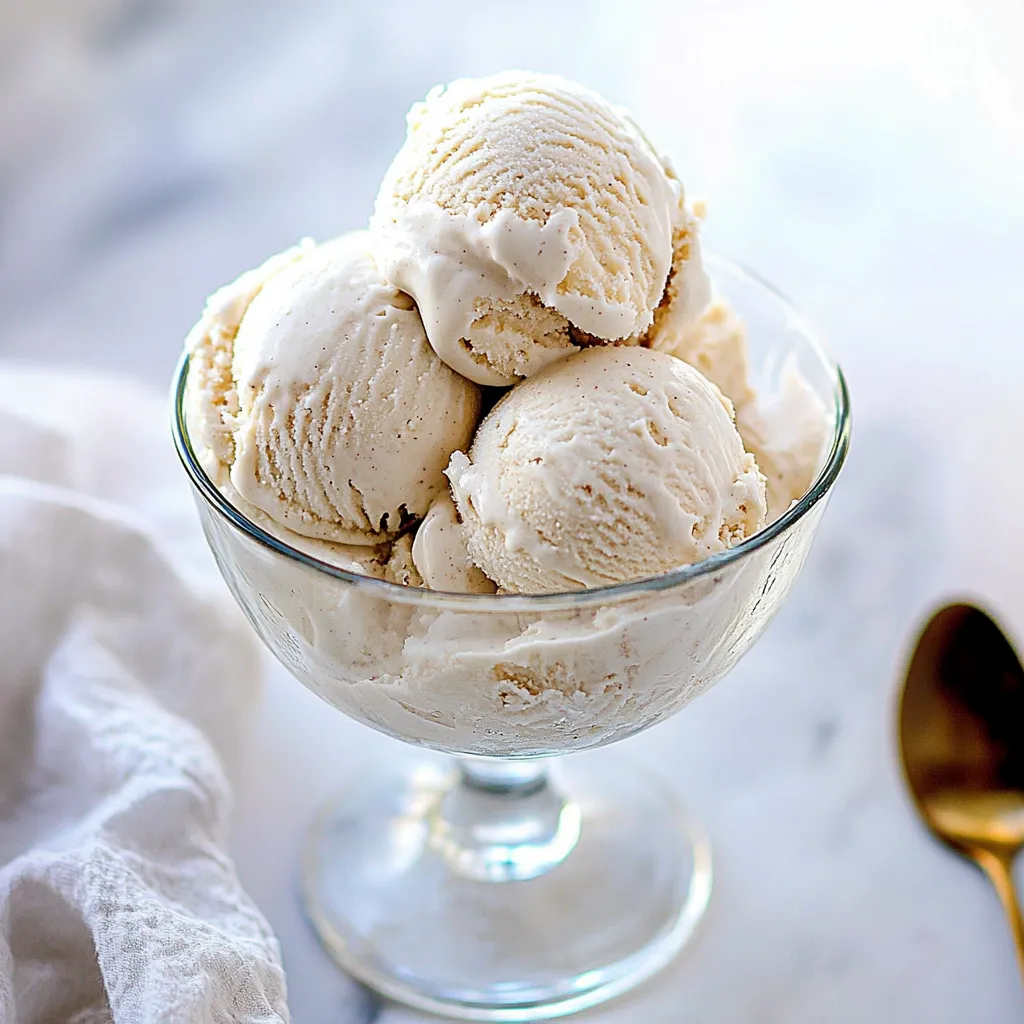
There’s something magical about homemade ice cream, especially when it’s a Dairy Free Vanilla Ice Cream. I remember the first time I made this delightful treat; it was a hot summer day, and the sun was shining perfectly. I craved something cool and sweet, and what better way to satisfy that craving than by whipping up a batch of ice cream? With every scoop, the creamy texture and rich flavor enveloped my senses, bringing back memories of childhood summers spent enjoying ice cream with friends. It quickly became a staple in my home, a delicious way to cool off and indulge without dairy. Whether it’s a family gathering or a simple weeknight dessert, this ice cream always impresses. So let me share this simple recipe with you, so you can create your own delicious memories with Dairy Free Vanilla Ice Cream.
Recipe Snapshot
30 mins
30 mins
0 mins
Medium
250 kcal
3 g
Keto, Gluten-Free, Low FODMAP
15 g
Ice Cream Maker
The Appeal of This Dairy Free Vanilla Ice Cream
It’s Vegan and Dairy-Free
One of the key reasons I love this Dairy Free Vanilla Ice Cream is that it aligns perfectly with many dietary preferences. Being entirely vegan, it’s a treat everyone can enjoy, whether you’re lactose intolerant or simply prefer plant-based options. This recipe showcases the incredible creaminess of coconut milk, which serves as the base. It’s rich, luscious, and free from any animal products.
Perfect for Hot Days
What’s better on a sweltering summer day than ice cream? This Dairy Free Vanilla Ice Cream is refreshing and delicious and provides a delightful escape from the heat. The smooth, creamy texture and sweet vanilla flavor will instantly transport you to a sunny beach, making it the perfect addition to your warm-weather celebrations.
Easy to Make
If you’re worried about the complexity of making ice cream, fear not! This recipe is incredibly straightforward. With just a few steps, you’ll have your ice cream base ready for churning. Essentially, it’s just combining the ingredients, heating them, and letting the ice cream maker do the hard work. Even if you don’t have an ice cream maker, you can make it using simple freezing methods.
Customizable Flavors
Another fantastic aspect of this Dairy Free Vanilla Ice Cream is its versatility. While vanilla is a classic and beloved flavor, you can easily add your favorite mix-ins or flavors. Want to make it chocolatey? Stir in some cocoa powder or dairy-free chocolate chips. Craving something fruity? Swirl in some puréed strawberries or mango. The possibilities are endless!
Great for Special Occasions
Whether it’s a birthday party, a summer barbecue, or just a weekend treat, this Dairy Free Vanilla Ice Cream is sure to please. Its creamy goodness and delightful flavor will leave your guests coming back for more. Plus, you’ll impress everyone with your homemade creation!
Healthier Alternative
Compared to store-bought ice creams loaded with additives and artificial flavors, this homemade version is a healthier choice. With natural sweeteners like maple syrup and wholesome ingredients, you can enjoy this indulgence without the guilt. It’s a treat that nourishes both the body and the soul.
Main Ingredients for Dairy Free Vanilla Ice Cream
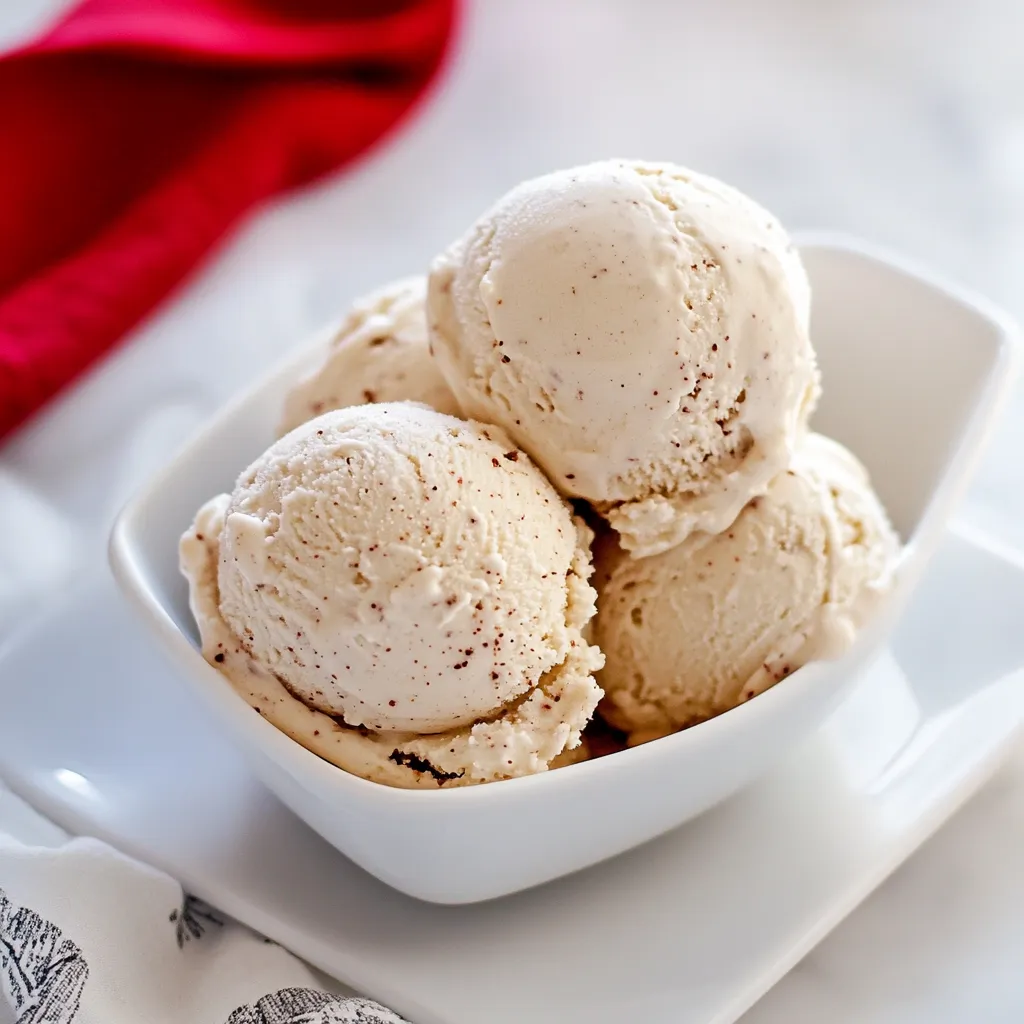
The ingredients for Dairy Free Vanilla Ice Cream are simple yet incredibly effective. Each component plays a vital role in creating the rich and creamy texture that you will love. The star ingredient, coconut milk, provides a silky base, while maple syrup sweetens the mix perfectly without overwhelming the natural flavors. Sea salt enhances the overall taste, and a touch of vanilla extract adds that classic flavor we all adore. Together, they create a delightful harmony that results in the perfect homemade dessert.
- Coconut Milk: This is the main ingredient that gives the ice cream its creamy texture. Using full-fat canned coconut milk ensures that your ice cream is rich and satisfying.
- Maple Syrup: As a natural sweetener, maple syrup provides a unique flavor that pairs beautifully with coconut milk. Adjust the sweetness according to your taste preferences.
- Sea Salt: Just a pinch of sea salt balances the sweetness and enhances the overall flavor of the ice cream.
- Vanilla Extract: This adds the classic vanilla flavor we love in ice cream. Make sure to use high-quality vanilla for the best results.
The Process for Making Dairy Free Vanilla Ice Cream
Creating your own Dairy Free Vanilla Ice Cream at home is a rewarding experience, and the process is quite simple. Just follow these steps, and you’ll be enjoying your homemade treat in no time!
First, prepare your ice cream maker. If you have an ice cream maker, place its bowl in the freezer for at least 24 hours beforehand. This ensures that it’s cold enough to freeze the mixture effectively. If you don’t have an ice cream maker, you can still make this ice cream by using a simple freezing method.
In a medium-sized saucepan, combine the two cans of coconut milk, maple syrup, and sea salt. Heat this mixture over medium heat, stirring frequently until everything is well combined and creamy. You want to make sure that the coconut milk is fully melted and mixed, creating a smooth consistency.
Once the mixture is heated, taste it for sweetness. Feel free to add more maple syrup if desired, ensuring the flavor is to your liking. Keep in mind that the mixture will be less sweet once frozen, so don’t hesitate to adjust it now.
After your ice cream base is sweetened to your preference, remove it from the heat and stir in the vanilla extract. This will elevate the flavor profile and provide that classic vanilla taste we all adore.
Now, transfer the mixture to an airtight container and let it cool in the refrigerator for at least two hours. This step is crucial as it allows the base to chill completely before churning.
Once the base is chilled, remove the bowl from the freezer and assemble your ice cream maker. Pour the chilled mixture into the ice cream maker, following the manufacturer’s instructions for operation.
Allow the ice cream to churn until it thickens and reaches a soft-serve consistency, which usually takes about 20 to 30 minutes. Depending on your machine, the time may vary, so keep an eye on it.
When your ice cream has reached that perfect soft-serve texture, you can choose to serve it immediately or transfer it to a freezer-safe container for a firmer consistency. If opting for the latter, place it in a loaf pan and cover it with plastic wrap or use an airtight container.
To freeze, allow the ice cream to sit in the freezer for at least two hours or until completely solid. When you’re ready to serve, let it thaw at room temperature for a few minutes before scooping.
Serve your Dairy Free Vanilla Ice Cream with your favorite toppings, such as fresh fruit, chocolate sauce, or cookies. Enjoy your delicious homemade treat!
Things Worth Knowing
- Use quality ingredients: The key to a creamy ice cream is using high-quality coconut milk. Choose full-fat for the best texture.
- Chilling time matters: Allowing the ice cream base to chill completely before churning significantly improves the final texture.
- Watch the churning: Keep an eye on your ice cream maker during the churning process. If it seems to be getting too thick, check for doneness.
- Storing tips: Store your ice cream in an airtight container to prevent freezer burn and maintain its creamy texture.
Ways to Customize
One of the best things about making your own Dairy Free Vanilla Ice Cream is the opportunity to customize it to suit your tastes. Here are some creative ways to enhance your ice cream experience:
- Add chocolate: Mix in dairy-free chocolate chips or swirl in melted dairy-free chocolate for a chocolatey twist.
- Mix in fruits: Consider adding fresh fruits, such as strawberries, blueberries, or mangoes, for a fruity flavor profile.
- Experiment with spices: Try adding spices like cinnamon or nutmeg for a unique flavor enhancement.
- Use different sweeteners: For a change, try using agave syrup or honey (if not strictly vegan) to sweeten your ice cream.
- Make it a float: Serve your ice cream in a glass of your favorite soda for a fun ice cream float!
- Layer with toppings: Get creative with toppings such as crushed cookies, nuts, or caramel sauce for a delightful crunch.
- Make ice cream sandwiches: Use your favorite dairy-free cookies to create delicious ice cream sandwiches.
Perfect Pairings for Dairy Free Vanilla Ice Cream
When it comes to serving the delightful Dairy Free Vanilla Ice Cream, there are so many options that can elevate the experience. Here’s how you can serve it:
- Fresh Fruits: Pair your ice cream with fresh berries, sliced bananas, or peaches for a refreshing treat.
- Chocolate Sauce: Drizzle some dairy-free chocolate sauce over the top to add richness and a fun touch.
- Cookies: Serve scoops of ice cream between two soft cookies for an indulgent ice cream sandwich.
- Waffles or Pancakes: Add a scoop of ice cream atop warm waffles or pancakes for a decadent breakfast treat.
- Warm Desserts: Serve your ice cream alongside warm brownies or apple pie for a delightful contrast in temperature.
- Special Occasions: This ice cream is perfect for birthday parties or summer barbecues, adding a homemade touch to gatherings.
- Seasonal Toppings: Try using seasonal toppings, like crushed peppermint for winter or tropical fruits for summer.
FAQ
Conclusion
The Dairy Free Vanilla Ice Cream is a delightful treat that captures the essence of summer in every scoop. Its rich, creamy texture and subtle sweetness make it a perfect indulgence for any occasion. I encourage you to try making this recipe; it’s simple and rewarding. You’ll enjoy every moment of creating this delicious ice cream, and your taste buds will thank you!
Dairy Free Vanilla Ice Cream
Ingredients
Equipment
Method
- Transfer the bowl of your ice cream maker to the freezer and freeze for at least 24 hours before making the ice cream. This ensures the ice cream maker does its job properly by thoroughly freezing the base while churning air into it. Note: If you don’t own an ice cream maker, skip the ice cream machine directions and simply freeze the vanilla ice cream base in an airtight container once everything is mixed together.
- Add the two cans of coconut milk, pure maple syrup, and sea salt to a medium-sized saucepan and heat over medium heat. Stir and heat the ingredients just until they are well-combined and creamy. Taste test this mixture for sweetness and add more pure maple syrup to your personal taste if desired. Note: It is typical for canned coconut milk to separate when sitting at room temperature or cool temperatures. We perform this step to help melt the coconut flesh and water together so that we’re left with a creamy consistency.
- Remove the ice cream base from the heat and stir in the vanilla extract.
- Transfer the vanilla ice cream base to an airtight container and refrigerate until completely chilled, about 2 hours (the length of time depends on how hot your liquid got).
- Place the frozen freezer bowl of the ice cream maker into your ice cream machine.
- Pour the chilled ice cream custard into the ice cream machine and follow the manufacturer instructions for operating it. Allow the ice cream to churn until thick and it reaches a soft-serve consistency, about 20 to 30 minutes (or longer if need be).
- Once your ice cream reaches the consistency of vanilla soft serve, you can serve it right away as is or freeze it for a traditional firmer consistency. To do so, transfer the ice cream to a freezer-safe container. Many people use a loaf pan then cover it with plastic wrap. I like using an airtight container like a glass tupperware container for longer-term storage. Freeze until completely frozen, at least 2 hours.
- When you’re ready to serve the creamy vanilla ice cream, bring it out of the freezer and thaw at room temperature for a few minutes. Serve vanilla ice cream with any toppings such as fresh fruit (berries are delicious!), chocolate sauce, chocolate chips, cookies, peanut butter, caramel sauce, hot fudge, etc.
Notes
- Storage: Ice cream stays fresh in the freezer for up to 6 months.