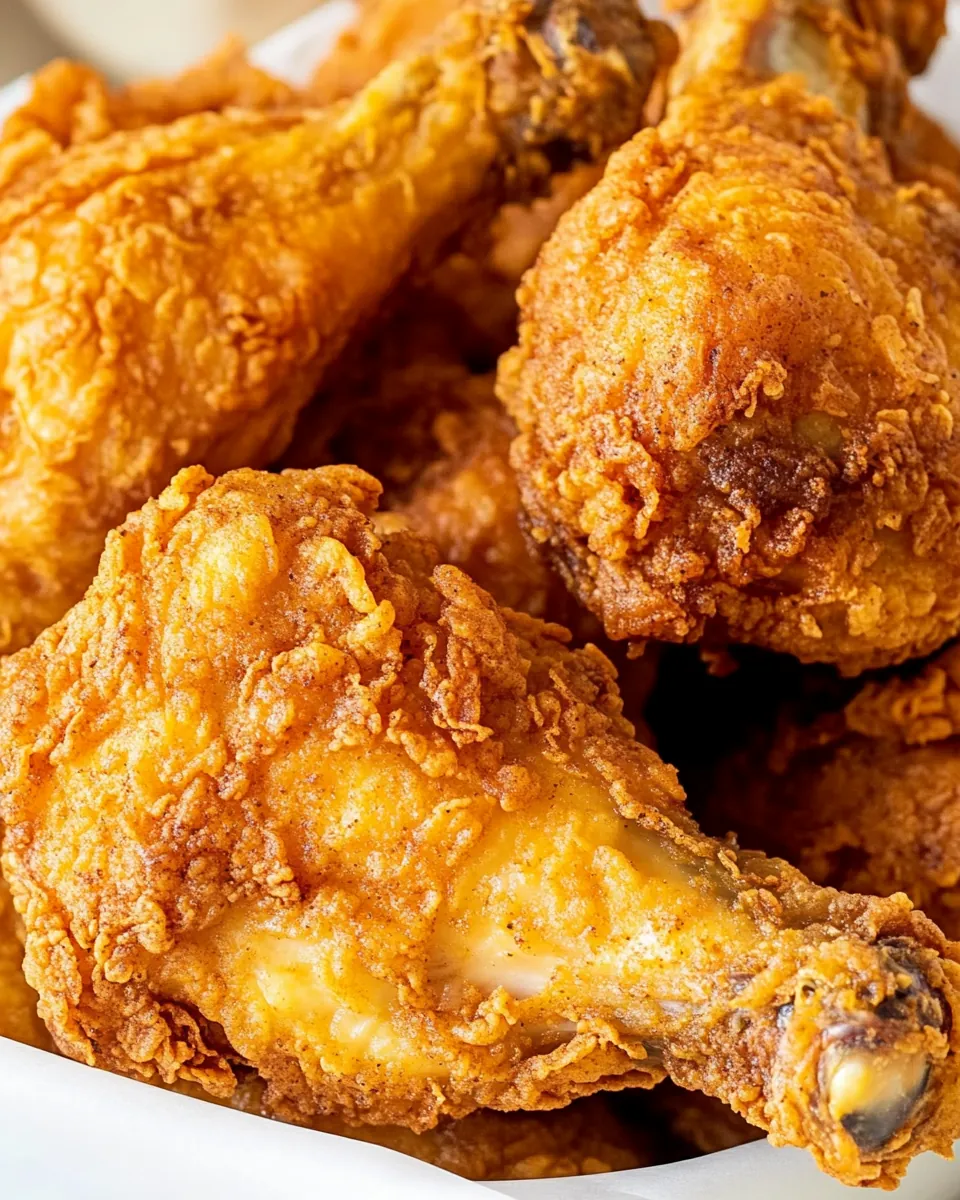
There’s something magical about a perfectly cooked Crispy Fried Chicken. I remember the first time I tried my hand at frying chicken at home. The aroma filled my kitchen, and my family gathered around, their eyes wide with anticipation. When I finally pulled that golden-brown chicken from the skillet, the crackling sound was music to my ears. The first bite was blissful, with juicy meat enveloped in a crunchy, flavorful crust. It’s moments like these that remind me why I love cooking—it brings people together and creates lasting memories. Making Crispy Fried Chicken at home isn’t just about the food; it’s about the laughter, the shared stories, and the joy of creating something that everyone loves.
Recipe Snapshot
35 mins
15 mins
20 mins
Easy
350 kcal
25 g
Whole30, Vegan, Gluten-Free
20 g
Mixing Bowl, Skillet
The Charm of This Crispy Fried Chicken
It’s Comfort Food at Its Best
There’s nothing quite like the comforting embrace of Crispy Fried Chicken after a long day. The combination of crunchy skin and tender meat makes it an irresistible choice for dinner. It’s a dish that warms the heart and fills the stomach, reminding me of family gatherings and celebrations.
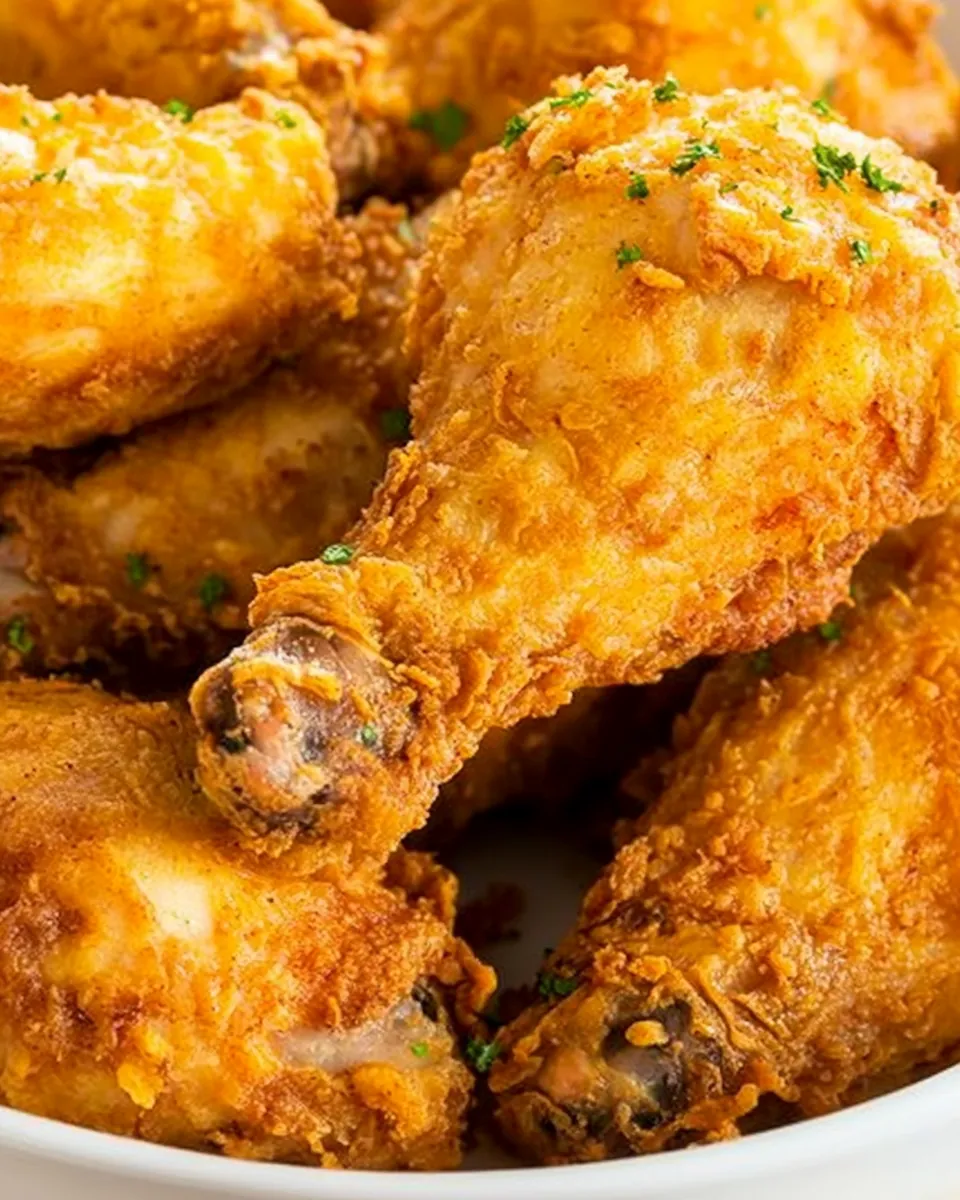
The Perfect Crunch
Achieving that perfect crispy texture is an art. The secret lies in the double coating of flour and the egg/buttermilk mixture. Each piece is lovingly dredged, ensuring that every bite is a satisfying crunch. You’ll find yourself savoring the sound as you take your first bite—it’s simply addictive!
Versatility at Its Finest
One of the best things about Crispy Fried Chicken is its versatility. You can serve it with a variety of sides like mashed potatoes, coleslaw, or a fresh salad. It adapts to any occasion, from casual family dinners to festive gatherings. You can even use the leftovers in sandwiches or salads, making it a great meal prep option.
A Recipe to Share
This dish is perfect for sharing with friends or family. When I serve Crispy Fried Chicken, it’s not just a meal; it’s an experience. Everyone gathers around the table, eager to dig in, and the laughter flows as we enjoy each other’s company. It’s a dish that brings people together.
Fried to Perfection
The satisfaction of frying chicken at home cannot be overstated. When you fry your own chicken, you control the ingredients, ensuring that it’s just as you like it. Plus, there’s a sense of accomplishment that comes with cooking something so delicious from scratch.
What You Need for Crispy Fried Chicken
Getting the right ingredients is crucial for the best Crispy Fried Chicken. Each component plays a vital role in achieving that delicious flavor and texture. From the succulent chicken to the crunchy coating, these ingredients work in harmony to create a dish that’s truly unforgettable.
- 1 cut-up chicken: A whole chicken cut into parts ensures a variety of textures and flavors. You’ll get juicy breasts, crispy wings, and tender thighs, making every bite a delightful surprise.
- 3 whole eggs: These help bind the flour to the chicken, creating that essential coating that becomes a crispy shell once fried.
- 1 cup of buttermilk: Buttermilk not only adds moisture but also tenderizes the chicken, infusing it with flavor.
- 2 ½ cups all-purpose flour: The main component for the crispy coating. It’s essential for achieving that crunchy texture.
- 1 teaspoon salt: Salt enhances the flavor of the chicken, making it more delicious.
- 1 teaspoon black pepper: Adds a bit of heat and depth to the flavor profile.
- 1 teaspoon paprika: This gives the coating a lovely color and a hint of smokiness.
- Vegetable or canola oil: Essential for frying. The oil must be hot enough to fry the chicken without soaking it. Aim for about 1 to 1 ½ cups, depending on your skillet size.
The Process for Making Crispy Fried Chicken
Frying chicken at home might sound daunting, but I assure you, it’s a rewarding experience! Follow these steps to create mouth-watering Crispy Fried Chicken that will impress everyone:
- Add the eggs and buttermilk to a mixing bowl. Use a fork to whisk them together until well combined. This mixture will serve as the base for coating the chicken, creating a delicious binding layer.
- Once combined, add all the chicken pieces into the bowl. Toss them gently to ensure each piece is well coated with the egg and buttermilk mixture. Cover and refrigerate for 2 to 4 hours. This step is crucial for flavor and tenderness, though you can omit it if you’re short on time.
- In a large gallon-size Ziplock bag, combine the flour, salt, black pepper, and paprika. Shake the bag to mix everything evenly. This is where the magic begins to happen!
- Take a few pieces of chicken at a time out of the buttermilk mixture and place them in the bag with the flour mixture. Shake the bag until the chicken is well coated. This double-dipping technique ensures a thick, crunchy crust.
- Now, place the coated chicken pieces on a plate, allowing them to rest for a few minutes while you heat the oil. This will help the coating stick better.
- In a large skillet, pour in enough vegetable or canola oil to cover the bottom by about half an inch. Heat the oil over medium-high heat. Test if it’s ready by sprinkling a pinch of flour into the oil; if it sizzles, you’re good to go!
- Carefully add the chicken pieces to the hot oil, making sure not to overcrowd the skillet. Fry in batches if necessary. This is key to achieving that delectable crunch.
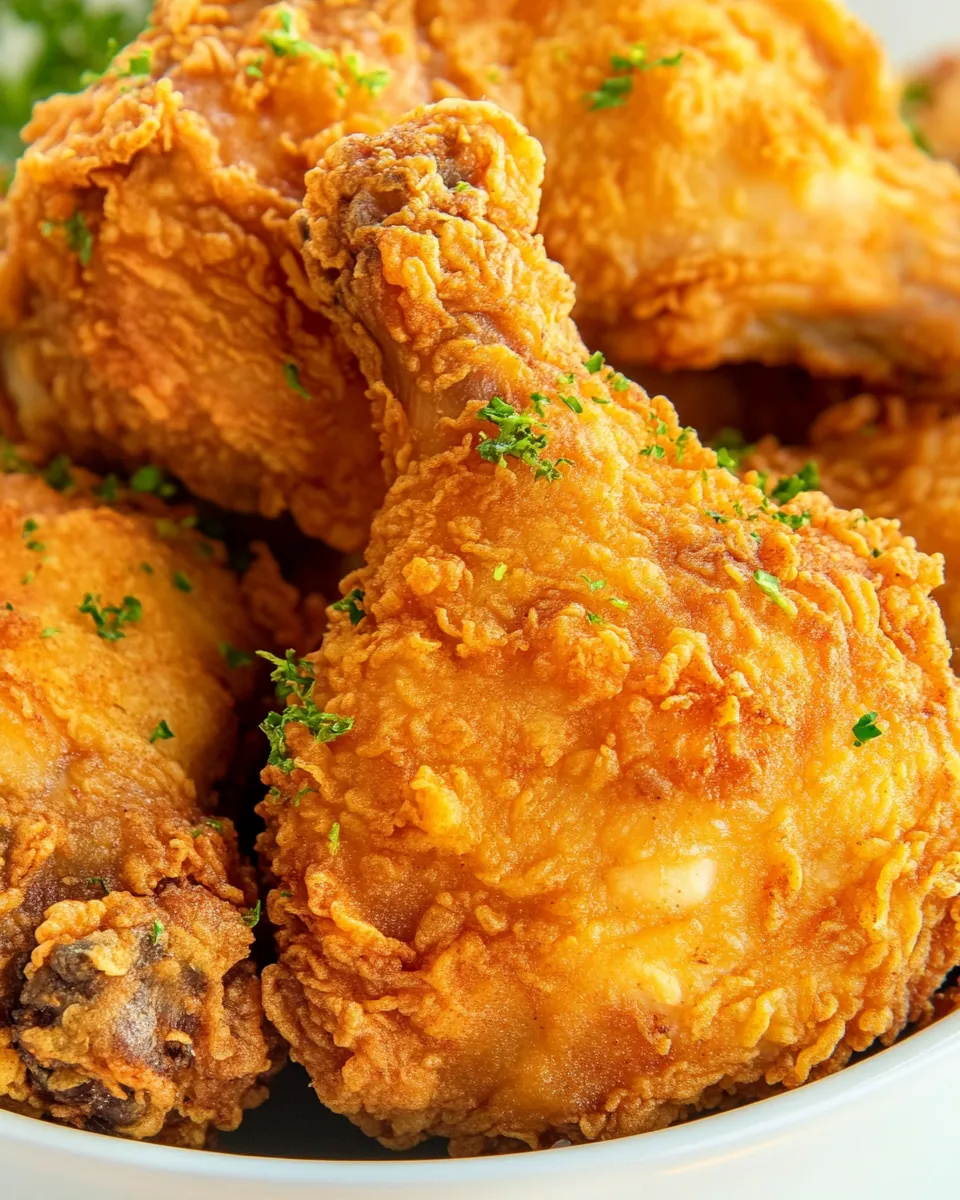
- Cook the chicken for about 5 to 7 minutes on each side, or until golden brown and crispy. Keep an eye on it, turning the pieces as needed. The skin should appear beautifully golden, and the aroma will be irresistible.
- To ensure the chicken is cooked through, pierce it with a fork; the juices should run clear. Once done, remove the pieces from the oil and place them on a baking sheet lined with paper towels to absorb excess oil.
- Continue frying the remaining chicken pieces, adding more oil if needed, and always testing the temperature with a pinch of flour. Let the fried chicken cool slightly before serving, allowing those flavors to settle.
Things Worth Knowing
- Temperature is Key: Ensure your oil is hot enough before adding the chicken. If it’s too cool, the chicken will absorb too much oil and become greasy.
- Don’t Rush the Refrigeration: Marinating the chicken in the buttermilk mixture can significantly enhance its flavor and tenderness.
- Use a Thermometer: If you have one, check the internal temperature of the chicken. It should reach 165°F (75°C) for safety.
- Rest Before Serving: Allowing the chicken to rest after frying helps lock in the juices, keeping it moist and flavorful.
Substitutions and Tips
While this recipe is fantastic as is, there are always ways to tweak it to fit your preferences. Here are some helpful tips and substitutions:
- Storage: Leftover Crispy Fried Chicken can be stored in an airtight container in the refrigerator for up to 3 days. Make sure to place parchment paper between layers to keep the coating crispy.
- Freezing: You can freeze fried chicken for up to 2 months. Allow it to cool completely before wrapping tightly in plastic wrap and foil.
- Pairing: It goes beautifully with sides like mashed potatoes, coleslaw, or a fresh garden salad. Don’t forget the biscuits!
- Spice it Up: If you love heat, consider adding cayenne pepper to the flour mixture for a spicy kick.
- Herbs: Fresh herbs like thyme or rosemary can be added to the flour mixture for an added flavor dimension.
- Mix it Up: For a different flavor profile, try using different oils or even deep-frying instead of skillet frying.
Serving Suggestions
When it comes to serving Crispy Fried Chicken, the sky is the limit! Here are some ideas to inspire you:
- Classic Pairings: Serve with creamy mashed potatoes and rich gravy for a comfort food classic that everyone will love.
- Fresh Salads: A crisp, fresh salad can balance the richness of fried chicken. Think about adding seasonal vegetables for a vibrant touch.
- Sandwiches: Leftover fried chicken makes an amazing sandwich. Top with pickles, lettuce, and your favorite sauce for a quick lunch.
- Picnics: Fried chicken is a picnic staple. Pack it along with some sides and enjoy a lovely day outdoors.
- Celebrations: This dish is perfect for gatherings and parties. Set up a buffet with various sides for guests to build their plates.
- Seasonal Touch: Pair with seasonal vegetables or fruit-based salsas for a refreshing twist.
FAQ
Conclusion
In summary, making Crispy Fried Chicken is not only a rewarding culinary experience but also a way to bring loved ones together. The combination of juicy chicken and crunchy coating is a timeless favorite that will surely impress everyone. I encourage you to try this recipe at home. You’ll find that the process is straightforward, and the results are utterly delicious. Get ready to enjoy moments filled with laughter and happiness as you serve this crowd-pleaser!
Crispy Fried Chicken
Ingredients
Equipment
Method
- In a mixing bowl, add the eggs and buttermilk. Use a fork and whip to combine. Add all the chicken pieces and toss to coat with the egg and buttermilk mixture. Cover and refrigerate for 2 to 4 hours. Refrigerating can be omitted but is recommended if time permits.
- In a gallon-size Ziplock bag, add the flour, salt, black pepper, and paprika. Shake to combine. Add a few pieces at a time and shake to coat. Place the coated pieces on a plate. Once all the pieces are coated, return them to the bag, shake, and coat once more.
- Add the oil to a large skillet. Turn to medium-high heat and allow the oil to get hot. Don't let the oil get to the smoking point before adding the chicken. Sprinkle a pinch of flour into the oil. When the oil sizzles, it’s ready for the chicken.
- Add chicken pieces to the oil and turn the burner to medium heat. Don’t overcrowd the skillet. I usually cook the breasts and thighs first. Always keep an eye on the chicken while frying. Use tongs or a fork to turn the pieces over when they're golden on one side.
- Remove the chicken pieces when they are golden brown on both sides and cooked through. Test the chicken by piercing it with a fork; if the juices run clear, it's done. Place the cooked chicken on a baking sheet lined with paper towels. Adding more oil may be needed before adding additional pieces. Make sure the oil is once again hot and tested with a pinch of flour before adding more chicken.
- Continue to add chicken to the oil until all the pieces are done and juices run clear. Allow to cool slightly before serving.
Notes
- Tip: Don’t allow the egg mixture to drip off before adding pieces to the flour mix for extra crispiness.
- Alternative: If a ziplock bag is not available, use a large mixing bowl for the flour mixture instead.
- Flavor Boost: Add a teaspoon of oil from the skillet to homemade biscuits before baking for an extra treat.
- Disposal Tip: Only dispose of the oil after it has cooled to room temperature. Do not pour water down the sink.