Every holiday season, I find joy in baking, especially when it comes to creating festive treats that light up any gathering. That’s why I love making Christmas Light Cupcakes. The bright colors and whimsical designs not only taste delicious but also bring a smile to everyone’s face. Whether it’s a holiday party, a family get-together, or just a special dessert for the kids, these cupcakes are sure to be a hit. The moment I lift the lid off the cupcake box, I can already envision the sparkle in my friends’ eyes as they reach for one of these delightful confections. With creamy frosting and colorful candies, they perfectly capture the spirit of Christmas and the joy it brings. Making these cupcakes has become a cherished tradition in my home, creating memories that I look forward to each year.
Recipe Snapshot
50 mins
30 mins
20 mins
Medium
280 kcal
2g g
Keto, Paleo, Whole30
14g g
Oven, Baking Sheet, Mixing Bowl
Why You’ll Love This Christmas Light Cupcakes
1. Festive Appearance
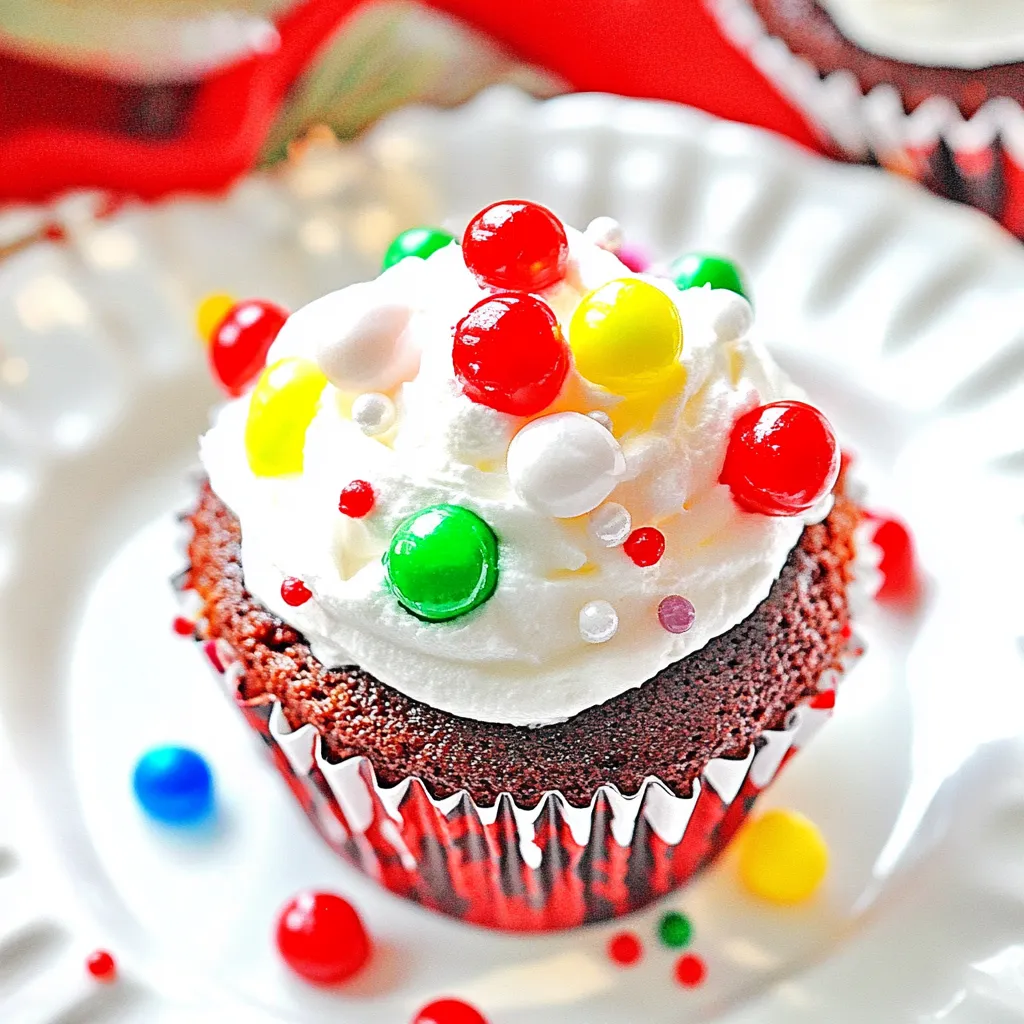
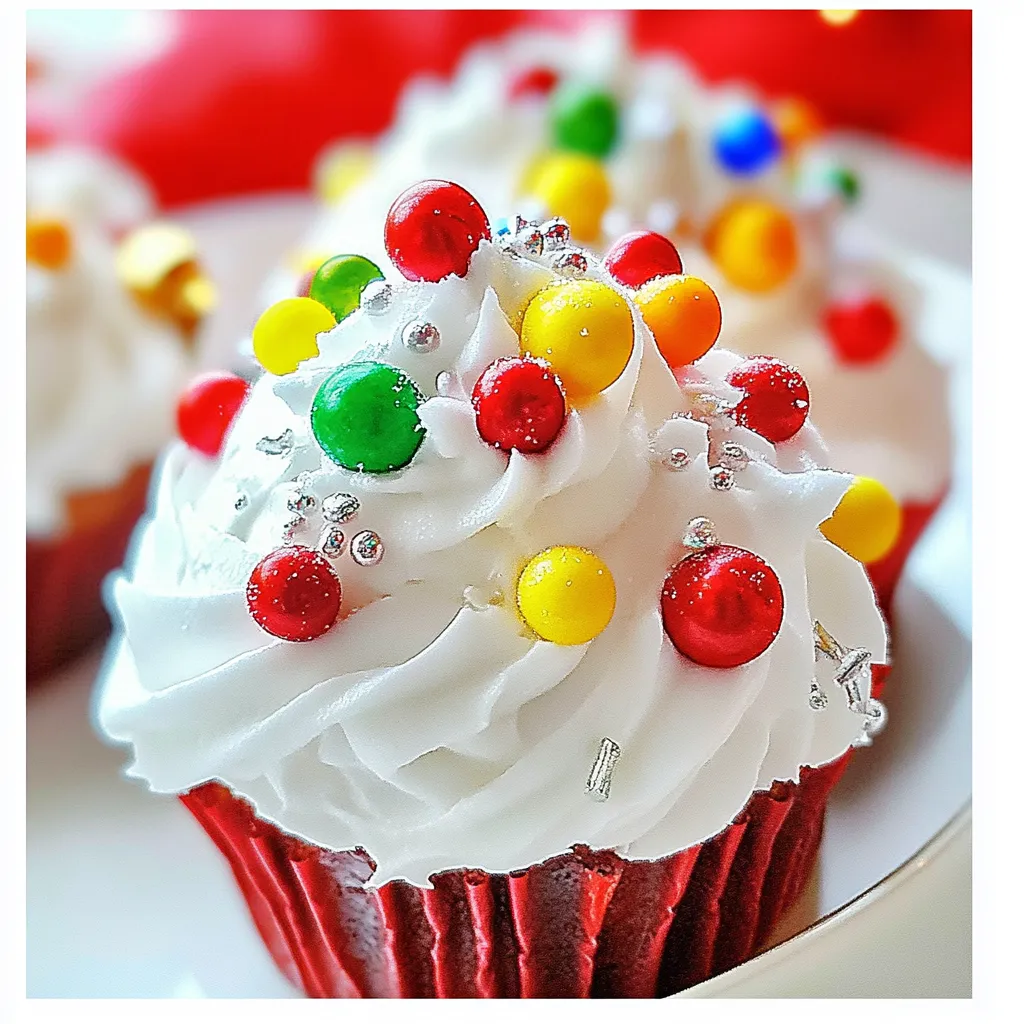
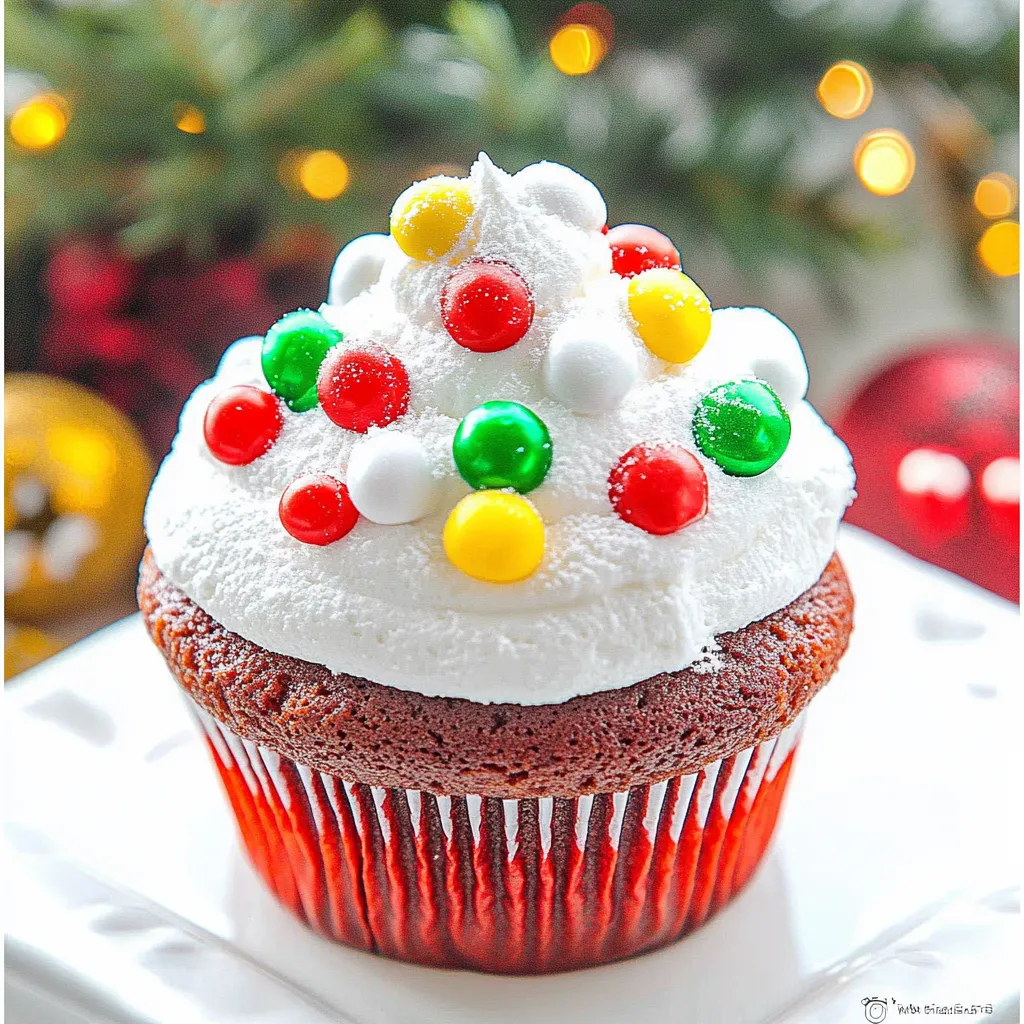
There’s something magical about the vibrant colors of Christmas Light Cupcakes. Topped with rich, fluffy frosting and adorned with M&M’s, they resemble sparkling lights on a Christmas tree. The visual appeal is sure to impress your guests and create an instant festive atmosphere.
2. Fun to Make
Baking these cupcakes is not just about the end result; it’s about the joy of creating them! I love involving the kids in the decorating process. There’s laughter in the kitchen as we pipe the frosting and carefully place the M&M’s. It’s a great way to make family memories.
3. Delicious Flavor
The flavor profile of the Christmas Light Cupcakes is as delightful as their appearance. The rich, velvety taste of the red velvet cake combined with the sweet buttercream frosting creates a heavenly combination that’s hard to resist. Each bite brings happiness and comfort, embodying the essence of holiday baking.
4. Perfect for Any Occasion
These cupcakes are perfect for a variety of festive occasions. Whether you’re hosting a Christmas party, a cookie swap, or simply want to add joy to your family’s holiday dinner, they fit seamlessly into the holiday festivities. Their charm and flavor make them a favorite among both kids and adults.
5. Customizable Designs
Your creativity can truly shine with these cupcakes. While M&M’s give a classic look, you can easily swap them out for other festive candies or sprinkles to match your theme. You can even experiment with different frosting colors or designs, making each batch unique!
6. Great for Gift Giving
If you’re looking to spread holiday cheer, Christmas Light Cupcakes make fantastic gifts. Package them in a festive box or arrange them on a platter, and they become a thoughtful, homemade gift that your friends and family will surely appreciate.
Main Ingredients for Christmas Light Cupcakes

When it comes to baking, the choice of ingredients plays a significant role in the final outcome. The ingredients for Christmas Light Cupcakes are not only staples in most kitchens but also work together harmoniously to create a deliciously festive treat. The key players like the red velvet cake mix, unsalted butter, and powdered sugar ensure a delightful combination of flavors and textures that everyone will love.
- {“amount”: “1”, “unit”: “box”, “name”: “Red Velvet Cake Mix“, “notes”: “Plus additional ingredients specified on the box for preparation.”}
- {“amount”: “3”, “unit”: “cups”, “name”: “Unsalted Butter“, “notes”: “At room temperature for easy mixing.”}
- {“amount”: “6”, “unit”: “cups”, “name”: “Powdered Sugar“, “notes”: “Sifted for a smooth frosting.”}
- {“amount”: “2”, “unit”: “teaspoons”, “name”: “Vanilla Extract“, “notes”: “Adds flavor to the frosting.”}
- {“amount”: “1/4”, “unit”: “teaspoon”, “name”: “Salt“, “notes”: “Balances the sweetness of the frosting.”}
- {“amount”: “1”, “unit”: “bottle”, “name”: “Black Food Coloring“, “notes”: “For decorating the cupcakes.”}
- {“amount”: “1”, “unit”: “bag”, “name”: “M&M’s“, “notes”: “Used as a fun decoration on the cupcakes.”}
Step by Step Instructions for Christmas Light Cupcakes
Creating these delightful Christmas Light Cupcakes is an enjoyable process that will fill your kitchen with festive aromas and excitement. Let’s dive into the steps to bring these cupcakes to life!
Preheat your oven to 350 degrees F. This temperature is crucial for baking the cupcakes evenly. As the oven warms, prepare your muffin tins by lining them with paper liners, filling them with 16 to 18 liners for easy removal post-baking.
Follow the instructions on the package of your red velvet cake mix to prepare the batter. This usually involves mixing the cake mix with eggs, water, and oil until well combined. Make sure there are no lumps for a smooth batter.
Divide the cake batter evenly among the prepared muffin tins, filling each about three-fourths full. This allows room for the cupcakes to rise without overflowing.
Bake your cupcakes in the preheated oven for 18 to 22 minutes. You’ll know they’re ready when a toothpick inserted into the center comes out clean. Once done, take them out and let them cool completely before frosting.
In a large bowl, add your unsalted butter. With an electric mixer, beat the butter until it becomes pale and smooth, taking about 30 seconds. This step is key to creating a light and fluffy frosting.
Gradually add the sifted powdered sugar, one cup at a time, while mixing on low speed. Be sure to scrape the sides of the bowl occasionally to incorporate all the ingredients. This will prevent any sugar clumps in your frosting.
Add the vanilla extract and salt to the bowl. Beat the mixture on low for about 15 to 20 seconds to combine. The flavors will merge beautifully, creating a delicious frosting base.
Now, increase the speed to high and beat the frosting until it’s light and fluffy, which usually takes about 5 minutes. It may seem soft at first, but don’t worry, it will thicken up and increase in volume.
Set aside about a cup of the buttercream for decorating. To this portion, add the black food coloring and mix until evenly colored. Place this frosting in a piping bag fitted with a small round tip for intricate decorating.
Fill another piping bag with the remaining buttercream, using either a star or large round tip. Pipe swirls of frosting onto each cupcake, creating a beautiful presentation.
Finally, using the black buttercream or chocolate sauce, pipe a string around the surface of the frosting for added decoration. Press M&M’s vertically into the side of each cupcake, giving them the appearance of Christmas lights.
Things Worth Knowing
- Use Room Temperature Ingredients: Ensure your butter is at room temperature before mixing. This will help create a smoother frosting and better texture in your cupcakes.
- Don’t Overmix: When combining the cake batter, mix just until the ingredients are incorporated. Overmixing can lead to dense cupcakes instead of light and fluffy ones.
- Cooling is Key: Allow the cupcakes to cool completely before frosting. If you frost them while they are still warm, the frosting will melt and won’t hold its shape.
- Experiment with Colors: Feel free to mix and match food colorings in the frosting or even in the cake batter to create a unique holiday look that suits your festive decorations.
Make It Your Own
Customizing your Christmas Light Cupcakes can make them even more special! Here are some tips to make them your own:
- Storage: To keep your cupcakes fresh, store them in an airtight container at room temperature for up to three days. If you need to store them longer, refrigerate them for up to a week.
- Freezing: You can freeze the unfrosted cupcakes. Once cooled, wrap them tightly in plastic wrap and place them in a freezer bag. They can be frozen for up to three months.
- Pairing: These cupcakes pair wonderfully with a warm cup of cocoa or holiday-themed beverages. Consider serving them alongside a festive punch or eggnog.
- Variations: Feel free to experiment with different flavors of cake mix, such as chocolate or vanilla, to create unique versions of these festive cupcakes.
- Decorate with Fruit: For a healthier twist, decorate your cupcakes with seasonal fruits such as strawberries or edible flowers alongside the candies.
What to Serve With Christmas Light Cupcakes
When it comes to serving your Christmas Light Cupcakes, there are many delightful options that can complement them beautifully:
- Holiday Drinks: Serve with festive beverages like homemade hot chocolate, peppermint lattes, or a seasonal punch to enhance the holiday spirit.
- Cheese Platters: Offer a platter of assorted cheeses and crackers. The savory flavors balance the sweetness of the cupcakes perfectly.
- Fruit Salads: A refreshing fruit salad can provide a light contrast to the rich flavors of the cupcakes, making it a great side dish.
- Cookies: Pair these cupcakes with a selection of traditional Christmas cookies for a delightful dessert spread.
- Centerpiece: Arrange the cupcakes on a festive platter as a centerpiece for your holiday table, making them easy for guests to grab and enjoy.
- Gift Idea: These cupcakes make for a wonderful gift. Package them in a decorative box and share them with neighbors or friends during the holiday season.
FAQ
Conclusion
Making Christmas Light Cupcakes is a delightful way to celebrate the holiday spirit. Their vibrant colors and delicious flavors create a festive treat that everyone can enjoy. I encourage you to try this recipe and share it with your loved ones. Baking together can lead to cherished memories and a sweet ending to your holiday celebrations.
Christmas Light Cupcakes
Ingredients
Equipment
Method
- Preheat your oven to 350 degrees F. This temperature is crucial for baking the cupcakes evenly. As the oven warms, prepare your muffin tins by lining them with paper liners, filling them with 16 to 18 liners for easy removal post-baking.
- Follow the instructions on the package of your red velvet cake mix to prepare the batter. This usually involves mixing the cake mix with eggs, water, and oil until well combined. Make sure there are no lumps for a smooth batter.
- Divide the cake batter evenly among the prepared muffin tins, filling each about three-fourths full. This allows room for the cupcakes to rise without overflowing.
- Bake your cupcakes in the preheated oven for 18 to 22 minutes. You’ll know they’re ready when a toothpick inserted into the center comes out clean. Once done, take them out and let them cool completely before frosting.
- In a large bowl, add your unsalted butter. With an electric mixer, beat the butter until it becomes pale and smooth, taking about 30 seconds. This step is key to creating a light and fluffy frosting.
- Gradually add the sifted powdered sugar, one cup at a time, while mixing on low speed. Be sure to scrape the sides of the bowl occasionally to incorporate all the ingredients. This will prevent any sugar clumps in your frosting.
- Add the vanilla extract and salt to the bowl. Beat the mixture on low for about 15 to 20 seconds to combine. The flavors will merge beautifully, creating a delicious frosting base.
- Now, increase the speed to high and beat the frosting until it’s light and fluffy, which usually takes about 5 minutes. It may seem soft at first, but don’t worry, it will thicken up and increase in volume.
- Set aside about a cup of the buttercream for decorating. To this portion, add the black food coloring and mix until evenly colored. Place this frosting in a piping bag fitted with a small round tip for intricate decorating.
- Fill another piping bag with the remaining buttercream, using either a star or large round tip. Pipe swirls of frosting onto each cupcake, creating a beautiful presentation.
- Finally, using the black buttercream or chocolate sauce, pipe a string around the surface of the frosting for added decoration. Press M&M's vertically into the side of each cupcake, giving them the appearance of Christmas lights.