Every time I bake Blackberry Scones, I’m transported back to my grandmother’s kitchen on a sunny Saturday morning. The smell of fresh *baking* wafting through the house was almost as inviting as the promise of warm scones paired with a cup of tea. Blackberries, bursting with flavor, always seemed to find their way into our kitchen, and I remember the joy of picking them fresh from the bush. There’s something magical about the combination of fluffy scones and sweet, tart blackberries that makes these treats perfect for any gathering or just a cozy afternoon at home.
When I think of Blackberry Scones, I also think of how simple they are to make yet how elegant they feel. They are perfect for brunch with friends, a delightful afternoon snack, or even a sweet breakfast option. The contrast of the crispy exterior with the tender inside and the juicy blackberries creates a delightful harmony of textures and flavors that are hard to resist. Whether enjoyed plain or drizzled with a sweet glaze, Blackberry Scones will bring a smile to your face with every bite.
As a bonus, these scones are a breeze to whip up, making them a staple in my home baking repertoire. I love serving them warm from the oven, and they never last long on the table. If you haven’t yet tried making scones, now is the perfect time to start. Join me in the kitchen, and let’s create something special together!
Recipe Snapshot
45 mins
25 mins
20 mins
Medium
230 kcal
3 g
Gluten-Free, Low FODMAP
10 g
Blender, Wooden Spoon, Oven, Whisk, Mixing Bowl, Baking Sheet
What’s Great About This Blackberry Scones
They’re a True Treat
There’s something incredibly satisfying about baking Blackberry Scones. The way the dough comes together is pure magic, and the anticipation while they bake is thrilling. I love how they fill the house with an irresistible aroma that makes everyone in the family wander into the kitchen, drawn by the scent.
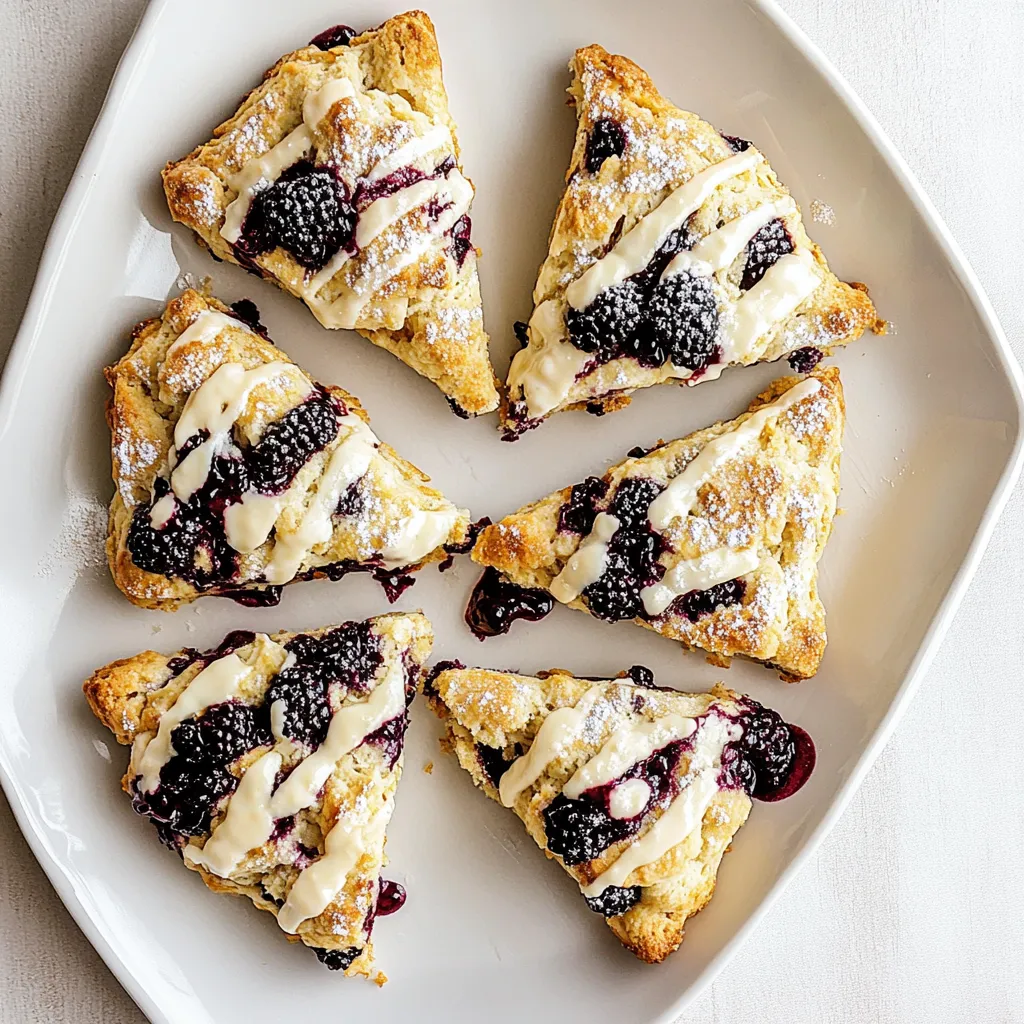
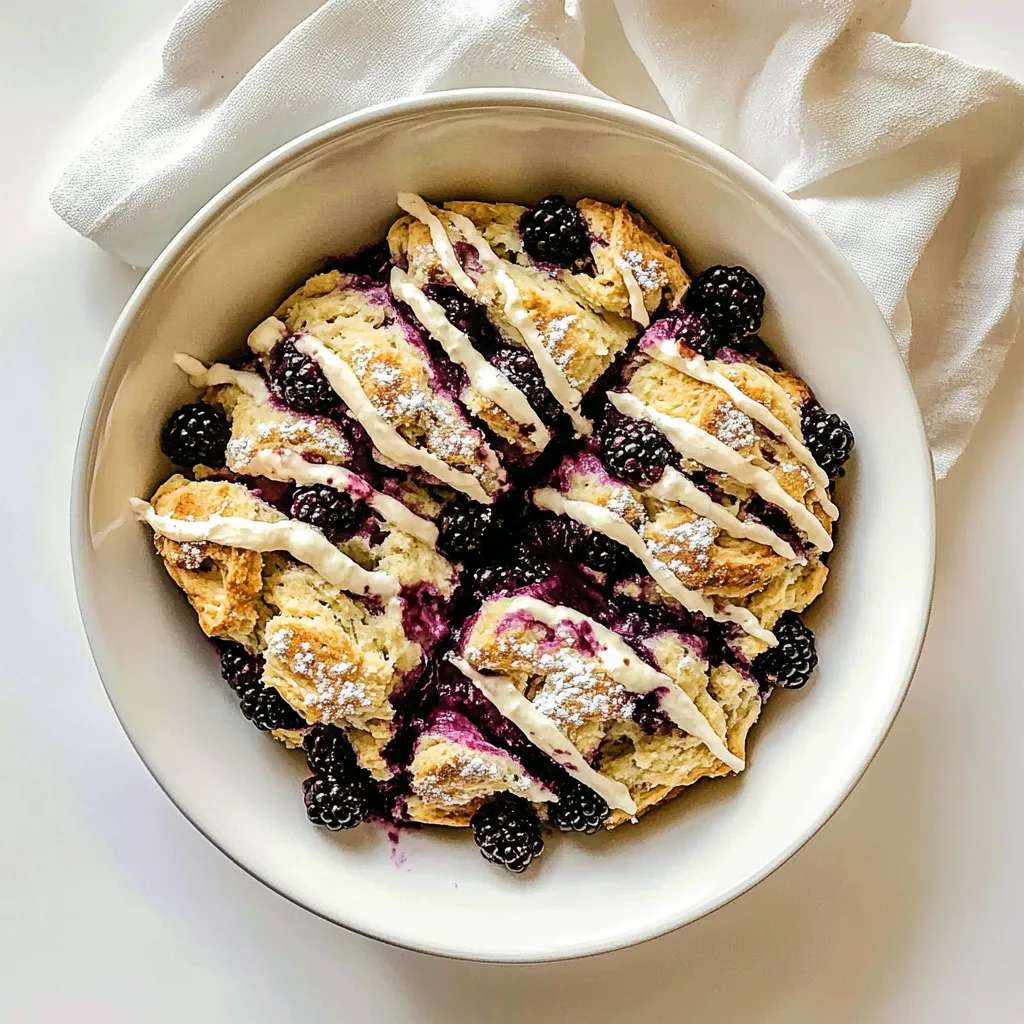
Beautiful Presentation
These scones are not just delicious; they look beautiful too. The vibrant pops of blackberries against the golden-brown pastry create a stunning visual treat. They’re great for impressing guests at brunch or enjoying on a quiet morning with a cup of coffee.
Perfectly Versatile
One of the reasons I adore Blackberry Scones is their versatility. You can enjoy them warm, or let them cool for a couple of days while still maintaining their delightful texture. Add a dollop of clotted cream, a smear of butter, or enjoy them on their own; they never disappoint!
Simple Ingredients
Using simple, everyday ingredients means that I can whip up these Blackberry Scones anytime without a special trip to the store. Little ingredients like flour, sugar, and fresh blackberries are staples I usually have on hand, making this recipe approachable for everyone.
Family Tradition
Baking scones has become a cherished tradition in my family. I love passing down this recipe to my kids, teaching them the joy of baking from scratch, and sharing the sweet moments we create together.
Great for Any Occasion
Whether you’re celebrating a special occasion or just enjoying a quiet moment, Blackberry Scones fit seamlessly into any setting. Their delicious flavor can brighten any gathering and make an ordinary day feel extraordinary.
Ingredient List for Blackberry Scones
When it comes to baking Blackberry Scones, the ingredients are truly the stars of the show. Each component plays its part, creating a delicious scone that’s fluffy, sweet, and bursting with flavor. The combination of fresh blackberries with a buttery dough ensures that every bite is a celebration of taste.
- 2 cups all-purpose flour – This is the foundation of your scones, providing structure while keeping them light and fluffy.
- 1/3 cup granulated sugar – A hint of sweetness that balances the tartness of the blackberries.
- 1 tablespoon baking powder – This is the leavening agent that helps the scones rise perfectly.
- 1/2 teaspoon kosher salt – A subtle touch that enhances the flavors throughout the scone.
- 6 tablespoons cold unsalted butter, cut into small cubes – The key to a flaky texture, the colder the butter, the better the result.
- 1/2 cup cold buttermilk, plus more for brushing the tops – This adds moisture and a slight tang, which makes the scones tender.
- 1 large egg – Helps bind the ingredients together while adding richness.
- 1 teaspoon vanilla bean paste or pure vanilla extract – Infuses the scones with a lovely depth of flavor.
- 1 1/4 cups blackberries – These fresh, juicy fruits are the star ingredient, adding sweetness and tartness.
- 2 tablespoons turbinado sugar, for sprinkling on scones – Adds a crunchy, sweet topping that contrasts beautifully with the soft scone.
- 1 cup confectioner’s sugar – Essential for the glaze, giving it that delightful sweetness.
- 2 tablespoons whole milk – This thins the glaze to a perfect drizzling consistency.
- 1/2 teaspoon vanilla bean paste or pure vanilla extract – To enhance the flavor of the glaze.
Cooking Instructions for Blackberry Scones
Making Blackberry Scones is a straightforward process, but the results are incredibly rewarding. Let’s get started on this delightful baking adventure!
- Preheat your oven to 400 degrees F and line a large baking sheet with parchment paper. This helps with easy cleanup and prevents the scones from sticking.
- In a large bowl, whisk together the flour, sugar, baking powder, and salt. Make sure everything is well combined, as this will ensure your scones rise evenly.
- Using a pastry blender or your hands, quickly cut the cold butter into the flour mixture. You want it to resemble coarse meal with some larger lumps of butter still visible. This will create a flaky texture in your scones.
- In a small bowl, whisk together the buttermilk, egg, and vanilla. Pour the wet ingredients over the flour mixture. Stir gently with a spatula until the dough starts to come together—avoid over mixing.
- Gently fold in the blackberries, being careful not to break them apart too much. You want those luscious berries to remain intact for that burst of flavor.
- Transfer the dough to a floured countertop. With clean hands, gently push the dough together until it forms a ball. Pat it into a circle about 1 inch thick, ensuring not to overwork it.
- Using a sharp knife, cut the dough into 8 triangles. This is the classic scone shape; feel free to get creative.
- Place the scones on your prepared baking sheet and put them in the freezer for 15 to 20 minutes. This step helps prevent spreading while baking.
- Brush the tops of the scones with additional buttermilk and sprinkle with turbinado sugar for that crunchy, sweet topping.
- Bake the scones for 18 to 23 minutes, or until they’re golden brown on the bottom and around the edges. Let them cool for about 5 minutes on the baking sheet before transferring to a wire rack.
- While the scones cool, prepare the glaze. In a small bowl, whisk together the confectioner’s sugar, milk, and vanilla until smooth. Drizzle over the cooled scones.
- Enjoy your homemade Blackberry Scones fresh out of the oven!
Things Worth Knowing
- Chill the Butter: Keeping your butter cold is essential for flaky scones. Warm butter can result in denser scones.
- Don’t Overmix: Gently mix the dough until just combined. Overmixing activates the gluten, leading to tougher scones.
- Experiment with Flavors: While blackberries are fantastic, consider adding lemon zest or other berries for a different twist.
- Proper Storage: Store scones in an airtight container at room temperature for up to two days. They are best enjoyed fresh!
Making Adjustments
Here are some tips to help you successfully adjust your Blackberry Scones for different occasions or preferences.
- Storage: To store leftovers, place scones in an airtight container and keep them at room temperature. They are best enjoyed fresh but can last for up to two days.
- Freezing: You can freeze unglazed scones in a single layer, then transfer them to a freezer bag. Reheat from frozen in the oven at 350°F for 10 to 12 minutes, adding glaze afterward.
- Freezing the Dough: You can shape and cut the scones, then freeze them on a baking sheet. Once solid, transfer to a freezer-safe bag and bake from frozen, just adding 2 to 3 extra minutes to the baking time.
- Flavor Variations: Feel free to experiment with other fruits like raspberries or blueberries. You can also add nuts or spices for a unique twist.
- Serving Suggestions: Try serving scones with clotted cream or jam for an extra delicious treat during brunch or afternoon tea.
- Adjusting Sweetness: If you prefer your scones less sweet, feel free to reduce the sugar in the dough or glaze to suit your taste.
Accompaniments for Blackberry Scones
Serving Blackberry Scones is just as delightful as making them, and there are plenty of ways to elevate the experience.
- With Clotted Cream: A traditional pairing, clotted cream adds a rich, creamy element that complements the scones perfectly.
- Fresh Fruit: Serve with additional fresh blackberries or seasonal fruits to enhance the scone’s berry flavor.
- Jam Selection: Offer a variety of jams, such as raspberry or apricot, for guests to spread on their scones.
- Tea Time: Pair your scones with a pot of tea, making it a perfect afternoon treat or brunch item.
- Breakfast Delight: Enjoy scones as a special breakfast treat, served alongside coffee or hot chocolate.
- Picnic Perfect: These scones are great for a picnic; pack them in a basket with some butter and jam for a delightful outdoor treat.
- Holiday Gatherings: Serve Blackberry Scones during holiday brunches or family gatherings for a sweet touch that everyone will love.
FAQ
Conclusion
The charm of Blackberry Scones lies in their delightful combination of flavors and textures, making them a beloved treat for any occasion. Whether you’re sharing them with friends or enjoying a quiet moment alone, these scones are sure to bring joy to your day. I encourage you to try making them; you won’t be disappointed. With a little time and love, you’ll create a batch of scones that will have everyone asking for seconds!
Blackberry Scones
Ingredients
Equipment
Method
- Preheat your oven to 400 degrees F and line a large baking sheet with parchment paper. This helps with easy cleanup and prevents the scones from sticking.
- In a large bowl, whisk together the flour, sugar, baking powder, and salt. Make sure everything is well combined, as this will ensure your scones rise evenly.
- Using a pastry blender or your hands, quickly cut the cold butter into the flour mixture. You want it to resemble coarse meal with some larger lumps of butter still visible. This will create a flaky texture in your scones.
- In a small bowl, whisk together the buttermilk, egg, and vanilla. Pour the wet ingredients over the flour mixture. Stir gently with a spatula until the dough starts to come together—avoid over mixing.
- Gently fold in the blackberries, being careful not to break them apart too much. You want those luscious berries to remain intact for that burst of flavor.
- Transfer the dough to a floured countertop. With clean hands, gently push the dough together until it forms a ball. Pat it into a circle about 1 inch thick, ensuring not to overwork it.
- Using a sharp knife, cut the dough into 8 triangles. This is the classic scone shape; feel free to get creative.
- Place the scones on your prepared baking sheet and put them in the freezer for 15 to 20 minutes. This step helps prevent spreading while baking.
- Brush the tops of the scones with additional buttermilk and sprinkle with turbinado sugar for that crunchy, sweet topping.
- Bake the scones for 18 to 23 minutes, or until they’re golden brown on the bottom and around the edges. Let them cool for about 5 minutes on the baking sheet before transferring to a wire rack.
- While the scones cool, prepare the glaze. In a small bowl, whisk together the confectioner’s sugar, milk, and vanilla until smooth. Drizzle over the cooled scones.
- Enjoy your homemade Blackberry Scones fresh out of the oven!
Notes
- Room Temperature: They are best the day they are made, but you can store cooled scones in an airtight container for up to 2 days.
- Freezing baked scones: Freeze unglazed scones in a single layer, then transfer to a freezer bag. Reheat from frozen in the oven at 350°F for 10 to 12 minutes. Add glaze after reheating.
- Freezing the dough: Shape and cut the scones, then freeze on a baking sheet. Once solid, transfer to a freezer-safe bag. Bake from frozen, just add 2 to 3 extra minutes to the baking time.