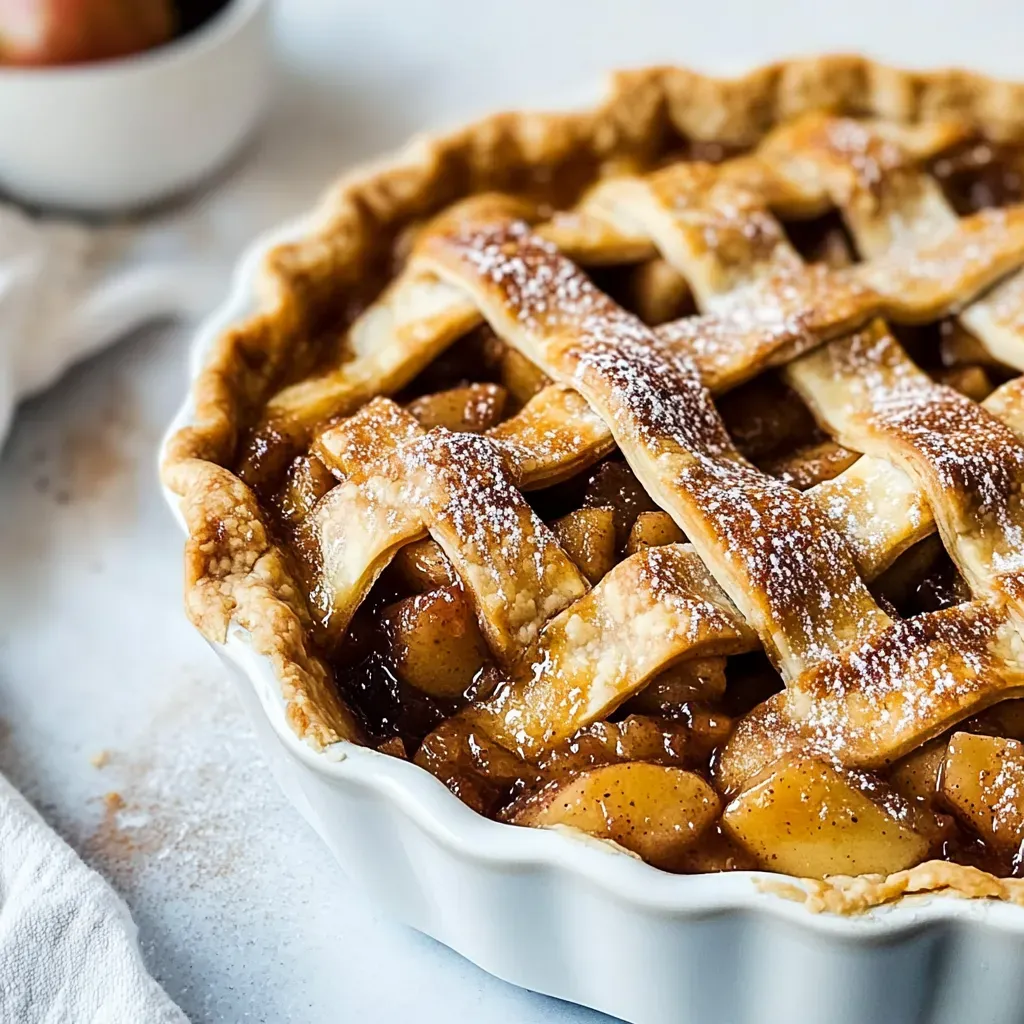
Every time I think of a warm slice of Apple Pie, I’m transported back to my grandmother’s kitchen. The aroma of sweet, spiced apples wafting through the air was a sign that something special was happening. I remember walking in from the chilly autumn air, the warmth of the kitchen wrapping around me like a cozy blanket. As the golden crust beckoned, I couldn’t wait to dig in. Making Apple Pie has become a cherished tradition in my home, a way to gather friends and family around the table for a comforting dessert that sparks joy and nostalgia. Each bite is a reminder of love, laughter, and the changing seasons.
Recipe Snapshot
2 hr 30 mins
90 mins
60 mins
Hard
350 kcal
2 g
Gluten-Free, Low FODMAP
15 g
Pie pan, Large pot
The Charm of This Apple Pie
It’s a Classic
There’s something timeless about Apple Pie. It’s a dish that has graced tables for generations, bringing people together to celebrate life’s moments—big and small. The combination of tender, juicy apples and a buttery, flaky crust is simply irresistible. Whether it’s a family gathering or a quiet evening at home, this pie fits the occasion perfectly.
Customizable Goodness
What I love most about Apple Pie is its versatility. You can play with spices, add a touch of lemon for brightness, or even mix in other fruits. It’s a canvas for your creativity! Each time I make it, I find a little way to make it unique, adding my personal touch to a classic recipe.
Seasonal Star
Nothing says fall quite like Apple Pie. The crispness of the apples perfectly matches the cool breeze outside, creating a cozy atmosphere that’s hard to resist. Making this pie is a way to embrace the season and all its flavors, showcasing the bounty of fresh apples available during the fall harvest.
Perfect for Gatherings
When friends come over, serving a homemade Apple Pie is always a hit. It’s the kind of dessert that brings smiles and complements a warm cup of coffee or tea. It’s not just a dessert; it’s a conversation starter, a memory maker, and a way to show love through food.
A Slice of Comfort
In a world that can be chaotic, there’s solace in the simple act of making Apple Pie. The rhythm of peeling apples, rolling dough, and baking brings a sense of peace and fulfillment. Every time I slice into that golden crust, it’s not just about enjoying a delicious dessert; it’s about savoring the moment and finding joy in the process.
Shopping List for Apple Pie
Gathering ingredients for Apple Pie is a delightful experience. Each component plays a crucial role in creating the perfect dessert. The crispness of the apples, the richness of the butter, and the warmth of the spices come together to create a symphony of flavors that dance on your palate. Here’s what you’ll need to get started:
- Lemon: Adds brightness to the filling.
- Pie Crusts: The foundation of your pie, choose store-bought or homemade.
- Apples: Select a mix, like Honeycrisp and Granny Smith, for a balanced flavor.
- Unsalted Butter: Provides richness to the filling.
- Dark Brown Sugar: Adds depth of flavor and a caramelized touch.
- Ground Cinnamon: A warm spice that complements the apples beautifully.
- Allspice: Offers a hint of complexity to the filling.
- Ground Cloves: A little goes a long way, bringing warmth and richness.
- Ground Nutmeg: Adds a lovely aromatic note.
- Salt: Enhances the overall flavor.
- Granulated Sugar: Balances the tartness of the apples.
- Flour: Thickens the filling and helps create a perfect crust.
- Vanilla Extract: Adds sweetness and depth to the filling.
- Honey Vanilla Greek Yogurt: Creaminess to the filling (or sour cream as a substitute).
- Egg: Provides richness and helps seal the crust.
- Milk: Used in the egg wash for a beautiful finish.
- Sugar Topping: Optional, for a sweet crunch on top.
How to Make Apple Pie
The journey to a perfect Apple Pie begins with love and care. Follow these steps closely, and you will soon have a delicious pie that fills your home with wonderful aromas.
Start by zesting a lemon with a zester to gather one teaspoon of zest. Then, juice the lemon using a citrus juicer to get two tablespoons of lemon juice. Set these aside as they will enhance the flavor of your filling.
You have the option to buy pie crusts or make them from scratch. If you choose to make them, make sure to chill the dough (wrapped tightly in plastic wrap) for at least thirty minutes before you roll it out. Keeping everything cold is essential for a flaky crust!
Next, peel and core the apples. Dice them into half-inch cubes, making sure you measure about seven cups. This will ensure your pie is perfectly filled.
In a large pot over medium heat, melt the unsalted butter. Add the diced apples and pour in the lemon juice and zest. Stir in dark brown sugar, ground cinnamon, allspice, ground cloves, ground nutmeg, and salt. Cook this mixture, stirring occasionally, for about six to eight minutes until the juices thicken and the apples start to soften.
In a small bowl, mix together the granulated sugar and flour. Sprinkle this over your apple filling in the pot and stir. Cook for an additional four to five minutes while stirring often until the filling thickens. Remove from heat and let it sit for five minutes. Stir in vanilla extract and Greek yogurt before refrigerating the apple filling until it’s chilled, which should take about forty-five minutes.
While your filling cools, whisk together a large egg and milk in a small bowl until smooth. This mixture will serve as your egg wash to achieve a golden crust.
Once your filling has cooled, place one pie crust in the bottom of a nine-point-five-inch pie pan. Lightly brush the crust with the egg wash. Spread the cooled apple filling evenly over the crust, making sure it’s well-distributed.
Cover the top with the second pie crust. Press around the edges to seal the two crusts together. Trim or tuck any excess crust so it’s flush with the rim of the pan. If you like, crimp the edges for a decorative touch. Chill the assembled pie in the fridge for thirty minutes to an hour.
Preheat your oven to four hundred degrees Fahrenheit. After chilling, take the pie out and brush all but the crimped edges with the egg wash. If you’d like, sprinkle optional sparkling sugar on top of the pie for an extra touch of sweetness.
Set the pie on a sheet pan lined with parchment paper and bake for fifty-five to sixty-five minutes, or until the crust turns a deep golden brown. If the crust browns too quickly, use a pie shield to protect it.
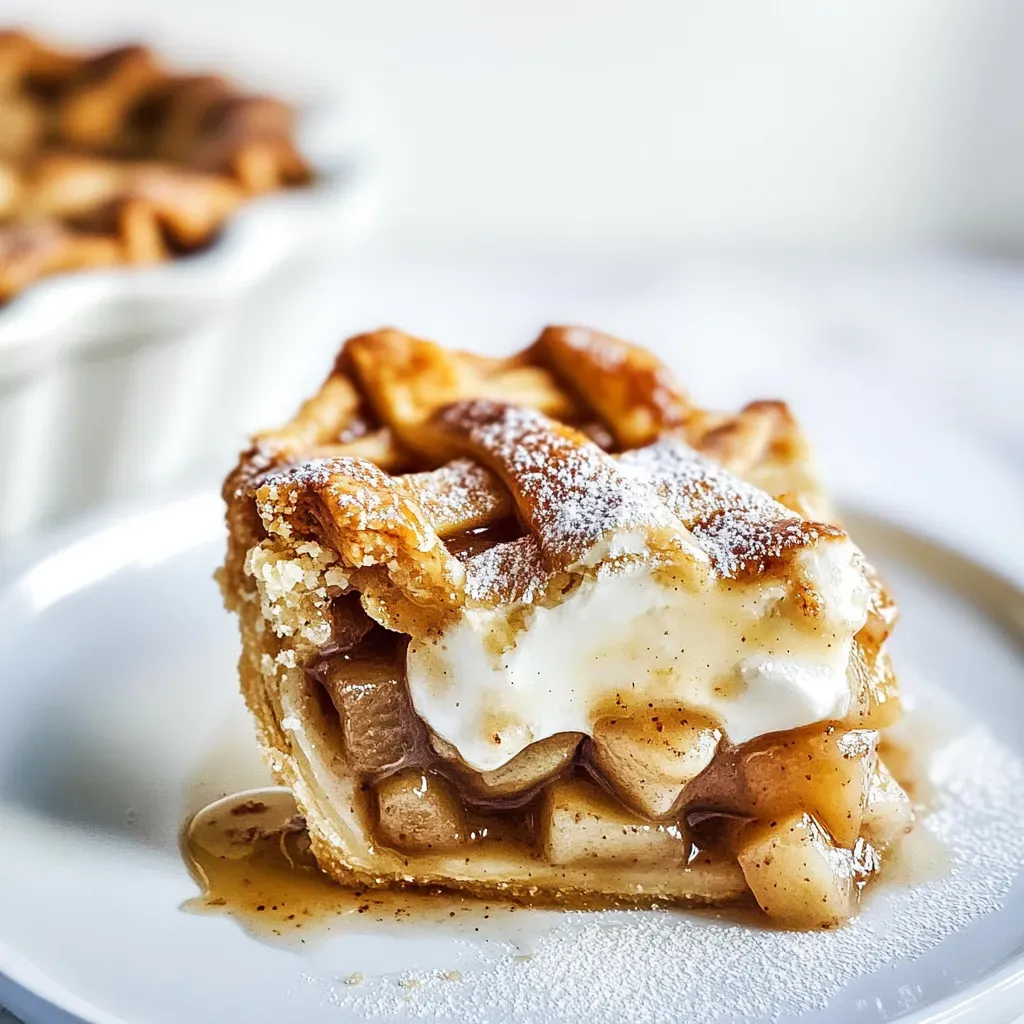
Once baked, let the pie cool completely at room temperature before cutting into it. I usually wait three to five hours to ensure the filling sets properly. If desired, serve your Apple Pie with fresh whipped cream or vanilla bean ice cream for a truly decadent treat!
Things Worth Knowing
- Choose the Right Apples: A mix of sweet and tart apples, such as Honeycrisp and Granny Smith, creates a well-balanced filling.
- Keep Ingredients Cold: Chilling your pie crust and filling helps achieve a flaky texture.
- Don’t Skip the Cooling Time: Allowing the pie to cool before slicing ensures the filling thickens properly.
- Experiment with Spices: Feel free to adjust the spices to your taste, adding nutmeg or ginger for extra depth.
Change It Up
There are countless ways to make Apple Pie your own. Here are some creative tips to consider:
- Storage: Store leftover Apple Pie covered for up to two days at room temperature. For longer storage, keep it in an airtight container in the fridge for up to five days.
- Freezing: You can freeze Apple Pie tightly wrapped for up to three months. Thaw in the fridge before serving, and reheat in the oven at three hundred fifty degrees Fahrenheit for the best texture.
- Variations: Try adding cranberries or pears to your filling for a twist! Different fruit can introduce new flavors while keeping the pie classic.
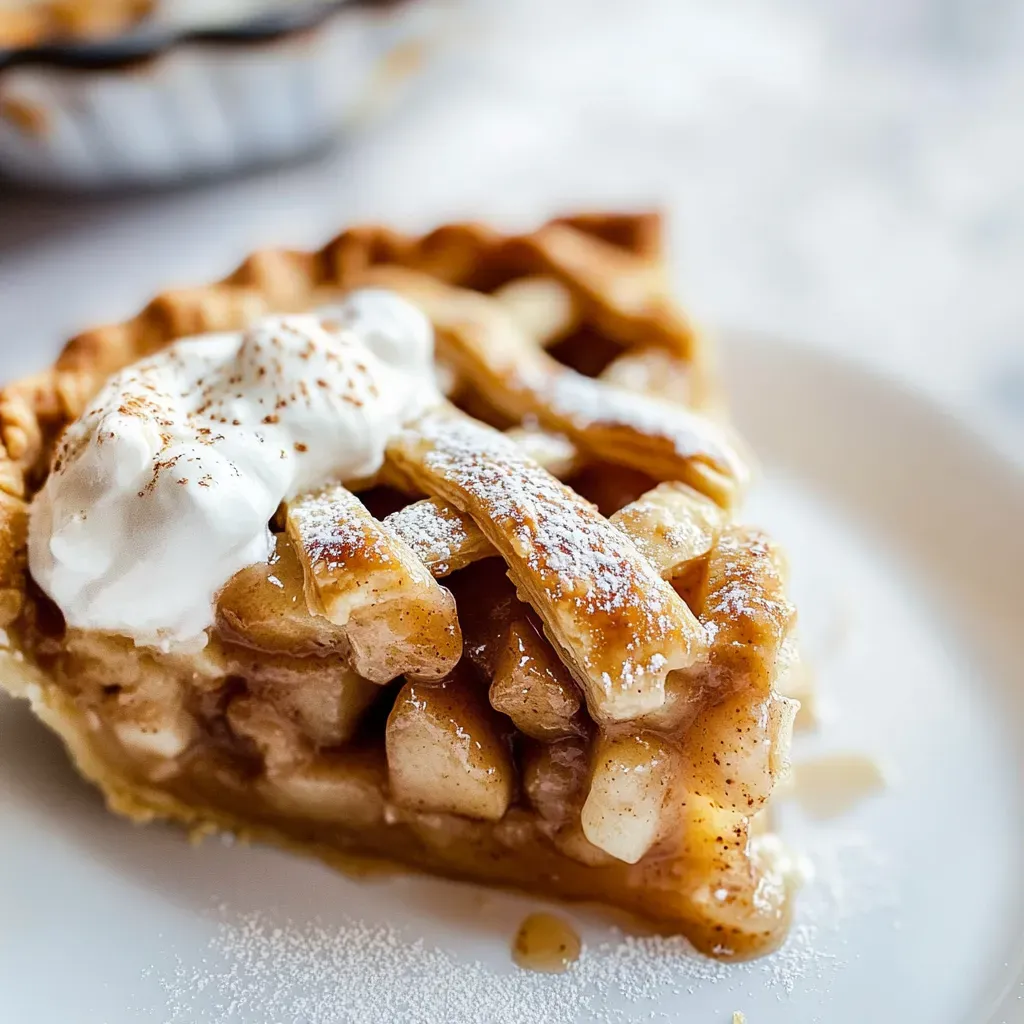
- Pairing: Serve Apple Pie with a scoop of vanilla ice cream or a dollop of whipped cream for an indulgent treat.
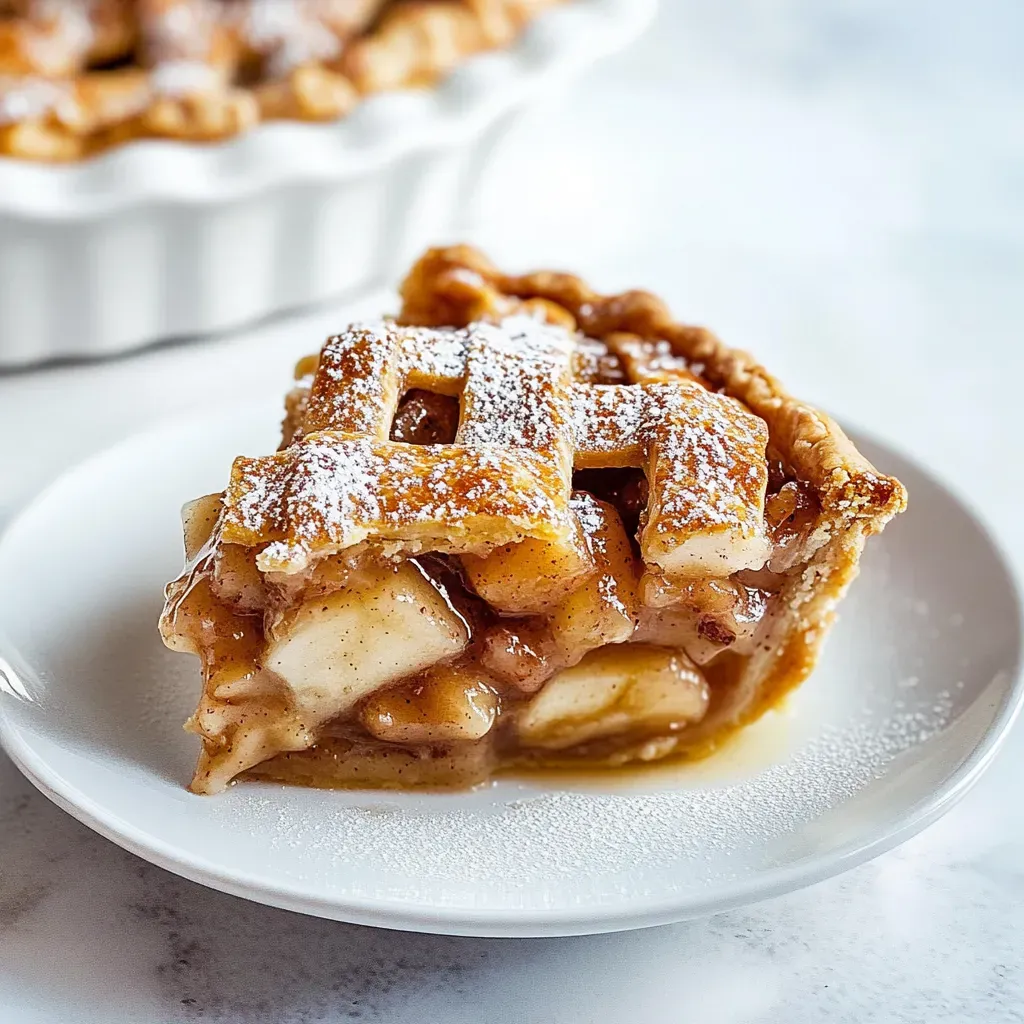
- Pie Crust Options: Consider using a lattice crust for a beautiful presentation, or try a crumb topping for a different texture.
- Seasonal Spices: During the holidays, adding spices like cardamom or pumpkin spice can provide a festive twist.
Pairing Suggestions for Apple Pie
When serving Apple Pie, the right pairings can elevate the experience. Here are some fantastic suggestions:
- Fresh Whipped Cream: A classic companion that adds sweetness and creaminess.
- Vanilla Bean Ice Cream: The perfect contrast to the warm pie; its richness complements the spices.
- Coffee or Tea: A warm beverage pairs beautifully with the pie’s sweetness, making it a comforting dessert option.
- Cheese Plates: For an unexpected twist, serve slices of sharp cheddar alongside your pie for a sweet and savory combination.
- Salads: A light salad with vinaigrette can balance the sweetness of the pie, making for a well-rounded meal.
- Seasonal Fruits: Serve with sliced apples or pears to enhance the fruit flavors and freshness of the dish.
FAQ
Conclusion
This Apple Pie recipe truly embodies the heartwarming essence of comfort food. The combination of tender apples, aromatic spices, and a flaky crust makes it a timeless classic that everyone loves. I encourage you to try making this pie at home; it’s an experience filled with joy and delicious rewards. Whether you’re sharing it with loved ones or enjoying a quiet moment to yourself, every slice brings a taste of nostalgia that warms the soul.
Apple Pie
Ingredients
Equipment
Method
- Zest lemons with a zester to get 1 teaspoon zest. Juice the lemon using a citrus juicer to get 2 tablespoons lemon juice. Set aside.
- You can buy pie crusts, or make them homemade. Be sure to chill pie crusts (tightly wrapped in plastic wrap) for at least 30 minutes before rolling them out. It’s best to keep everything as cold as possible! Chill pie dough, apple pie filling, and pie before baking.
- Peel and core apples. Dice into 1/2-inch cubes, measure 7 cups, and set aside.
- In a large pot over medium heat, melt butter. Add diced apples, lemon juice, and zest. Stir in brown sugar, cinnamon, allspice, cloves, nutmeg, and salt. Cook, stirring occasionally, for 6–8 minutes until juices thicken and apples begin to soften.
- In a small bowl, mix granulated sugar and flour. Sprinkle over the apple filling on the stovetop and stir. Cook for 4–5 minutes, stirring often until the filling thickens. Remove from heat and let sit for 5 minutes. Stir in vanilla and Greek yogurt. Refrigerate the apple filling until chilled, about 45 minutes.
- In a small bowl, whisk together the egg and milk with a fork until smooth. Set aside.
- Place a pie crust in the bottom of a 9.5-inch pie pan. Lightly brush with egg wash. Spread cooled apple filling evenly over the crust. Cover the top with pie crust (see note 3). Press all around edges to seal the two crusts together. Trim or tuck excess crust so it is flush with rim of the pan. If desired, crimp edges (see note 4). Place assembled pie in fridge and chill for 30 minutes to an hour. Preheat oven to 400°F.
- Take out the pie and brush all but the crimped edges with egg wash. Sprinkle optional sparkling sugar (see note 2) evenly over the pie. Set the pie on a sheet pan lined with parchment paper and bake for 55–65 minutes, or until the crust is a deep golden brown. If crust is browning too quickly, use a pie shield (see note 5).
- Cool completely, at room temperature, before cutting into pie and serving. If the pie is cut straight out of the oven it’ll be runny and wet; it needs time for the filling to become juicy and thick. I typically wait 3–5 hours before cutting into the pie. If desired, serve with fresh whipped cream or vanilla bean ice cream.
Notes
- Note 1: I recommend a mix of apples; mostly Honeycrisp and a couple of Granny Smith, but you can use any apple you like!
- Note 2: You can sprinkle your pie crust with some sugar to add a sweet crunch. I like to use Demerara Baking Sugar, Turbinado sugar, or white sparkling sugar for topping.
- Note 3: If you don’t want to do a lattice crust, simply add the entire crust on top of the apple filling and cut some vents in the top of the crust with a sharp knife.
- Note 4: If you’re unsure how to crimp the edges of your pie, here’s a picture tutorial.
- Note 5: You may want a pie shield to keep edges from getting too dark.
- Storage: Store apple pie covered for up to 2 days, keep in an airtight container in the fridge for up to 5 days, or wrap pie tightly and freeze for up to 3 months. Thaw in the fridge before serving. Warm in the oven at 350°F for the best texture reheated.