There’s something incredibly special about making Apple Honey Challah for my family. I remember the first time I decided to try my hand at this beautiful bread, inspired by the crisp fall air and the sweet scent of apples wafting through the kitchen. As a child, I watched my grandmother prepare challah with such love and care, and now I find joy in continuing that tradition. The way dough transforms from a sticky mess into a golden, braided masterpiece is mesmerizing. Each bite is a celebration of flavors—sweet honey, tart apples, and the distinct texture of freshly baked bread. Making Apple Honey Challah is more than just cooking; it’s about creating memories and sharing them with loved ones.
Recipe Snapshot
4 hr 10 mins
200 mins
50 mins
Hard
210 kcal
4g g
Vegan, Gluten-Free, AIP
5g g
Large Pot, Cutting Board, Blender, Food Processor, Frying Pan, Wooden Spoon, Oven, Whisk, Mixing Bowl, Peeler, Baking Sheet
What We Adore About This Apple Honey Challah
Tradition with a Twist
When it comes to holiday gatherings or family meals, nothing beats the warm aroma of baking bread. Apple Honey Challah is a delightful twist on the traditional challah, incorporating luscious apples that provide a sweet surprise in every slice. This recipe is perfect for celebrating Rosh Hashanah or any fall occasion, making it a cherished recipe in our home.
Versatility at Its Best
Not only does Apple Honey Challah taste divine, but it’s also incredibly versatile. Serve it fresh from the oven with butter, use it for French toast, or turn it into a luscious bread pudding. The possibilities are endless, allowing you to enjoy this bread in various ways throughout the week.
Healthier Choices
In this recipe, I’ve opted for healthier ingredients, such as avocado oil instead of traditional canola oil. This small swap makes a significant difference without compromising flavor. Using fresh, seasonal apples enhances the taste while keeping it nutritious, so you can indulge without the guilt.
A Family Affair
Making Apple Honey Challah is a fantastic way to bring the family together. Whether it’s kneading the dough, braiding the strands, or simply enjoying the process, it’s an activity the whole family can partake in. The laughter and bonding over this shared experience create memories that last a lifetime.
Presenting with Pride
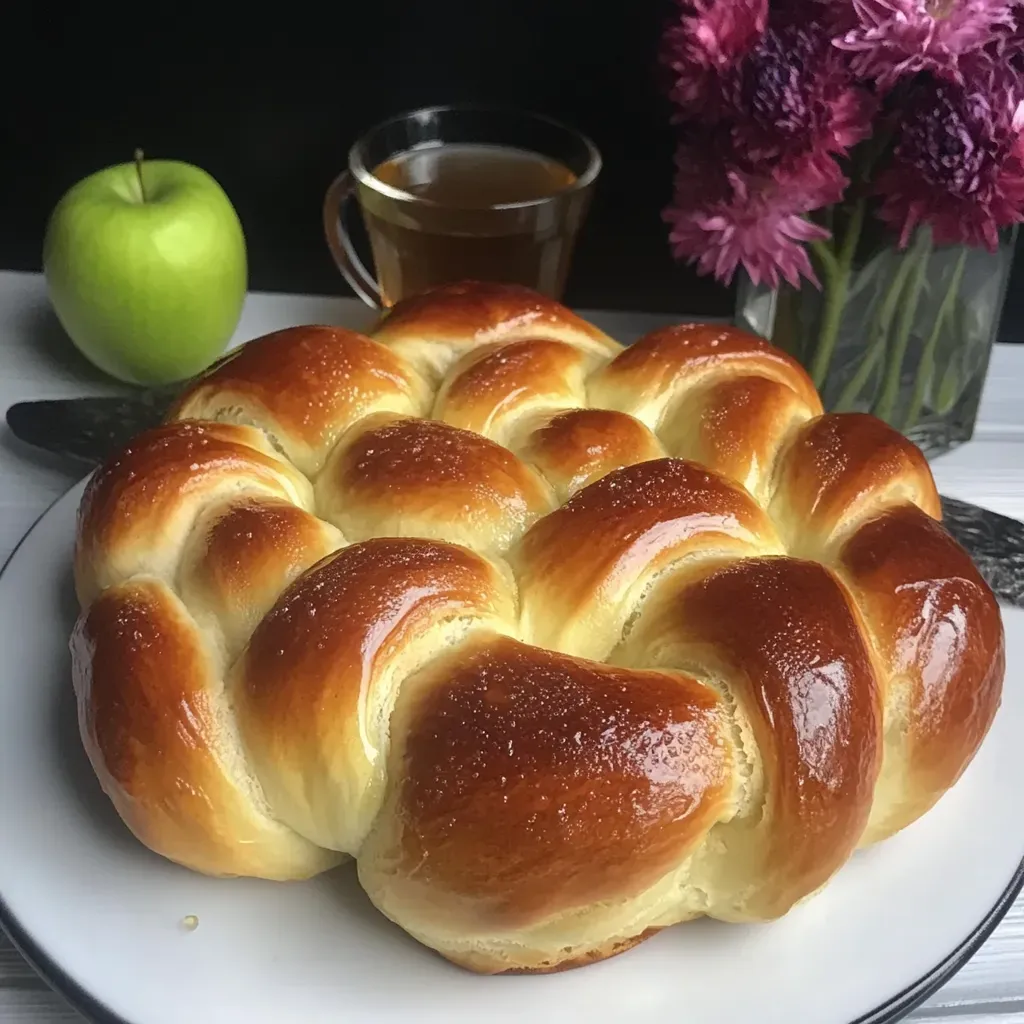
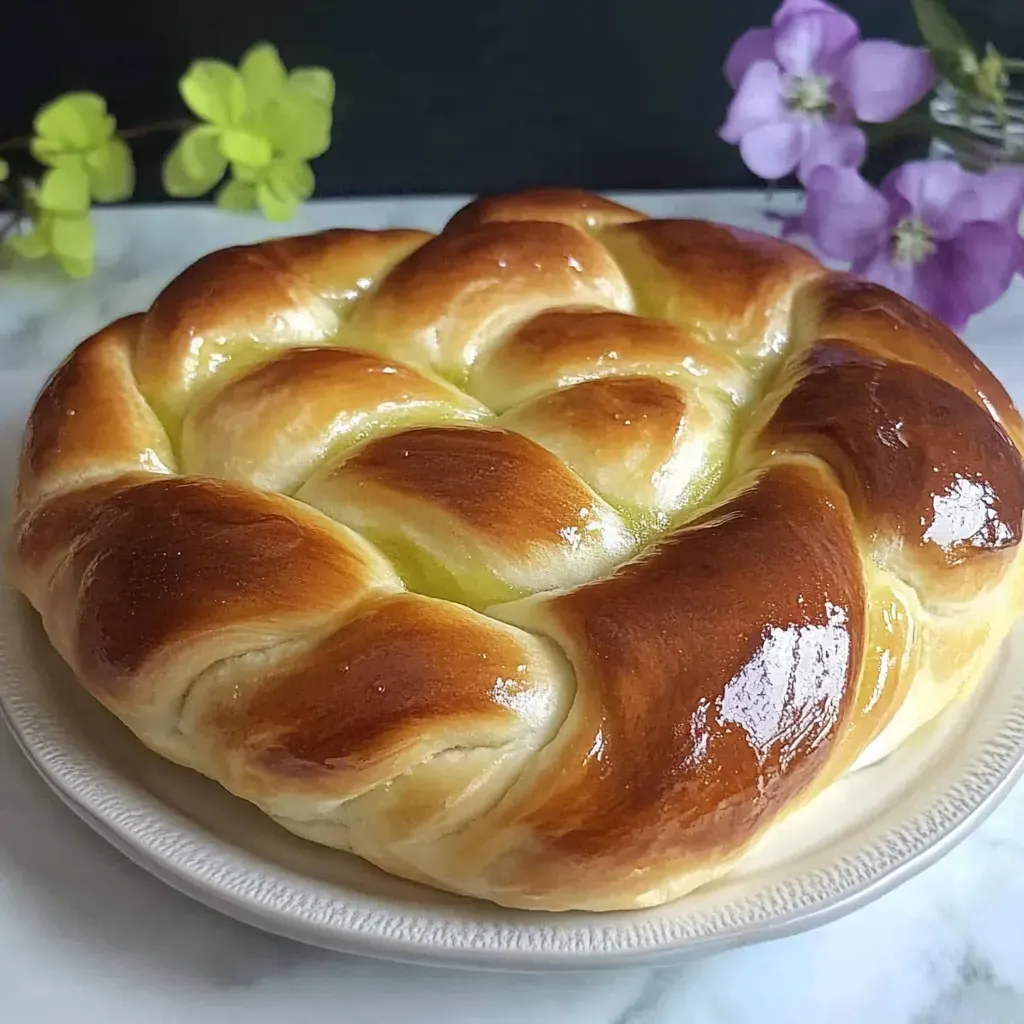
There’s something rewarding about presenting a freshly baked Apple Honey Challah at the dinner table. The beautiful braid, the shiny golden crust, and the sweet scent invite everyone to dig in. It’s a centerpiece that sparks conversation and joy, making every meal feel like a special occasion.
What’s In This Apple Honey Challah
The ingredients for Apple Honey Challah are carefully selected to create a delicious blend of flavors and textures. The star players include fresh apples, sweet honey, and rich eggs. Together, these elements come together to create a soft, tender bread that’s perfect for any occasion.
- 1 1/2 cups lukewarm water, divided – This is essential for activating the yeast and creating a soft dough.
- 1/4 ounce active dry yeast – The magic ingredient that helps the bread rise.
- 1 teaspoon sugar – This helps nourish the yeast and enhances the bread’s flavor.
- 1 large egg – Adds richness and helps bind the dough.
- 3 large egg yolks – Contributes to a rich texture and beautiful color.
- 3/4 cup honey – This natural sweetener gives the bread its distinct flavor and moisture.
- 2 tablespoons avocado oil – A healthier oil option to keep the bread moist.
- 2 teaspoons vanilla – Adds a lovely fragrant note to the dough.
- 2 teaspoons salt – Balances the sweetness and enhances flavor.
- 5-7 cups flour – The foundation of the dough, creating structure.
- 3 medium Granny Smith apples – Tart apples that add sweetness and moisture to the bread.
- 1/4 cup sugar – Coats the apples, enhancing their sweetness and creating a delightful filling.
- 2 tablespoons turbinado sugar (optional) – A topping that adds a crunchy texture.
- 1 large egg – For the egg wash, creating a beautiful golden crust.
- 1 tablespoon cold water – Helps to thin the egg wash for even spreading.
- 1/2 teaspoon salt – For the egg wash, enhancing flavor.
How to Prepare Apple Honey Challah
Preparing Apple Honey Challah is a rewarding experience that fills your home with delightful aromas. Let’s dive into the steps to create this beautiful bread together.
Start by pouring 1/4 cup of the lukewarm water (approximately 110 degrees) into a large mixing bowl. Add 1 packet of active dry yeast and 1 teaspoon of sugar into the bowl. Gently whisk to dissolve the yeast and sugar. Let it sit for about 10 minutes until the yeast becomes foamy and activates. This step is crucial, as it ensures your bread will rise beautifully. If it doesn’t foam, your yeast may be expired, and it’s time to get fresh yeast.
Once the yeast is activated, add in the remaining 1 1/4 cups of lukewarm water, 1 large egg, 3 large egg yolks, 3/4 cup of honey, 2 tablespoons of avocado oil, 2 teaspoons of vanilla, and 2 teaspoons of salt. Use a whisk to combine all the ingredients well.
Next, begin adding the flour to the mixture, half a cup at a time, while stirring with a large spoon. Once the mixture becomes too thick to stir, get your hands in there and start kneading. You want the dough to be smooth, elastic, and not sticky. The exact amount of flour may vary, so add flour until the dough feels just right.
After kneading, turn the dough out onto a smooth surface and continue kneading for a few minutes. Once done, place the dough in a greased bowl, flipping it to coat both sides. Cover the bowl with a damp kitchen towel and place it in a warm location to rise for about an hour.
After the first rise, punch down the dough to release air pockets and return it to the warm spot for another hour. During this time, prepare your apple filling. Peel and dice the 3 medium Granny Smith apples into small pieces and place them in a bowl of lightly salted cold water.
Once the final rise is complete, remove the dough and punch it down again. Drain the apples and pat them dry, tossing them with 1/4 cup of sugar. If desired, you can add a sprinkle of cinnamon to the sugar for extra flavor.
Now, divide the dough into two equal portions. Take one portion and cut it into four equal pieces. Roll each piece into a rectangle, about 1 foot long and 3-4 inches wide. Place some of the apple mixture in the center, leaving a border around the edges.
Carefully roll the rectangle from the top down, pinching the seams to seal the apple filling inside. This will create a long strand of dough with the apple filling tucked inside. Repeat this process with the remaining pieces of dough.
Once you have your strands ready, it’s time to braid them. Start by placing two strands parallel to each other and cross the third strand over the first two, then the fourth strand over the last two. Follow this braiding pattern, ensuring to keep it tight but not too tight.
After braiding, place the challah on a baking sheet lined with parchment paper. Preheat your oven to 350 degrees Fahrenheit and allow the braid to rise for another 30 to 45 minutes until it puffs up. You can check if it’s ready by pressing a finger into the dough and seeing if the indentation remains.
While your dough is rising, prepare the egg wash by whisking together 1 large egg, 1 tablespoon of cold water, and 1/2 teaspoon of salt. Brush the tops of the challah with the egg wash and sprinkle with optional 2 tablespoons of turbinado sugar.
Bake the challah in the preheated oven for about 45 minutes, but remember to check it periodically. After 20 minutes, you may want to rotate it and apply another layer of egg wash to the grooves. When it’s golden brown and sounds hollow when tapped on the bottom, it’s done!
Let your Apple Honey Challah cool on a wire rack before slicing. Enjoy this sweet, tender bread with your family and watch it disappear!
Things Worth Knowing
- Proofing Yeast: Always check the expiration date on your yeast. Fresh yeast is vital for the bread to rise properly.
- Temperature Matters: When using lukewarm water, ensure it’s not too hot. Water that’s too hot can kill the yeast.
- Apple Choice: Granny Smith apples are great for a balance of tartness and sweetness, but you can experiment with other varieties!
- Moist Environment: Creating a warm, moist atmosphere for rising the dough helps it develop a better texture.
- Checking Doneness: Tap the bottom of the loaf; a hollow sound indicates it’s fully baked. Alternatively, an instant-read thermometer should read 190 degrees.
Recipe Tips about Apple Honey Challah
Making Apple Honey Challah is an art, and there are several tips to keep in mind. Here are some essential guidelines to ensure your bread turns out perfect every time:
- Storage: Store leftover challah in an airtight container at room temperature for up to 3 days. For longer freshness, slice and freeze.
- Freezing: You can freeze Apple Honey Challah after it cools completely. Wrap it tightly in plastic wrap and then in aluminum foil for up to three months.
- Pairing: This challah pairs beautifully with soups, salads, or a simple spread of butter and honey.
- Servings: This recipe yields two medium-sized challahs, great for sharing during gatherings or holidays.
- Variations: Try adding nuts or spices like cinnamon to the apple filling for an extra flavor boost.
Best Served With
- Family Gatherings: Apple Honey Challah is perfect for family meals, adding warmth and tradition to the table.
- Holidays: Serve it during Rosh Hashanah or Thanksgiving for a sweet touch to your holiday feast.
- Breakfast Delight: Enjoy slices toasted with a pat of butter or paired with fresh fruit for breakfast.
- Warmth in Winter: This bread is an excellent accompaniment for warm soups during chilly days.
- Seasonal Flavors: The apple and honey flavors are ideal for fall but can be enjoyed year-round.
FAQ
Conclusion
Apple Honey Challah is a delightful bread that combines tradition with taste. The combination of sweet apples and honey makes it a unique treat perfect for any gathering. I encourage you to try making this warm, comforting bread for your family. Not only will it fill your home with wonderful aromas, but it will also create lasting memories around the dinner table.
Apple Honey Challah
Ingredients
Equipment
Method
- Pour 1/4 cup of the lukewarm water (about 110 degrees) into a large mixing bowl. Add 1 packet of active dry yeast and 1 teaspoon of sugar to the bowl, whisk to dissolve. Wait 10 minutes. The yeast should have activated, meaning it will look expanded and foamy. If it doesn’t, your yeast may have expired, which means your bread won’t rise—go buy some fresh yeast!
- Once your yeast has activated, add remaining 1 ¼ cup lukewarm water to the bowl along with 1 large egg, 3 large egg yolks, 3/4 cup of honey, 2 tablespoons of avocado oil, 2 teaspoons of vanilla and 2 teaspoons of salt. Use a whisk to thoroughly blend the ingredients together.
- Begin adding the flour to the bowl by half-cupfuls, stirring with a large spoon each time flour is added. When mixture becomes too thick to stir, use your hands to knead.
- Continue to add flour and knead the dough until it’s smooth, elastic, and not sticky. The amount of flour you will need to achieve this texture varies—only add flour until the dough feels pliable and “right.” Turn the dough out onto a smooth surface and knead a few more times.
- Place a saucepan full of water on the stove to boil. Wash out the mixing bowl that you used to mix the challah dough. Grease the bowl with canola oil. Push the dough back into the bottom of the bowl, then flip it over so that both sides are slightly moistened by the oil.
- Cover the bowl with a clean, damp kitchen towel. Place the bowl of dough on the middle rack of your oven. Take the saucepan full of boiling water and place it below the rack where your dough sits. Close the oven, but do not turn it on. The pan of hot water will create a warm, moist environment for your dough to rise. Let the dough rise for 1 hour.
- Take the dough bowl out and punch it down several times to remove air pockets. Place it back inside the oven and let it rise for 1 hour longer. During this final rise, fill a mixing bowl with cold water and dissolve 1/2 teaspoon of salt in it. Peel the apples and dice them into very small pieces, about 1/4 inch large. Place the diced apples into the bowl of lightly salted water. Reserve. When you are ready to begin braiding the dough, drain the apple pieces and pat them dry with paper towels. Toss the apple pieces with 1/4 cup of sugar. If you’d like, you can add 1/2 teaspoon of cinnamon to the sugar to give the apples an apple-cinnamon flavor.
- Take the dough out of the oven; it should have doubled in size during this final rise. If it has not fully risen, return it to the oven till it's had a chance to properly rise. When the dough is ready, flour a smooth surface like a cutting board. Punch the dough down into the bowl a few times, then turn the dough out onto the floured surface. Knead the dough a bit, adding flour as needed to keep it from feeling sticky. You will have enough dough for two medium-sized challot (challahs).
- Divide the dough into two equal halves. Put one half of the dough on a smooth, lightly floured surface. Leave the other half of the dough in the bowl covered by a moist towel. Cut the dough on the floured surface into four equal portions.
- Take one of the four portions and stretch it with your fingers into a rough rectangle, about 1 foot long and 3-4 inches wide. Use a rolling pin to smooth the dough, if it helps. The rectangle doesn’t need to look perfect, and it shouldn't be too thin—the dough needs to be thick enough to handle an apple filling.
- Sprinkle some of the sugared apple pieces across the center of the rectangle. You should use about 1/8 of the apple pieces in each rectangle. Liquid will collect in the apple bowl as you progress—do not transfer the liquid to the dough, or it will weaken and become mushy. Do your best to shake off excess liquid before placing the apples on the dough. Leave at least 1/2 inch border along the outer edge of the dough clean, with no apples.
- Gently roll the upper edge of the rectangle down to the lower edge and pinch to seal, creating a snake-like roll of dough stuffed with apples. This is the beginning of your strand.
- Gently and carefully roll the stuffed strand till it becomes smooth, using gentle pressure with your hands on the center of the strand, pulling outward as you roll. If any apples begin to poke through the dough, repair the hole with your fingers before you continue. Re-flour the surface as needed to keep your dough from sticking.
- Taper the ends of the strand by clasping between both palms and rolling. At the end of the rolling process, your strand should be about 16 to 18 inches long with tapered ends. Once your apple strand has been rolled, repeat the process with the remaining 3 pieces of dough, making sure that they are even in length with the first strand. In the end, you’ll have 4 apple-stuffed strands.
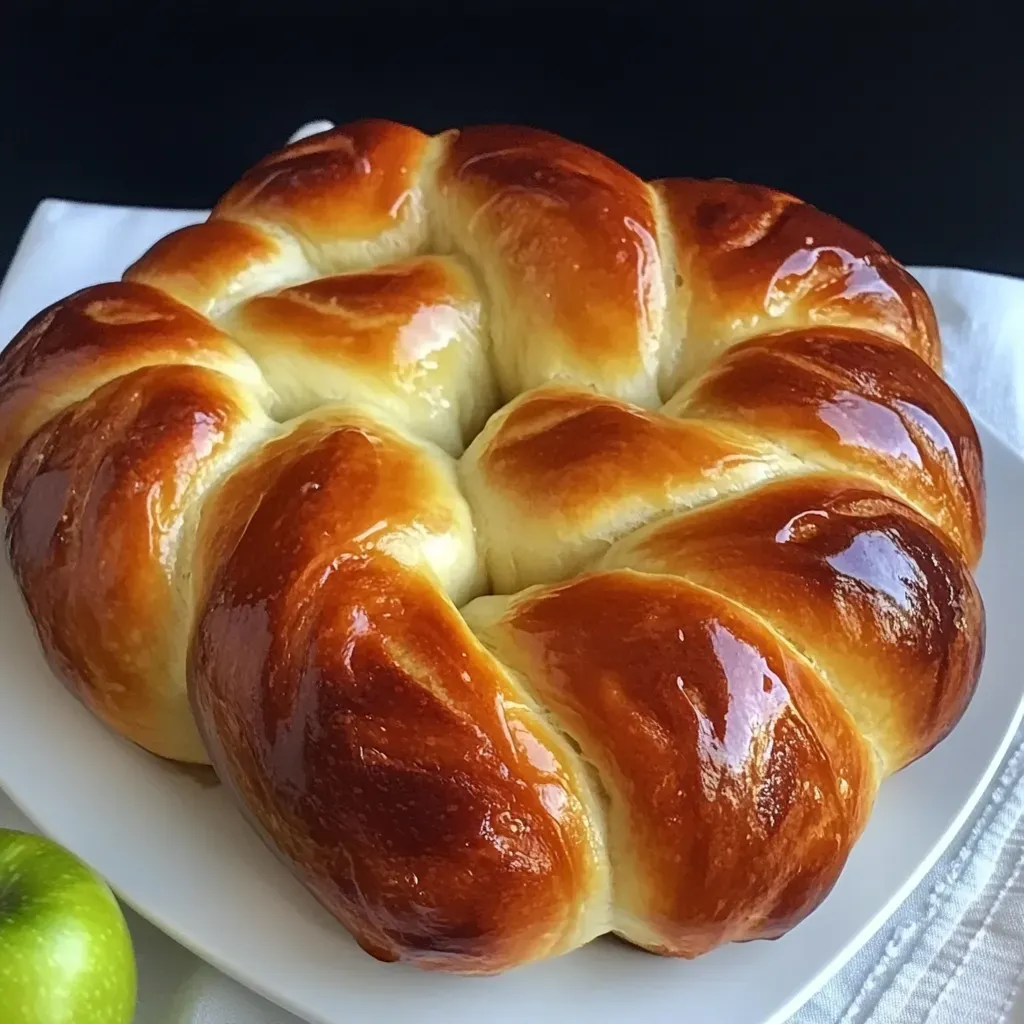
- Now your stuffed strands are ready to braid. There are a few different ways to braid 4 strands into a challah. This recipe will guide you through one method for braiding a round four strand challah. For other braiding methods, click here. Place two strands in the center of a smooth surface, running parallel top to bottom. Place the third strand across the two strands, going under the left strand and over the right. Place the fourth strand directly below the third strand, going over the left strand and under the right. You will have something similar to a tic-tac-toe board pattern, with the center of the board being a very small square and 8 “legs” sticking out from that center. Keep the center as tight as possible… you’ll be braiding from the center.
- Take strand 1 and cross it over strand 2. Take strand 3 and cross it over strand 4. Take strand 5 and cross it over strand 6. Take strand 7 and cross it over strand 8. Take strand 2 and cross it back the opposite way, over strand 7. Take strand 8 and cross it over strand 5. Take strand 6 and cross it over strand 3. Take strand 4 and cross it over strand 1. Take strand 7 and twist it with strand 4. Tuck the twisted ends under the challah.
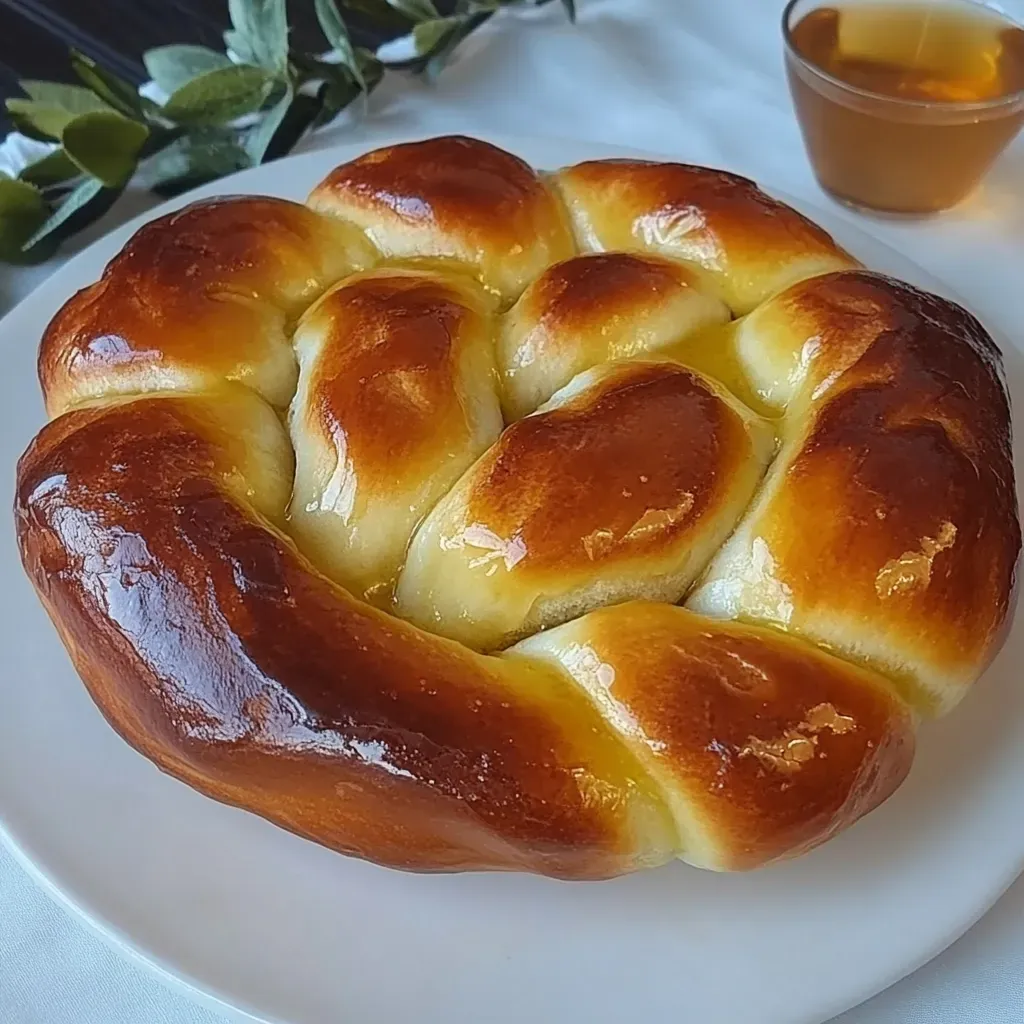
- Repeat this process with the remaining loose ends—twist and tuck 1 with 6, then 3 and 8, then 5 and 2. When all of the loose ends are twisted under, gently plump the challah into a nice, even round shape.
- After the round has been braided, place it on a baking sheet lined with parchment paper. Preheat the oven to 350 degrees F. Let the braid rise 30 to 45 minutes longer. You’ll know the dough is ready to bake when you press your finger into the dough and the indentation stays, rather than bouncing back.
- While this challah rises, you can braid the other half of the dough in the same way, or you might choose a different braid for your second challah. No matter which way you braid, you can conceal the apple pieces inside the strands using the same method described above. Your second challah will rise as the first one bakes.
- Prepare your egg wash by beating 1 large egg, salt and 1 tablespoon of cold water till smooth. Use a pastry brush to brush a thin layer of the mixture onto the visible surface of your challah. Reserve the leftover egg wash. Sprinkle the top of the challah with 1 tablespoon of turbinado sugar, if you wish.
- Each challah needs to bake for about 45 minutes total, but to get the best result, the baking should be done in stages. First, set your timer to 20 minutes and put your challah in the oven. After 20 minutes, take the challah out of the oven and coat the grooves of the braid with another thin layer of egg wash. These areas tend to expand during baking, exposing dough that will turn white unless they are coated with egg wash. Turn the challah around, so the opposite side faces front, and put it back into the oven. Turning it will help your challah brown evenly—the back of the oven is usually hotter than the front.
- The challah will need to bake for about 20 minutes longer. For this last part of the baking process, keep an eye on your challah—it may be browning faster than it's baking. Once the challah is browned to your liking, take it out and tent it with foil, then place it back in the oven. Remove the foil for the last 2 minutes of baking time. Take the challah out of the oven. At this point your house should smell delicious.
- Test the bread for doneness by turning it over and tapping on the bottom of the loaf—if it makes a hollow sound, and it's golden brown all the way across, it’s done. Because of the apples in this challah, it may take a bit longer to bake than your regular challah recipe. Err on the side of letting it cook longer to make sure it's baked all the way through. You can also stick an instant read thermometer in the thickest part of the challah—when it reads 190, it is baked all the way through. Let challah cool completely on a wire cooling rack before serving. Bake the second challah in the same way.
Notes
- Tip 1: You will also need: Large mixing bowl, whisk, medium saucepan, food processor, rolling pin (optional), baking sheet, parchment paper.
- Tip 2: Yield: Two 2-Lb loaves, 24 servings (2.66 oz per serving).
- Tip 3: Since I first posted this recipe, I have updated the number of servings and serving size to reflect a more nutritionally healthful portion size.
- Tip 4: I have also updated the oil to avocado oil, which works just like canola but is much healthier.
- Tip 5: 1/4 ounce active dry yeast = 1 packet.