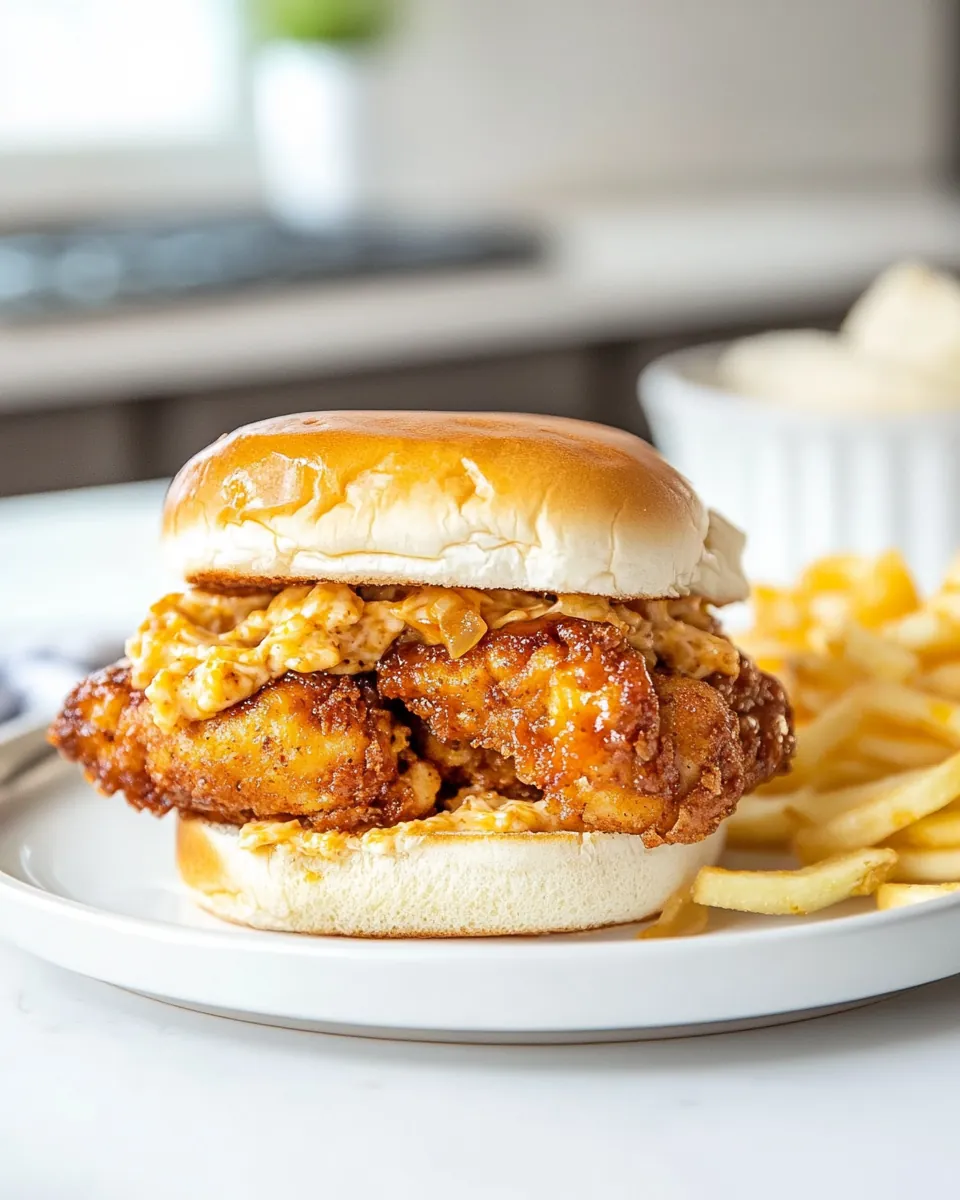
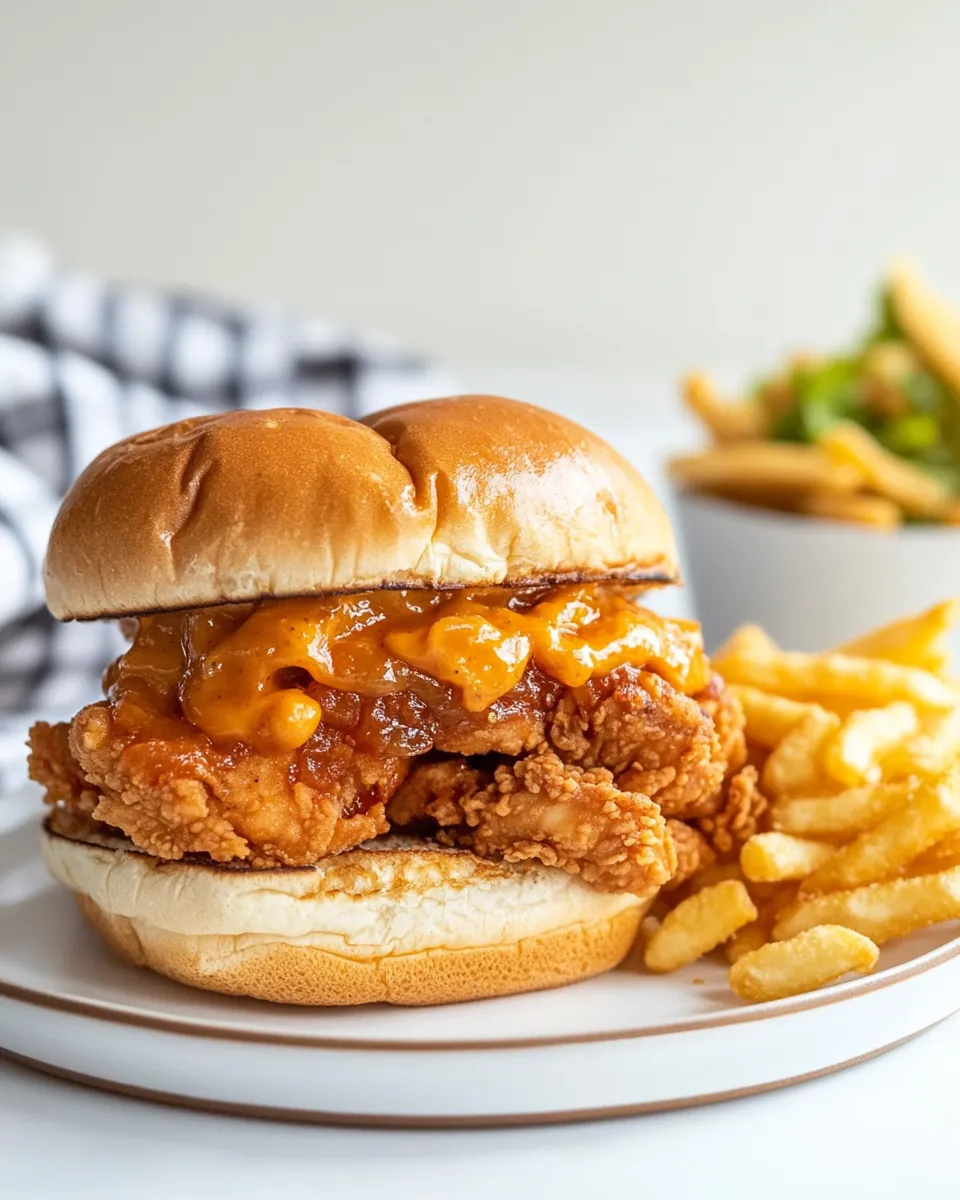
The Honey Pepper Pimento Chicken Sandwich is a dish that brings back so many wonderful memories from childhood. I remember the summer picnics where my family would gather around a big table, filled with laughter and the delightful aroma of freshly made sandwiches. This particular sandwich combines juicy fried chicken with the perfect balance of sweet and spicy, creating a flavor explosion that’s hard to resist. As I take a bite, the crispy exterior gives way to tender chicken, all topped with creamy pimento cheese and a drizzle of honey that adds just the right hint of sweetness. It’s comfort food at its best, and the type of meal that makes you feel right at home.
Making the Honey Pepper Pimento Chicken Sandwich is not just about satisfying your hunger; it’s about creating a memorable experience. Whether you’re hosting a backyard barbecue or just need a quick weeknight dinner, this sandwich is a crowd-pleaser. I’ve even made it for friends who claim they don’t like fried chicken, and they’ve come back for seconds! With each bite, you’ll taste the love and effort put into the brining and frying process. The combination of flavors is so unique that it’ll have everyone asking for your secret.
So grab your apron and let’s get started on making this delectable sandwich that’s sure to impress your family and friends. Trust me, once you try the Honey Pepper Pimento Chicken Sandwich, you’ll be adding it to your regular rotation! It’s not just a meal; it’s a moment worth celebrating.
Recipe Snapshot
1 hr 15 mins
60 mins
15 mins
Medium
600 kcal
30 g
Gluten-Free
35 g
Skillet, Wooden Spoon, Mixing Bowl, Oven
What Makes This Honey Pepper Pimento Chicken Sandwich Special
Why You’ll Love This Recipe
There are countless reasons why the Honey Pepper Pimento Chicken Sandwich stands out from other sandwiches, and I can’t wait to share them with you!
1. Flavor Explosion
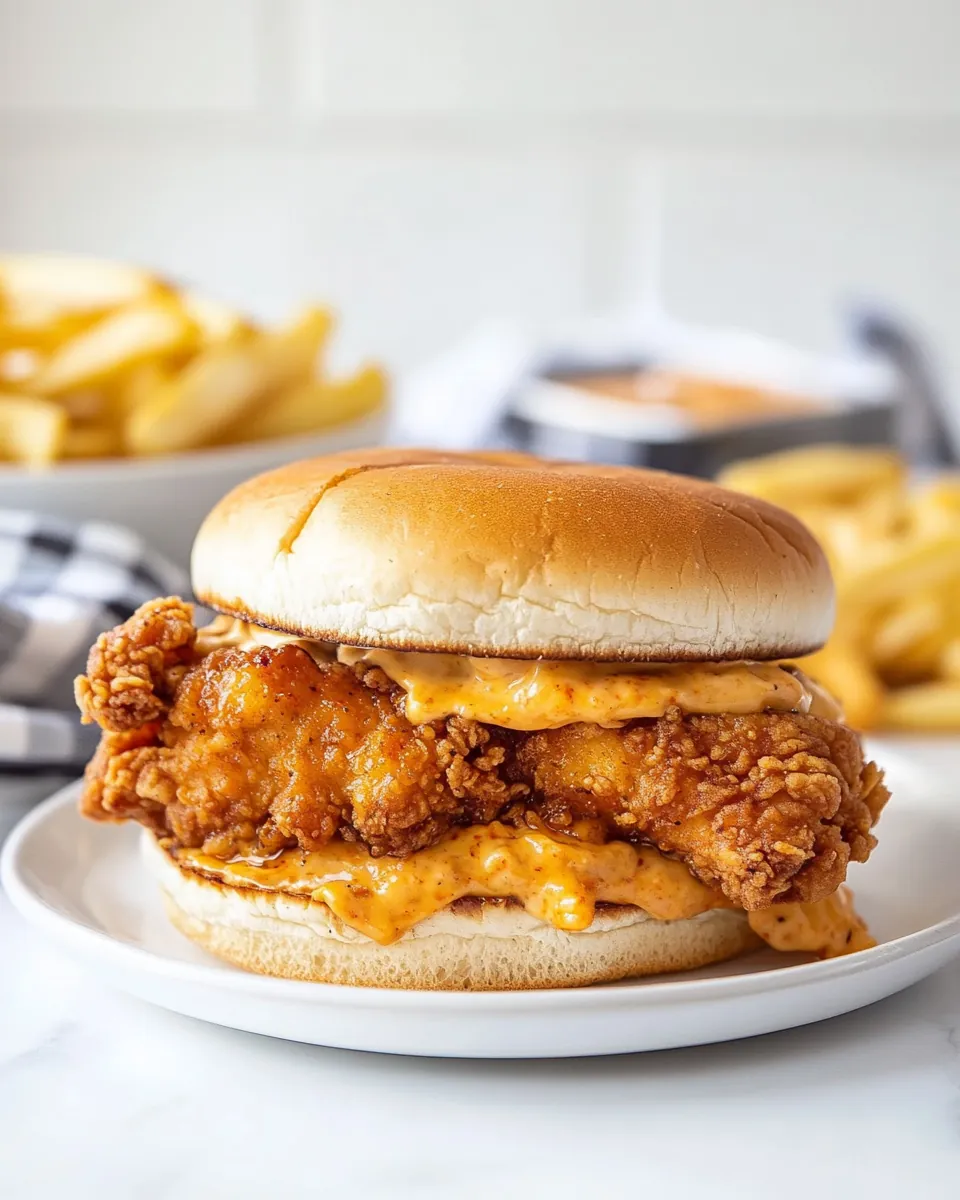
The first bite of this sandwich is unforgettable! The tenderness of the fried chicken, combined with the creamy texture of the pimento cheese and the sweetness of honey, creates a delightful explosion of flavors. You’ll find yourself craving more as the flavors dance on your palate.
2. Perfectly Crispy Chicken
The method of brining the chicken ensures it stays juicy while the frying technique gives it that perfect golden crust. It’s the kind of crispy that holds up under the weight of the toppings without becoming soggy, making every bite enjoyable.
3. Versatility
This sandwich can easily be customized to suit your taste. Want it spicier? Add more jalapeños! Prefer something milder? Just skip them. Whether you enjoy it at a summer picnic or a cozy dinner at home, the Honey Pepper Pimento Chicken Sandwich works for any occasion.
4. Quick and Easy to Make
Despite the impressive flavors, this sandwich is surprisingly simple to prepare. With just a little time for marinating and some straightforward frying techniques, you can have a gourmet meal in no time!
5. Crowd-Pleaser
It’s hard to find someone who doesn’t love a good chicken sandwich! This recipe is a guaranteed hit, making it ideal for gatherings, parties, or just a casual family dinner. The combination of flavors and textures is sure to win over even the pickiest eaters.
6. Comfort Food at Its Best
There’s something about biting into a hearty sandwich that feels like a warm hug. The Honey Pepper Pimento Chicken Sandwich is just that – comfort food that brings joy and makes you feel at home, no matter where you are.
Everything You Need for Honey Pepper Pimento Chicken Sandwich
Let’s talk about the star players in the Honey Pepper Pimento Chicken Sandwich. Each ingredient plays a vital role in bringing this dish to life. The combination of flavors and textures ensures that every bite is a satisfying experience. From the juicy fried chicken to the creamy pimento cheese, these ingredients complement each other perfectly.
- 4 small boneless skinless chicken breasts or 8 thin cutlets – These are the foundation of the sandwich, providing the juicy, hearty filling that everyone loves.
- 1 cup dill pickle juice – This is used for brining the chicken, giving it a tangy flavor that pairs beautifully with the sweetness of the honey.
- 2 tablespoons granulated sugar – Adds a touch of sweetness to the brine, enhancing the overall flavor of the chicken.
- 2 cups all-purpose flour – The base for the breading that gives the chicken its delightful crispy texture.
- ¼ cup cornstarch – Helps create a lighter, crunchier coating on the chicken.
- 1 tablespoon paprika – Adds a hint of smokiness and depth of flavor to the breading.
- 1 tablespoon garlic powder – Infuses the chicken with aromatic flavor.
- 1 tablespoon black pepper – Provides a little kick of heat that complements the other flavors.
- 2 teaspoons salt – Essential for seasoning the chicken and enhancing its natural flavor.
- 1 cup milk – Used in the egg wash to help the breading stick to the chicken.
- 2 large eggs – Creates a binding mixture for the breading.
- 1 quart peanut oil – Ideal for frying the chicken, giving it a crisp texture without absorbing too much oil.
- 8 hamburger buns – The perfect vessel for holding all the delicious components of the sandwich.
- 2 cups pimento cheese store-bought or homemade! – Adds creaminess and a unique flavor that brings the sandwich together.
- ½ cup pickled jalapeños drained – Offers a spicy kick that balances the sweetness of the honey.
- 8 teaspoons honey or hot honey! – Drizzled on top for that perfect sweet finish.
Recipe Directions for Honey Pepper Pimento Chicken Sandwich
Now it’s time to dive into the fun part – making the Honey Pepper Pimento Chicken Sandwich! Follow these steps closely to ensure you get the best results. It might seem like a lot of steps, but the end product is absolutely worth it!
- Brine: Start by cutting the chicken breasts into halves through the middle to create thinner cutlets, yielding 8 pieces total. This step is crucial for ensuring the chicken cooks evenly and stays juicy. Next, in a microwave-safe bowl, warm the dill pickle juice until hot to the touch. Stir in the granulated sugar until fully dissolved. Once that’s done, immerse the chicken cutlets in the brine, allowing them to soak for at least 30 minutes or even overnight for maximum flavor. Remember to keep them refrigerated while brining!
- Prep the Breading: While the chicken is soaking, mix the all-purpose flour, cornstarch, paprika, garlic powder, black pepper, and salt in a medium bowl. This spice blend is what will give your chicken that irresistible flavor. Once done, drain the pickle juice from the chicken and pat each piece dry with paper towels. This step is important as it helps the breading stick better to the chicken while frying. Don’t skip this!
- Dredge the Chicken: Set up a drying rack nearby. Take each chicken cutlet and dredge it in the flour mixture, shaking off any excess flour so that the coating is thin. Lay them out on the rack, allowing the pieces to breathe as you coat them all.
- Prepare the Egg Wash: In a separate bowl, whisk together the milk and eggs. Pour 2 tablespoons of this egg wash into the remaining flour mixture, mixing it until it forms small pebbles. This will give the chicken an extra layer of crunch.
- Double-Dip: Take each cutlet and dunk it back into the egg wash, then back into the flour mixture, ensuring they are thoroughly coated. This double-dipping method will create a thicker, crunchier crust that everyone will love.
- Fry the Chicken: Heat the peanut oil in a large pot over medium to medium-high heat, watching it closely. Use a clip-on thermometer to monitor the temperature, aiming for about 350 degrees F. Once the oil is hot enough, gently add three chicken pieces to the pot. Fry them for 4 to 5 minutes, flipping them halfway through until they are golden brown. If the temperature drops below 345 degrees F, adjust the heat as needed, being careful not to overcook the breading.
- Drain the Chicken: Once your first batch is golden and crispy, carefully remove the cutlets using a spider skimmer or slotted spoon and place them on a paper towel-lined plate to drain. Keep the oven set to 200 degrees F to keep the chicken warm while you fry the rest!
- Build the Sandwiches: Now it’s time for the fun part! Open up the hamburger buns and start by layering on a handful of pickled jalapeños on the bottom bun. Next, place a crispy fried chicken cutlet on top, followed by a generous drizzle of honey. Finally, scoop on about ¼ cup of pimento cheese on top of the chicken cutlet. Cover the sandwich with the top bun and get ready to serve warm!
Things Worth Knowing
Things Worth Knowing
- Brining is Key: The process of brining not only infuses flavor into the chicken but also helps it retain moisture during cooking.
- Oil Temperature Matters: Maintaining the oil temperature around 350 degrees F ensures optimal frying, resulting in a crispy exterior without greasy chicken.
- Double Dipping Technique: This method of dipping the chicken twice enhances the texture, giving you that crunchy finish everyone loves.
- Keep it Warm: If you’re frying in batches, keep the cooked chicken warm in the oven to ensure all the sandwiches are served hot.
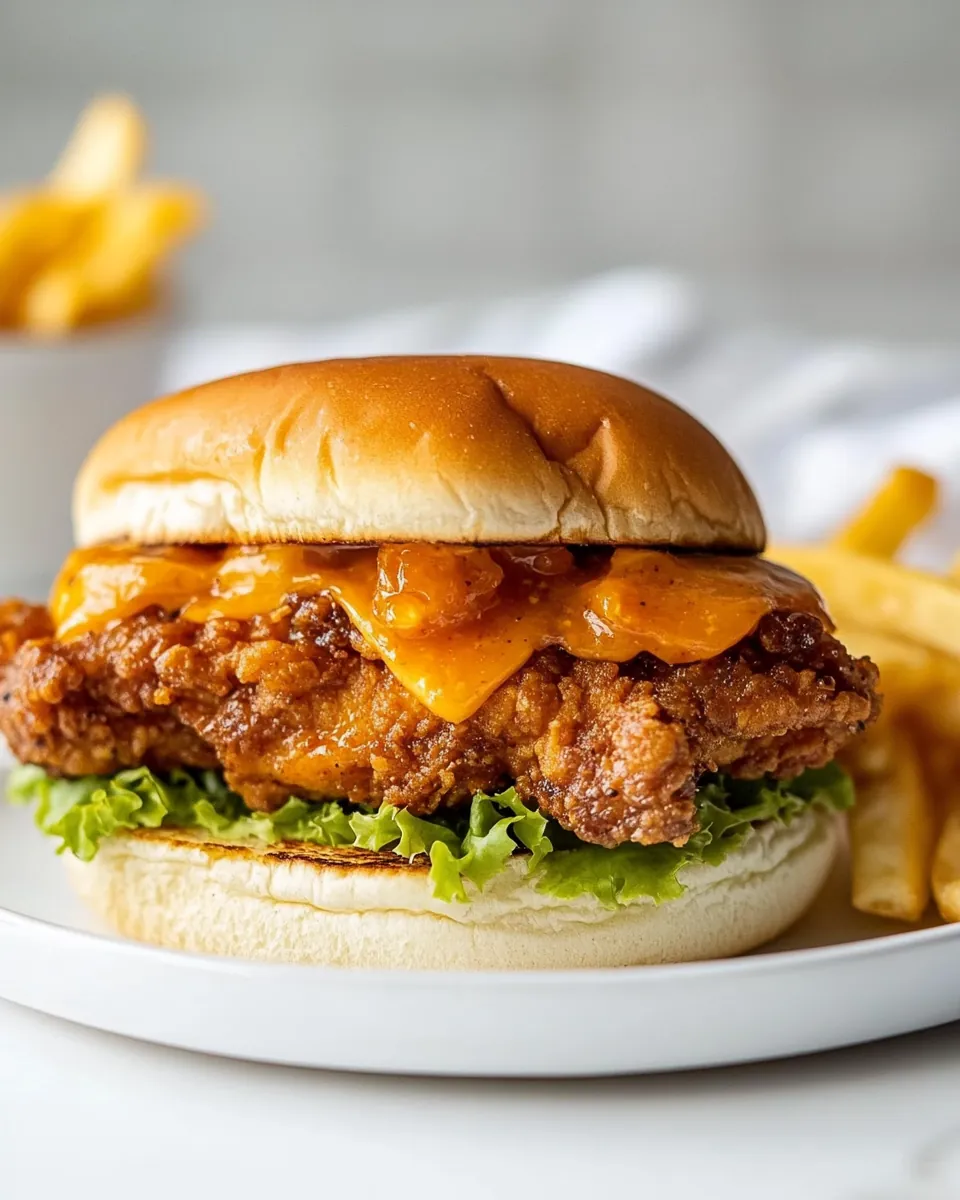
- Experiment with Fillings: While this recipe is divine as is, feel free to experiment with different toppings like lettuce, tomatoes, or other sauces!
Tips for Success
To ensure your Honey Pepper Pimento Chicken Sandwich turns out perfect every time, here are some tips and tricks to keep in mind:
- Storage: The fried chicken breasts will keep well in the fridge for up to 4 days in an airtight container. Reheat them in the oven or air fryer until warm throughout and crispy again on the outside.
- Freezing: If you want to make the chicken in advance, you can freeze the fried cutlets. Just ensure they are well-wrapped to prevent freezer burn.
- Pairing: Serve your sandwiches with a side of coleslaw for a refreshing crunch, or some crispy fries for a classic combo!
- Customize Toppings: Feel free to add toppings like lettuce, sliced tomatoes, or avocado to enhance the flavor profile of your sandwich.
- Adjust Spice Levels: If you like it spicier, consider adding more jalapeños or even a hot sauce drizzle!
How to Serve Honey Pepper Pimento Chicken Sandwich
When it comes to serving the Honey Pepper Pimento Chicken Sandwich, there are a myriad of ways to enjoy it! Here are some ideas to make your meal even more delightful:
- Lunch or Dinner: These sandwiches make for a stellar lunch option or a hearty dinner that will satisfy your cravings any time of the day.
- Picnics: This sandwich is perfect for outdoor gatherings. Pack them up in a cooler and enjoy them at your next picnic!
- Game Day Snacks: Serve these sandwiches during game day for a delicious twist on traditional finger foods that everyone will enjoy.
- Seasonal Pairings: In the summer, consider pairing with fresh watermelon salad or corn on the cob for a true summer feast.
- Storage Tips: If you have leftovers, store the chicken and buns separately. This will keep the buns from getting soggy and allow you to reheat the chicken perfectly.
FAQ
Conclusion
The Honey Pepper Pimento Chicken Sandwich is truly a standout dish that combines crispy fried chicken with creamy pimento cheese and a touch of sweetness from honey. It’s a delicious comfort food that brings joy to any table. I encourage you to give this recipe a try, whether for a family dinner or a fun gathering with friends. You won’t be disappointed. Enjoy the delightful flavors and the happiness it brings!
Honey Pepper Pimento Chicken Sandwich
Ingredients
Equipment
Method
- Brine: Start by cutting the chicken breasts into halves through the middle to create thinner cutlets, yielding 8 pieces total. This step is crucial for ensuring the chicken cooks evenly and stays juicy. Next, in a microwave-safe bowl, warm the dill pickle juice until hot to the touch. Stir in the granulated sugar until fully dissolved. Once that's done, immerse the chicken cutlets in the brine, allowing them to soak for at least 30 minutes or even overnight for maximum flavor. Remember to keep them refrigerated while brining!
- Prep the Breading: While the chicken is soaking, mix the all-purpose flour, cornstarch, paprika, garlic powder, black pepper, and salt in a medium bowl. This spice blend is what will give your chicken that irresistible flavor. Once done, drain the pickle juice from the chicken and pat each piece dry with paper towels. This step is important as it helps the breading stick better to the chicken while frying. Don’t skip this!
- Dredge the Chicken: Set up a drying rack nearby. Take each chicken cutlet and dredge it in the flour mixture, shaking off any excess flour so that the coating is thin. Lay them out on the rack, allowing the pieces to breathe as you coat them all.
- Prepare the Egg Wash: In a separate bowl, whisk together the milk and eggs. Pour 2 tablespoons of this egg wash into the remaining flour mixture, mixing it until it forms small pebbles. This will give the chicken an extra layer of crunch.
- Double-Dip: Take each cutlet and dunk it back into the egg wash, then back into the flour mixture, ensuring they are thoroughly coated. This double-dipping method will create a thicker, crunchier crust that everyone will love.
- Fry the Chicken: Heat the peanut oil in a large pot over medium to medium-high heat, watching it closely. Use a clip-on thermometer to monitor the temperature, aiming for about 350 degrees F. Once the oil is hot enough, gently add three chicken pieces to the pot. Fry them for 4 to 5 minutes, flipping them halfway through until they are golden brown. If the temperature drops below 345 degrees F, adjust the heat as needed, being careful not to overcook the breading.
- Drain the Chicken: Once your first batch is golden and crispy, carefully remove the cutlets using a spider skimmer or slotted spoon and place them on a paper towel-lined plate to drain. Keep the oven set to 200 degrees F to keep the chicken warm while you fry the rest!
- Build the Sandwiches: Now it’s time for the fun part! Open up the hamburger buns and start by layering on a handful of pickled jalapeños on the bottom bun. Next, place a crispy fried chicken cutlet on top, followed by a generous drizzle of honey. Finally, scoop on about ¼ cup of pimento cheese on top of the chicken cutlet. Cover the sandwich with the top bun and get ready to serve warm!
Notes
- Storage: The fried chicken breasts will keep well in the fridge for up to 4 days in an airtight container. Reheat them in the oven or air fryer until warm throughout and crispy again on the outside.
- Freezing: If you want to make the chicken in advance, you can freeze the fried cutlets. Just ensure they are well-wrapped to prevent freezer burn.
- Pairing: Serve your sandwiches with a side of coleslaw for a refreshing crunch, or some crispy fries for a classic combo!
- Customize Toppings: Feel free to add toppings like lettuce, sliced tomatoes, or avocado to enhance the flavor profile of your sandwich.
- Adjust Spice Levels: If you like it spicier, consider adding more jalapeños or even a hot sauce drizzle!