The first time I tried Brine Chicken, I was amazed at how juicy and flavorful it turned out. I had always thought that chicken was just chicken, but brining opened up a whole new world of taste and texture. Picture this: you’re hosting a cozy dinner with friends, and you serve up beautifully roasted chicken, glistening and golden brown. Everyone takes a bite, and their eyes light up! They can’t believe how tender and moist the chicken is. That’s the magic of brining. It’s a simple technique that elevates your dish from standard to spectacular.
Brining is a method I discovered during one of my culinary adventures, and ever since, I’ve made it a staple in my kitchen. The process involves soaking the chicken in a saltwater solution, sometimes with added flavorings, to enhance moisture and taste. It’s perfect for any occasion, be it a casual family dinner or a festive gathering. What I love most is its flexibility; you can infuse the brine with herbs, spices, or even citrus to match your flavor profile. And the best part? It’s incredibly easy to do. Just some time and patience are all it takes!
As I learned to master this technique, I experimented with different brining solutions. From adding citrus fruits to incorporating a splash of sweetness with brown sugar, there are endless possibilities to explore. Whether using a whole chicken or chicken pieces, the result is a dish that will impress everyone at the table. So, if you’re ready to transform your chicken game, let’s dive into this delightful Brine Chicken recipe!
Recipe Snapshot
5 mins
5 mins
0 mins
Medium
350 kcal
40 g
Paleo, Gluten-Free, AIP
15 g
Chef’s Knife, Large Pot
The Best Thing About This Brine Chicken
Enhanced Flavor
One of the standout reasons I adore brining is the incredible flavor it imparts. By soaking the chicken in a brine, you’re allowing the salt to penetrate the meat, making it taste much more flavorful, whether it’s grilled, roasted, or sautéed.
Juiciness Guaranteed
The moisture retention is another reason brining is a game-changer. The salt in the brine helps the chicken absorb and retain moisture during cooking, resulting in succulent, juicy bites that will wow your family and friends.
Versatility
Brining isn’t just for chicken! You can use this method with various meats, so once you master it, the possibilities are endless. You can experiment with different flavorings and methods to truly make it your own.
Perfect for Meal Prep
If you’re busy but still want to eat well, brining is a fantastic method for meal prep. You can brine your chicken in advance and then cook it whenever you’re ready to eat, ensuring that you have flavorful, juicy chicken ready to go.
Easy and Economical
Brining is incredibly simple and doesn’t require fancy ingredients or equipment. It’s a cost-effective way to elevate your cooking without breaking the bank. Just some water, salt, and a little time is all you need!
Recipe Ingredients for Brine Chicken
When it comes to brining, the ingredients play a crucial role in flavor development. The combination of salt, sugar, and aromatics creates a perfect balance that not only seasons the chicken but also enhances its natural taste. Here’s a look at the essential components.
- 8 cups water: The base of our brine, allowing the salt and flavors to disperse evenly.
- ½ cup kosher salt: Essential for flavor and moisture retention.
- 6-8 pounds whole chicken: The star of our dish, ready to absorb all that delicious brine.
- 2 lemons (sliced): Adds a fresh, zesty flavor that brightens the dish.
- ¼ cup sugar: Balances the saltiness and adds a hint of sweetness.
- ¼ cup olive oil: Helps with moisture and adds richness.
- 3-5 cloves garlic (smashed): Infuses the brine with aromatic depth.
- 1 tablespoon black peppercorns: Adds a layer of spice to the brine.
- 3 bay leaves: Contributes an earthy flavor.
- 4-8 sprigs fresh herbs (rosemary, thyme, parsley): Enhances the flavor profile with herbal notes.
How to Assemble Brine Chicken

Ready to dive into the brining process? Follow these steps for perfectly brined chicken. It’s a straightforward method that rewards your patience with incredible flavor and tenderness. Let’s get started!
- Begin by gathering your ingredients. In a large stockpot, combine the water, kosher salt, and any optional add-ins you like. Stir well to dissolve the salt.
- Place the stockpot over medium heat and bring the mixture to a boil, ensuring the salt has fully dissolved. This will take just a few minutes.
- Once dissolved, remove the pot from heat and let the brine cool completely. To speed up the cooling process, you can add a few ice cubes.
- When the brine has cooled, prepare your chicken. If using a whole chicken, ensure it’s clean and remove any giblets from the cavity.
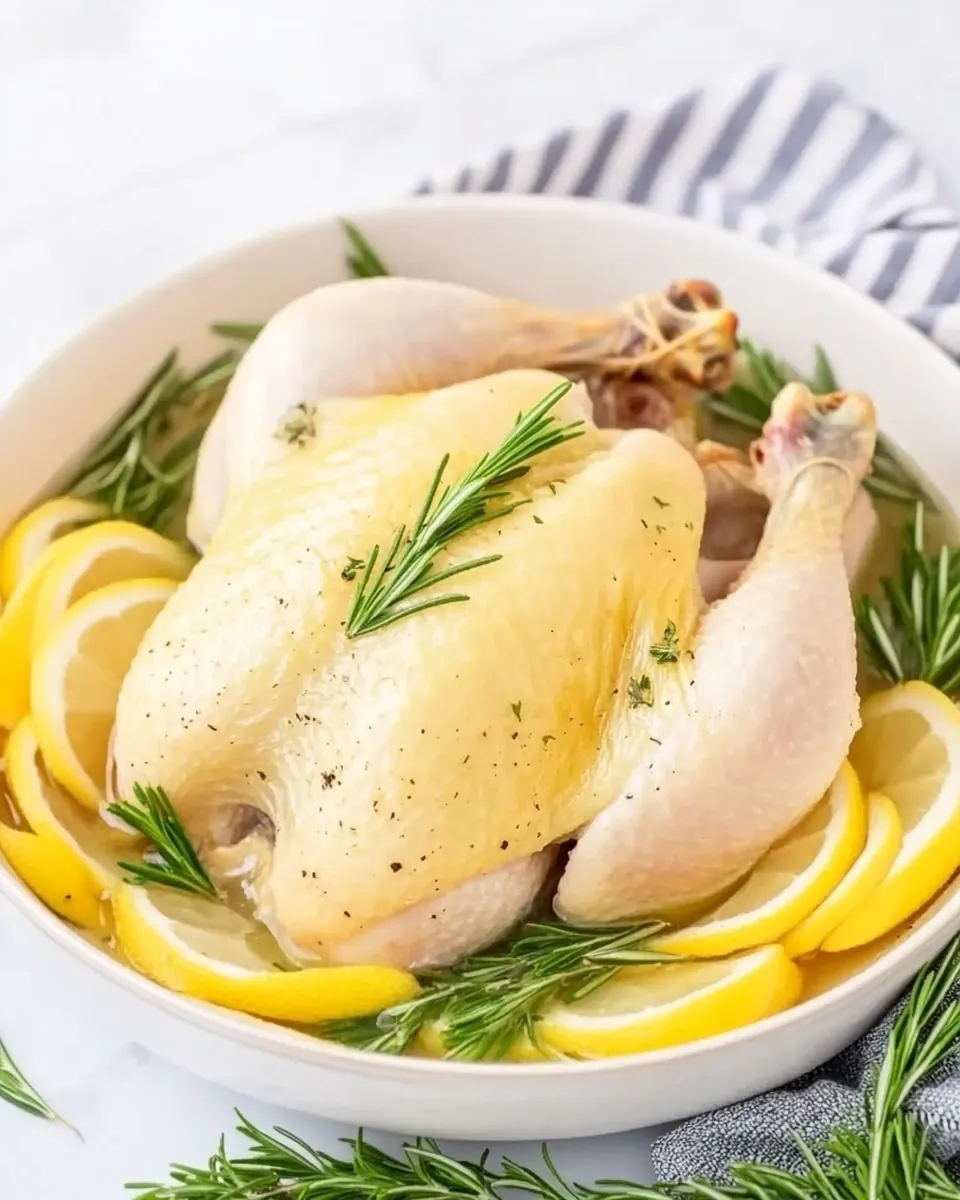
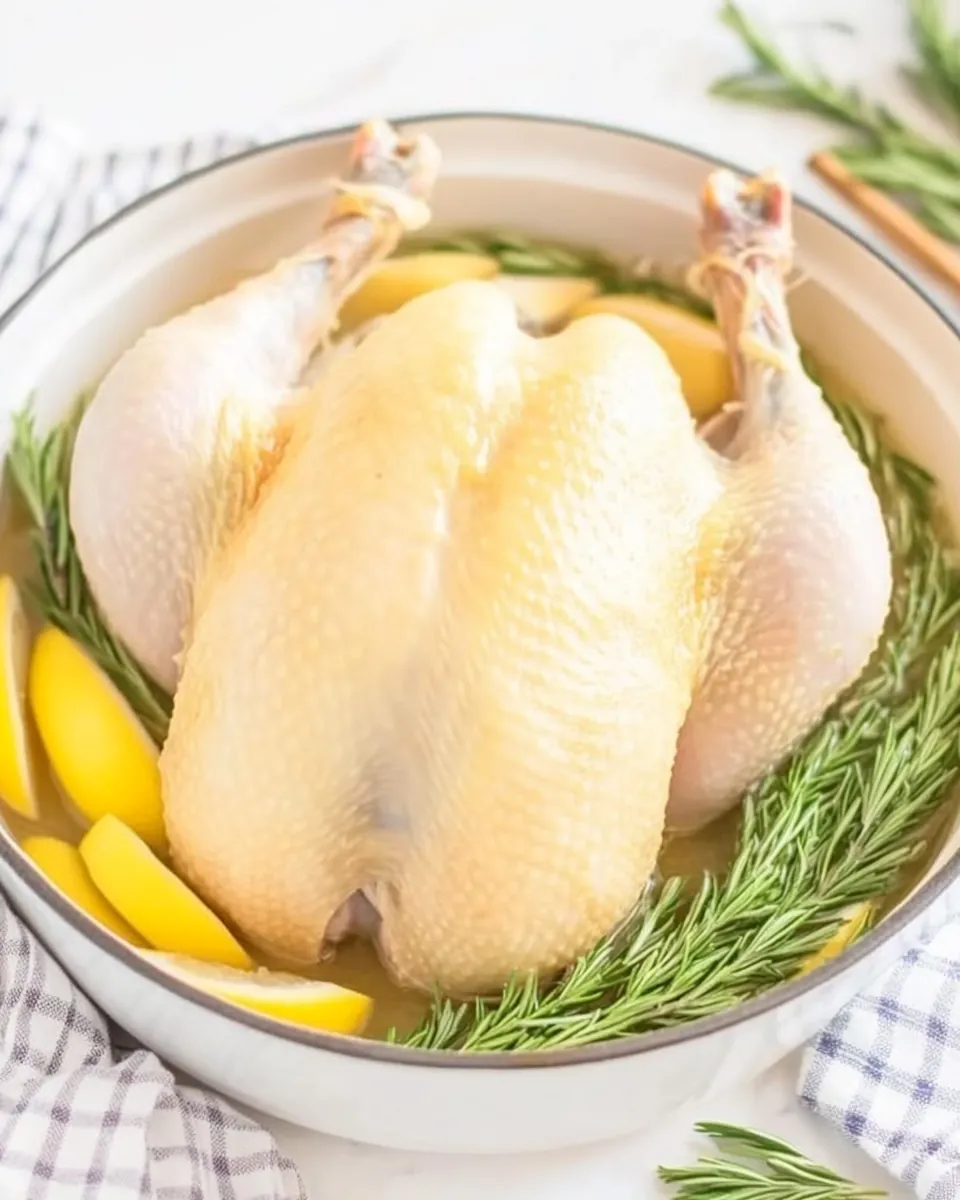
- Carefully submerge the chicken in the brine, breast side down. Make sure the brine fully covers the chicken. If necessary, add more water to ensure complete coverage.
- Cover the pot and refrigerate the brining chicken for at least 12 hours, but no more than 24 hours. This allows the flavors to penetrate deeply.
- After the brining time, remove the chicken from the brine and rinse it under cool water. This will help remove excess salt.
- Use paper towels to pat the chicken dry, allowing for better browning during cooking.
- Proceed to cook your chicken as desired. It can be roasted, grilled, or cooked in any way you choose!
Things Worth Knowing
Things Worth Knowing
- Brining is especially beneficial for lean meats like chicken, as it helps maintain moisture during cooking.
- The ideal brining time depends on the size of the chicken; larger chickens benefit from longer brining times.
- Adding sugar to the brine not only enhances flavor but also helps with browning during cooking.
- If you’re short on time, you can brine smaller chicken pieces for as little as 30 minutes to 2 hours.
Recipe Tips about Brine Chicken

Here are some essential tips to ensure your brining process goes smoothly and your chicken turns out perfectly every time!
- Storage: Leftover brined chicken can be stored in the refrigerator for up to three days. Make sure it’s well-wrapped to prevent dryness.
- Freezing: You can freeze brined chicken. Just be sure to rinse and dry it properly before freezing.
- Pairing: Brined chicken pairs beautifully with roasted vegetables, mashed potatoes, or a fresh salad.
- Experiment: Don’t hesitate to mix up the flavorings in the brine. Different herbs and spices can lead to exciting new flavors.
- Safety: Always refrigerate the brining chicken to avoid bacterial growth. Never leave it out at room temperature.
- Crispy Skin: For extra crispy skin, let the brined chicken rest uncovered in the refrigerator for a few hours before cooking.
Perfect Pairings for Brine Chicken
When serving your delicious Brine Chicken, consider these fantastic pairings that will elevate your meal!
- Roasted Vegetables: A medley of seasonal roasted vegetables complements the flavors of brined chicken perfectly.
- Garlic Mashed Potatoes: Creamy mashed potatoes with a hint of garlic create a comforting side dish.
- Fresh Salad: A crisp salad with a light vinaigrette balances the richness of the chicken.
- Rice Pilaf: Fluffy rice pilaf infused with herbs makes for a delightful accompaniment.
- Grilled Corn: Sweet grilled corn on the cob adds a lovely sweetness to your plate.
- Seasonal Fruits: Serve with a platter of seasonal fruits to refresh the palate.
FAQ
Conclusion
The process of brining chicken is transformative, taking an ordinary dish and elevating it to something truly special. With just a few simple ingredients and a little time, you can create juicy, flavorful chicken that your family will love. I encourage you to try this Brine Chicken recipe; it’s an experience that will leave you eager to share your culinary success with friends and family. Brining is not just a cooking method; it’s a way to infuse your meal with love and care. So go ahead, and make your next chicken dish unforgettable!
Brine Chicken
Ingredients
Equipment
Method
- Begin by gathering your ingredients. In a large stockpot, combine the water, kosher salt, and any optional add-ins you like. Stir well to dissolve the salt.
- Place the stockpot over medium heat and bring the mixture to a boil, ensuring the salt has fully dissolved. This will take just a few minutes.
- Once dissolved, remove the pot from heat and let the brine cool completely. To speed up the cooling process, you can add a few ice cubes.
- When the brine has cooled, prepare your chicken. If using a whole chicken, ensure it's clean and remove any giblets from the cavity.
- Carefully submerge the chicken in the brine, breast side down. Make sure the brine fully covers the chicken. If necessary, add more water to ensure complete coverage.
- Cover the pot and refrigerate the brining chicken for at least 12 hours, but no more than 24 hours. This allows the flavors to penetrate deeply.
- After the brining time, remove the chicken from the brine and rinse it under cool water. This will help remove excess salt.
- Use paper towels to pat the chicken dry, allowing for better browning during cooking.
- Proceed to cook your chicken as desired. It can be roasted, grilled, or cooked in any way you choose!
Notes
- Tip 1: Feel free to mix up the flavorings to fit your preferences.
- Tip 2: Make sure the brine has cooled completely before adding the chicken; otherwise, the chicken may end up in the temperature danger zone, leading to bacterial growth that could make you sick.
- Tip 3: Make sure the brine fully covers the chicken so that the flavors can penetrate all over. Add more water as needed to cover the chicken completely.
- Tip 4: Once brined, gently pat the chicken dry to remove excess moisture.
- Tip 5: If you have time, let the chicken sit uncovered in the refrigerator for 1-2 hours to dry it out even more. This will lead to crispier skin.
- Tip 6: I recommend roasting brined chicken, but you can cook it any way you like!
- Tip 7: The general formula for roasting brined chicken is 15 minutes at 350°F for every 1 pound of chicken.