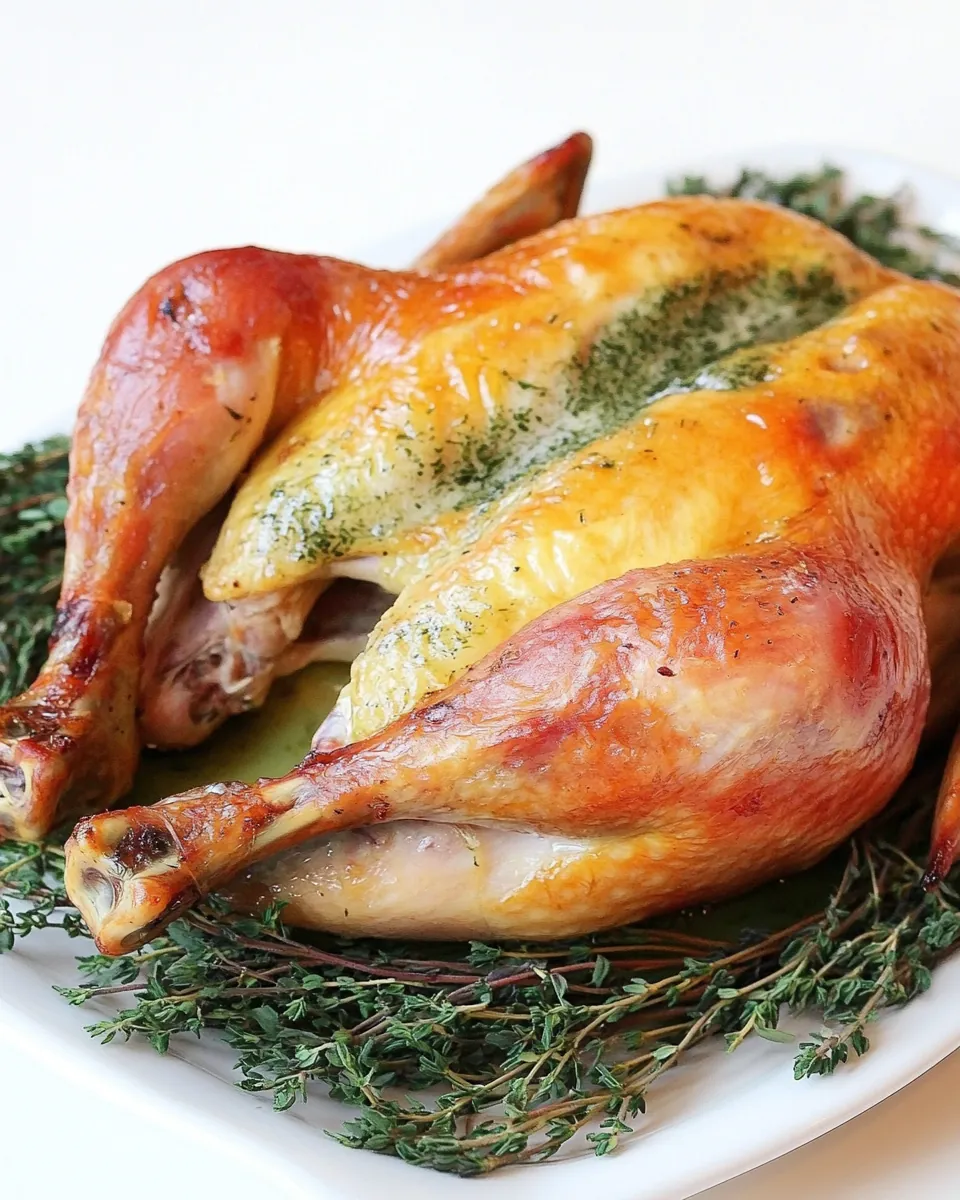
Every time I make this Easy Spatchcock Chicken, I’m reminded of how simple yet impressive it can be. Just imagine a perfectly roasted chicken, golden-brown with crispy skin, and juicy meat that practically falls off the bone. It’s become a staple in my household, especially on those busy weeknights when I want to impress my family without spending hours in the kitchen. The beauty of spatchcocking lies in its ability to reduce cooking time and ensure even cooking. I often find myself craving this dish, especially when paired with seasonal vegetables or a fresh salad. Whether it’s a cozy family dinner or a gathering with friends, this recipe never disappoints.
Recipe Snapshot
1 hr 5 mins
20 mins
45 mins
Medium
420 kcal
40 g
Keto, Paleo, Whole30
28 g
Baking Sheet, Oven, Blender, Mixing Bowl
Why This Easy Spatchcock Chicken Works
Flavorful Simplicity
One of the main reasons I adore this recipe for Easy Spatchcock Chicken is its straightforwardness. The herb butter seeps under the skin, infusing every bite with rich flavors. You won’t need complicated marinades or lengthy processes – just a few quality ingredients make all the difference.
Perfectly Cooked Every Time
Spatchcocking the chicken allows for more even cooking, meaning no more dry breast meat or undercooked thighs. I love using a meat thermometer to ensure my chicken is perfectly cooked, reaching that golden 150°F for the breast and 170°F for the thighs. It takes the guesswork out of roasting!
Meal Prep Friendly
This chicken can be prepped ahead of time, allowing you to enjoy a home-cooked meal even on your busiest days. I often prepare it the night before, letting the flavors meld as it sits in the fridge. Just pop it in the oven when you’re ready, and your home will smell divine!
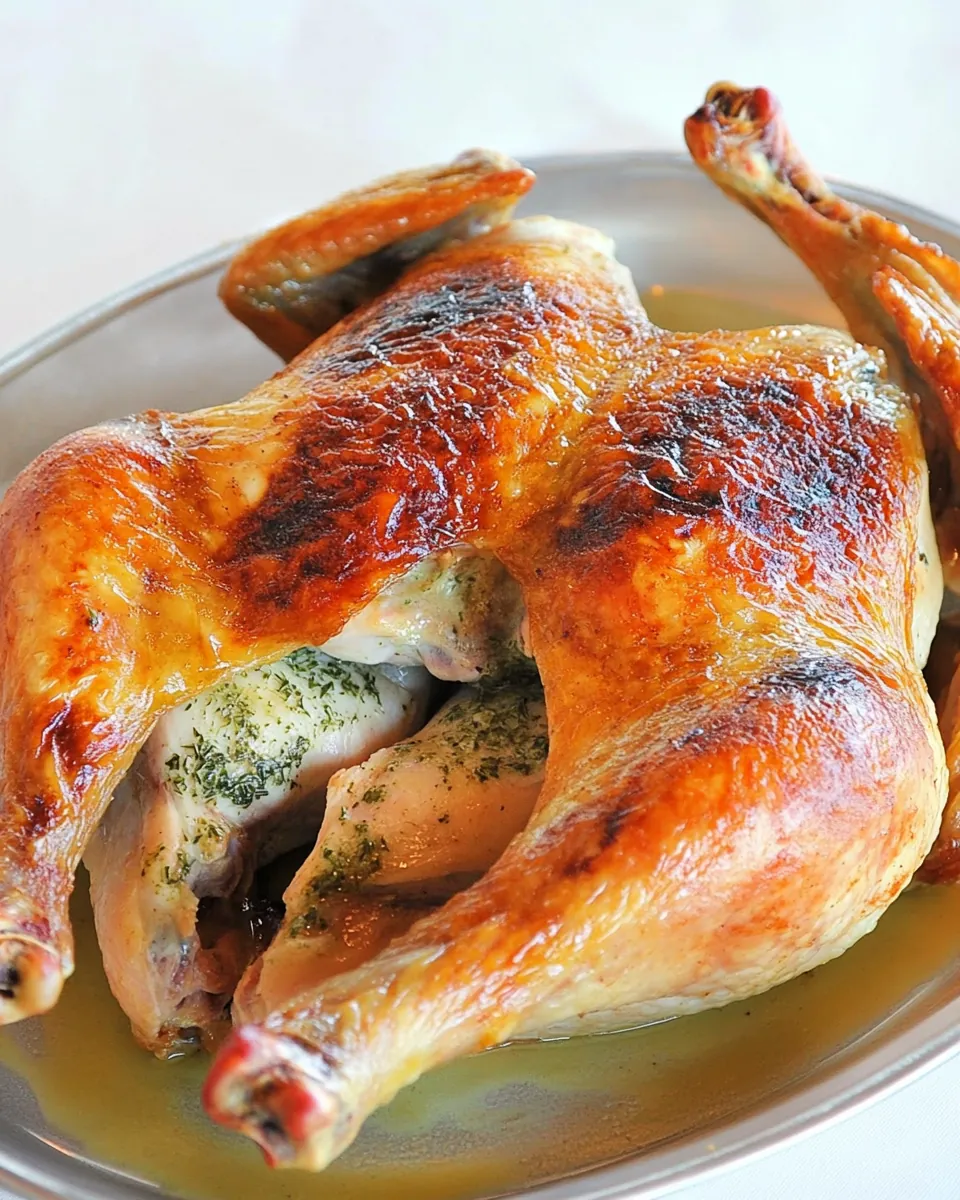
Beautiful Presentation
There’s something incredibly satisfying about serving a beautifully roasted chicken. The presentation alone can impress guests at a dinner party or a casual family gathering. I love garnishing it with fresh herbs or lemon wedges for that extra touch.
Versatile and Customizable
One of my favorite aspects of this Easy Spatchcock Chicken is its versatility. You can easily experiment by adding different herbs or spices to the butter, allowing the dish to fit any cuisine. Whether you prefer classic Italian flavors or a spicy kick, you can customize it to your liking!
Great for Leftovers
If there’s any chicken left over, it makes for delicious lunches the next day. I often shred the remaining meat for sandwiches or salads, ensuring nothing goes to waste. It’s a win-win!
Ingredients You’ll Need for Easy Spatchcock Chicken

The ingredients for this recipe are simple yet impactful. Each element plays a crucial role in achieving the best flavor and texture. The whole chicken is the star of the show, while the kosher salt ensures a well-brined bird. Butter introduces richness, and a salt-free herb blend adds depth without overwhelming the dish.
- 14-pound whole chicken – A good-sized chicken for roasting. Look for one that’s fresh and ideally free-range for the best flavor.
- 1 tablespoon Diamond Crystal kosher salt – Essential for seasoning the chicken and ensuring juiciness.
- ¼ cup softened butter – This will be mixed with herbs to create a flavorful basting mixture.
- 1 tablespoon salt-free herb blend of choice – Feel free to use your favorite herbs to personalize the flavor.
Preparation Steps for Easy Spatchcock Chicken
Getting started with this Easy Spatchcock Chicken is a rewarding experience. You’ll be amazed at how straightforward the steps are to achieve a perfectly roasted chicken. Let’s dive into the preparation!
- Begin by taking your whole chicken and removing any giblets or innards from the cavity. I usually save these for making homemade bone broth later.
- Next, spatchcock the chicken using a pair of sharp kitchen shears. Cut along either side of the backbone to remove it completely. Don’t worry if it’s your first time; with practice, it becomes second nature.
- Once the backbone is removed, press down firmly on the breastbone to flatten the chicken. This helps the chicken cook evenly and gives it a beautiful presentation.
- With the chicken skin-side up, gently separate the skin from the meat on the breast and thigh area. This creates pockets for the herb butter.
- In a ramekin, measure out the kosher salt and generously sprinkle it all over the chicken, including under the skin where you can reach. This step ensures flavor is infused throughout.
- Tuck the wings behind the chicken’s back to prevent them from burning during cooking. This little trick keeps everything neat and tidy.
- Set a wire rack on top of a foil-lined baking sheet and place the chicken skin-side up on the rack. This allows air to circulate around the bird for even roasting.
- Cover the chicken loosely with plastic wrap and place it in the fridge for up to 3 days if you have the time. It’s a great way to enhance flavor through dry brining.
- When you’re ready to cook, preheat your oven to 400°F on convection roast or 425°F if using regular settings. Position the rack in the upper middle of the oven.
- Prepare your softened butter by mixing it with your chosen herb blend. This step is crucial; the herb-infused butter will keep the chicken moist and add layers of flavor.
- Spoon a quarter of the herb butter under the skin of one side of the breast, spreading it evenly. Repeat this on the other side.
- Next, divide the remaining herb butter and tuck it under the skin on the thighs. It’s okay if some butter leaks out; it’ll flavor the chicken as it cooks.
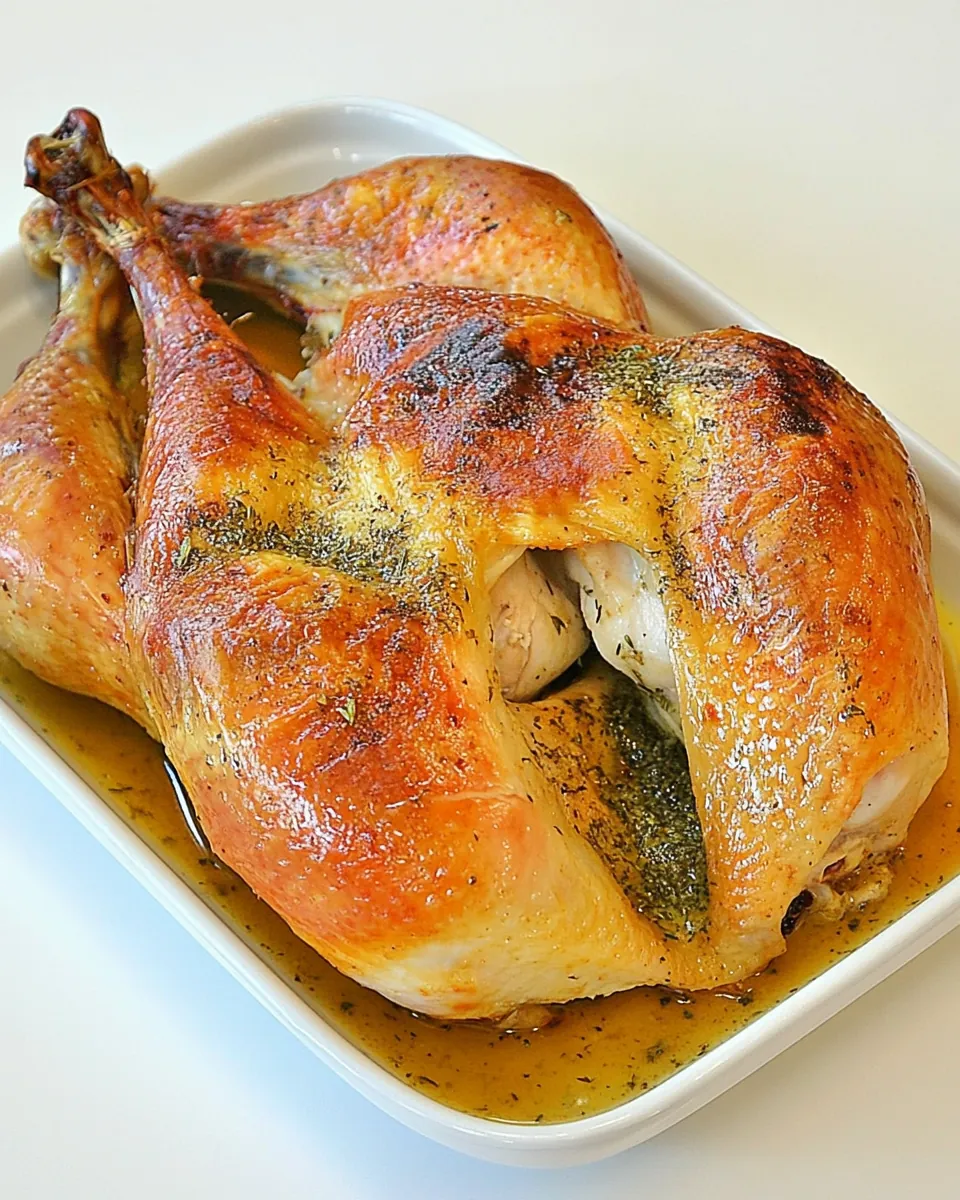
- Place the chicken in the oven and roast for approximately 45 minutes or until the breast reaches 150°F and the thighs hit 170°F, checking with an instant-read thermometer.
- Once finished, remove the chicken and let it rest for a minimum of 10 minutes before carving. This resting period is key to juicy results.
Things Worth Knowing
- Resting the Chicken: Letting the chicken rest after roasting is essential, as it allows the juices to redistribute throughout the meat, ensuring a juicy bite.
- Using a Sharp Knife: Always use a sharp knife for carving to ensure clean cuts and to avoid tearing the meat.
- Flavor Infusion: Consider using different herbs and spices in the butter to cater to various tastes or themes, such as Mediterranean or spicy.
- Brining Time: If you have time, letting the chicken sit after salting greatly enhances flavor and moisture retention.
Recipe Tips about Easy Spatchcock Chicken
Cooking is often about the little secrets that make each dish shine. Here are some tips for perfecting your Easy Spatchcock Chicken experience.
- Storage: Leftovers can be stored in an airtight container in the refrigerator for up to four days. Make sure to keep the chicken covered to prevent it from drying out.
- Freezing: You can freeze leftover cooked chicken for up to three months. Just ensure it’s well-wrapped to avoid freezer burn.
- Pairing: This chicken goes wonderfully with roasted vegetables or a light salad, making it a versatile choice for any meal.
- Cooking Method: If you prefer a different method, this recipe can be adapted for the grill. Just make sure to monitor the internal temperatures closely.
- Experiment: Don’t hesitate to try different herb blends or oils in the butter to find your perfect flavor combination.
Pairing Suggestions for Easy Spatchcock Chicken
- Seasonal Vegetables: Roasted Brussels sprouts or root vegetables complement the chicken beautifully.
- Side Salads: A refreshing green salad with a citrus vinaigrette can balance the richness of the chicken.
- Occasions: This dish is perfect for family dinners, gatherings with friends, or even special occasions like holidays.
- Grain Accompaniments: Pair the chicken with a side of quinoa or couscous to complete your meal.
- Leftover Ideas: Shred leftover chicken for sandwiches or salads, creating delicious meals without the effort of cooking again.
FAQ
Conclusion
This Easy Spatchcock Chicken recipe stands out for its simplicity and flavor, making it a go-to for any occasion. With its juicy meat, crispy skin, and aromatic herb butter, this dish is sure to impress your family and friends. I encourage you to try making it tonight—once you do, it might just become a staple in your kitchen!
Easy Spatchcock Chicken
Ingredients
Equipment
Method
- Begin by taking your whole chicken and removing any giblets or innards from the cavity. I usually save these for making homemade bone broth later.
- Next, spatchcock the chicken using a pair of sharp kitchen shears. Cut along either side of the backbone to remove it completely. Don’t worry if it’s your first time; with practice, it becomes second nature.
- Once the backbone is removed, press down firmly on the breastbone to flatten the chicken. This helps the chicken cook evenly and gives it a beautiful presentation.
- With the chicken skin-side up, gently separate the skin from the meat on the breast and thigh area. This creates pockets for the herb butter.
- In a ramekin, measure out the kosher salt and generously sprinkle it all over the chicken, including under the skin where you can reach. This step ensures flavor is infused throughout.
- Tuck the wings behind the chicken’s back to prevent them from burning during cooking. This little trick keeps everything neat and tidy.
- Set a wire rack on top of a foil-lined baking sheet and place the chicken skin-side up on the rack. This allows air to circulate around the bird for even roasting.
- Cover the chicken loosely with plastic wrap and place it in the fridge for up to 3 days if you have the time. It’s a great way to enhance flavor through dry brining.
- When you’re ready to cook, preheat your oven to 400°F on convection roast or 425°F if using regular settings. Position the rack in the upper middle of the oven.
- Prepare your softened butter by mixing it with your chosen herb blend. This step is crucial; the herb-infused butter will keep the chicken moist and add layers of flavor.
- Spoon a quarter of the herb butter under the skin of one side of the breast, spreading it evenly. Repeat this on the other side.
- Next, divide the remaining herb butter and tuck it under the skin on the thighs. It's okay if some butter leaks out; it’ll flavor the chicken as it cooks.
- Place the chicken in the oven and roast for approximately 45 minutes or until the breast reaches 150°F and the thighs hit 170°F, checking with an instant-read thermometer.
- Once finished, remove the chicken and let it rest for a minimum of 10 minutes before carving. This resting period is key to juicy results.
Notes
- Tip 1: Don’t forget: you can successfully spatchcock big birds (e.g., turkeys) as well. If you’re at all nervous about using this method to cook your turkey on Thanksgiving, do a test run this week on a chicken.
- Tip 2: I have a sneaking suspicion you’ll be hooked, and that it’ll be your favorite way to prepare whole birds from now on.