Have you ever craved something crispy, juicy, and absolutely delicious? That describes my beloved Chicken Cutlet Sandwich perfectly. Growing up, weekends were often about lingering family lunches, and this sandwich always made an appearance on our table. Each bite of that tender cutlet, paired with fresh ingredients and a hint of marinara, takes me back to those cherished moments. I remember the first time I made this for friends; their eyes lit up with every bite, and it quickly became a staple in our gatherings. Not only is it delectable, but it’s also simple to whip up, making it perfect for any occasion.
Recipe Snapshot
26 mins
10 mins
16 mins
Easy
550 kcal
30 g
Gluten-Free, Low FODMAP
30 g
Green Pan Non-Stick Pan, Air Fryer, Storage Containers
Why We Love This Chicken Cutlet Sandwich
Comfort in Every Bite
There’s something magical about the Chicken Cutlet Sandwich. It’s not just a meal; it’s an experience that wraps you in warmth and satisfaction. The crispy exterior gives way to juicy chicken, creating a delightful contrast that keeps you coming back for more. You can’t go wrong with this combination!
Quick and Easy Preparation
No one wants to spend hours in the kitchen, and that’s the beauty of this recipe. The chicken is ready in no time, allowing you to create a scrumptious meal without the hassle. It’s perfect for busy weeknights or a lazy weekend when you want something special without dedicating hours to cooking.
Customization Galore
The Chicken Cutlet Sandwich is incredibly versatile. Want to spice it up? Add jalapeños or a drizzle of hot sauce. Prefer it light? Serve the cutlet over a fresh salad instead of in a roll. The possibilities are endless, allowing you to cater to different tastes and preferences.
Family-Friendly Fun
This recipe is a hit with both kids and adults alike. It’s the perfect way to get the family together in the kitchen. Kids love to help with the breading process, and it’s an excellent way to teach them cooking skills while making memories.
Perfect for Any Occasion
Whether it’s a casual lunch, a picnic in the park, or a fun dinner party, the Chicken Cutlet Sandwich fits right in. It’s suitable for any occasion, ensuring you always have a crowd-pleaser at your fingertips. Plus, it’s a fantastic way to impress your guests without breaking a sweat!
Delicious Leftovers
If you happen to have leftovers (which is rare), the taste gets even better the next day. The flavors meld beautifully, making it a treat that you’ll look forward to enjoying again. Just pop it in the microwave or toaster oven, and you’re set for a tasty meal.
Shopping List for Chicken Cutlet Sandwich
When it comes to the ingredients for your Chicken Cutlet Sandwich, each one plays a vital role in crafting the perfect balance of flavors and textures. The key players here are the tender chicken, crispy bread crumbs, and fresh salad. Together, they create a harmonious combination that will have you reaching for seconds!
- 1 pound thinly sliced chicken breast (or 4 chicken cutlets) – The star of the show! Tender and juicy, the chicken provides protein and flavor.
- 2 eggs (lightly beaten) – Used for breading, they help the crumbs stick and create that delicious golden crust.
- ½ cup Italian-flavored bread crumbs – Adds that perfect crunch and flavor to the cutlet.
- ¼ cup extra virgin olive oil – Essential for frying, giving the cutlets a beautiful crisp.
- ½ cup marinara sauce – A rich sauce that complements the chicken perfectly.
- 4 slices mozzarella cheese – Melts beautifully on top of the cutlets, adding creaminess.
- 4 hoagie rolls – The perfect vessel for holding all the delicious ingredients together.
- 8 ounces Caesar salad kit – Adds a fresh crunch, balancing the richness of the chicken.
Chicken Cutlet Sandwich Instructions
Making the Chicken Cutlet Sandwich is a delightful journey from start to finish. Follow these steps, and soon you’ll have a mouthwatering meal to enjoy.
- Begin by patting the chicken dry with a paper towel. This step is crucial as it helps the breading adhere better.
- Prepare your breading station: place the eggs in one shallow dish and the bread crumbs in another. Dip each piece of chicken into the eggs, ensuring it’s fully coated, then transfer it to the bread crumbs. Press gently to coat the chicken evenly. Set aside on a clean plate.
- In a large skillet, heat the olive oil over medium heat. After a minute, add a few bread crumbs to check if the oil is hot enough; they should sizzle right away.
- Once the oil is ready, add the coated chicken. Be careful not to overcrowd the pan. If needed, work in batches to cook all the chicken evenly.
- Cook for about 3 minutes until the underside is golden brown, then carefully turn each piece over. Cook for an additional 3 to 4 minutes, or until the chicken reaches an internal temperature of 165 degrees F.
- As the chicken finishes cooking, add a slice of mozzarella cheese on top of each cutlet. Let it melt for an added layer of flavor.
- Once cooked, remove the chicken from the pan with tongs and drain it on a paper towel, if desired, to absorb any excess oil.
- While the chicken cools slightly, prepare the salad. Simply follow the instructions on your Caesar salad kit for a quick and easy dressing.
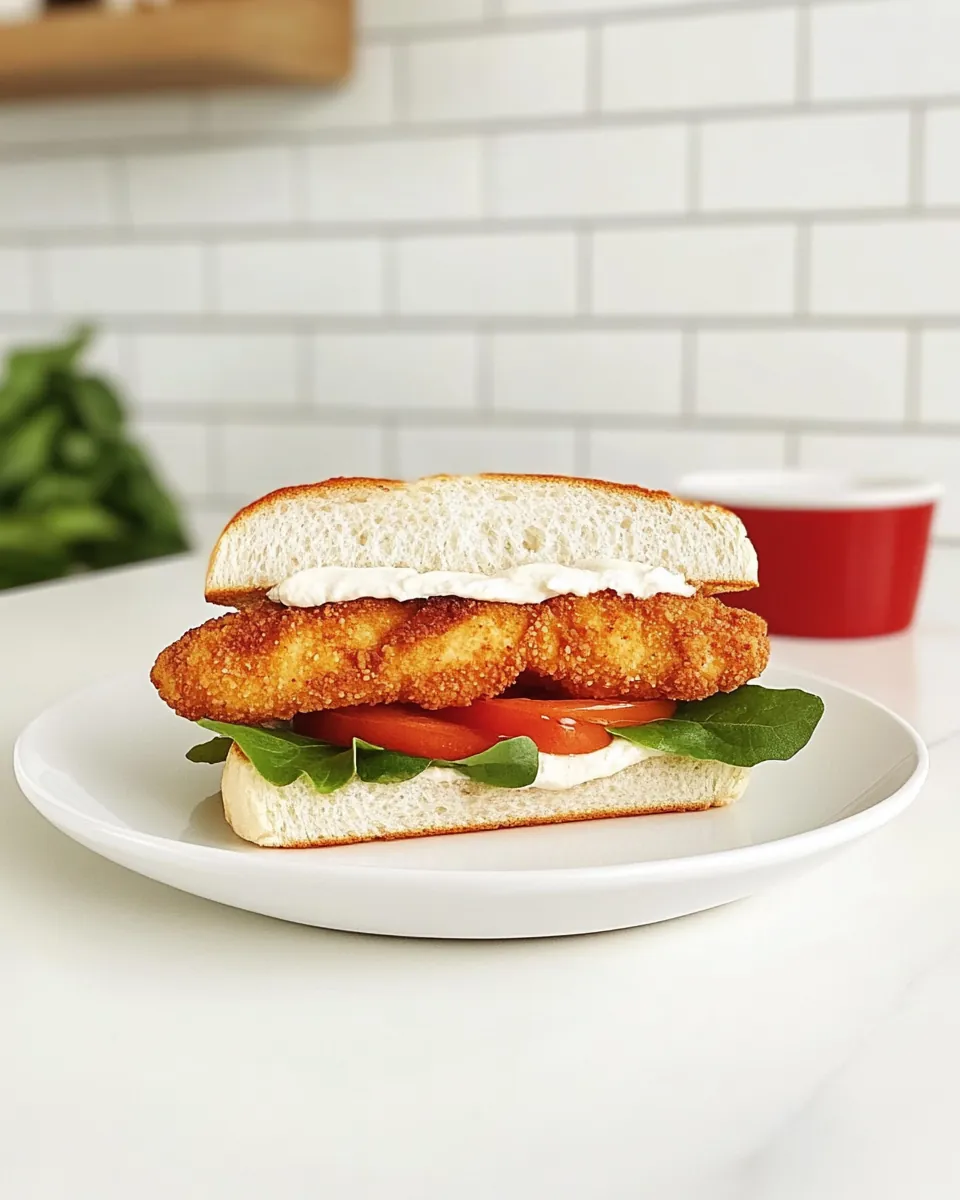
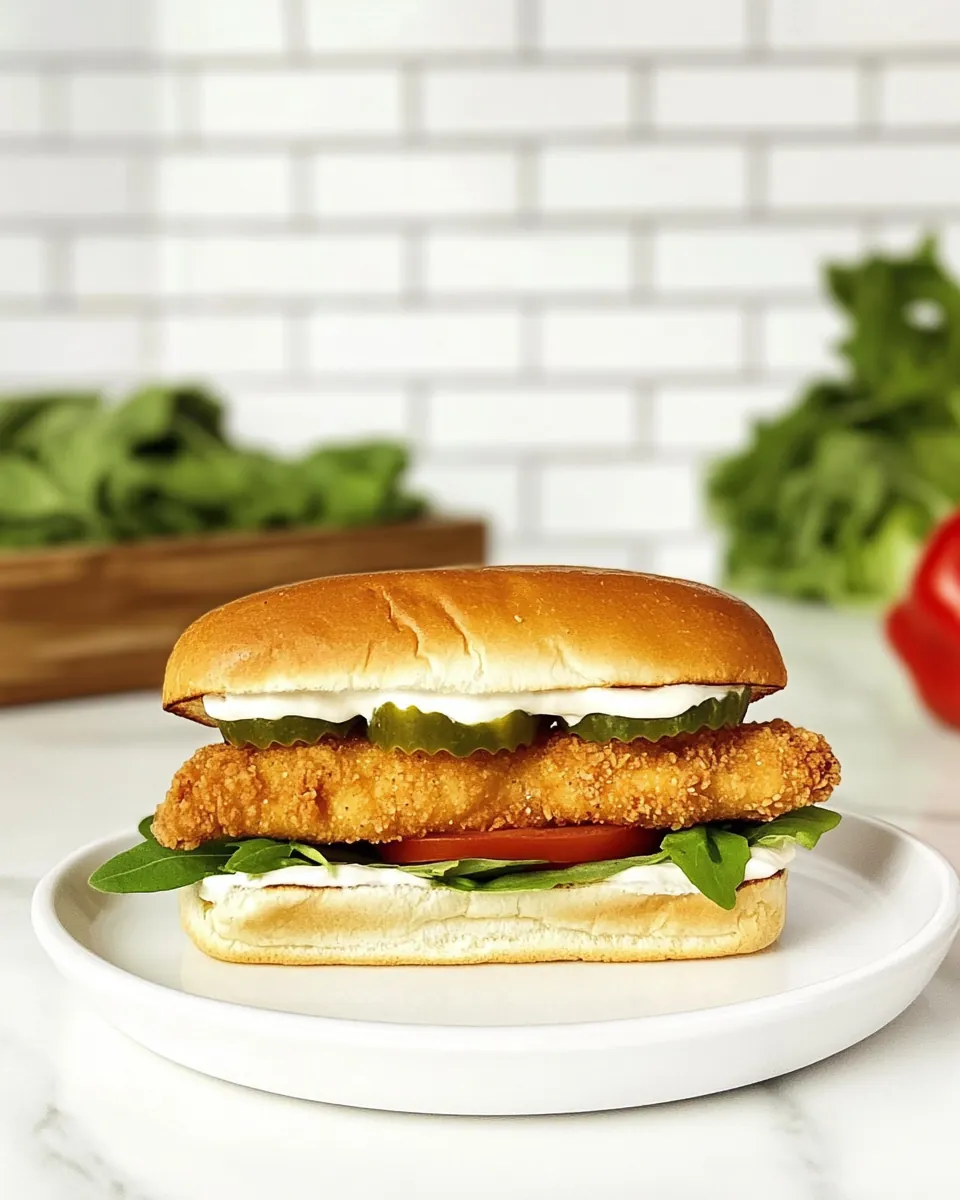
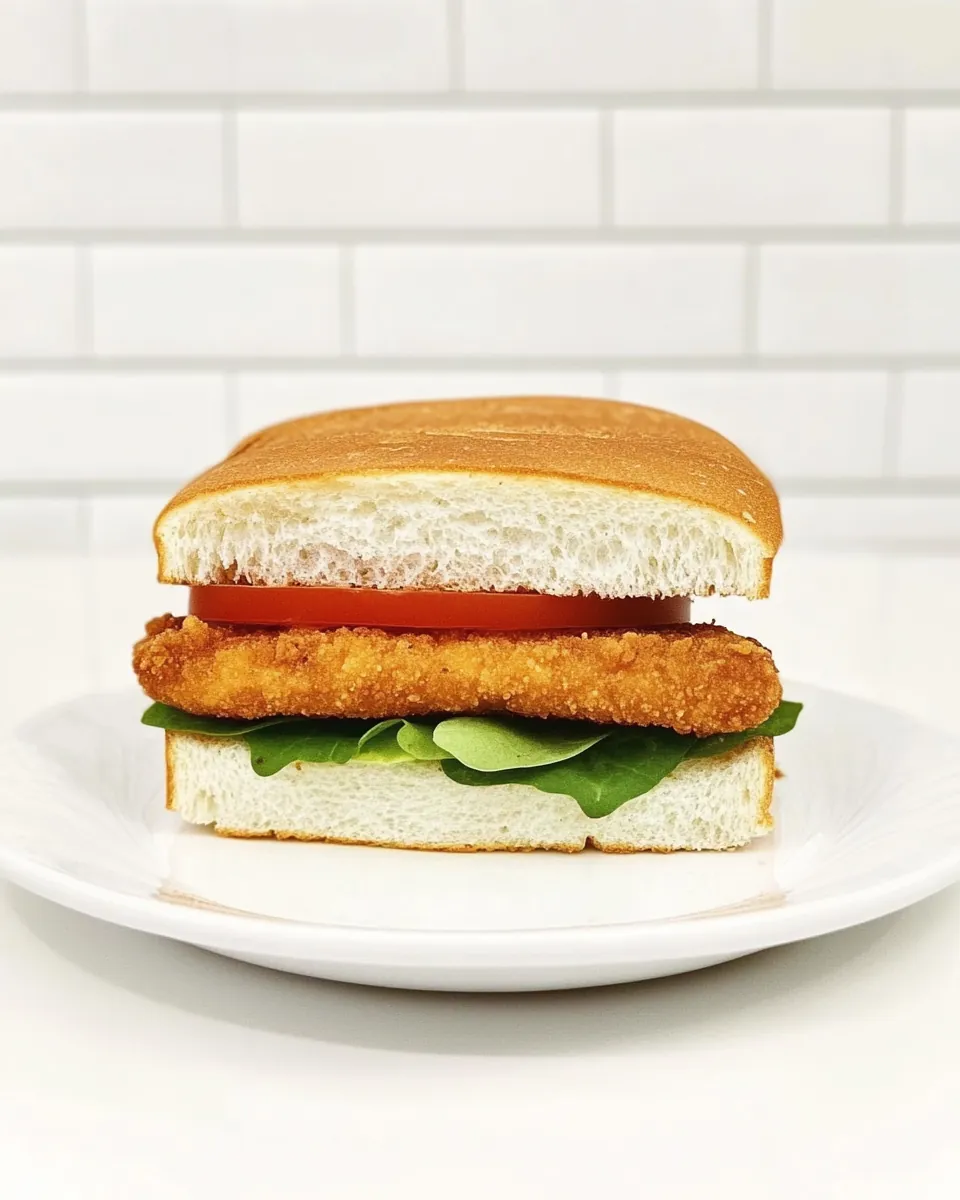
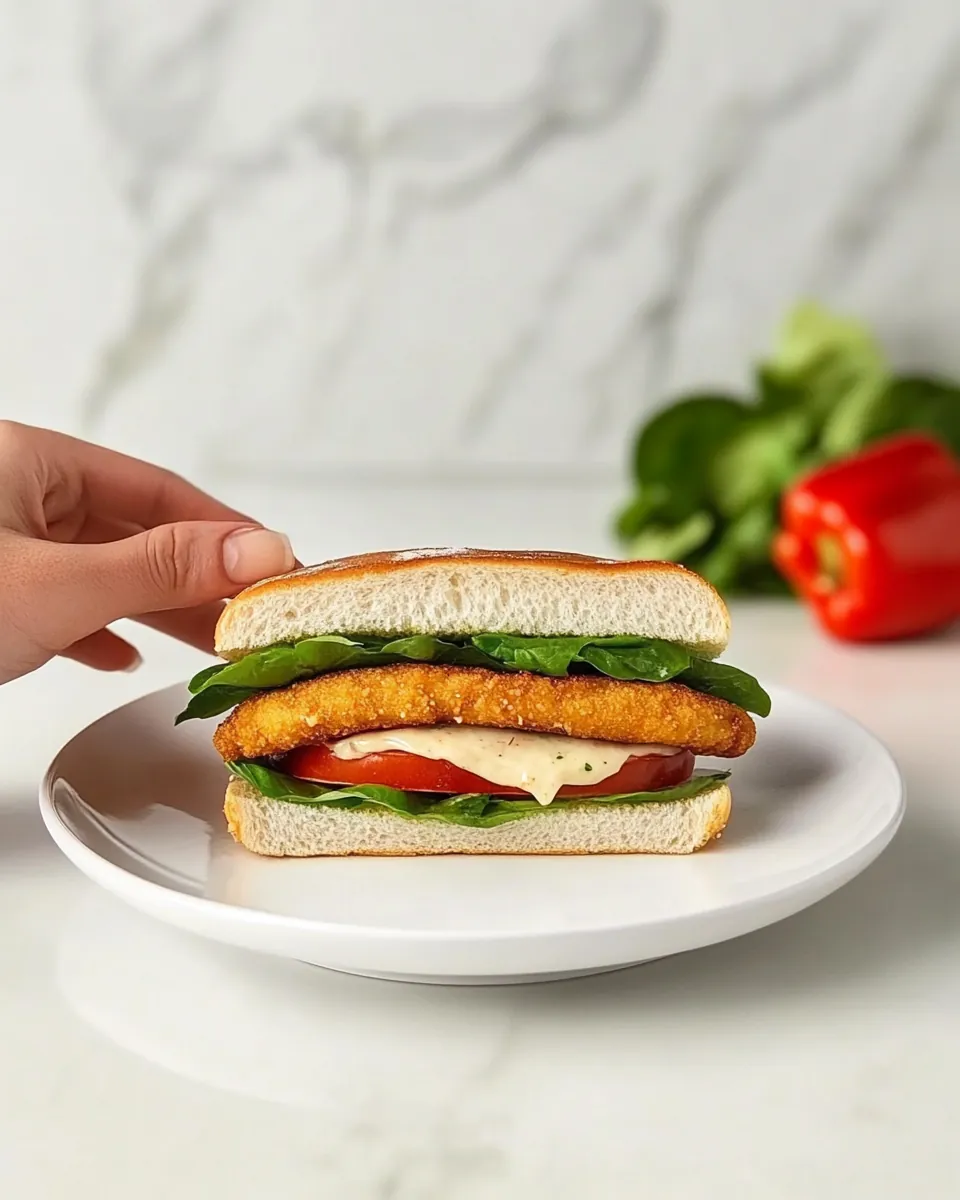
- To assemble your sandwiches, spread a thin layer of marinara sauce on the base of each hoagie roll. Layer on the chicken with melted cheese, followed by a generous helping of salad.
- If your hoagie rolls are particularly thick, feel free to scoop out a bit of the top half to create more room for the filling.
Things Worth Knowing
- Coating Technique: Make sure to thoroughly coat the chicken with the egg and bread crumbs for a crispy texture.
- Oil Temperature: Always test the oil before adding the chicken. Too hot can burn the breadcrumbs, and too cold can make them soggy.
- Batch Cooking: If cooking in batches, add more olive oil in between batches to maintain crispiness.
- Melting Cheese: Let the cheese sit on the hot chicken for a minute to melt perfectly without overcooking the chicken.
Ways to Customize
There are so many ways to make the Chicken Cutlet Sandwich your own. Here are some tips to elevate your sandwich to the next level.
- Storage: Store any leftovers in an airtight container in the fridge for up to 3 days.
- Freezing: You can freeze the cooked cutlets for up to 3 months. Just reheat in the oven for a crispy texture.
- Pairing: Serve with sweet potato fries or a side of coleslaw to balance the flavors.
- Spice It Up: Add some crushed red pepper flakes to the breading for an extra kick.
- Healthier Options: Try baking the chicken in the oven instead of frying for a healthier alternative.
- Add More Greens: Layer with fresh spinach or arugula for an extra crunch and nutrition boost.
What to Serve Alongside Chicken Cutlet Sandwich
When it comes to serving your delicious Chicken Cutlet Sandwich, the options are plentiful!
- Fresh Salads: Pair with a crisp garden salad or a light Caesar salad to complement the richness of the sandwich.
- Fries: Classic French fries or sweet potato fries add a satisfying crunch and are a definite crowd-pleaser.
- Seasonal Sides: Consider roasted vegetables in the fall or a refreshing cucumber salad in the summer to balance the meal.
- Picnic Perfection: These sandwiches are perfect for picnics—just wrap them up and enjoy them outdoors!
- Game Day Treat: Serve these sandwiches during game day gatherings or casual get-togethers for a hearty bite.
- Kids’ Favorite: Offer some fruit slices or carrot sticks on the side to keep little ones happy.
FAQ
Conclusion
The Chicken Cutlet Sandwich is a delightful blend of textures and flavors that truly stands out as a comfort food. With its crispy cutlets, gooey cheese, and fresh toppings, this sandwich is not only a treat for your taste buds but also a fun dish to make with family. I encourage you to try it; you won’t regret it. Gather your ingredients, and let this sandwich bring joy to your table tonight!
Chicken Cutlet Sandwich
Ingredients
Equipment
Method
- Pat the chicken dry with a paper towel. Place the eggs and bread crumbs into two separate shallow dishes. Completely coat the chicken in the eggs, then the bread crumbs. Set aside on a clean plate.
- Add the olive oil to a large skillet (I use nonstick) over medium heat. After a minute, drop a bit of bread crumbs into the oil to see if it sizzles. If not, wait another minute for the oil to heat.
- Add the chicken, tilting the pan to move the oil around as needed, and being careful not to overlap the pieces. Cook for 3 minutes, then turn over and cook for 3-4 more minutes, or until the chicken registers 165 degrees F with an instant-read thermometer. If the bottom starts to brown too deeply, lower the heat slightly.
- If all of your chicken doesn't fit in the pan at the same time without crowding, plan to do this in two batches—adding more oil in between. Add a slice of cheese to the top of each cutlet so it starts to melt.
- Remove chicken from the pan with tongs, drain on a paper towel if desired. Make the salad.
- To assemble the sandwiches: Add a thin layer of marinara sauce to the base of each roll. Add the chicken (with the cheese), then the salad. If the rolls are very thick, feel free to remove the inside of the top half of the roll so there is more space for the salad.
Notes
- If your rolls are very thick: remove some of the inside of the top half so there is more space for the salad.
- Use a Caesar salad kit: from the store to make that step easy.
- Skip the cheese: and dressing to make this recipe dairy-free.
- Serve the cutlets over the salad: for another variation on this idea.
- Cut the cheese, bread, chicken, and salad: into thin strips to make it easy for toddlers to chew.
- Egg-free: Use about ¼ cup vegan mayo in place of the eggs.
- To make the cutlets in the air fryer: spray the cutlets lightly with olive oil spray and air fry at 375 degrees F for 8-10 minutes or until cooked through.