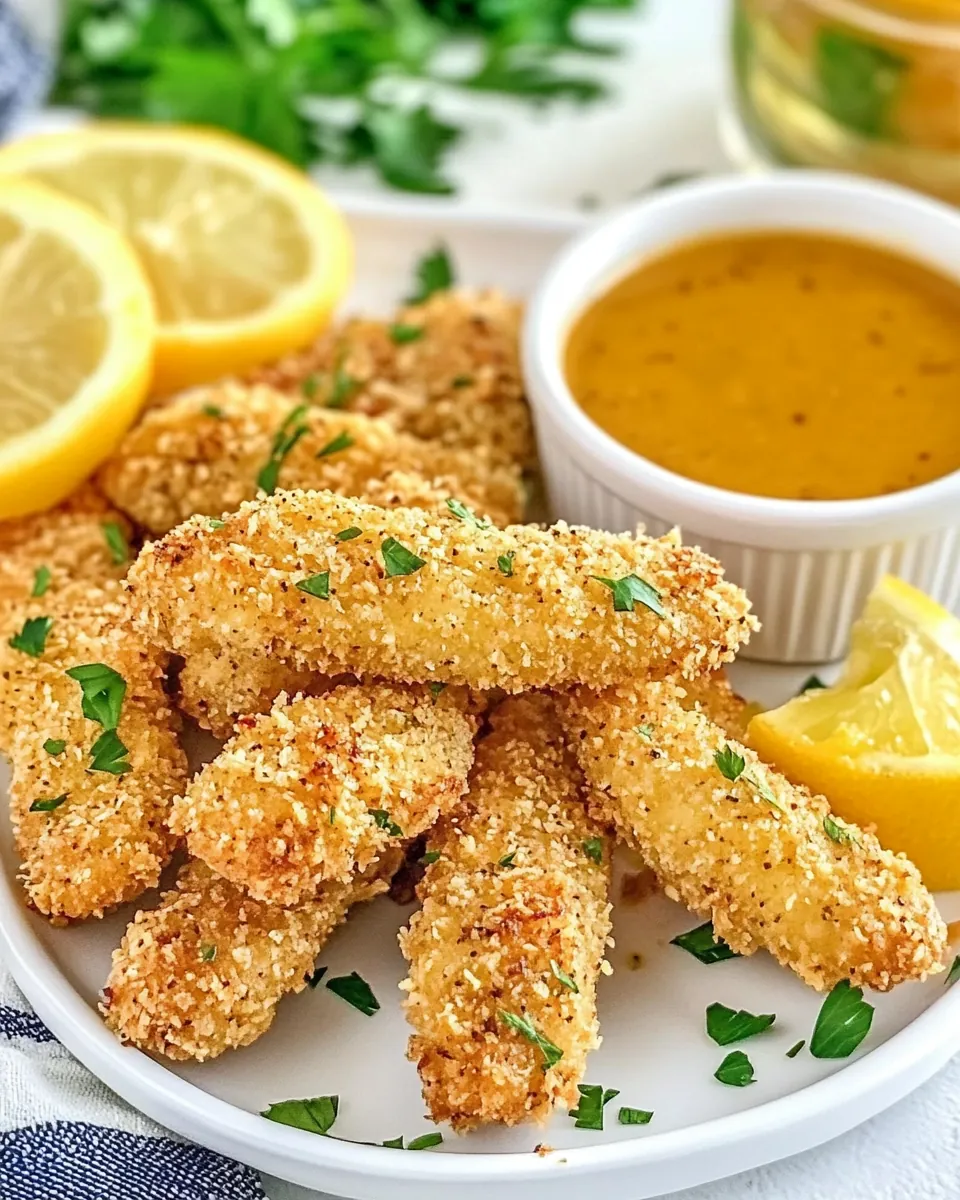
Whenever I’m in the mood for something crispy and satisfying, Honey Mustard Chicken Fingers always comes to mind. I remember the first time I made them; it was a rainy Saturday afternoon, and I wanted something that would bring warmth and joy to my family. The kids were excited to help out, and soon the kitchen was filled with the delightful aroma of golden-brown chicken fingers. We all gathered around the table, each of us with our unique dipping sauces. It turned into a fun family feast that sparked laughter and joy. Now, every time I make Honey Mustard Chicken Fingers, it feels like a warm hug from the kitchen, and I can’t wait for you to experience this comfort food too!
Recipe Snapshot
25 mins
10 mins
15 mins
Medium
320 kcal
25 g
Paleo, Vegan, Gluten-Free
10 g
Breading Trays, Rimmed Baking Sheet with Wire Rack, Meat Thermometer
What We Adore About This Honey Mustard Chicken Fingers
There are so many reasons to love Honey Mustard Chicken Fingers. Here are just a few:
1. Easy to Prepare
I cherish recipes that are not only delicious but also simple to make. Honey Mustard Chicken Fingers fit the bill perfectly. With just a handful of ingredients and straightforward steps, you can whip up this dish in no time. It’s a fantastic weeknight dinner option when you’re short on time but still want something tasty.
2. Perfect for All Ages
These chicken fingers are a hit with both kids and adults alike. Their crispy exterior and tender chicken mean that even the pickiest eaters will enjoy them. You can serve them at family gatherings, parties, or even as a fun dinner option, and they’ll be loved by everyone!
3. Versatile Dipping Options
The fun doesn’t stop with just the chicken fingers. You can get creative with dipping sauces. From classic honey mustard to spicy buffalo sauce, the options are endless. I love setting up a dipping bar so everyone can customize their experience. It’s not just a meal; it’s an interactive dining experience!
4. Make-Ahead Convenience
One of my favorite aspects of Honey Mustard Chicken Fingers is their make-ahead potential. You can prep them in advance, store them in the refrigerator, and bake them when you’re ready to eat. This is a great time-saver for busy weeknights, giving you more time to relax with loved ones.
5. Healthy Yet Satisfying
Despite being a comfort food, these chicken fingers can be made healthier than traditional fried versions. Baking them instead of frying reduces the oil and calories while still keeping them crispy. You can enjoy a satisfying meal without the guilt!
6. Meal Prep-Friendly
If you’re into meal prepping, Honey Mustard Chicken Fingers are ideal. You can make a big batch, freeze them, and reheat them when needed. This makes it easy to have a quick, homemade dinner ready to go on busy evenings.
Shopping List for Honey Mustard Chicken Fingers
When it comes to the ingredients for Honey Mustard Chicken Fingers, you want to focus on quality and flavor. Each ingredient plays a vital role in creating that perfect balance of taste and crunch. The key players include fresh chicken, which is the star of the dish, and a blend of seasonings and coatings that elevate it to delicious heights. Let’s take a look at what you’ll need:
- 2 large eggs – These provide the moisture and help the coating stick.
- 2 tbsp dijon mustard – Adds a tangy kick to the chicken fingers.
- 2 tbsp honey – Sweetens the dish and balances the mustard.
- ½ tsp cayenne pepper, divided – A hint of heat to spice things up.
- Salt and black pepper, to taste – Essential for seasoning.
- 1½ cups panko bread crumbs – For that crunchy, golden coating.
- 1 tsp salt – Enhances the flavors of the chicken.
- ¾ tsp ground black pepper – Adds another layer of flavor.
- ¾ tsp smoked paprika – Gives a smoky depth to the dish.
- ¾ tsp garlic powder – Infuses a lovely garlic flavor.
- ¼ cup all-purpose flour – Helps with the dredging process for a crispy texture.
- 1½ lbs chicken tenderloins – The main ingredient, tender and juicy.
- Cooking spray – To help the chicken crispen up while baking.
Cooking Instructions for Honey Mustard Chicken Fingers
Cooking Honey Mustard Chicken Fingers is an enjoyable and rewarding process. Follow these steps to create your delicious chicken fingers:
Start by preheating your oven to 400ºF. It’s essential to have the oven at the right temperature to ensure even cooking. Line a rimmed baking sheet with aluminum foil and top it with a wire rack. This setup allows the heat to circulate around the chicken, keeping it crispy.
In a pie plate or shallow bowl, whisk together the eggs, dijon mustard, honey, ¼ teaspoon of the cayenne pepper, and salt and pepper to taste until everything is well combined. This mixture will be your wet batter.
In another pie plate, add the panko bread crumbs, salt, pepper, smoked paprika, the remaining cayenne, and garlic powder. Whisk these ingredients together to create the dry coating.
In a separate shallow bowl, place the flour. This will help the chicken adhere to the wet batter before being coated with the breadcrumb mixture.
Now, take a piece of the chicken and dredge it in the flour, shaking off any excess. Next, dip it into the wet mixture, ensuring it’s fully coated, and then transfer it to the breadcrumb mixture. Press the panko onto the chicken to make sure it sticks well.
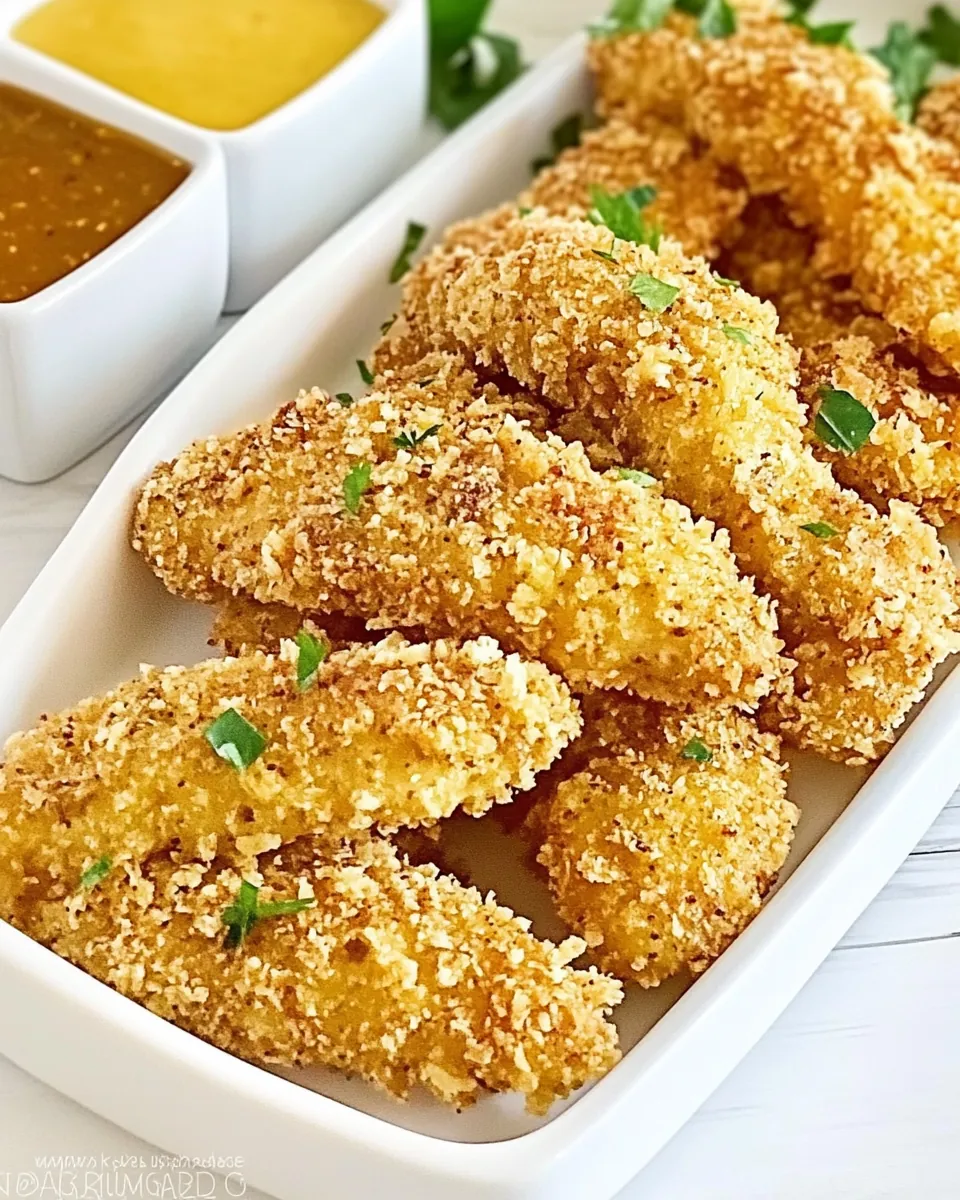
Arrange the breaded chicken fingers on the prepared baking sheet, ensuring there’s ample space between each piece. This helps them cook evenly and become wonderfully crispy. Lightly spray the tops of the chicken with cooking spray to promote browning.
Place the baking sheet in the oven and bake for 15 to 18 minutes. You want the chicken to be golden brown and crispy on the outside. If you have a meat thermometer, check the internal temperature, which should reach 165ºF.
Once done, remove the baking sheet from the oven and allow the chicken fingers to cool for a few minutes. This will help the coating set and enhance the crunch.
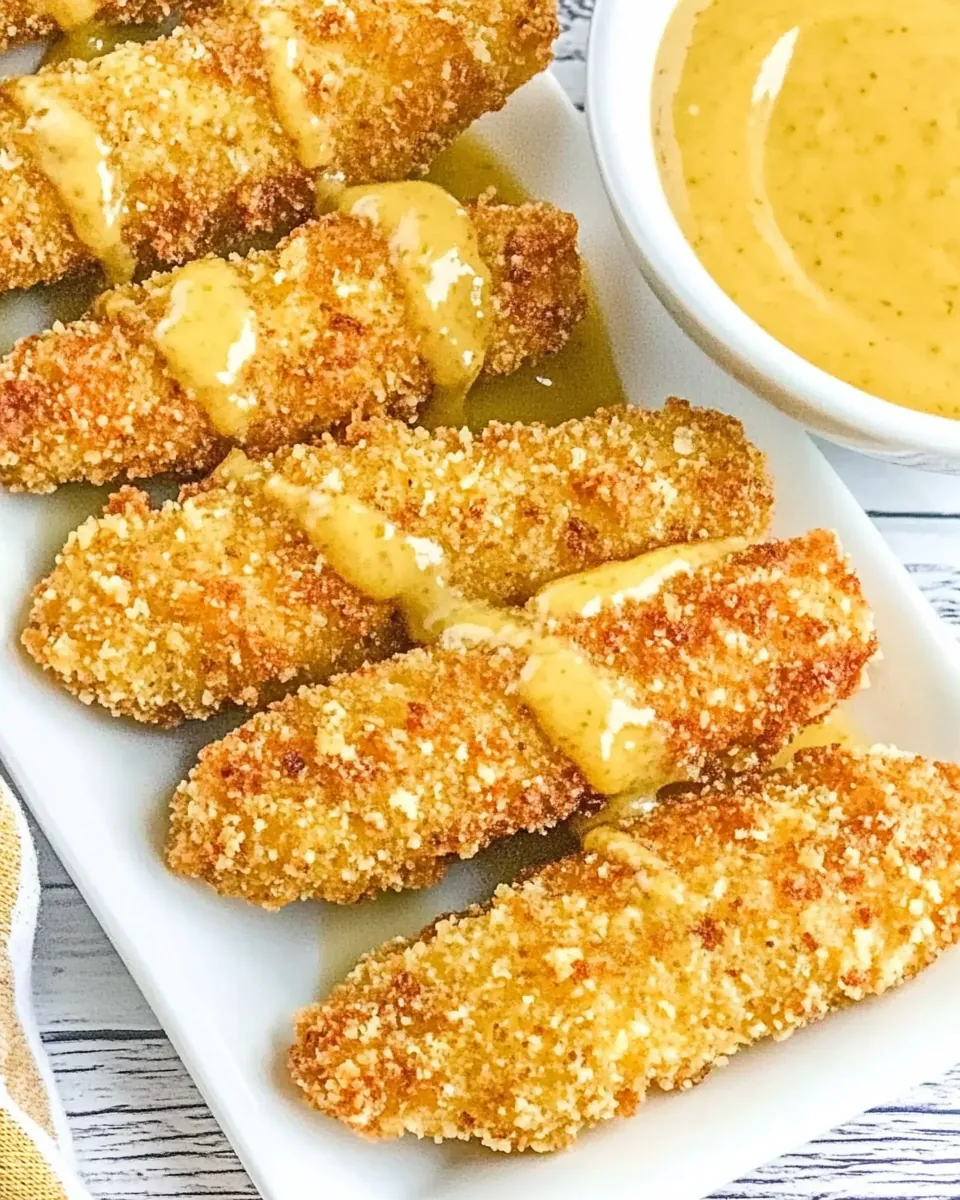
Serve your Honey Mustard Chicken Fingers with a variety of dipping sauces, and enjoy your delicious creation!
Things Worth Knowing
- Use Fresh Ingredients: Always use fresh chicken and quality spices for the best flavor.
- Double-Dip for Extra Crunch: For an extra crispy coating, double dip the chicken in the wet batter and panko.
- Watch the Oven: Keep an eye on the chicken while baking to avoid over-browning.
- Let Rest: Allow the chicken to rest briefly before serving to maintain the crispiness.
Customization Ideas
Looking to switch things up with your Honey Mustard Chicken Fingers? Here are some fun ideas to customize your dish:
- Experiment with Spices: Add your favorite spices to the breadcrumb mixture for unique flavors.
- Try Different Dipping Sauces: Serve with ranch, barbecue, or spicy sriracha for varied tastes.
- Make It Gluten-Free: Use gluten-free breadcrumbs and flour to make this dish suitable for gluten-sensitive diners.
- Add Herbs: Mixing dried herbs like oregano or thyme into the breadcrumbs adds freshness.
- Use Chicken Breasts: If you prefer, substitute chicken tenderloins with boneless, skinless chicken breasts.
- Air Fryer Method: Cook in an air fryer at 375ºF for 8 to 10 minutes for a healthier alternative.
- Make It a Meal: Serve alongside a fresh salad or roasted vegetables to complete the meal.
How to Enjoy Honey Mustard Chicken Fingers
Serving Honey Mustard Chicken Fingers can be as fun as making them! Here are some creative ways to enjoy this dish:
- Perfect for Parties: These chicken fingers make a perfect appetizer for gatherings or parties. Set up a dipping station for guests to customize their experience.
- Ideal for Kids: Serve them as a fun lunch option for kids, paired with fresh cut veggies or fruit.
- Game Day Snack: These are a hit during game days; serve them with a variety of sauces to keep things exciting.
- Quick Dinner Option: Serve with a side of mashed potatoes or a simple green salad for a quick weeknight dinner.
- Store Leftovers: Place any leftovers in an airtight container and keep them in the fridge for up to four days.
- Freezing Tips: Freeze cooked chicken fingers in a single layer and transfer to a freezer bag. Reheat in the oven or air fryer for a quick meal.
FAQ
Conclusion
Honey Mustard Chicken Fingers are the perfect blend of crunch and flavor, making them a favorite for any meal. From family dinners to parties, they always hit the spot! I encourage you to try making them yourself and experience the joy they bring. With easy preparation and delicious results, you won’t be disappointed. Enjoy every bite of this delightful dish!
Honey Mustard Chicken Fingers
Ingredients
Equipment
Method
- Start by preheating your oven to 400ºF. It's essential to have the oven at the right temperature to ensure even cooking. Line a rimmed baking sheet with aluminum foil and top it with a wire rack. This setup allows the heat to circulate around the chicken, keeping it crispy.
- In a pie plate or shallow bowl, whisk together the eggs, dijon mustard, honey, ¼ teaspoon of the cayenne pepper, and salt and pepper to taste until everything is well combined. This mixture will be your wet batter.
- In another pie plate, add the panko bread crumbs, salt, pepper, smoked paprika, the remaining cayenne, and garlic powder. Whisk these ingredients together to create the dry coating.
- In a separate shallow bowl, place the flour. This will help the chicken adhere to the wet batter before being coated with the breadcrumb mixture.
- Now, take a piece of the chicken and dredge it in the flour, shaking off any excess. Next, dip it into the wet mixture, ensuring it’s fully coated, and then transfer it to the breadcrumb mixture. Press the panko onto the chicken to make sure it sticks well.
- Arrange the breaded chicken fingers on the prepared baking sheet, ensuring there’s ample space between each piece. This helps them cook evenly and become wonderfully crispy. Lightly spray the tops of the chicken with cooking spray to promote browning.
- Place the baking sheet in the oven and bake for 15 to 18 minutes. You want the chicken to be golden brown and crispy on the outside. If you have a meat thermometer, check the internal temperature, which should reach 165ºF.
- Once done, remove the baking sheet from the oven and allow the chicken fingers to cool for a few minutes. This will help the coating set and enhance the crunch.
- Serve your Honey Mustard Chicken Fingers with a variety of dipping sauces, and enjoy your delicious creation!
Notes
- Use Fresh Ingredients: Always use fresh chicken and quality spices for the best flavor.
- Double-Dip for Extra Crunch: For an extra crispy coating, double dip the chicken in the wet batter and panko.
- Watch the Oven: Keep an eye on the chicken while baking to avoid over-browning.
- Let Rest: Allow the chicken to rest briefly before serving to maintain the crispiness.