There’s something magical about making Homemade Chicken Chalupas from scratch. I remember the first time I prepared them for my family; the kitchen was filled with a tantalizing aroma of spices and sizzling chicken. It was one of those busy weekdays where everyone was hungry and ready for a hearty meal. I gathered fresh ingredients, and as I mixed the spices with the chicken, excitement bubbled inside me. Each step of the process felt like a dance as I crafted the chalupas, and the best part? Watching my family’s faces light up when they took that first bite. These chalupas aren’t just food; they symbolize love, warmth, and the joy of sharing a meal together. Whether it’s a weeknight dinner or a weekend gathering, Homemade Chicken Chalupas always bring everyone to the table.
Recipe Snapshot
20 mins
10 mins
10 mins
Easy
320 kcal
25 g
Keto, Gluten-Free, Low FODMAP
15 g
Cutting Board, Chef’s Knife, Skillet
What We Adore About This Homemade Chicken Chalupas
Deliciously Satisfying
One of the first things I love about Homemade Chicken Chalupas is how satisfying they are. The combination of tender chicken, crunchy toppings, and warm tortillas creates a fulfilling meal that everyone enjoys. Each bite is a bit of crispy goodness wrapped around flavorful filling.
Customizable Toppings
What’s more, the toppings are fully customizable! You can add your favorite ingredients like fresh avocado, zesty salsa, or even some spicy jalapeños. Everyone can build their chalupa the way they like it, which makes it a fun and interactive dining experience.
Perfect for Any Occasion
These chalupas are versatile; they can be served at casual family dinners or festive gatherings. I love whipping them up for game nights or movie marathons with friends. They always steal the show!
Quick and Easy to Prepare
Despite their impressive taste, Homemade Chicken Chalupas are quick to prepare. It’s the perfect weeknight dish that doesn’t skimp on flavor. In just about 30 minutes, you can have a delectable meal on the table.
A Crowd-Pleaser
Trust me when I say that these chalupas are a crowd-pleaser! Whether you’re serving them to family or friends, their delightful crunch and savory filling appeal to everyone’s taste buds.
Fresh Ingredients Matter
Using fresh ingredients enhances the flavors and gives the chalupas a vibrant taste. I always opt for organic vegetables and spices to elevate the dish. The difference is noticeable!
Ingredient List for Homemade Chicken Chalupas

When it comes to Homemade Chicken Chalupas, the ingredients are the backbone of the dish. Each component plays a crucial role in creating the perfect balance of flavors and textures. You’ll find that the star here is the chicken, seasoned with bold spices, complemented by fresh toppings. Let’s explore these key players!
- 1 pound boneless, skinless chicken breasts (sliced into bite-sized pieces): This is the main protein that provides a savory base for your chalupas.
- 1 tablespoon taco seasoning: A blend of spices that infuses the chicken with a burst of flavor.
- ½ teaspoon onion powder: Adds depth and sweetness to the chicken.
- ½ teaspoon garlic powder: Enhances the overall taste with a hint of garlic goodness.
- ¼ teaspoon kosher salt: Essential for bringing out the flavors of all the ingredients.
- 1 tablespoon olive oil (plus more for frying): Used for cooking the chicken and frying the chalupas to perfection.
- 8 flour chalupa tortillas: The vessel that holds all the delicious fillings together.
- 1 cup shredded cheese: Adds creaminess and richness inside each chalupa.
- Shredded lettuce: For a refreshing crunch on top.
- Diced tomatoes: Provides a juicy, fresh element.
- Sour cream: A creamy topping that enhances the flavors.
- Salsa: Adds a zesty kick that balances the dish.
The Method for Homemade Chicken Chalupas
Making these Homemade Chicken Chalupas is a delightful process, and I’m here to guide you through it. With each step, you’ll be creating a masterpiece that is sure to impress. Let’s dive into the method!
- Begin by preparing your chicken. In a mixing bowl, rub the taco seasoning, onion powder, garlic powder, and kosher salt over the chicken breasts. Ensure the chicken is well-coated with the spices for maximum flavor.
- Next, heat olive oil in a large skillet over medium heat. Once the oil is shimmering, carefully add in the seasoned chicken pieces. Cook for about 4 to 5 minutes or until the chicken is browned and cooked through. You’ll know it’s ready when the chicken is no longer pink inside.
- While the chicken is cooking, in another skillet, pour in about 1 cup of oil and heat it over medium heat. The oil is ready for frying when it shimmers and bubbles around the edges.
- Take one of the chalupa tortillas and gently dip one half into the hot oil while folding the other half over it to create a taco shell shape. Fry until the bottom half turns a beautiful golden brown, then flip and fry the other half for a minute more.
- Once fried, remove the chalupa shell and let it drain on paper towels. Repeat with the remaining tortillas until you have a delightful stack of crispy chalupa shells.
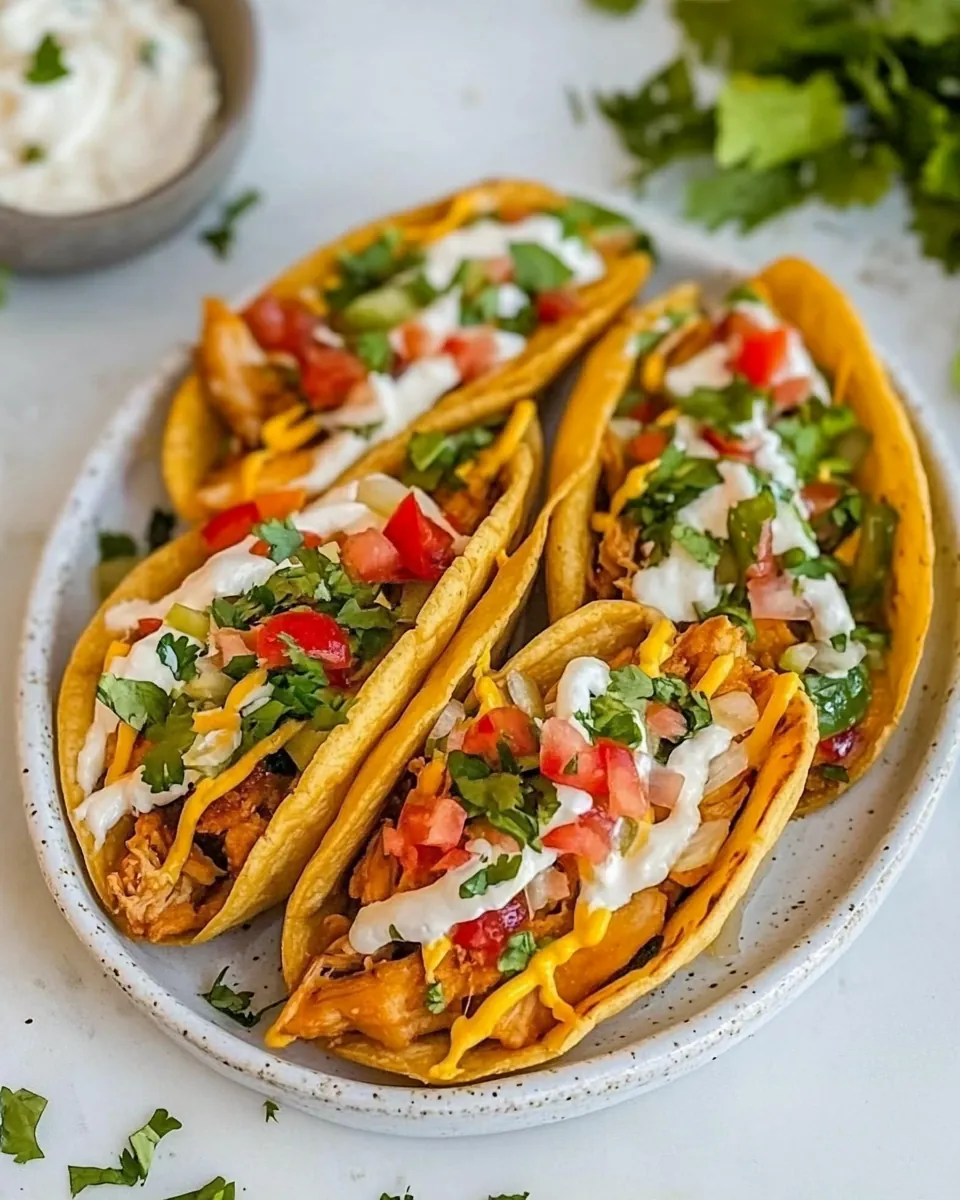
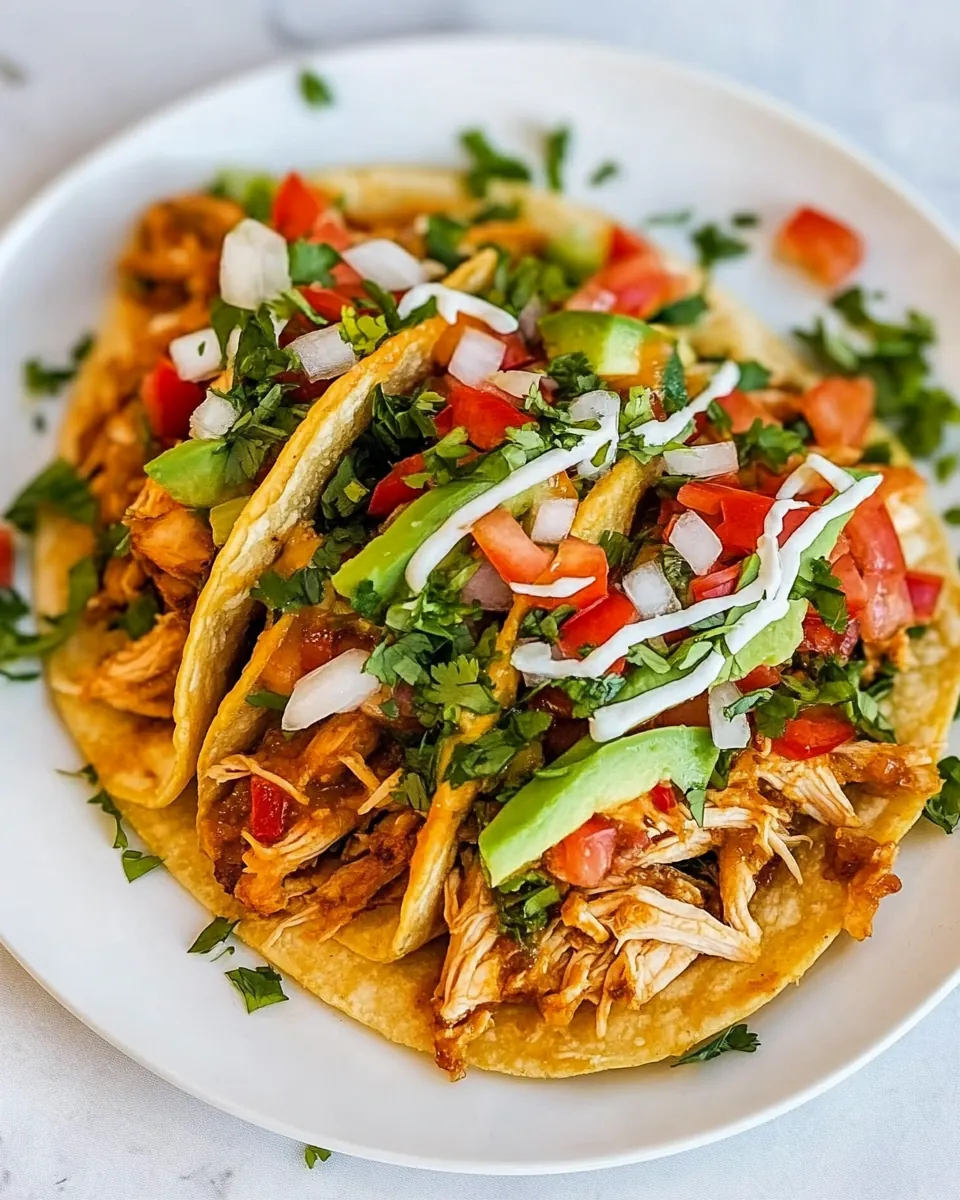
- Now, it’s time to fill those chalupa shells! Start by placing a generous amount of the cooked chicken inside each one. Don’t be shy; pack it in there!
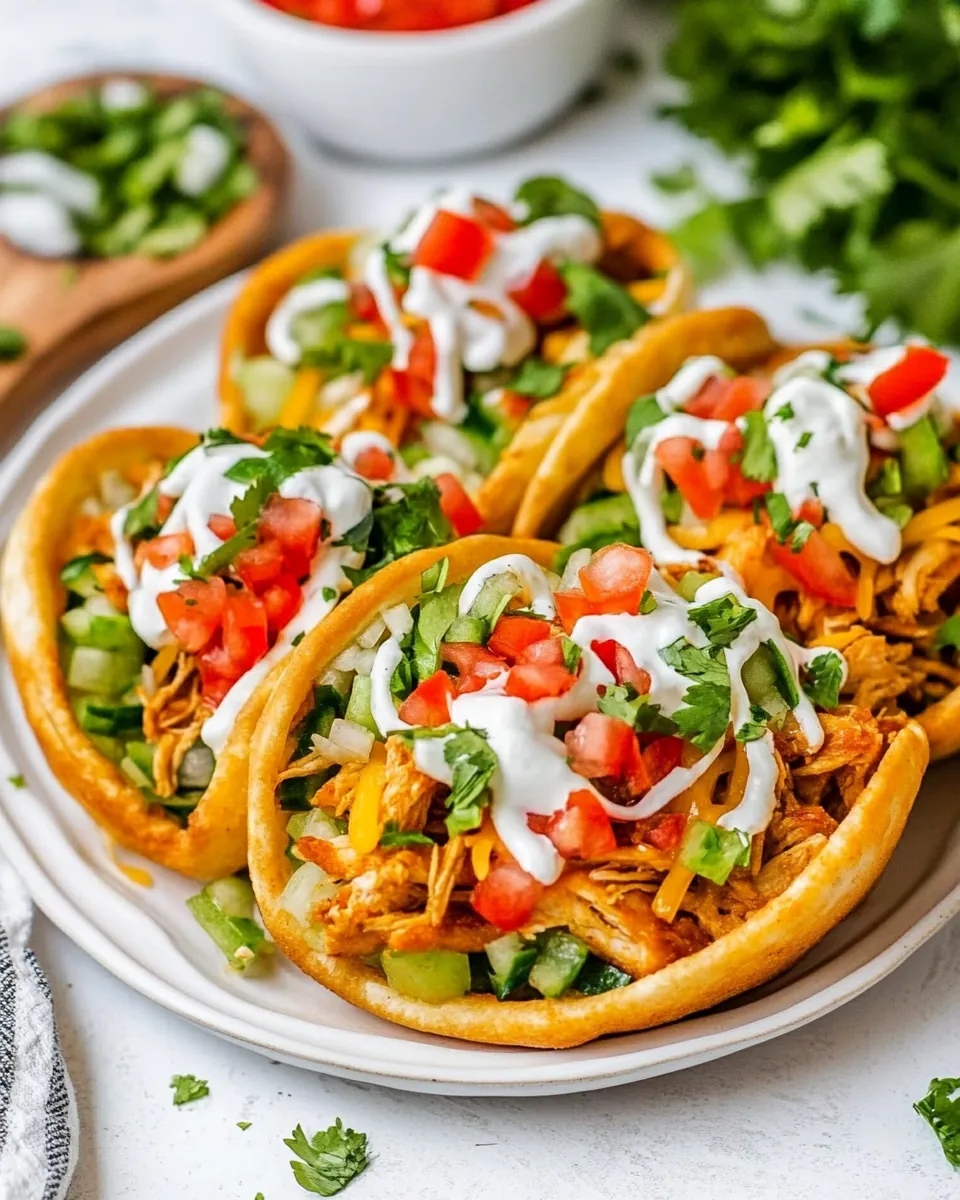
- Top the chicken with shredded cheese, shredded lettuce, diced tomatoes, sour cream, and a spoonful of salsa. These toppings not only add flavor but also create a beautiful presentation.
- Serve your Homemade Chicken Chalupas immediately while they are still warm and crispy. Enjoy them fresh with friends and family!
Things Worth Knowing
- Frying Temperature: It’s crucial to maintain the oil at the right temperature while frying. If it’s too hot, the chalupas will burn; too cool, and they’ll absorb excess oil.
- Chicken Cooking: Ensure the chicken is thoroughly cooked. It should register at least 165°F (74°C) internally for safety.
- Chalupa Tortilla Thickness: Choose tortillas that are thick enough to hold the filling without tearing. This prevents messy chalupas!
- Storage: Store leftover fillings separately from the chalupa shells to keep them crispy. You can store the filling in the refrigerator for up to three days.
Variations to Try
If you’re looking to mix things up, there are plenty of delicious variations to explore with Homemade Chicken Chalupas. Here are some ideas to get you started:
- Try Different Proteins: Instead of chicken, experiment with grilled shrimp or sautéed vegetables for a vegetarian twist.
- Spicy Option: For those who love heat, add sliced jalapeños or a spicy salsa to your toppings.
- Different Cheeses: Switch up the cheese with a blend of Monterey Jack and cheddar for a richer flavor.
- Fresh Herbs: Top your chalupas with fresh cilantro or green onions for a burst of freshness.
- Flat Chalupas: If you prefer a tostada-style dish, leave the chalupa shells flat and pile on the toppings.
- Lasagna Style: Layer the ingredients in a baking dish for a fun twist on traditional chalupas. Bake until bubbly and golden!
Accompaniments for Homemade Chicken Chalupas
Serving Homemade Chicken Chalupas can be just as fun as making them! Here’s how you can elevate your meal:
- Rice and Beans: Serve alongside some flavorful Spanish rice and refried beans for a complete meal.
- Fresh Salad: A light side salad with a citrus vinaigrette pairs beautifully, providing a refreshing contrast.
- Chips and Guacamole: Offer a side of crunchy tortilla chips with homemade guacamole for an added treat.
- Perfect for Parties: These chalupas are perfect for gatherings. Serve them at parties and watch your guests enjoy creating their own!
- Seasonal Sides: In summer, serve with grilled corn, and in winter, a warm soup can be a cozy addition.
- Storage Tips: If you have leftovers, keep the ingredients separate until you’re ready to enjoy them again, keeping the crunch intact.
FAQ
Conclusion
Homemade Chicken Chalupas are a delightful dish bursting with flavor and texture, making them a family favorite. Their crispy shells and savory fillings create a wonderful combination that everyone loves. I encourage you to try making them yourself; you won’t be disappointed! Gather your loved ones around the table and enjoy this delicious meal that’s sure to bring smiles and satisfaction.
Homemade Chicken Chalupas
Ingredients
Equipment
Method
- Rub the taco seasoning, onion powder, garlic powder, and kosher salt over the chicken breasts.
- Add the olive oil to a large skillet over medium heat. Once heated, add in the chicken pieces and cook for 4 to 5 minutes until browned and cooked through.
- Heat 1 cup of oil in another skillet over medium heat. Test the oil by dipping the edge of the chalupa in the oil to see if it bubbles.
- Using tongs, dip one half of the chalupa into the oil to fry while folding the other half of the chalupa over it to make a taco shell shape. Once the bottom half in the oil is golden brown, flip and fry the other half.
- Fill each taco shell with chicken, cheese, lettuce, tomatoes, sour cream, and salsa.