Making Chicken Stock is one of those culinary rituals that connects us to the heart of home cooking. Whenever I find myself with leftover scraps of chicken, I can’t help but feel a sense of purpose. Those bits and bones hold the potential for something truly magical. As I gather my ingredients, I think back to chilly evenings spent simmering pots on the stove, the aroma wafting through the house like a warm embrace. It feels like a hug in a bowl, as the stock transforms into a base for numerous comforting dishes. I love the idea of repurposing what might otherwise go to waste, turning those scraps into a nourishing liquid that can enhance soups, stews, and sauces. The beauty of Chicken Stock is how it captures the essence of simple ingredients – onions, celery, and carrots – each adding its depth of flavor. It reminds me of the importance of cooking with purpose and using every part of what we have.
Recipe Snapshot
60 mins
0 mins
0 mins
Medium
45 kcal
6 g
Keto, Paleo, Whole30
2 g
Baking Sheet, Saucepan, Food Processor
What We Adore About This Chicken Stock
1. Economical and Resourceful
Every time I make Chicken Stock, I feel good knowing that I’m using up leftovers that would otherwise be tossed aside. It’s a great way to stretch your budget while crafting something flavorful. This recipe allows you to utilize those bones and scraps that many people would discard.
2. Versatility in Cooking
Once you have your Chicken Stock, the possibilities are endless! You can use it as a base for soups, sauces, or risottos. It adds depth and richness to any dish, making it a staple in my kitchen. Whether it’s a creamy chicken soup or a hearty stew, having homemade stock at your disposal makes meal prep so much easier.
3. Health Benefits
Homemade chicken stock is not only delicious but also packed with nutrients. Simmering the bones extracts minerals and vitamins, resulting in a nourishing broth. It’s especially comforting during cold seasons or when you’re feeling under the weather.
4. Easy to Make
One of my favorite things about making Chicken Stock is how simple it is. With just a few ingredients and minimal hands-on time, you can create something that tastes far superior to store-bought varieties. Just toss everything into a pot, let it simmer, and you’ll have a fragrant stock ready to use.
5. A Flavor Boost
Using homemade Chicken Stock in your recipes instantly elevates them. The depth of flavor you get from a well-simmered stock is unmatched. It adds a savory quality that enhances every bite, making your meals more satisfying.
6. A Family Tradition
For me, making Chicken Stock is a family tradition that I hope to pass down. There’s something special about gathering around the kitchen, sharing stories, and creating something nourishing together. It’s a way to connect with loved ones while crafting a staple that can be enjoyed in various dishes.
Ingredients to Make Chicken Stock

Creating a flavorful Chicken Stock starts with choosing the right ingredients. The harmony between the bones, vegetables, and water is essential for achieving a rich flavor. Each ingredient plays a vital role in building the stock’s complexity.
- 3-4 cups of chicken scraps or chicken carcass with bones: The foundation of your stock, providing flavor and nourishment.
- 1 – 2 onions: Adds sweetness and depth, balancing the flavors beautifully.
- 4 stalks celery: Contributes a fresh, aromatic quality, enhancing the overall taste.
- 2 – 3 large carrots: Offers natural sweetness that mellows the stock.
- Enough water to cover the chicken and vegetables: Essential for extracting the flavors during simmering.
- Better than Bouillon roasted chicken base: Optional, but recommended for a flavor boost.
Putting Together Chicken Stock
When you’re ready to make your Chicken Stock, gather your ingredients and let’s get started! The process is straightforward and rewarding. Just follow these steps for a delicious stock.
- Begin by collecting all your chicken scraps or carcasses. If you don’t have enough, you can save them in the freezer until you have enough for a big batch.
- Next, chop your onions, celery, and carrots into large chunks. There’s no need for precision here since they will be strained out later.
- In a large stock pot, add the chicken scraps, onions, celery, and carrots together. This combo is crucial for a flavorful broth.
- Pour in enough water to cover the ingredients by about two inches. This depth ensures that everything simmers evenly.
- If using, add a spoonful of Better than Bouillon roasted chicken base at this point. It enhances the flavor without overpowering it.
- Bring the mixture to a rolling boil on high heat. Once boiling, reduce the heat to low to maintain a gentle simmer. This allows the flavors to meld beautifully over time.
- Let it cook low and slow for at least six hours. I often let it go all day, adding more water if it starts to reduce too much.
- As it simmers, you’ll notice the rich aroma filling your kitchen. This is a sign that the flavors are developing nicely.
- After your stock has simmered, you’ll want to reduce it by about one third. This step concentrates the flavors even more.
- Once done, carefully scoop out the vegetables and chicken with a slotted spoon. Strain the stock using a fine strainer or a yogurt strainer. You can also use a fat separator to get rid of any excess fat. If you don’t have one, let it cool, and then spoon off the hardened fat.
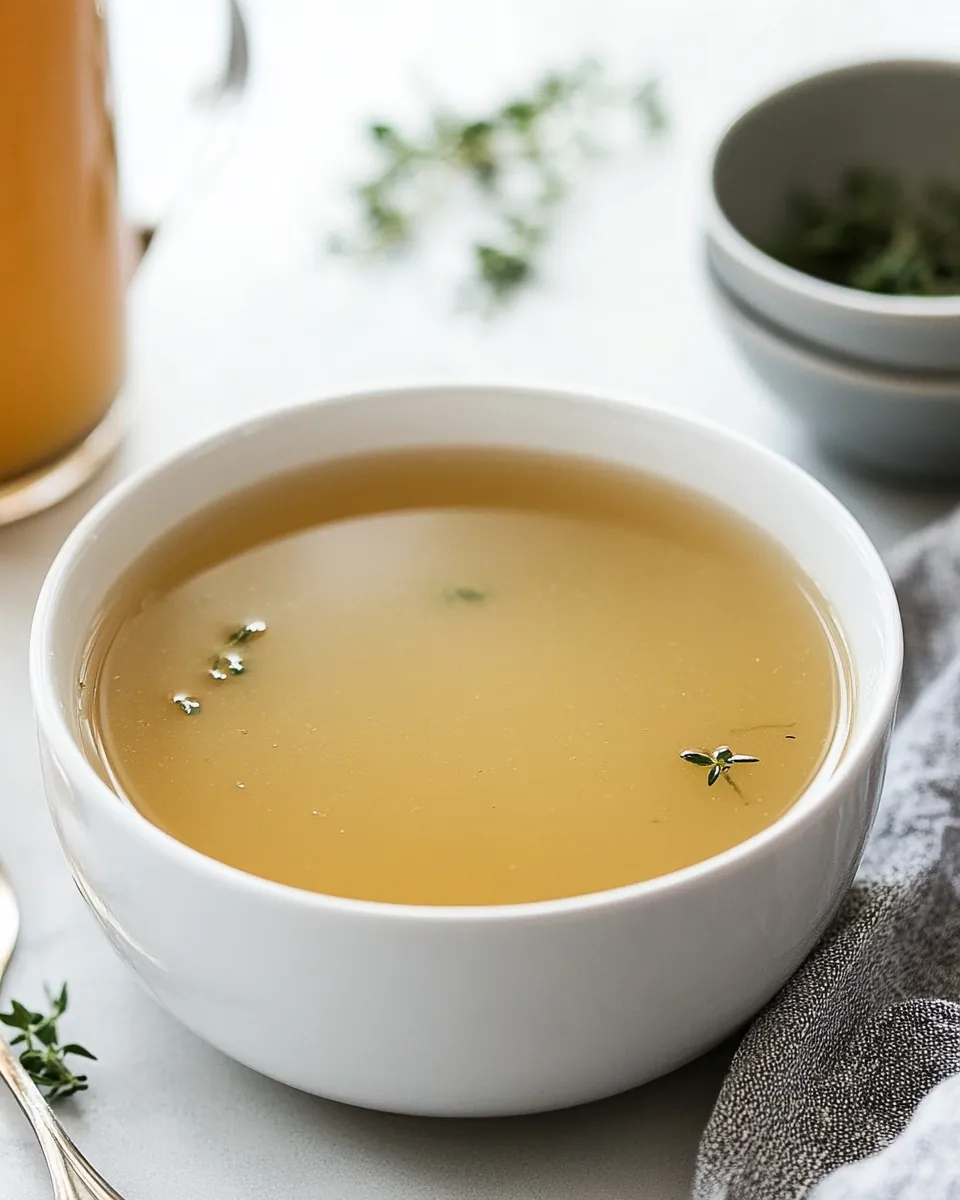
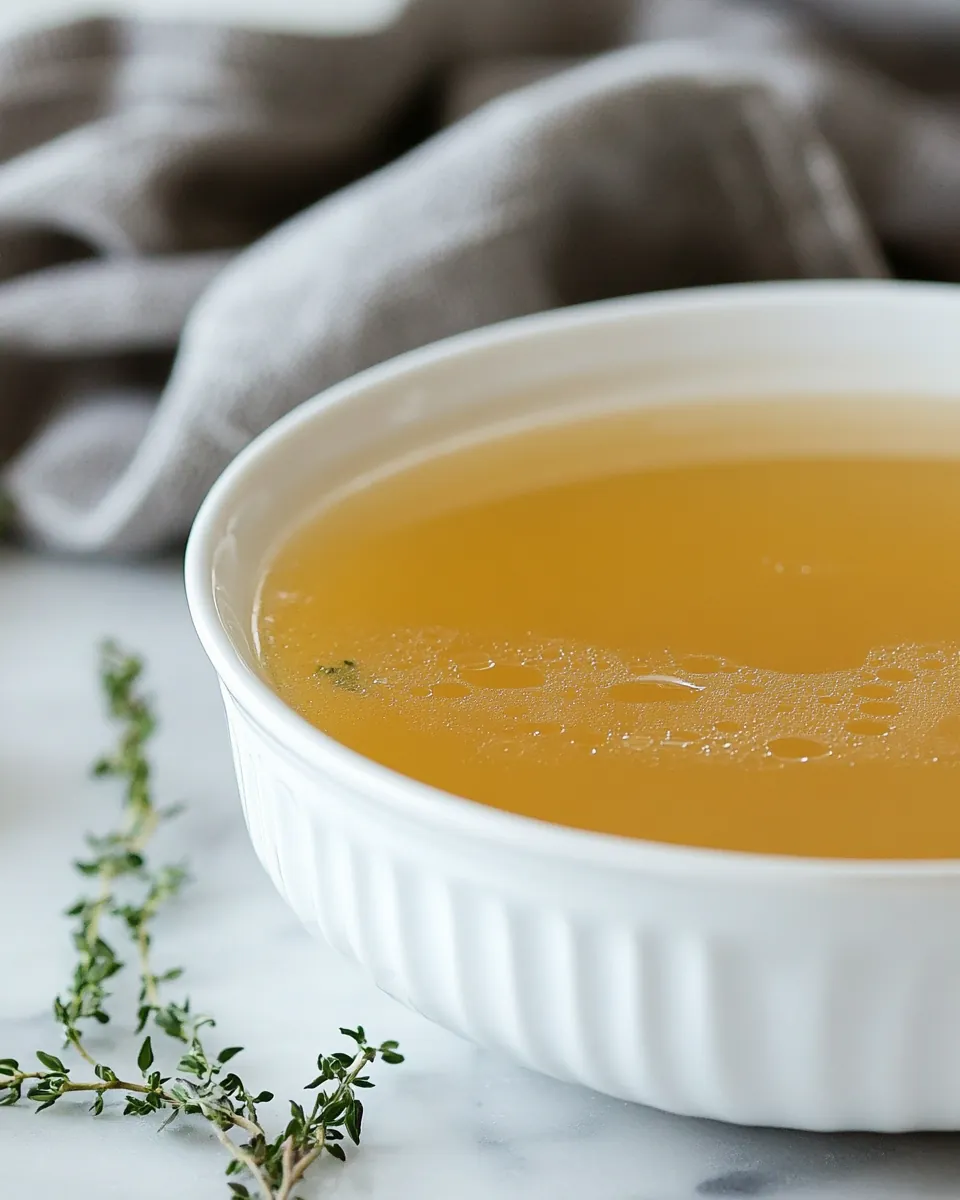
- Your Chicken Stock is now ready! Taste it to see if you want to simmer longer to enhance the flavor even more.
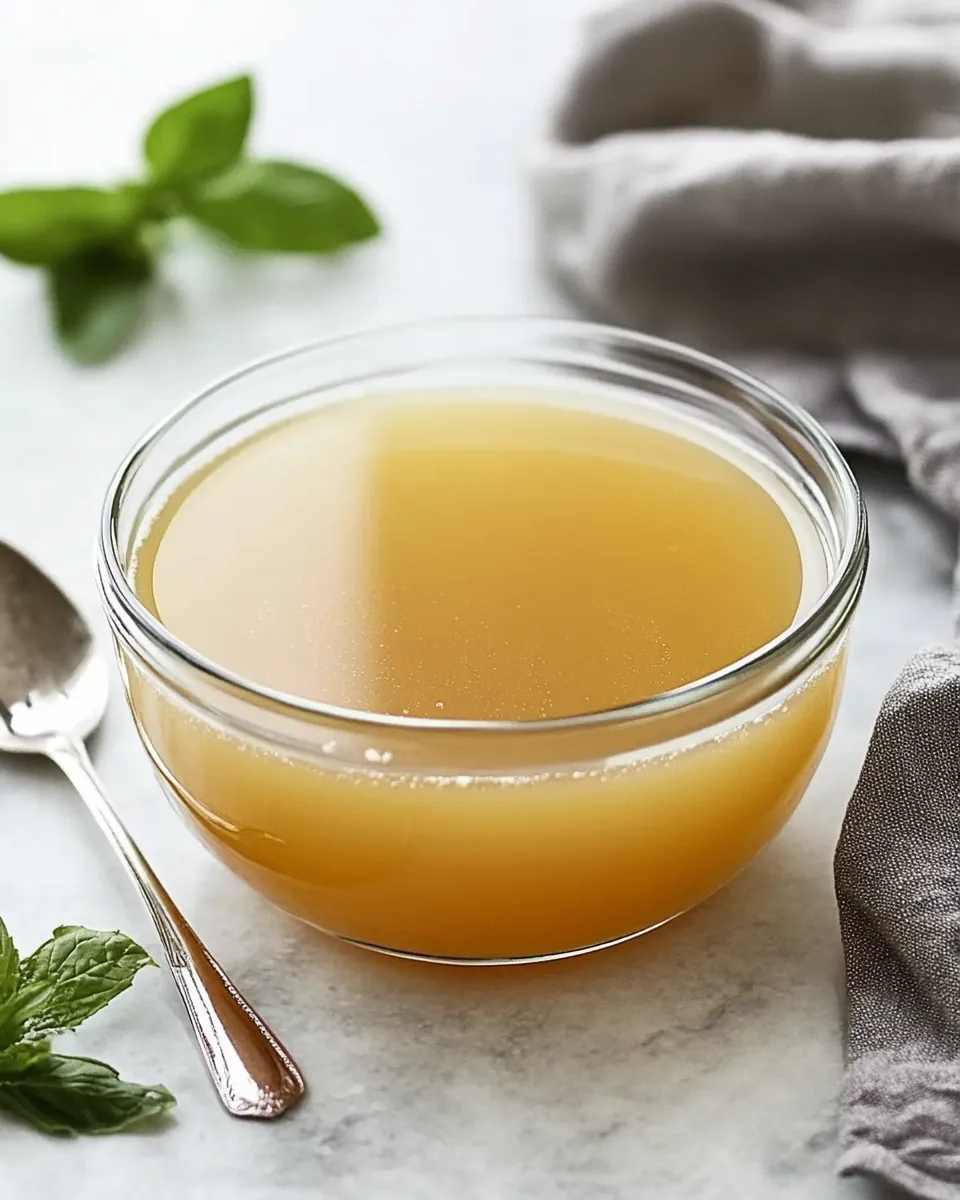
- Store your stock in containers, and it can be frozen for later use. You’ll always have a delicious base on hand for your cooking adventures!
Things Worth Knowing
- Quality of Ingredients: Start with good quality chicken and fresh vegetables to ensure a flavorful stock. Organic options can yield a richer taste.
- Simmering Time: The longer you simmer, the more flavor you’ll extract from the bones. Aim for at least 6 to 8 hours for best results.
- Storing Stock: Make sure to cool your stock completely before storing to prevent bacteria growth. Use airtight containers.
- Using Leftovers: Feel free to throw in any leftover vegetables or herbs you have on hand. They can add depth and complexity to the flavor.
Helpful Notes about Chicken Stock
When making Chicken Stock, having a few handy tips can enhance your experience. Here’s what I’ve learned over the years.
- Storage: Cool your Chicken Stock before pouring it into containers. It can last in the fridge for up to a week or be frozen for longer storage.
- Freezing: Freeze the stock in ice cube trays for easy portioning. This way, you can just grab what you need for a quick meal.
- Flavor Variations: Experiment with different herbs and spices in your stock, like thyme or bay leaves, to create unique flavors.
- Using Stock: This stock is perfect for soups, sauces, risottos, or even cooking grains like rice for added flavor.
- Labeling: Don’t forget to label your containers with the date! This helps you keep track of how long it’s been stored.
Serve This Chicken Stock With
Once your Chicken Stock is ready, there are so many ways to enjoy it! Here are some ideas to inspire you.
- Hearty Soups: Use your stock as a base for warming soups, perfect for chilly evenings.
- Risotto: Incorporate it into a creamy risotto for a comforting meal that your family will love.
- Cooking Grains: Use Chicken Stock instead of water to cook grains like rice, quinoa, or couscous for added flavor.
- Stews: Enhance your stews with Chicken Stock for depth and richness.
- Freeze for Later: Store some stock in portions to always have on hand for quick weeknight meals.
- Meal Prepping: Use Chicken Stock to prepare meal preps for the week, making your cooking easier and more flavorful.
FAQ
Conclusion
Homemade Chicken Stock is not just a recipe; it’s a culinary tradition that brings comfort and warmth to any dish. By making your own stock, you ensure that every meal is filled with flavor and nourishment. I encourage you to try making it yourself; you’ll find it immensely rewarding and a perfect way to utilize leftovers. Plus, it opens up a world of culinary creativity in your kitchen!
Chicken Stock
Ingredients
Equipment
Method
- Begin by collecting all your chicken scraps or carcasses. If you don’t have enough, you can save them in the freezer until you have enough for a big batch.
- Next, chop your onions, celery, and carrots into large chunks. There’s no need for precision here since they will be strained out later.
- In a large stock pot, add the chicken scraps, onions, celery, and carrots together. This combo is crucial for a flavorful broth.
- Pour in enough water to cover the ingredients by about two inches. This depth ensures that everything simmers evenly.
- If using, add a spoonful of Better than Bouillon roasted chicken base at this point. It enhances the flavor without overpowering it.
- Bring the mixture to a rolling boil on high heat. Once boiling, reduce the heat to low to maintain a gentle simmer. This allows the flavors to meld beautifully over time.
- Let it cook low and slow for at least six hours. I often let it go all day, adding more water if it starts to reduce too much.
- As it simmers, you’ll notice the rich aroma filling your kitchen. This is a sign that the flavors are developing nicely.
- After your stock has simmered, you’ll want to reduce it by about one third. This step concentrates the flavors even more.
- Once done, carefully scoop out the vegetables and chicken with a slotted spoon. Strain the stock using a fine strainer or a yogurt strainer. You can also use a fat separator to get rid of any excess fat. If you don’t have one, let it cool, and then spoon off the hardened fat.
- Your Chicken Stock is now ready! Taste it to see if you want to simmer longer to enhance the flavor even more.
- Store your stock in containers, and it can be frozen for later use. You’ll always have a delicious base on hand for your cooking adventures!