There’s something almost ceremonial about carving a chicken. The first time I attempted it, I was a bundle of nerves, worried I’d ruin the beautiful roast I had just prepared. But as I stood there, carving knife in hand, I realized that this was more than just a cooking step; it was an art form. How to Carve a Chicken isn’t just a skill; it’s an experience that brings family and friends together, showcasing the fruits of my labor with pride. Each slice reveals tender, juicy meat, and every piece is a testament to the care that went into preparing it. As the aroma fills the room and the anticipation builds, I can’t help but recall the memories made around the table, sharing laughter and stories. So, whether it’s a special occasion or an ordinary weeknight dinner, mastering the art of carving can elevate your meal to something extraordinary.
Recipe Snapshot
10 mins
10 mins
0 mins
Easy
300 kcal
50 g
Keto, Paleo, Whole30
15 g
cutting board, Carving Set, Paper Towels
Why You Need This How to Carve a Chicken
It’s a Skill Worth Mastering
Learning how to carve a chicken is not just about presentation; it’s a skill that enhances your cooking repertoire. When you know how to carve properly, you can serve juicy, beautifully presented portions that impress your guests. It shows that you care about the meal and attention to detail.
Perfect for Family Gatherings
Every family gathering is a chance to connect. Carving a chicken can act as a centerpiece moment where everyone gathers around, sharing stories and laughter while you carve. It’s an opportunity to engage with your loved ones, making the meal feel more meaningful.
Save the Carcass
Did you know that the carcass can be transformed into something wonderful? Instead of throwing it away, use it to make homemade chicken stock. This is not only a great way to avoid waste, but it also enriches soups and sauces with incredible flavor.
Enhance Presentation Skills
Carving a chicken gives you a chance to showcase your culinary skills. A neatly carved chicken with well-presented pieces is visually appealing. It enhances the overall dining experience, making it feel more like a feast.
It’s Therapeutic
The process of carving can be very therapeutic. The methodical movements involved in cutting the chicken allow you to focus and savor the moment. It’s a simple way to connect with the food you’ve prepared, appreciating every slice.
Great for Meal Prep
Knowing how to carve a chicken is also handy for meal prep. You can slice the meat into portions for salads, sandwiches, or quick meals throughout the week. It not only saves time but also ensures you have delicious, protein-packed options ready to go.
What You’ll Need for How to Carve a Chicken
Understanding the right tools and ingredients can enhance your carving experience. Since how to carve a chicken focuses on technique rather than complex ingredients, the key players here are your equipment. A sharp knife and a sturdy cutting board make all the difference, while a carving set ensures precision.
- Roast chicken: The star of the show! A well-cooked chicken with crispy skin and juicy meat is essential for a successful carving.
Putting Together How to Carve a Chicken
Let’s get into the fun part—carving! This step can be daunting, but with a bit of practice and the right guidance, you’ll become a pro in no time. Follow these steps to master the art of carving your roast chicken.
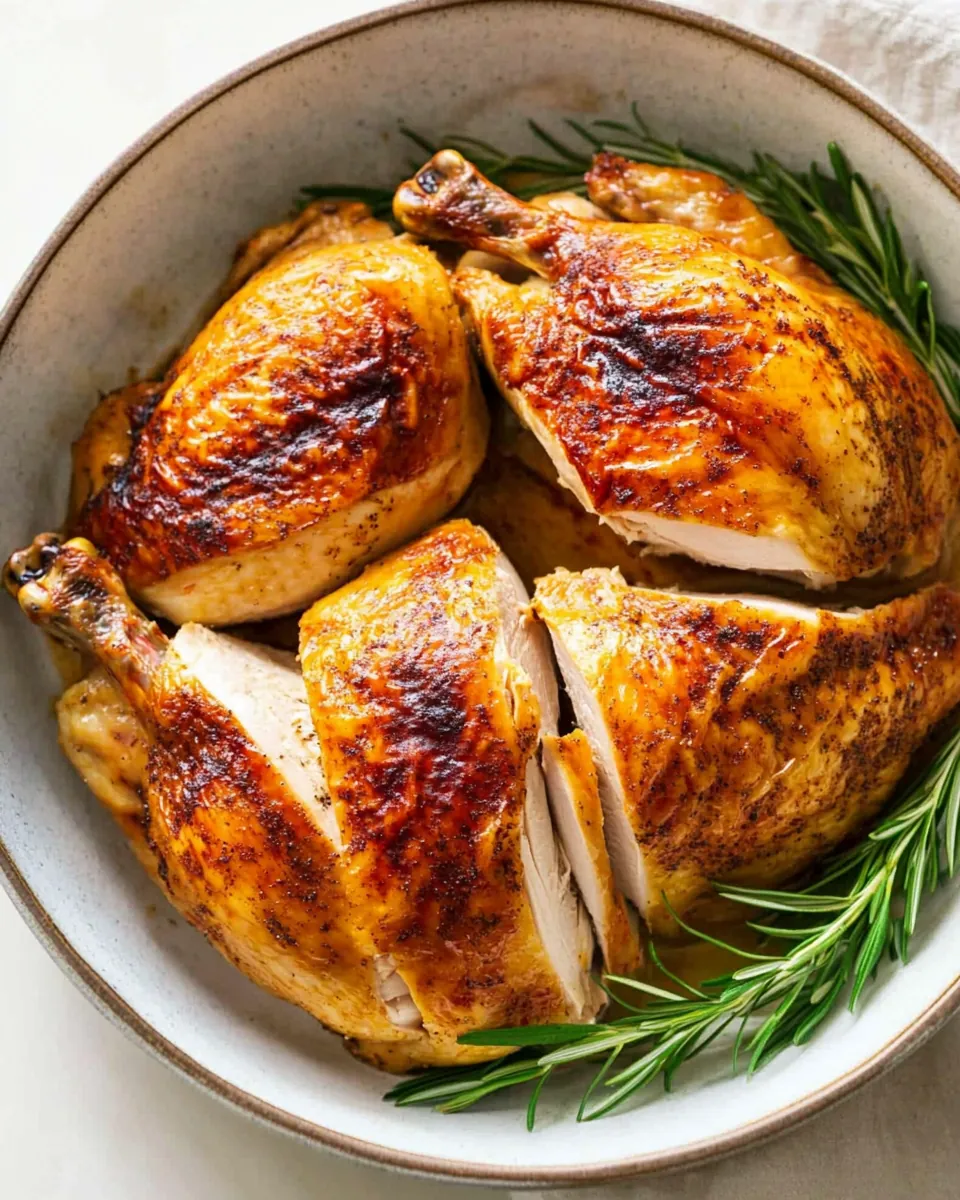
- Prep your cutting board and paper towels, get your carving set, and place the roast chicken breast side up on a cutting board. This positioning ensures you can access all the meat easily.
- Hold the body at the breastbone area with the carving fork. This secures the chicken in place as you begin to slice. Use the knife to slice the skin between the thigh and the body. When you cut the skin, you will be able to see the joint and cut through it rather than cutting randomly. This will separate the thigh from the body. Repeat to remove the other side as well.
- If you wish to separate the thigh from the drumstick, use your hands to pull the leg to expose the hip joint. You can use your fingers to locate and move the joint, seeing where to cut, then cut between the joints.
- Moving on to the wings, remove them from the body by pulling them away from the breast and cutting through the joint. Cut off the wing tips as there isn’t much meat to eat. Then separate the wingette from the drumette by cutting through the joint again. Repeat with the second wing.
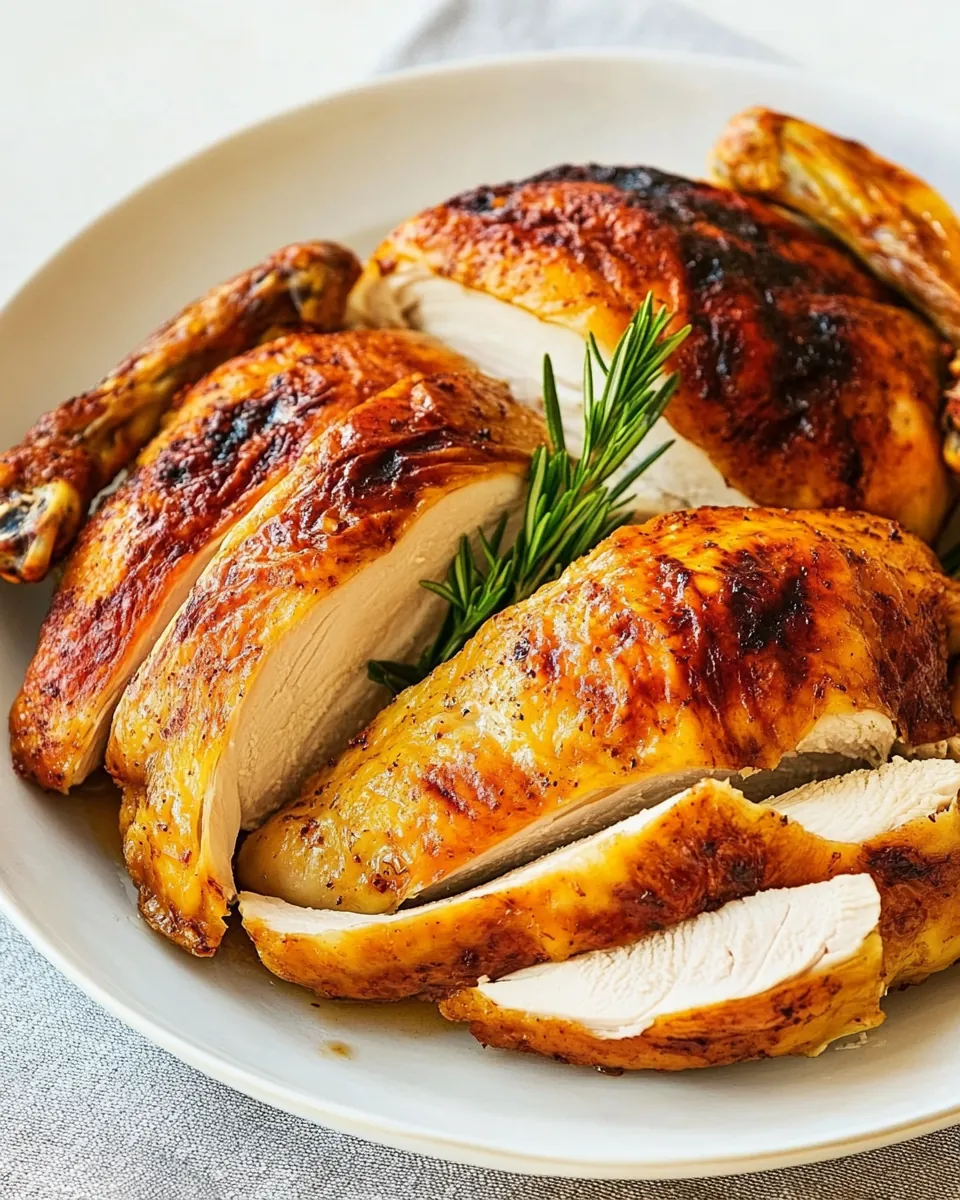
- Now it’s time to cut the breast meat. Using your carving fork, hold the left breast and carefully slice as close to the breast bone as possible. Keep going until the left side of the breast is released entirely from the rib cage.
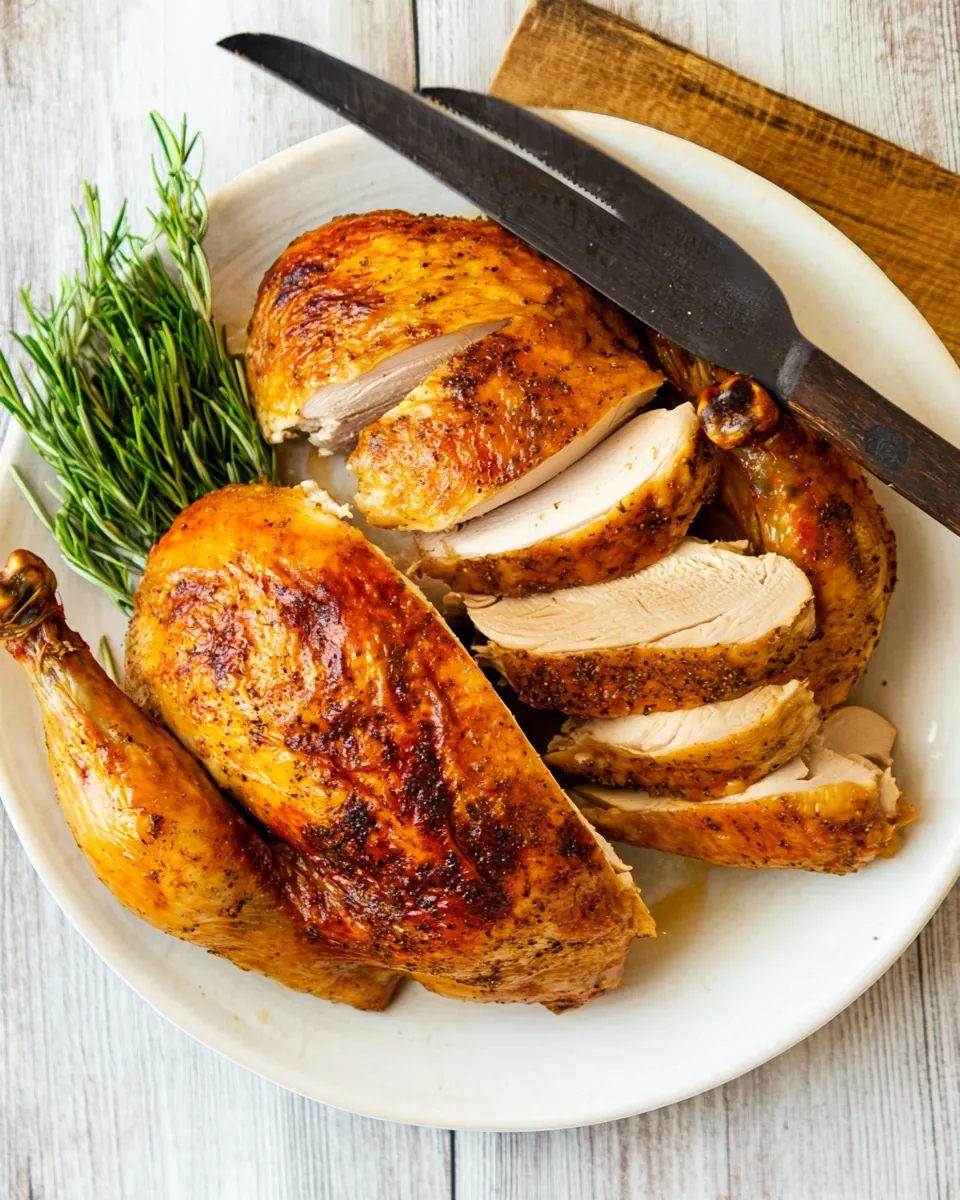
- Repeat with the right side of the breast. The breast bone will stay in the middle of the carcass. If you wish to slice the breast, slice it into diagonal slices carefully to keep the crispy skin intact. This is not crucial but great for sharing white meat, and I also like to do it for presentation purposes.
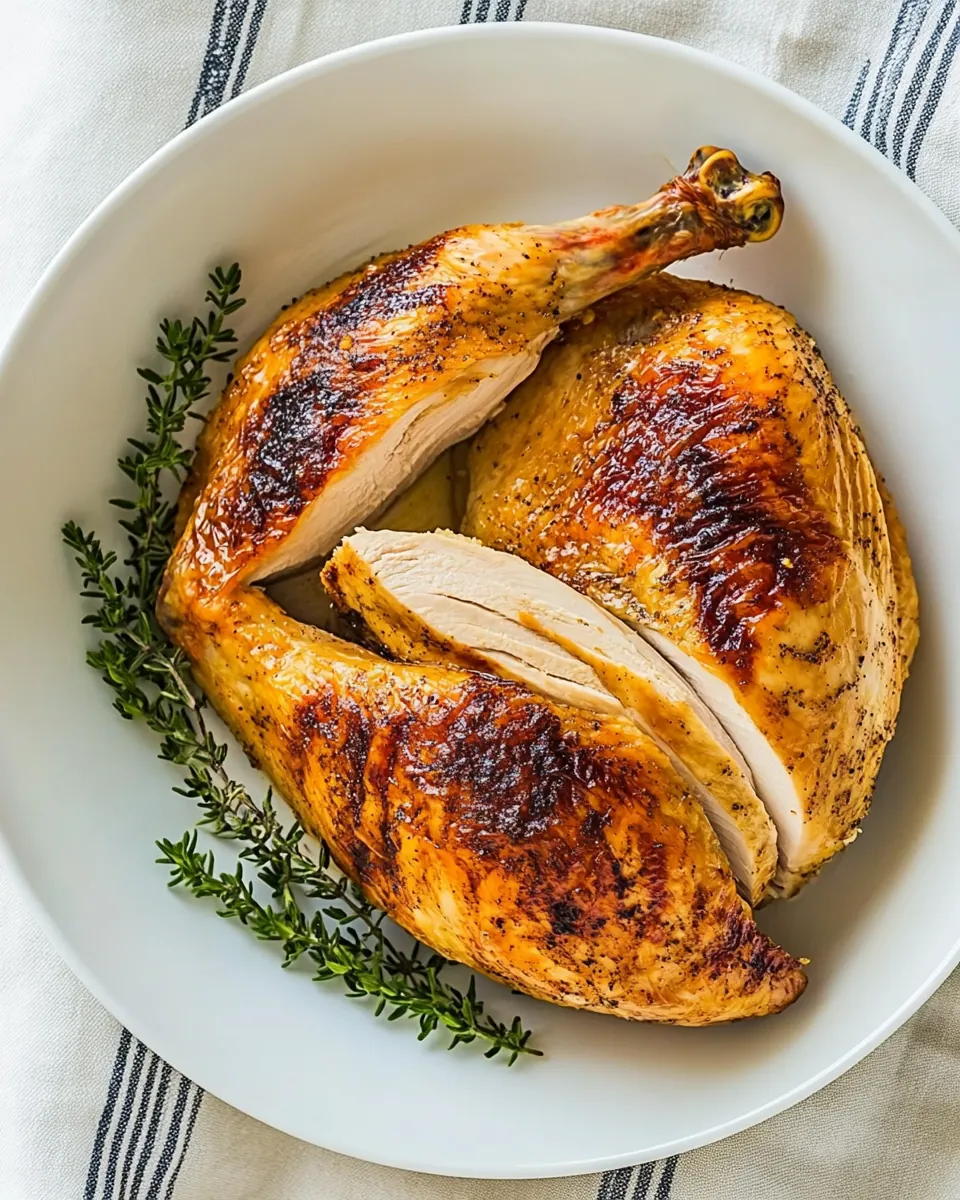
- Plate your perfectly carved chicken and enjoy!
Things Worth Knowing
- Let it Rest: Allow your roast chicken to rest for 10 to 15 minutes before carving. This step is crucial for juicy meat as it redistributes the juices.
- Use a Sharp Knife: A well-sharpened knife makes the carving process easier and ensures clean cuts. Dull knives can shred the meat instead of carving it.
- Watch Your Angles: Pay attention to the angles while cutting. Carving against the grain improves the tenderness of each piece.
- Practice Makes Perfect: Don’t worry if it doesn’t look perfect the first time. Carving is a skill that improves with practice.
Tips and Tricks about How to Carve a Chicken
Carving can be daunting, but with these tips, you’ll feel more confident. Let’s explore some essential tips to enhance your carving experience.
- Storage: If you have leftover chicken, ensure it cools completely before placing it in an airtight container. Store it in the refrigerator for up to four days.
- Freezing: You can freeze leftover carved chicken. Place it in a freezer-safe container, and it will keep for up to three months.
- Pairing: Serve your carved chicken with sides like roasted vegetables or a fresh salad for a complete meal.
- Presentation: For an elegant touch, arrange the carved chicken on a platter with fresh herbs or lemon slices.
- Experiment: Try different carving techniques for a unique look! Each method can change the presentation.
What Goes Well With This How to Carve a Chicken
Serving your carved chicken perfectly is just as important as the carving itself. Here are some ideas to elevate your meal and ensure everyone enjoys it.
- Roasted Vegetables: Pair your chicken with seasonal roasted vegetables for a wholesome, colorful dish.
- Rice or Couscous: Fluffy rice or couscous can soak up the juices from the chicken, creating a delicious combination.
- Fresh Salad: A crisp salad of mixed greens and a light vinaigrette balances the richness of the chicken.
- Gravy: Serve with homemade gravy for a comforting classic experience.
- Occasions: This dish works well for family dinners, special occasions, or even meal prep days.
- Storage Tips: Keep any leftover carved chicken in an airtight container for easy access during the week.
FAQ
Conclusion
Mastering the art of carving a chicken elevates your cooking skills and creates memorable dining experiences. I encourage you to try it for your next family gathering or dinner. You’ll find that it’s not just about the food; it’s about the joy of sharing and celebrating meals with loved ones.
How to Carve a Chicken
Ingredients
Equipment
Method
- Prep your cutting board and paper towels, get your carving set, and place the roast chicken breast side up on a cutting board.Hold the body at the breastbone area with the carving fork. Use the knife to slice the skin between the thigh and the body. When you cut the skin, you will be able to see the joint and cut through the joint rather than cutting randomly. This will separate the thigh from the body. Repeat to remove the other side as well.If you wish to separate the thigh from the drumstick, use your hands and pull the leg to expose the hip joint. You can use your fingers to locate and move the joint, and see where you need to cut, then cut between the joints.Moving on to the wings, remove the wings from the body by pulling them away from the breast and cutting through the joint. Cut off the wing tips as there isn’t much meat to eat, then separate the wingette from the drumette by cutting through the joint again. Repeat with the second wing.Now it's time to cut the breast meat. Using your carving fork, hold the left breast and carefully slice by the nearest possible to the breast bone. Keep going until the left side of the breast is released entirely from the rib cage.Repeat with the right side of the breast. The breast bone will stay in the middle of the carcass.If you wish to slice the breast, slice it into diagonal slices carefully to keep the crispy skin intact. This is not crucial but great for sharing white meat; I also like to do it for presentation purposes.Plate and enjoy!
Notes
- Let it Rest: Allow your roast chicken to rest for 10 to 15 minutes before carving. This step is crucial for juicy meat as it redistributes the juices.
- Save the Carcass: Instead of throwing away the carcass, use it to make homemade chicken stock.