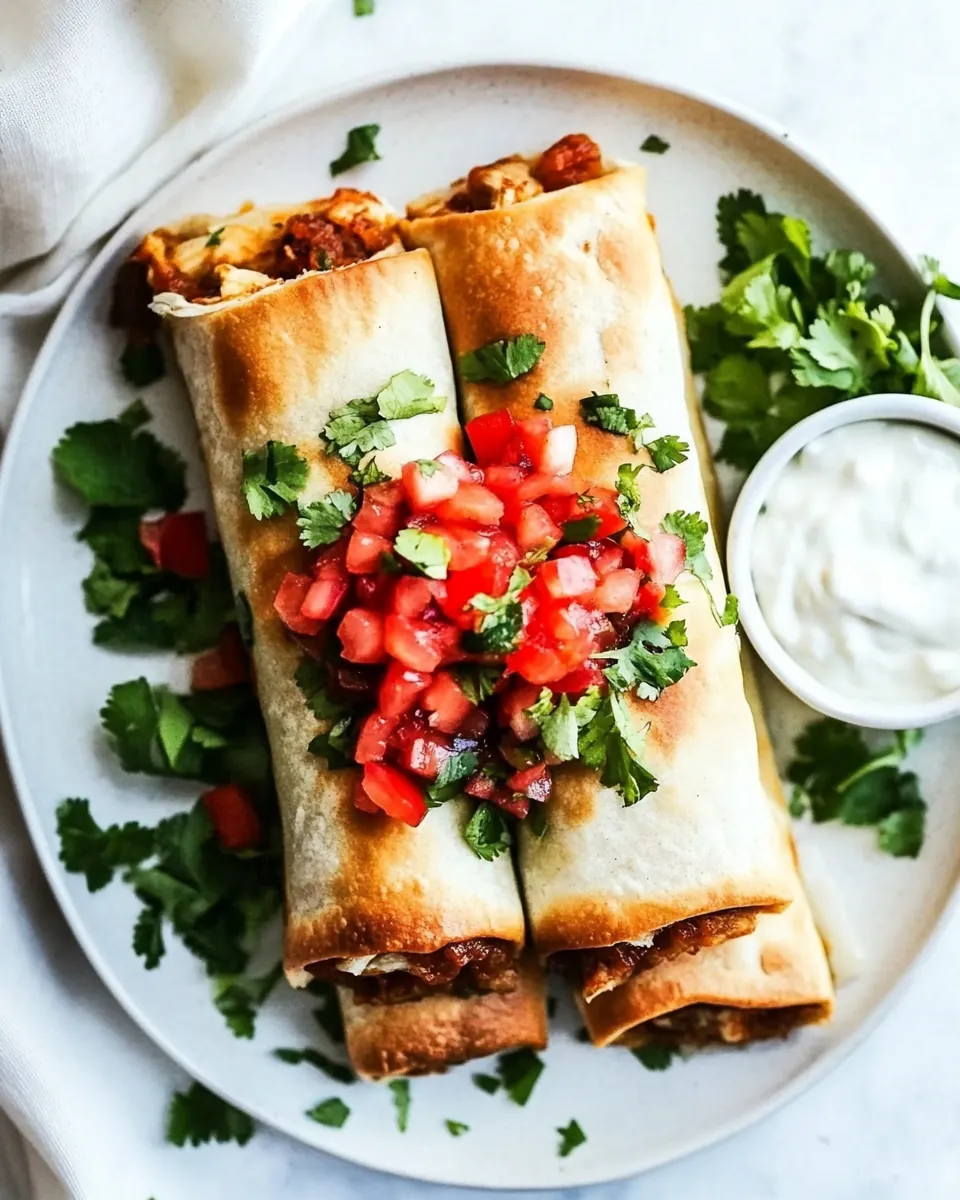
There’s something truly special about digging into a plate of Homemade Chicken Chimichangas. The crunch of the tortilla, the warmth of the filling, and the rich flavors all come together to create a dish that feels like a cozy hug on a plate. I remember the first time I made these chimichangas; I was excited to bring a little taste of Mexico into my kitchen. The aroma of the seasoned chicken wafted through the house, and I could hardly wait to take that first bite. Whether you enjoy them for a casual dinner or a festive gathering, Homemade Chicken Chimichangas always bring a smile to my face.
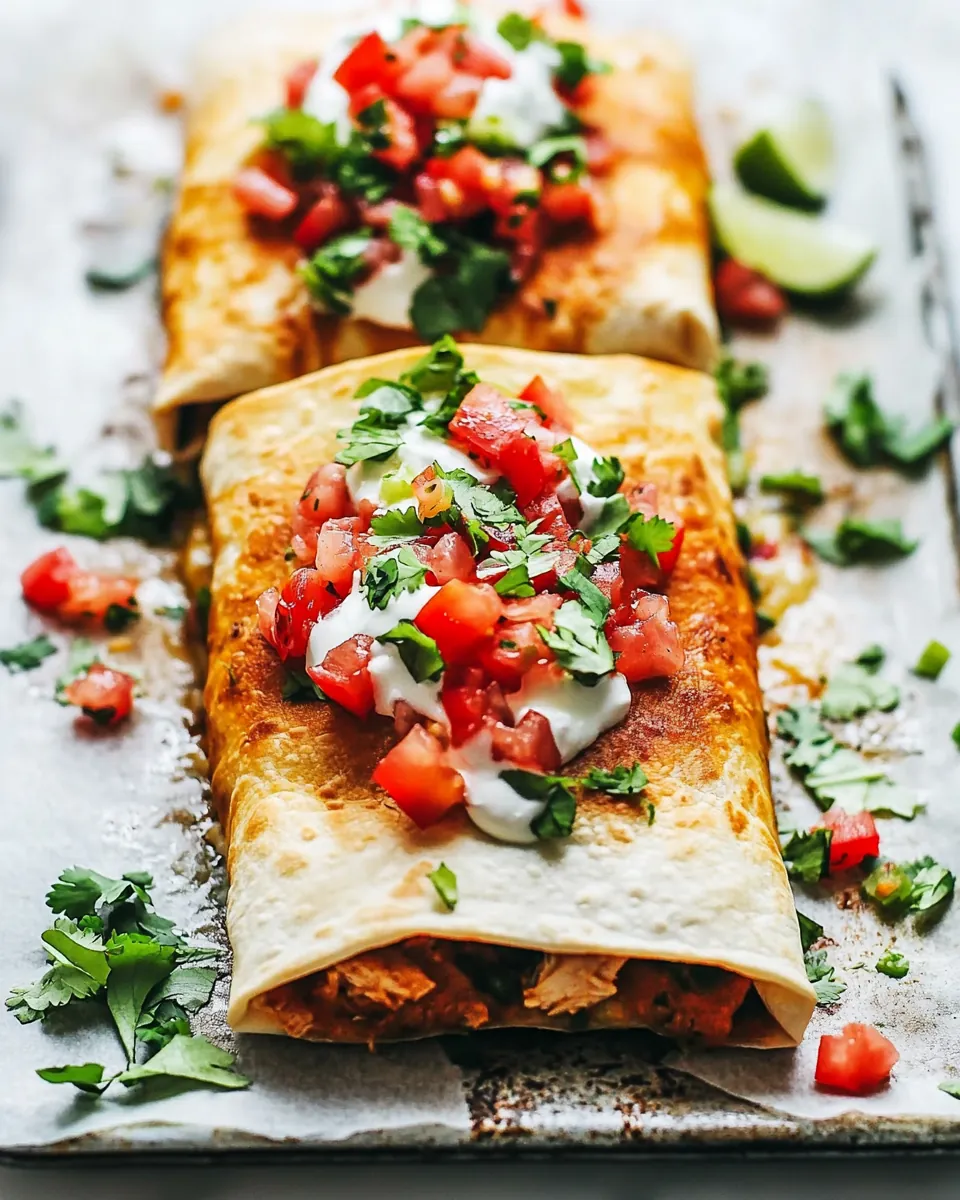
Every time I prepare this dish, I think of family gatherings and laughter echoing around the table. It’s a recipe that brings everyone together, and it’s so easy to customize to suit your taste buds. You can make them baked or fried, depending on your mood, and serve them with a variety of toppings. Personally, I love the crunch of the baked version, but the pan-fried chimichangas have a golden, crispy exterior that’s hard to resist. The filling is a delightful mix of tender chicken, zesty spices, and creamy cheese, all wrapped up in a warm tortilla. It’s comfort food at its very best, and I can assure you, once you try it, you’ll want to make it again and again.
So grab your apron, and let’s dive into the delicious world of Homemade Chicken Chimichangas. Your taste buds will thank you!
Recipe Snapshot
35 mins
15 mins
20 mins
Medium
420 kcal
25 g
Keto, Gluten-Free, Low FODMAP
23 g
Chef’s Knife, Baking Sheet, Oven, Mixing Bowl
Why This Homemade Chicken Chimichangas Is So Good
Comforting and Satisfying
There’s nothing quite like the feeling of biting into a crispy chimichanga stuffed with savory goodness. The combination of flavors and textures just hits the spot, making it a favorite for many.
Versatility to Suit Your Taste
One of the reasons I love Homemade Chicken Chimichangas is that they can be easily customized. You can adjust the spice level or add your favorite toppings like guacamole, sour cream, or salsa. The possibilities are endless!
Great for Meal Prep
If you’re looking for a dish that can be made in advance, this recipe is perfect. You can assemble the chimichangas ahead of time and store them in the refrigerator or freezer. Just pop them in the oven or fry them when you’re ready to eat!
A Crowd-Pleaser
Throwing a dinner party? Homemade Chicken Chimichangas are sure to impress your guests. They’re fun to eat, and everyone loves a good chimichanga. Plus, they make for a great conversation starter!
Family-Friendly
This dish is not only delicious but also kid-friendly. The crispy exterior and tasty filling are usually a hit with children, making it a great option for family meals.
Balanced Meal in One
With the combination of chicken, cheese, and vegetables, Homemade Chicken Chimichangas provide a balanced meal that includes protein, fats, and carbs. It’s a convenient way to get a nutritious meal on the table!
Essential Ingredients for Homemade Chicken Chimichangas
The ingredients for Homemade Chicken Chimichangas work together in perfect harmony, creating a dish that’s not only flavorful but also satisfying. Each component plays a crucial role in building layers of taste and texture. The star players include tender chicken, zesty chili powder, and creamy Colby jack cheese, all wrapped in soft tortillas. Let’s dive into these essential ingredients!
- 2 cups shredded cooked chicken: The key protein that makes these chimichangas hearty and filling.
- 1 tablespoon chili powder: Adds a wonderful kick and depth of flavor.
- ½ teaspoon cumin: Offers an earthy taste that complements the spices well.
- ¼ teaspoon paprika: Provides a subtle sweetness and vibrant color.
- ½ teaspoon salt: Enhances all the flavors in the dish.
- ½ cup salsa: Adds moisture and a fresh, tangy flavor.
- 2 cups shredded Colby jack cheese: Gives that cheesy goodness that pulls everything together.
- 2 ounces softened cream cheese: Adds creaminess and binds the filling.
- 2 tablespoons chopped green onions: Brings freshness and a bit of crunch.
- 1 (15-ounce) can refried beans: Provides a rich and creamy texture to the filling.
- 4 burrito-sized tortillas: The perfect wrap for all the delicious filling.
- 1 tablespoon olive oil: Used to brush the chimichangas for a golden finish.
How to Make Homemade Chicken Chimichangas
Making Homemade Chicken Chimichangas is a fun and rewarding process that will have your kitchen smelling amazing. Follow these steps to create a perfect batch. You’ll love the crispy exterior and the flavorful filling!
- Preheat your oven to 400 degrees Fahrenheit. This is crucial for achieving a crispy texture on your chimichangas.
- In a large mixing bowl, combine 2 cups of shredded cooked chicken, 1 tablespoon of chili powder, ½ teaspoon of cumin, ¼ teaspoon of paprika, ½ teaspoon of salt, ½ cup of salsa, 2 cups of shredded Colby jack cheese, 2 ounces of softened cream cheese, and 2 tablespoons of chopped green onions. Mix everything well until combined, ensuring the flavors meld together.
- Take your tortillas and spoon 2 tablespoons of refried beans onto each tortilla about 2 inches from the edge. This will create a delicious base for your filling.
- Divide the chicken mixture evenly among the tortillas, placing it in the center. Be careful not to overfill, as this will make rolling difficult.
- Next, fold in the sides of the tortillas and then roll them up from the bottom. Make sure to tuck in the sides as you roll to secure the filling inside.
- Place the rolled chimichangas seam-side down on a baking sheet. This helps them stay closed while baking and gives them a nice golden color.
- Brush the tops of the chimichangas with 1 tablespoon of olive oil. This step is essential for achieving that crispy, golden finish.
- Bake in the preheated oven for about 20 minutes, or until golden brown and heated through. Keep an eye on them to avoid over-baking.
- Once they are ready, remove the chimichangas from the oven and let them cool slightly before serving. They’ll be hot and delicious!
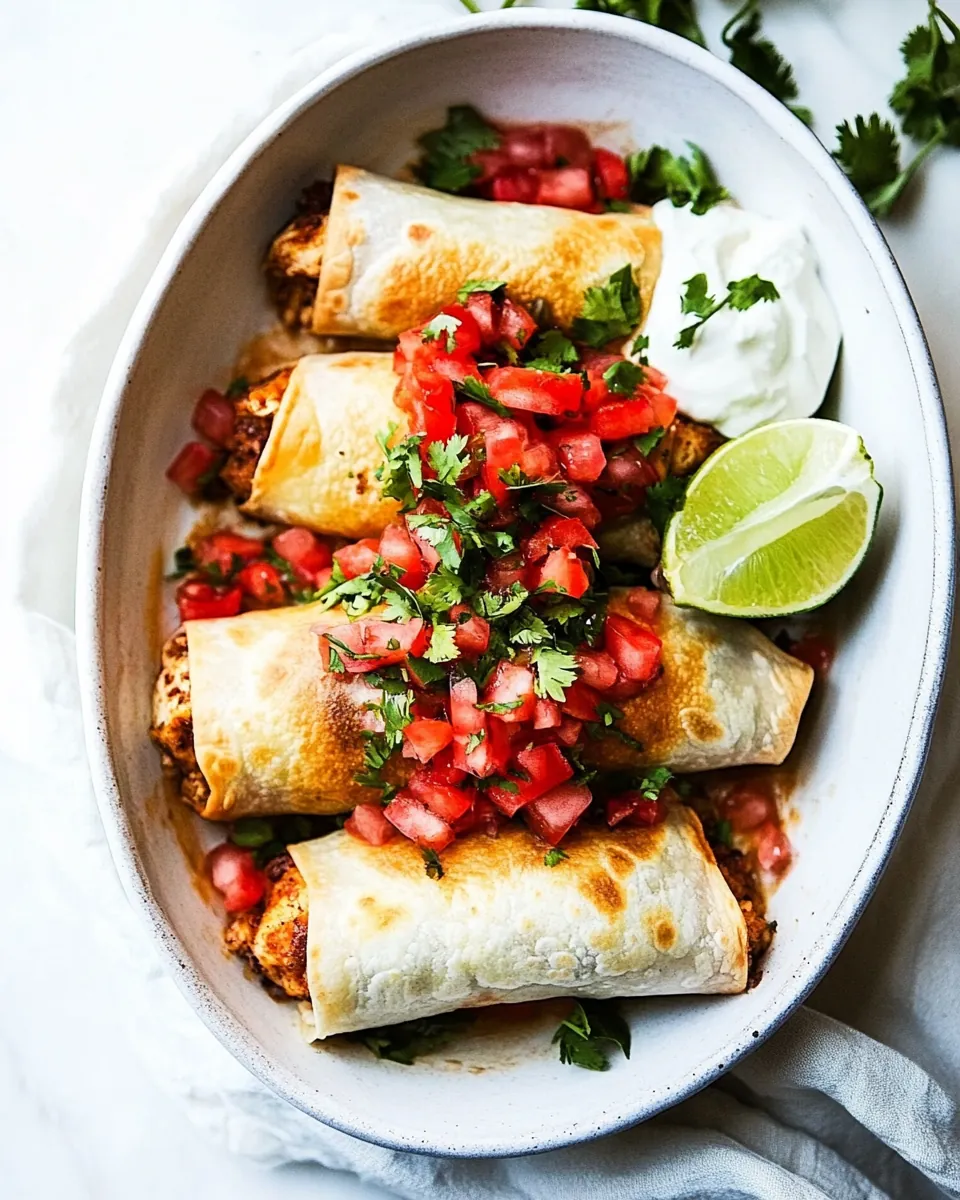
- Serve warm with your favorite toppings like guacamole, sour cream, or additional salsa. Enjoy your homemade feast!
Things Worth Knowing
- Texture Matters: Pay attention to the texture of the filling. It should be creamy yet not overly wet to ensure the chimichangas hold their shape.
- Oven vs. Frying: Baking gives you a healthier version, while frying offers a traditional crispy exterior. Choose based on your preference!
- Cooling Time: Allow chimichangas to cool for a few minutes after baking. This helps them firm up and makes them easier to handle.
- Portion Control: If you’re serving a crowd, consider cutting the chimichangas in half. They’re easy to share and perfect for a party platter!
Customization Ideas
There’s so much you can do to make Homemade Chicken Chimichangas your own! Here are some fun ideas for customizing this recipe:
- Spice Level: Adjust the heat by adding more chili powder or some diced jalapeños to the filling.
- Vegetable Add-Ins: Try adding diced bell peppers, corn, or olives to the filling for additional flavor and texture.
- Cheese Varieties: Experiment with different types of cheese, such as Monterey Jack or Pepper Jack, for a twist on flavor.
- Herbs and Spices: Enhance the filling with fresh herbs like cilantro or parsley for a fresh touch.
- Gluten-Free Option: Use gluten-free tortillas to make this recipe suitable for those with gluten sensitivities.
- Fried Version: For a traditional touch, pan-fry the chimichangas in hot oil until golden brown and crispy. Just be careful with the hot oil!
Side Dish Ideas for Homemade Chicken Chimichangas
When serving Homemade Chicken Chimichangas, it’s all about pairing them with the right sides to complement their delicious flavors. Here are some great side dish ideas:
- Mexican Rice: A classic combination, the fluffy texture of Mexican rice balances the crispy chimichangas perfectly.
- Refried Beans: Serve extra refried beans on the side for a hearty addition to your meal.
- Fresh Salad: A light salad topped with avocado and lime vinaigrette adds a refreshing contrast to the richness of the chimichangas.
- Guacamole: Don’t forget to add a generous scoop of guacamole to your plate. The creaminess enhances every bite!
- Salsa: Offer a variety of salsas, from mild to spicy, to cater to different taste preferences.
- Grilled Vegetables: A side of grilled seasonal vegetables adds color and health benefits to your meal.
- Cheesy Mexican Corn: This sweet and cheesy side dish is a delightful match for your chimichangas.
FAQ
Conclusion
Homemade Chicken Chimichangas are a delightful dish that combines flavor, texture, and comfort all in one bite. They’re perfect for any occasion, whether it’s a cozy family dinner or a festive gathering with friends. I encourage you to give this recipe a try; I promise it won’t disappoint! You’ll love how easy it is to make and how much joy it brings to your table.
Homemade Chicken Chimichangas
Ingredients
Equipment
Method
- Preheat your oven to 400 degrees Fahrenheit.
- In a large mixing bowl, combine 2 cups of shredded cooked chicken, 1 tablespoon of chili powder, ½ teaspoon of cumin, ¼ teaspoon of paprika, ½ teaspoon of salt, ½ cup of salsa, 2 cups of shredded Colby jack cheese, 2 ounces of softened cream cheese, and 2 tablespoons of chopped green onions. Mix everything well until combined.
- Spoon 2 tablespoons of refried beans onto each tortilla about 2 inches from the edge.
- Divide the chicken mixture evenly among the tortillas, placing it in the center.
- Fold in the sides of the tortillas and then roll them up from the bottom. Make sure to tuck in the sides as you roll.
- Place the rolled chimichangas seam-side down on a baking sheet.
- Brush the tops of the chimichangas with 1 tablespoon of olive oil.
- Bake for about 20 minutes, or until golden brown and heated through.
- Once ready, remove the chimichangas from the oven and let cool slightly before serving.
- Serve warm with your favorite toppings like guacamole, sour cream, or more salsa.
Notes
- Tip 1: For a crispy finish, make sure to brush the tops of the chimichangas with olive oil.
- Tip 2: You can pan fry the chimichangas for a traditional crispy texture if you prefer.
- Tip 3: For meal prep, assemble the chimichangas ahead of time and store them in the fridge until ready to bake.
- Tip 4: If you want extra crunch, you can add some crushed tortilla chips to the filling.
- Tip 5: Serve with a variety of toppings to allow guests to customize their chimichangas.